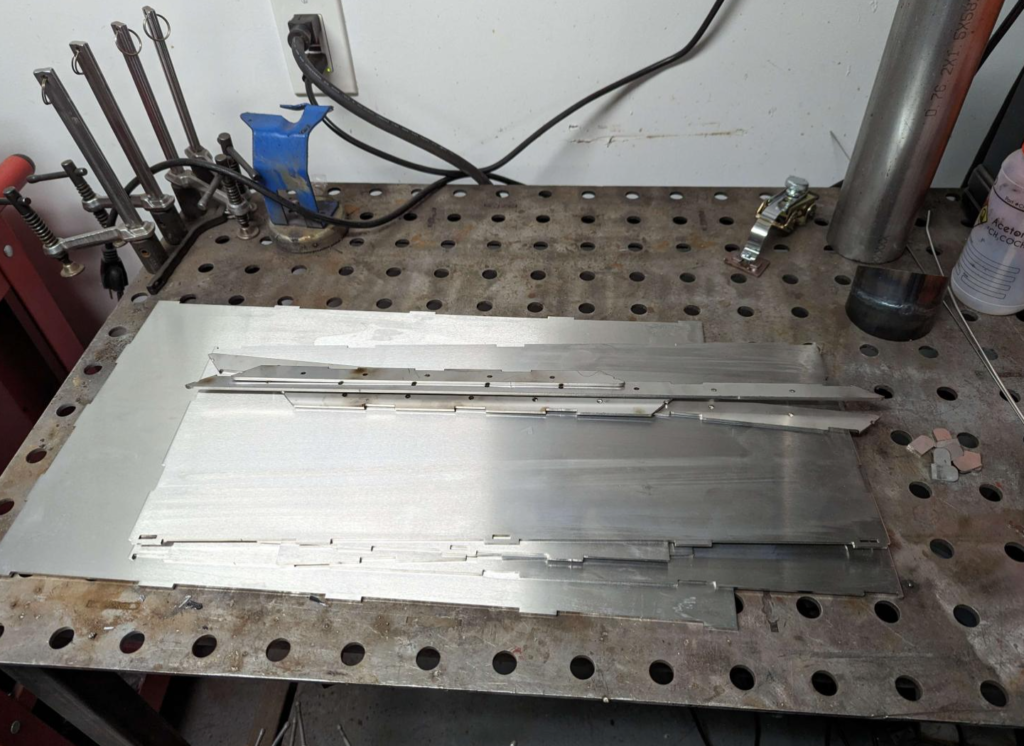
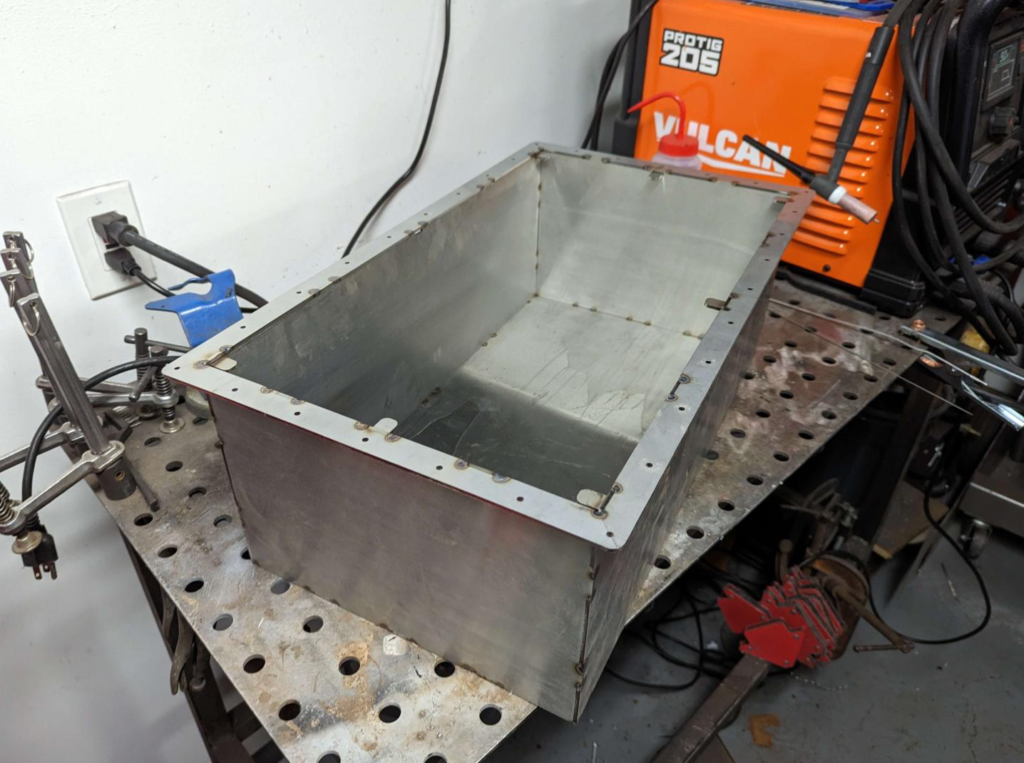
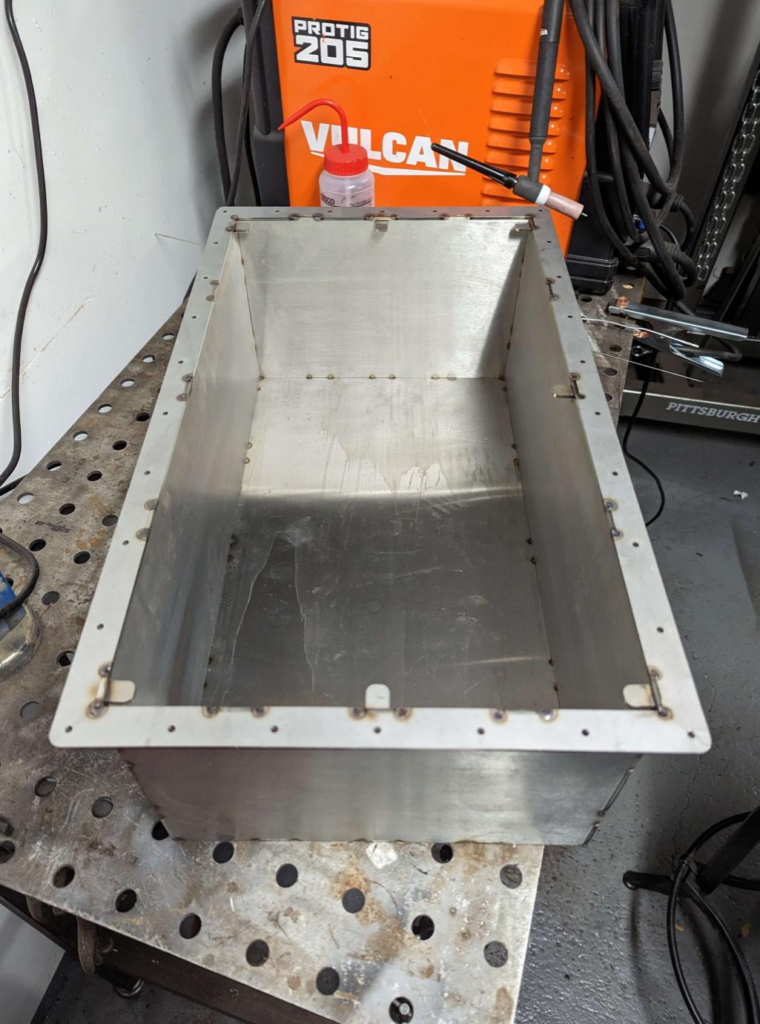
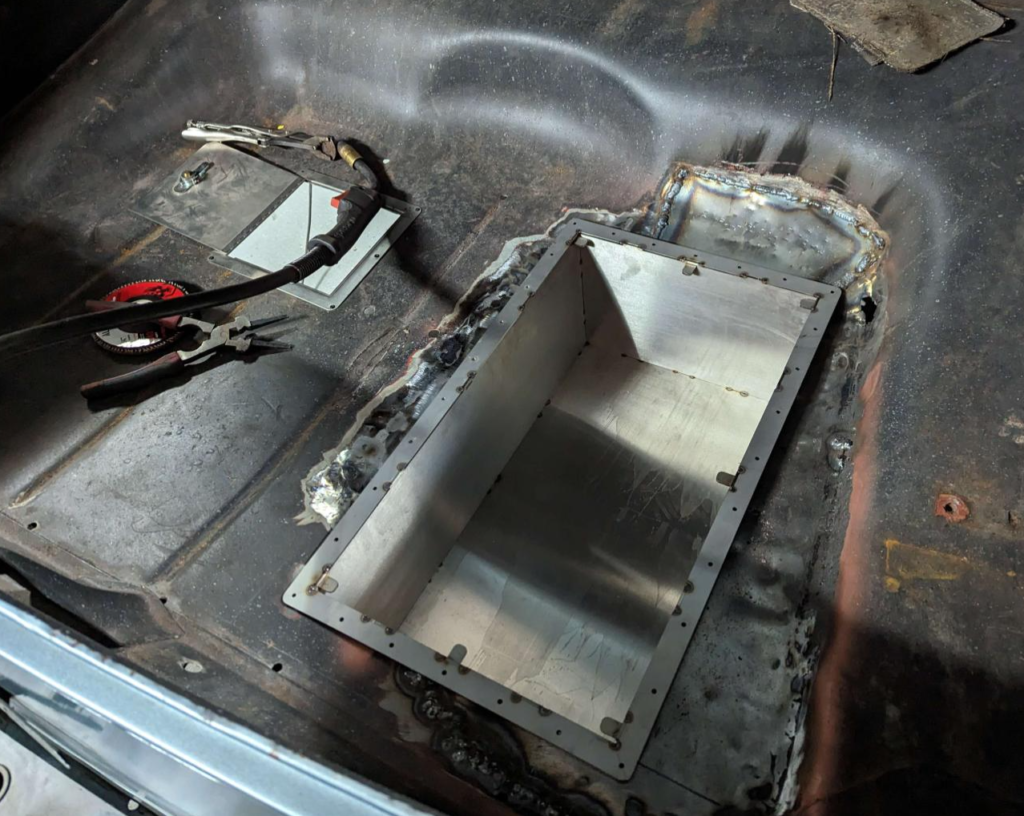
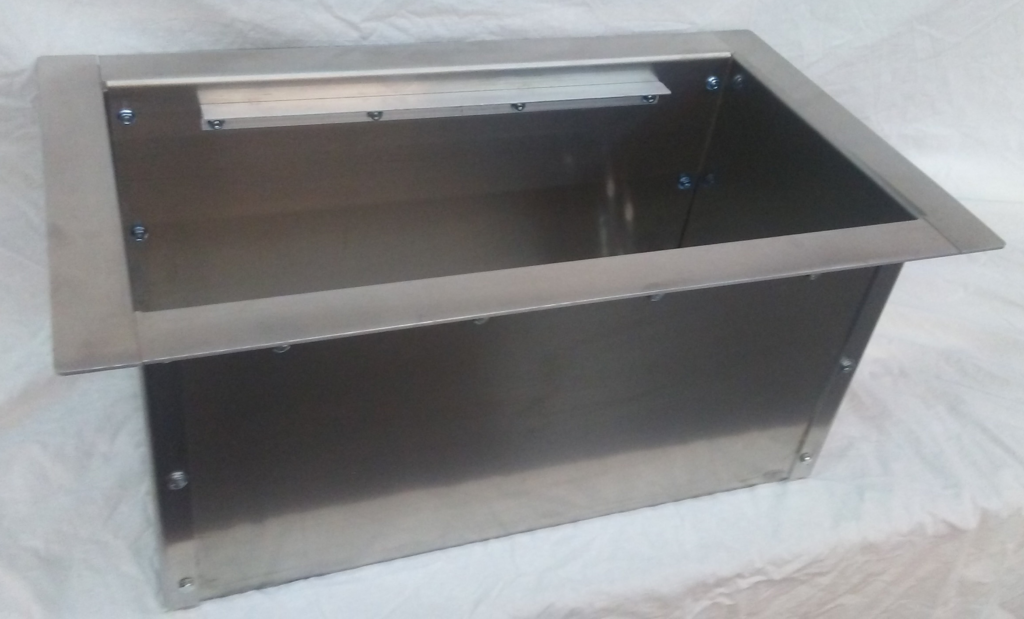
I got the pieces for the Checker’s battery box from sendcutsend earlier this week. Laser cut out of 1/8″ Stainless. Everything fit together really well and was easy to get it tacked together with the tig welder as the tolerance and fitment of the panels was really good.
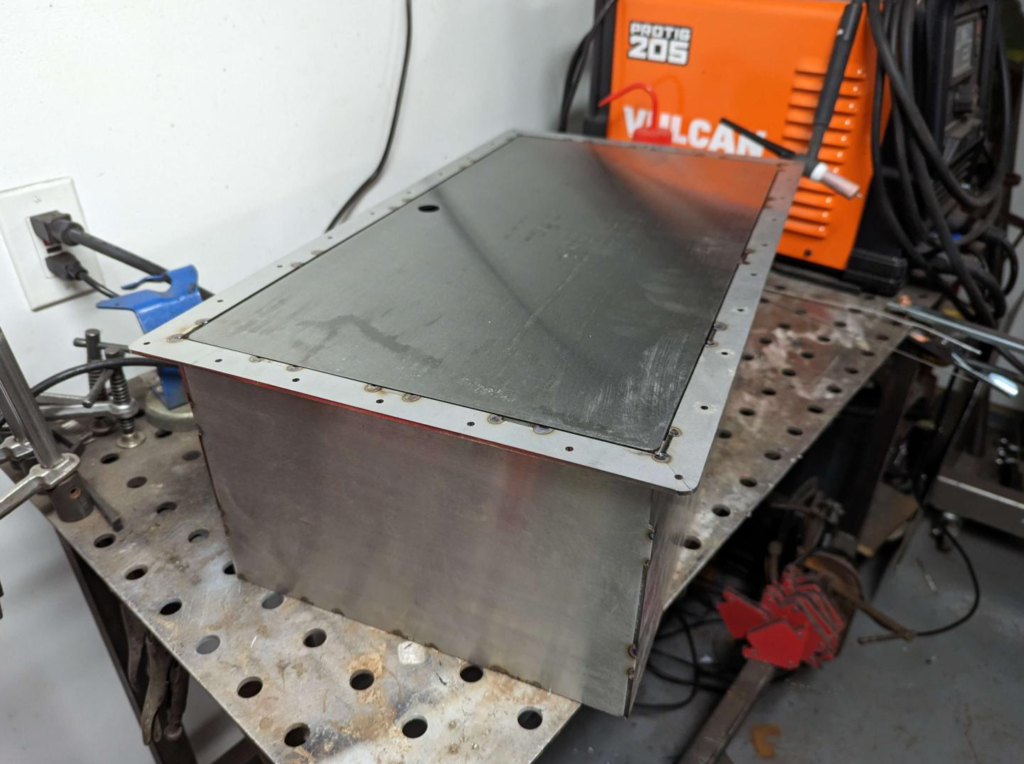
And here is the test fit inside the trunk of the Checker. Still need to finish that rust repair before I can install this :)
The battery will need to be relocated on the Checker to the trunk. Not enough room up under the hood with all the turbo and A/C equipment. I will build a box to fill the area where I cut out the spare tire wheel well…. once I fix all the rust in the trunk sheet metal.
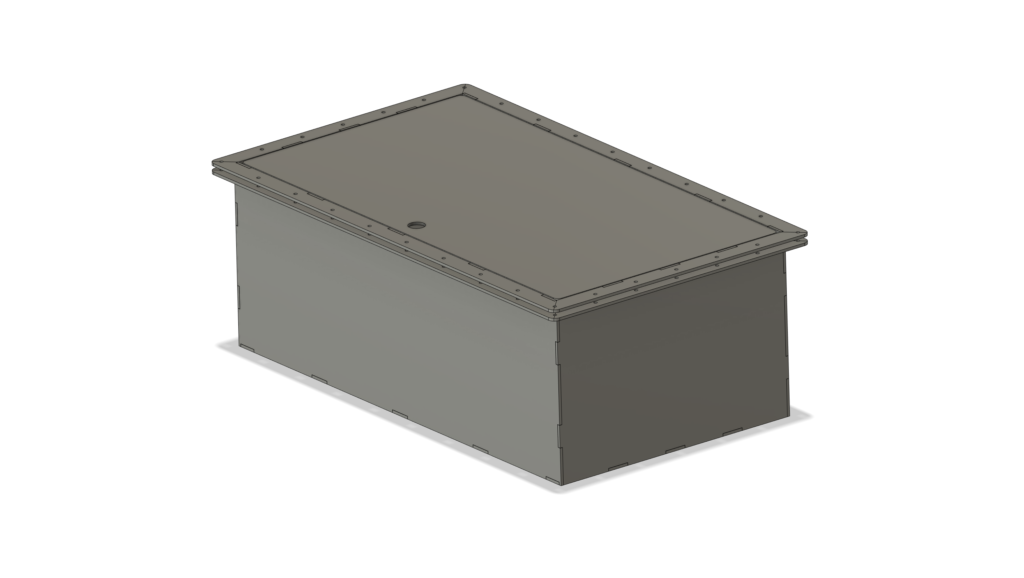
The box itself is 12″ wide, 21.5″ long, and 8″ deep. Same depth as the gas tank. Parts will be lasered out of 1/8″ 306 Stainless and then tig welded together. I designed a double flange system so the box will squeeze the sheet metal. Hopefully this will be more then strong enough keep the trunk sheet metal from ripping apart!
Now this box is bigger then the group 21 battery I am planning on running. Perfect place to store tools and extra fluids!
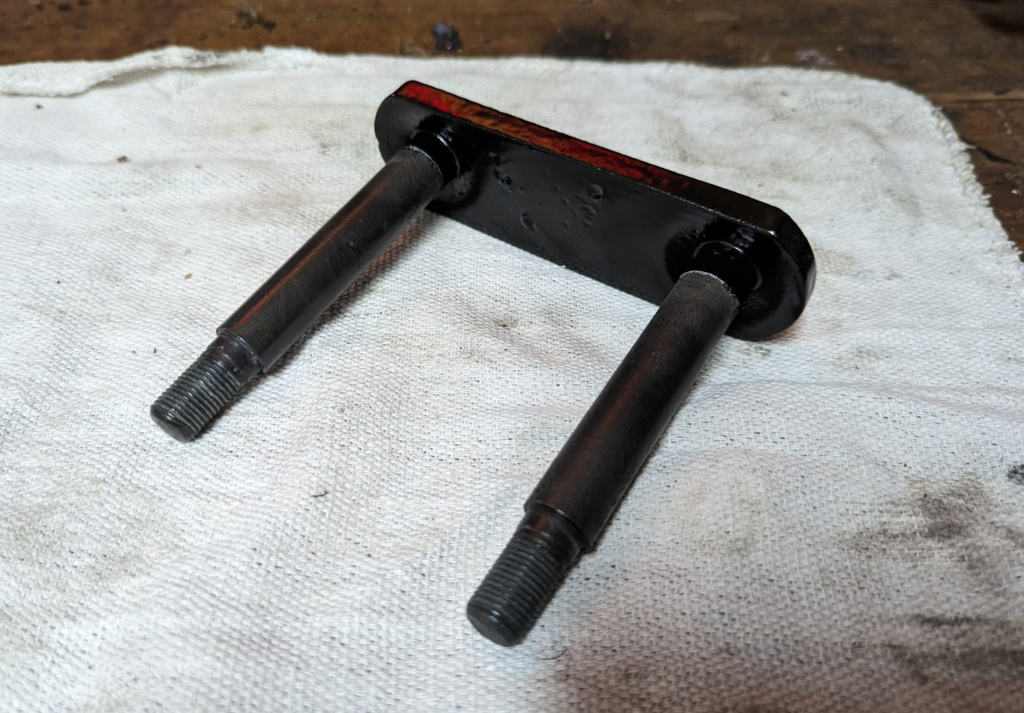
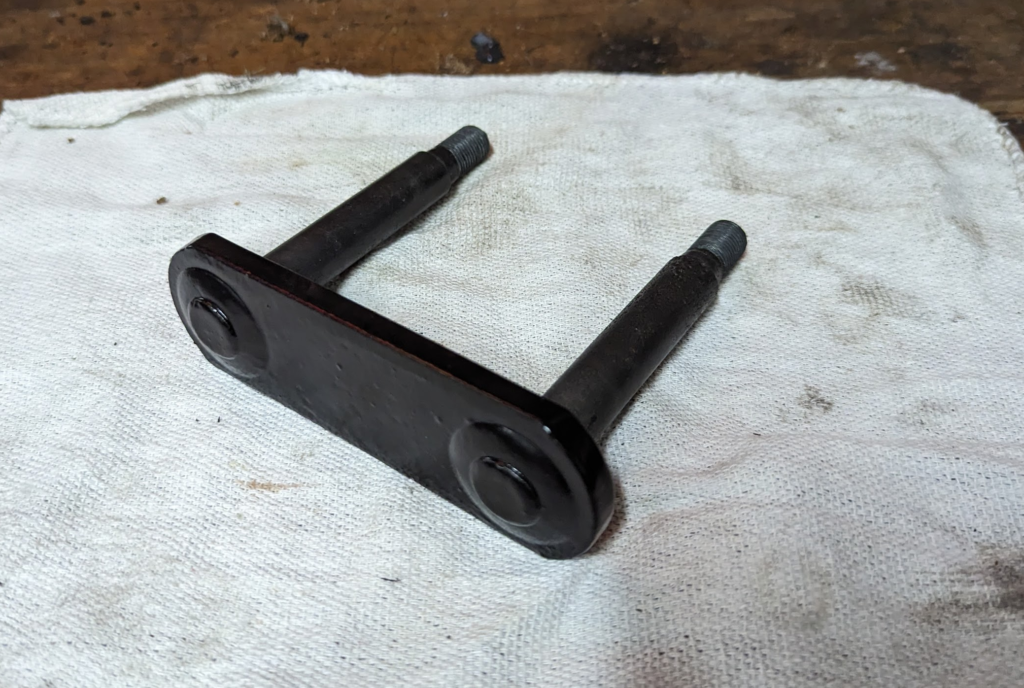
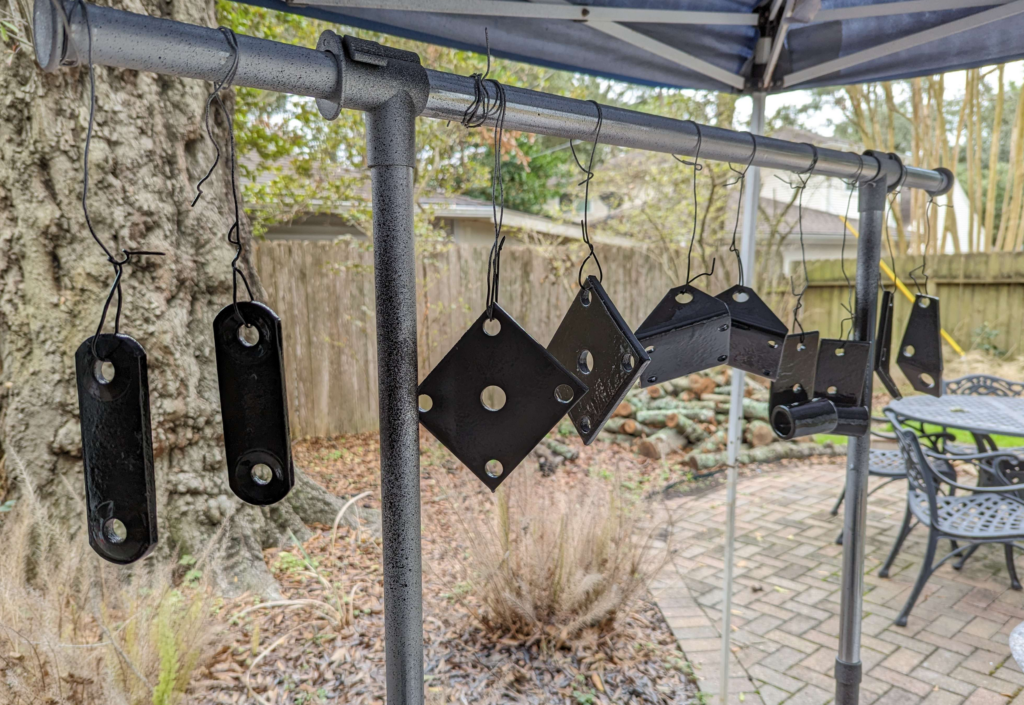
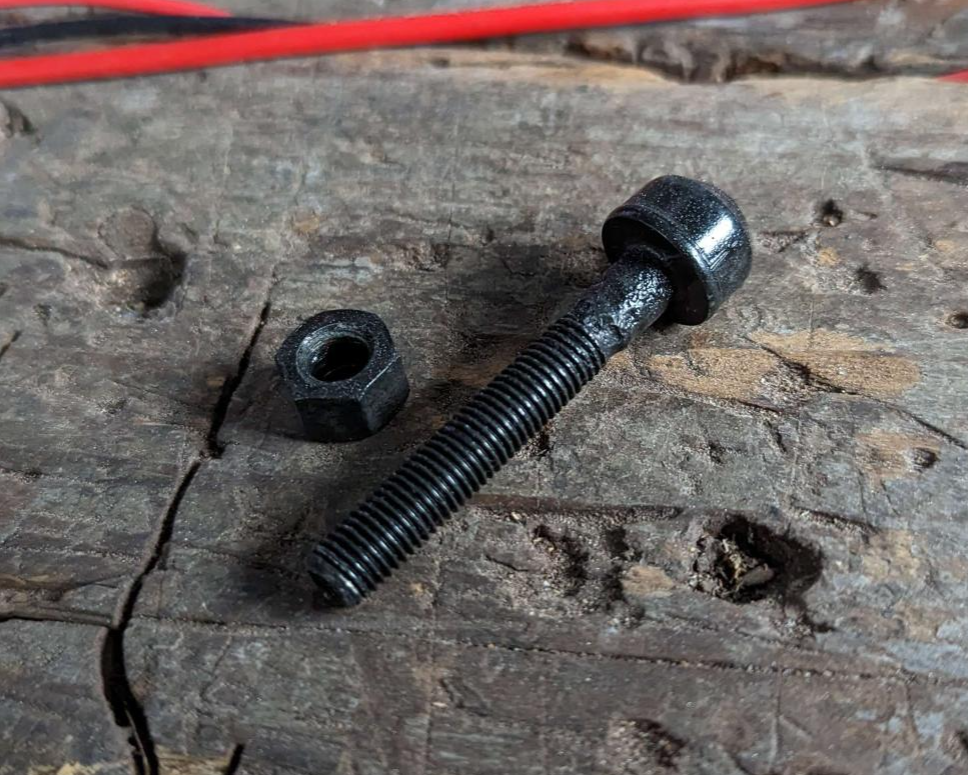
The leaf spring hangers turned out great looking. The bolt / threaded part was plated with zinc and the hanger section was painted with the AG111 chassis paint system. Should last longer then the rest of the Checker.
I also ordered replacement bolts and nuts for the suspension. Part links to McMaster below.
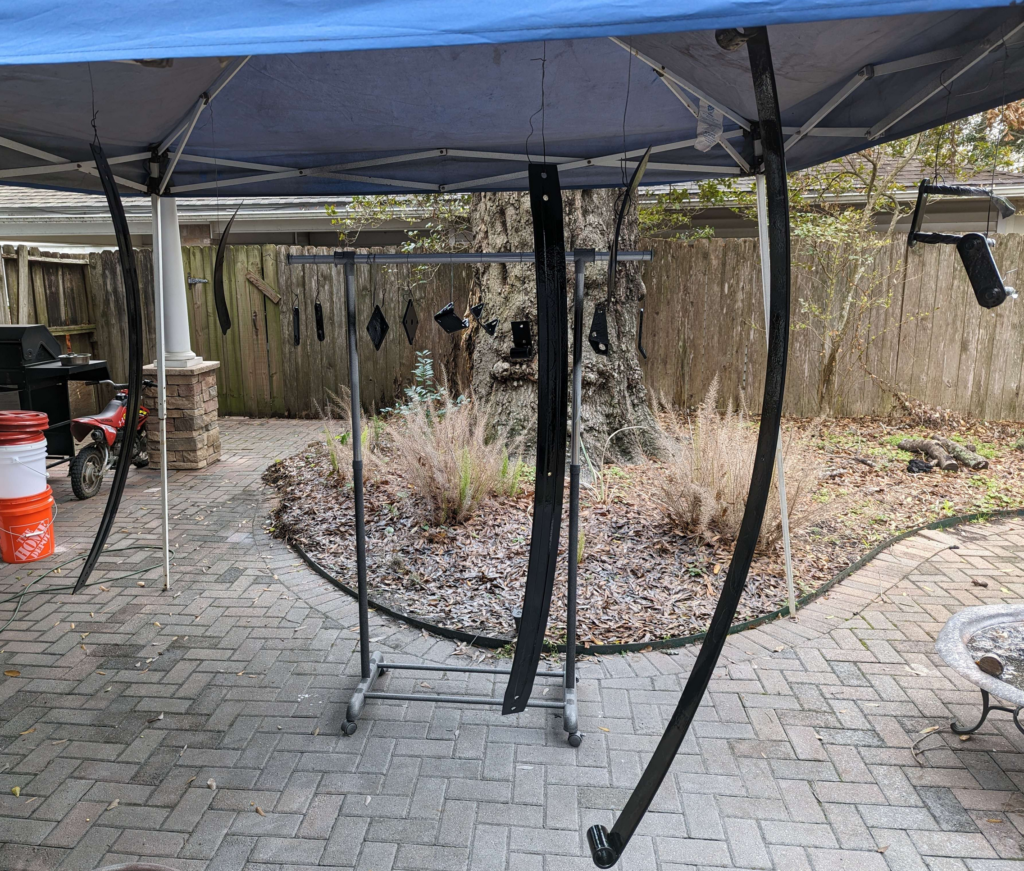
I should get one of those inflatable paint booths someday! This is my first paint project with my new 3M Accuspray Paint Gun that my Mother and Father gave me for Christmas. Should do a “review” of it at some part. Maybe when I try to paint something other then thick chassis paint?
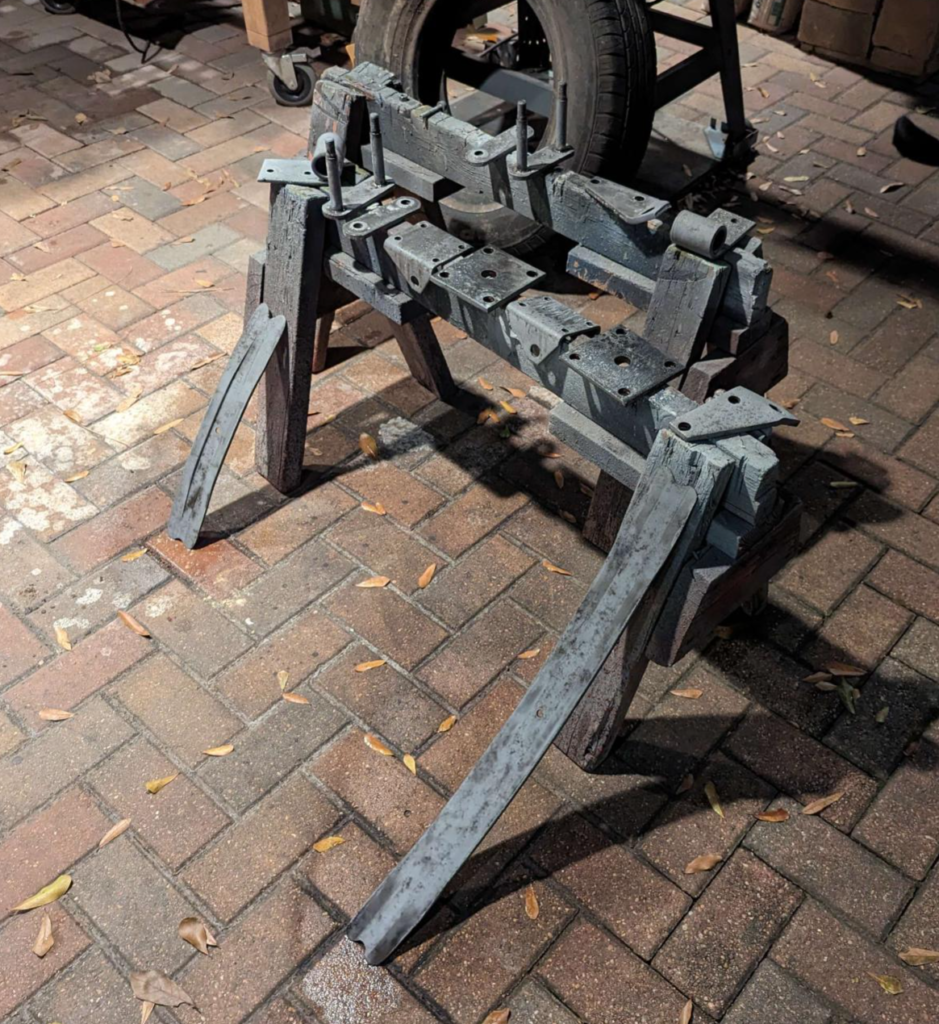
Worked on the rear leaf springs on the Checker today. This is what the brackets and leafs looked liked after coating with Metal Prep and using a brass wire wheel to remove the Metal Prep crust. Metal Prep is a zinc phosphate based solution that promotes adhesion to the primer and protects the surface by leaving a thin zinc coating behind. Primer can go directly over it if its not all flaky.
Now the rear leaf spring hangers have welded in bolts where the bushings ride. The bushings will just rub through the paint eventually so I am going to zinc plate the bolts and threads. Will zinc plate the leaf spring center bolt as well.
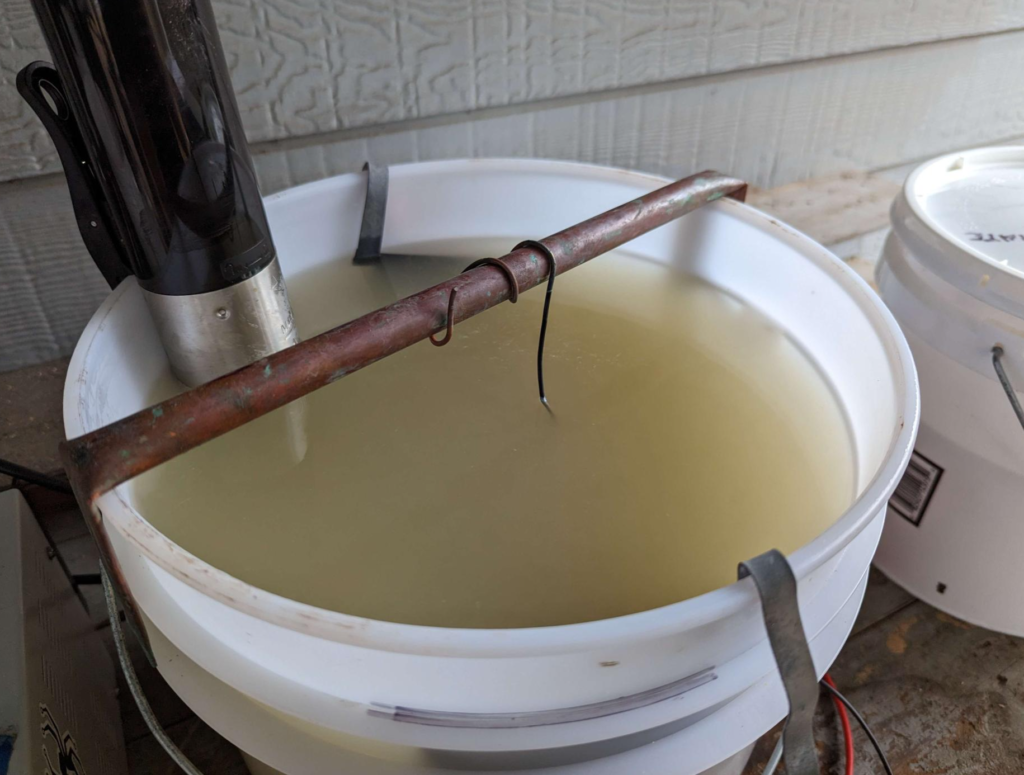
This is my simple zinc plating setup. Chemicals are from Caswell. I use inexpensive sous vide heaters to agitate and keep the chemical baths at proper temperatures.
Here is the leaf spring hangers and leaf spring center bolt before plating. These have been blasted with 220 grit in the vapor hone, treated with Metal Prep, and then wire wheeled.
Now I only want to plate the bolt and threaded section of the hangers and then paint the rest of it. I used a special 3M tape (3M 470 Electroplating tape) to mask off the sections I didn’t want to plate.
Here is one of the parts in the electroplating bath.
Here is the leaf spring center bolt after zinc plating and black chromating. The hangers are currently having the rust sealer painted on the none zinc’d parts.
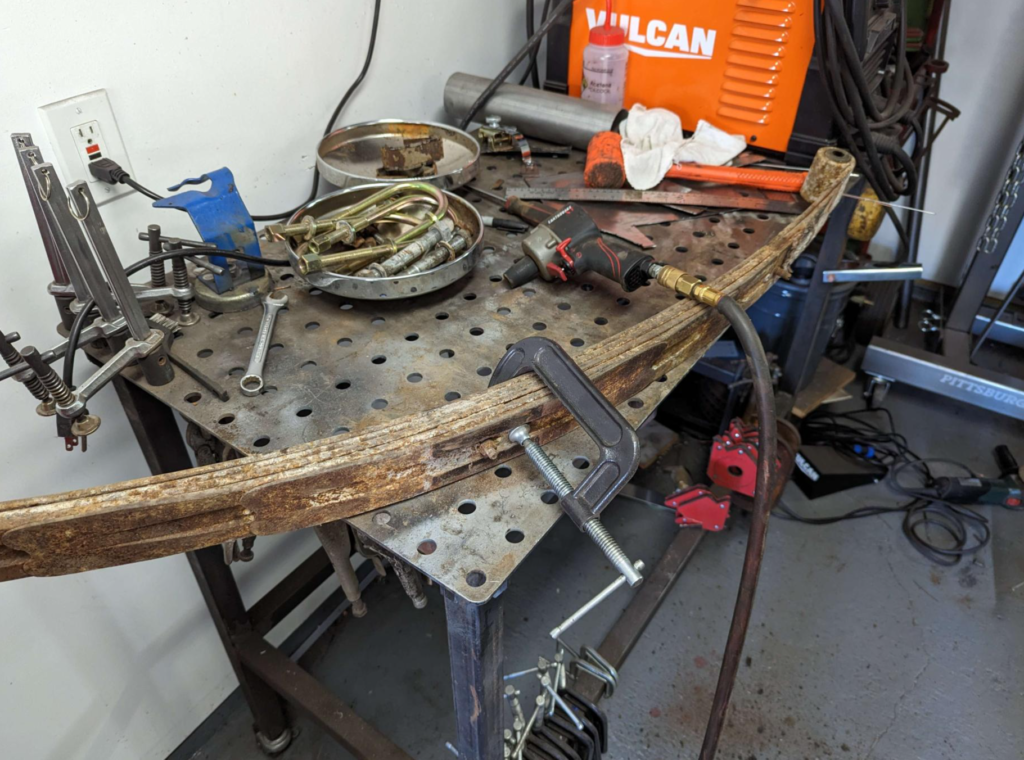
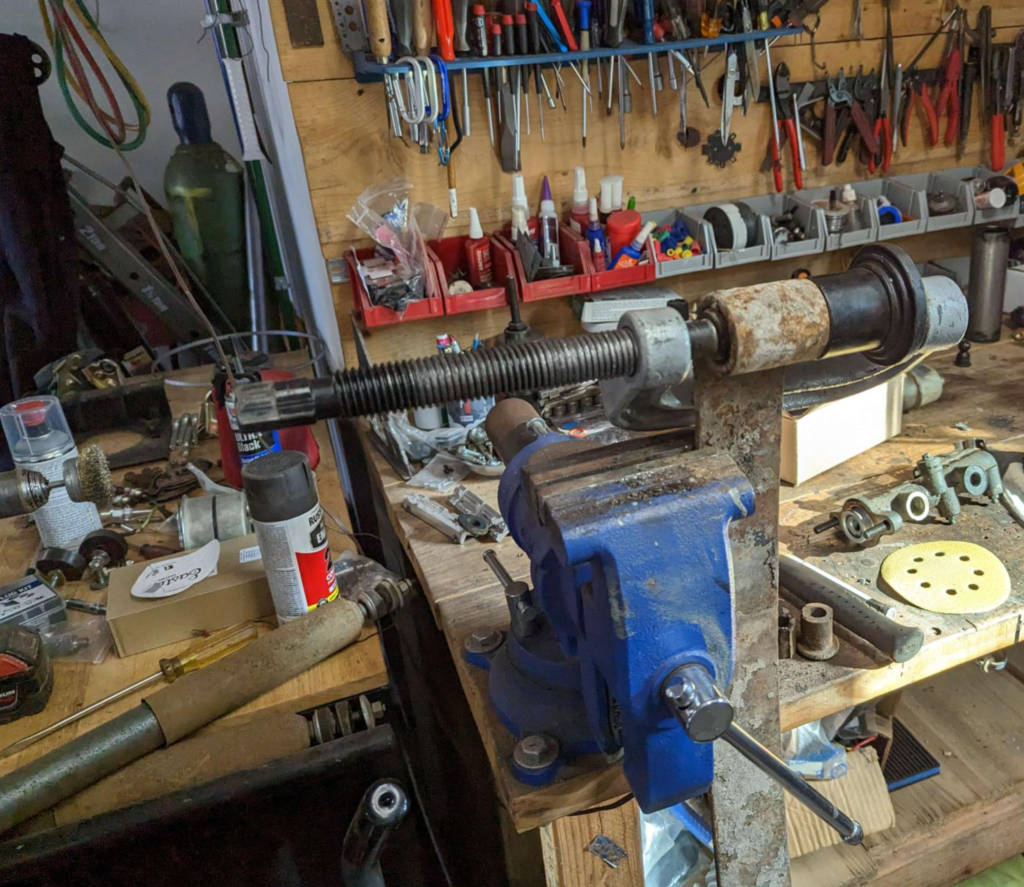
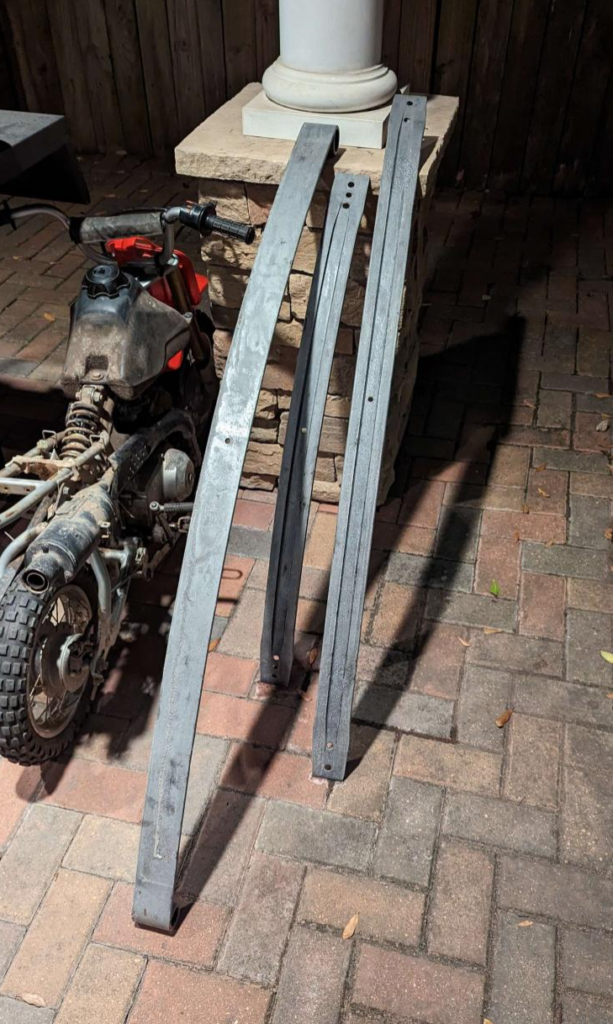
To get new leaf springs for the rear suspension on the Checker, I would have to get some custom made. For some reason, no one stocks leaf springs for a 1965 Checker! Instead of getting custom leaf springs made, I am going to rebuild the original set. If we are to believe the odometer, the Checker only has 56k miles on it which means these leaf springs have a lot of life in them yet.
First we need to disassemble the springs, I used a clamp to hold the pack together while I used an impact gun to remove the leaf spring center pin. Once the leaf spring clamps where removed, I slowly opened the clamp which allowed the pack to be taken apart without an explosion of energy.
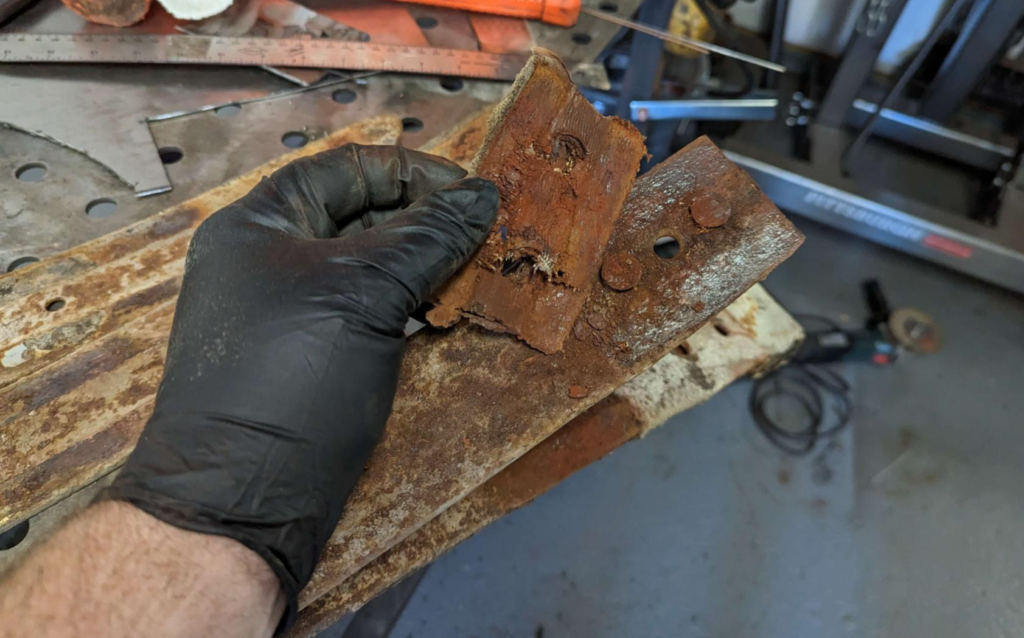
Between some of the leafs, I found some old canvas like material that was soaked in a moly/graphite type grease. These are probably the original leaf spring sliders.
Removed the old bushings with probably one of the first tools I ever bought. A ball joint / u-joint removal clamp. This tool is about to kick the bucket ever since I replaced the ball joints on the wagoneer (will have to post that adventure in the future).
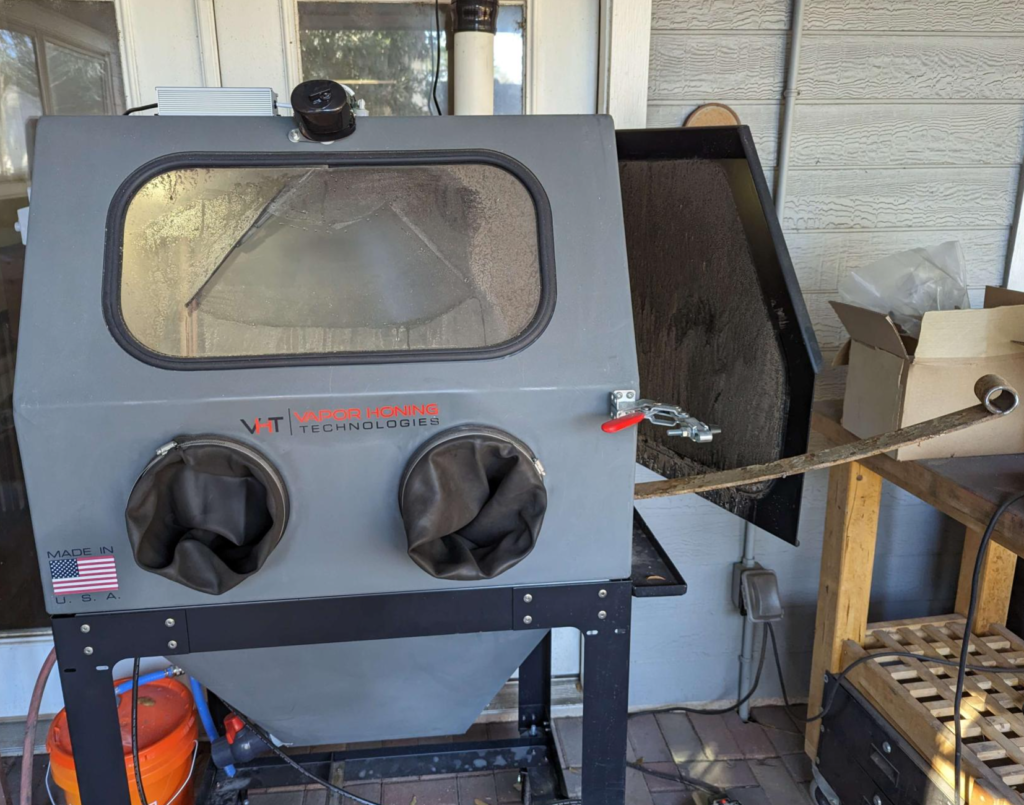
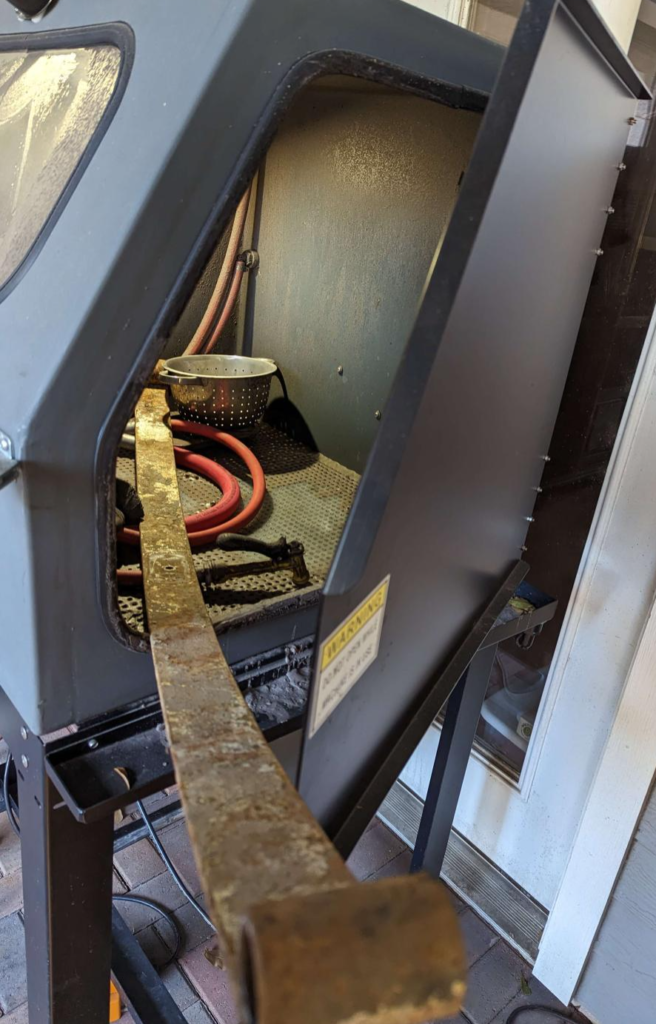
The leaf springs did not fit into my vapor hone machine but I decided to send it anyways.
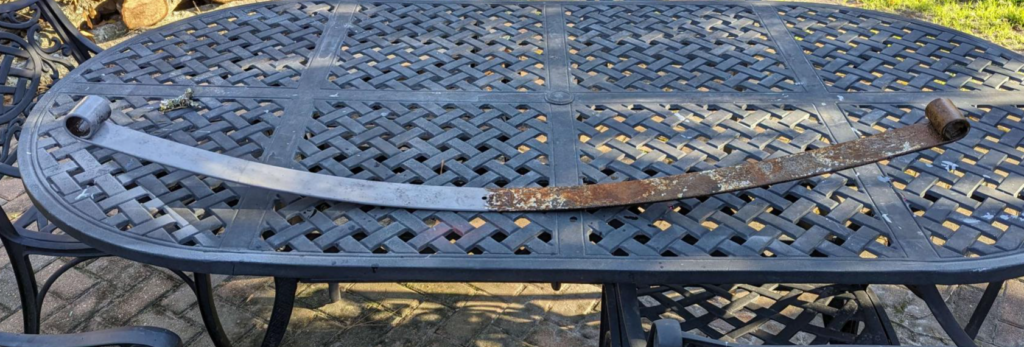
Here is halfway done with the main leaf.
One leaf completely blasted.
The leaf will get painted with the AG111 chassis paint system.
To replace the bushings I found these parts that look to be correct.
Today I used my vapor hone to clean up the rear leaf spring hangers and brackets.
After about an hour of blasting in the vapor hone and the parts are rust free!
I will be painting these with the AG111 paint system. I have used it in the past on my Mother’s golf cart I rebuild and it has held up to salt spray down on the beach with no problems.
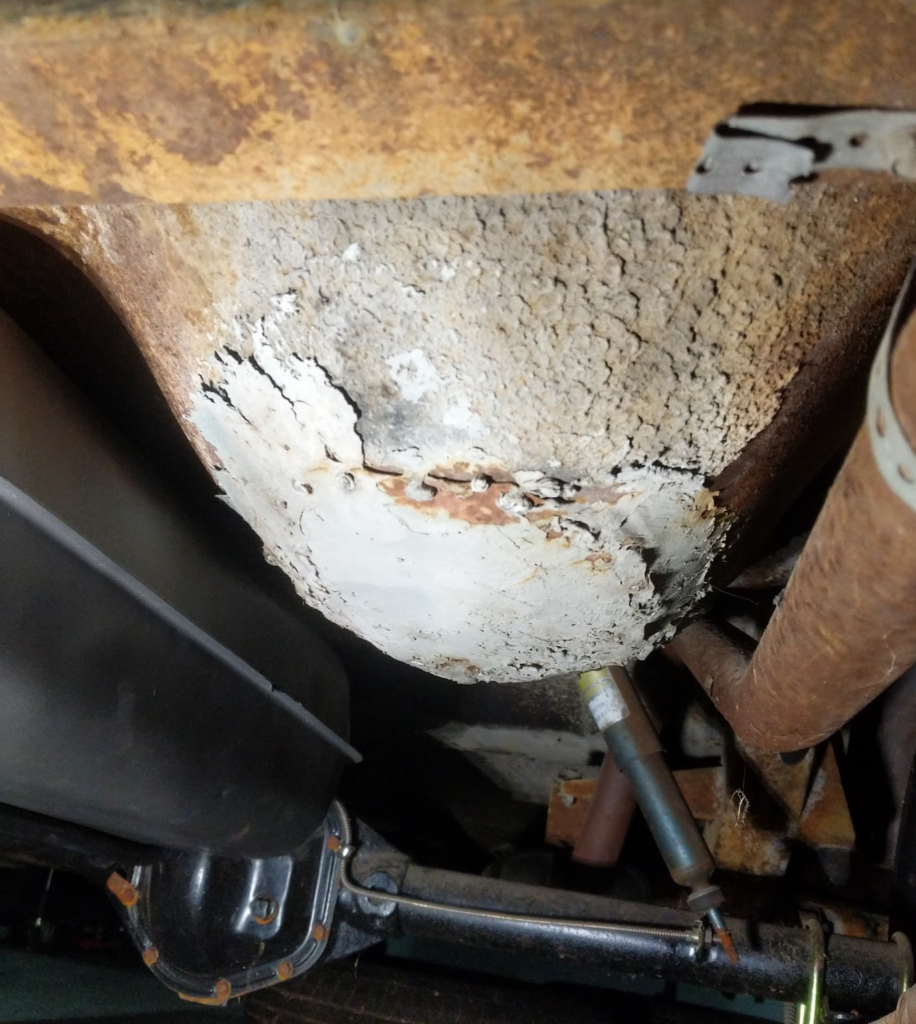
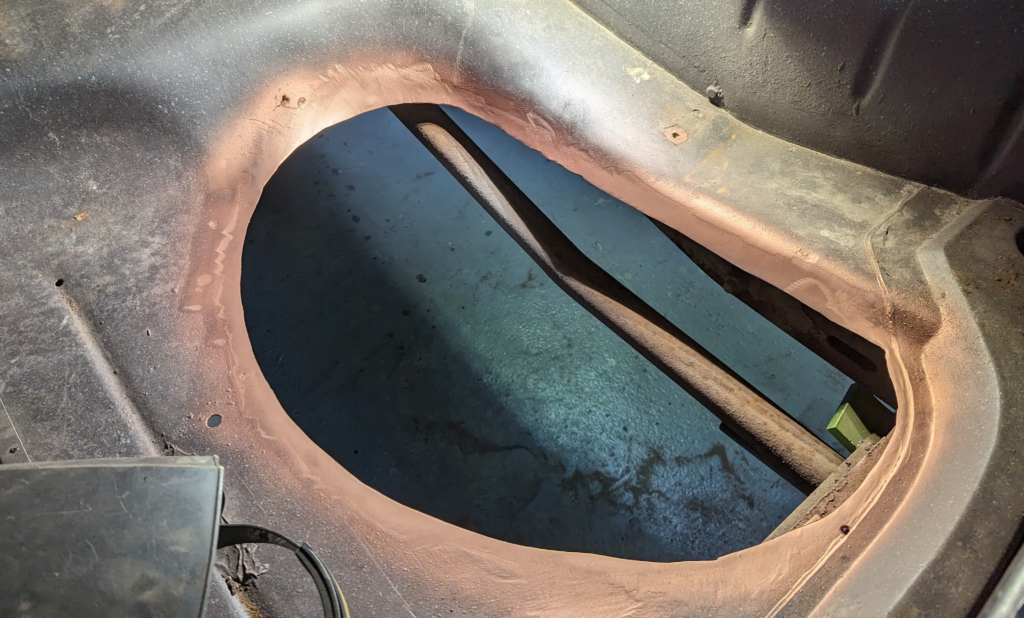
The “butt” cheek of the Checker is the spare tire well that is in the trunk. Mine was poorly repaired by a previous owner. Hammered metal to cover the rust holes and then slathered bondo over it. Bondo’d right over the dirt on the sheet metal as well. Awesome job previous owner.
I am not planning on carrying a spare tire (plug kit + tire inflator instead) so I want to remove this spare tire well and put the Checker’s battery and maybe a tool kit here.
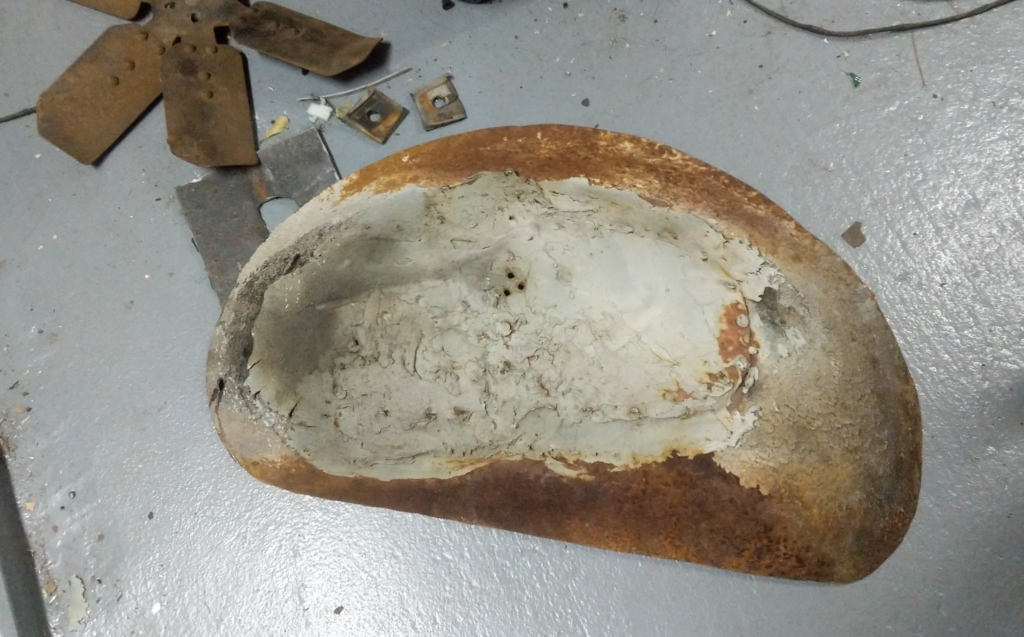
Cut out the old shoddy repair.
While cutting this out I found out that the entire trunk is skimmed with bondo… Wonder how much of this car is bondo now D:
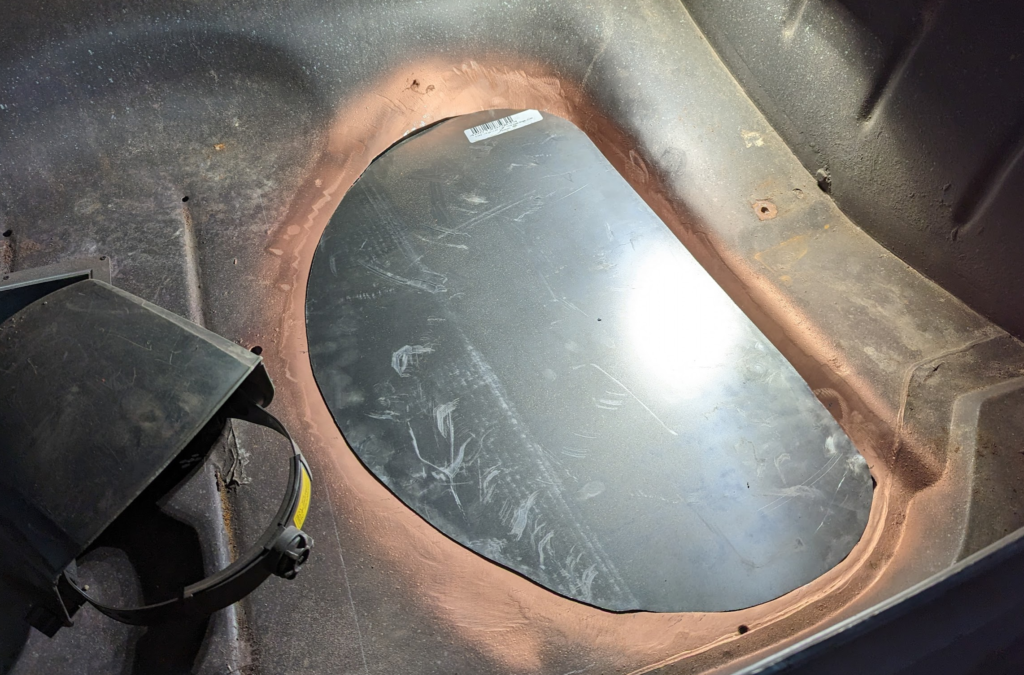
Then prep the area for welding.
Use the removed part as a template in some fresh 18 gauge steel.
Fitment is ok…. I don’t have a lot of experience doing sheet metal fitment. Kinda learning as I go.
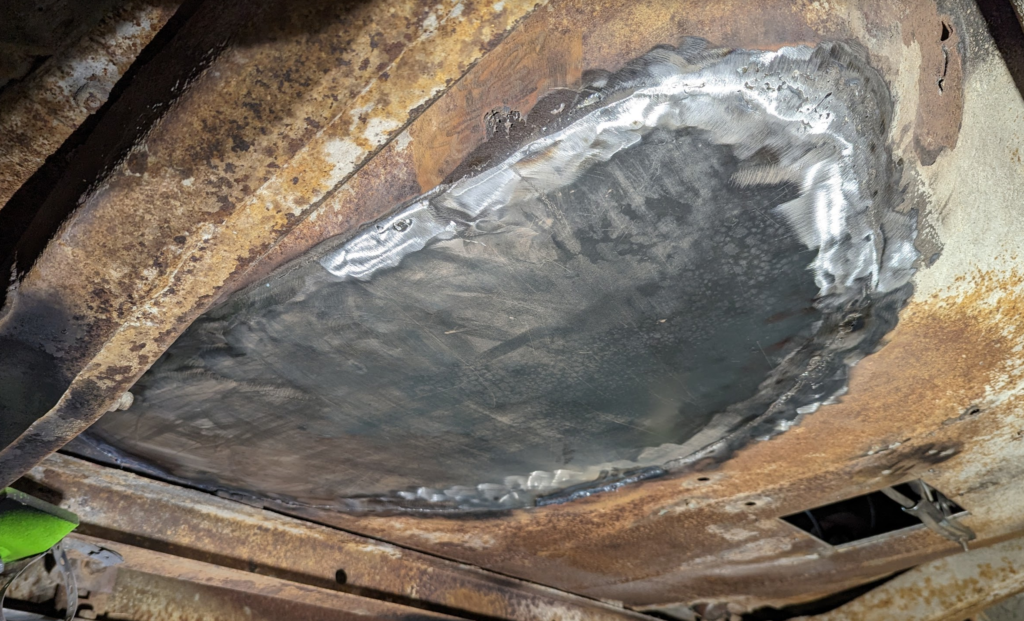
Used 0.023 wire on my mig welder. Here is the bottom of it after grinding.
I haven’t finished the top side of the welding yet. Bottom side needs a bit more work as some parts a bit too then for me.
I definitely need more practice welding thin sheet metal.
Once I finish welding this patch in I will then design a “flush” mount battery box that I can put in this spot similar to this.
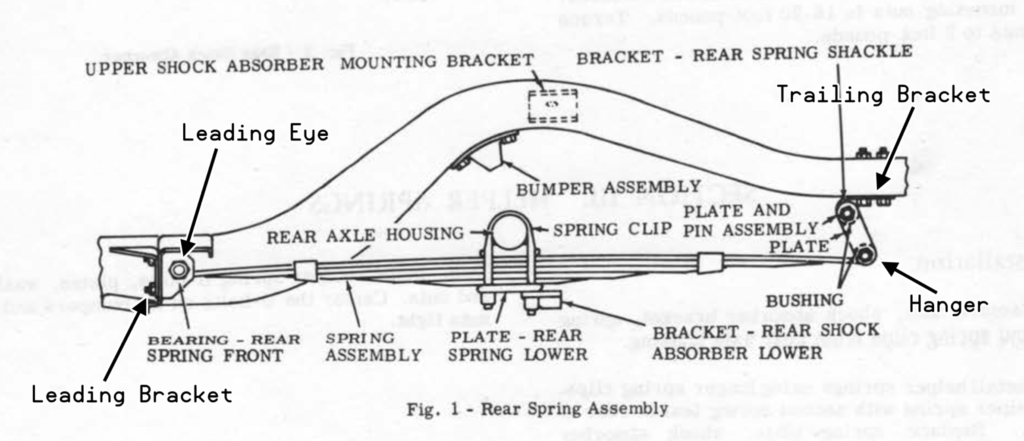
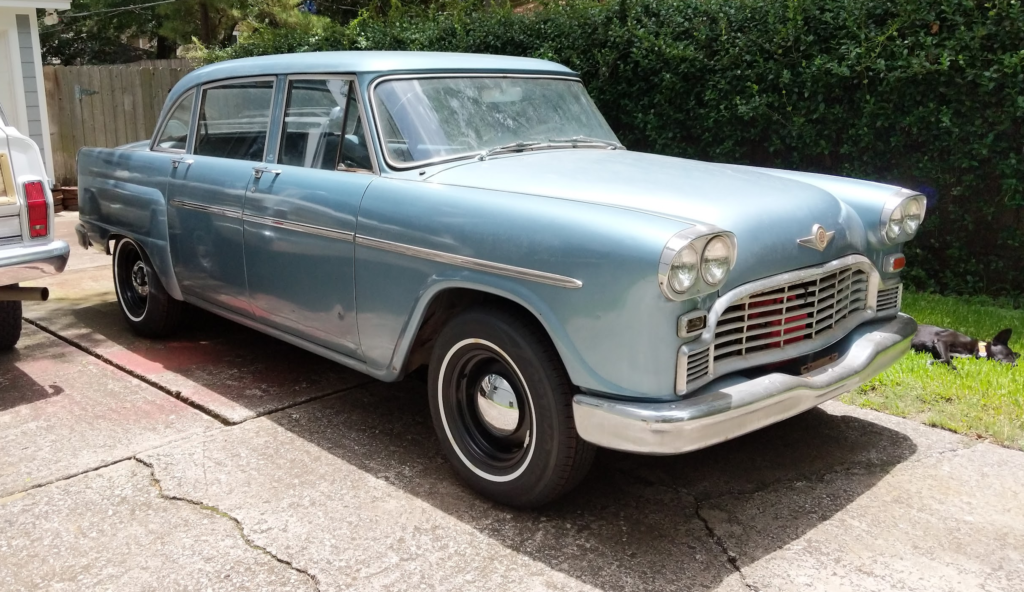
This post will be kinda in two parts: What I worked on with the rear end (suspension and axle stuff) on the Checker back around the time I bought it (2019/2020) and what I did today. Get caught up on documenting old work and then new progress!
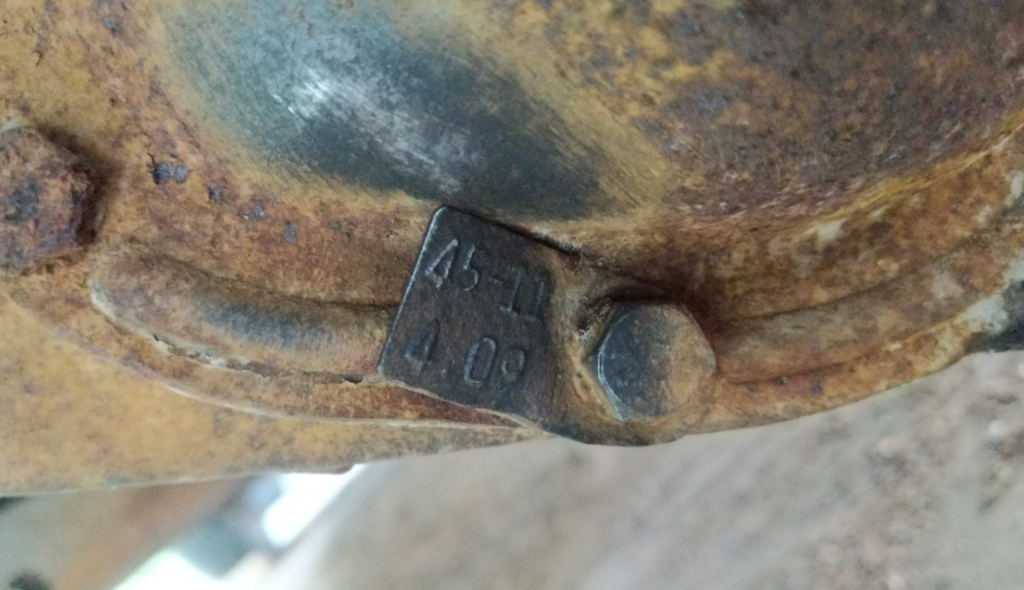
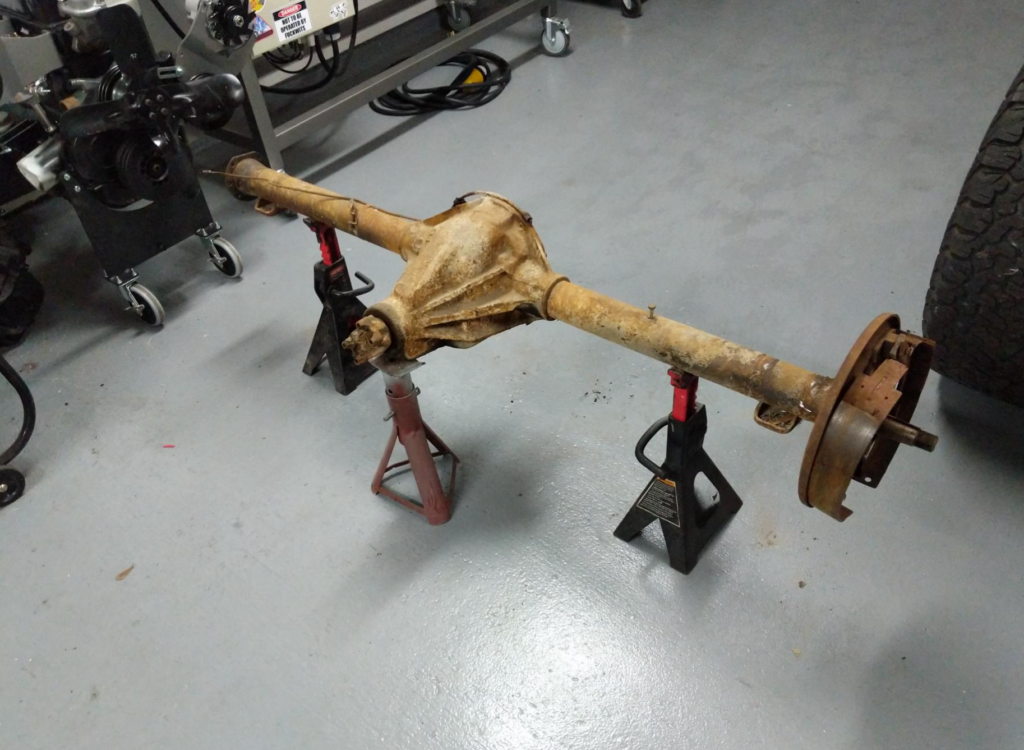
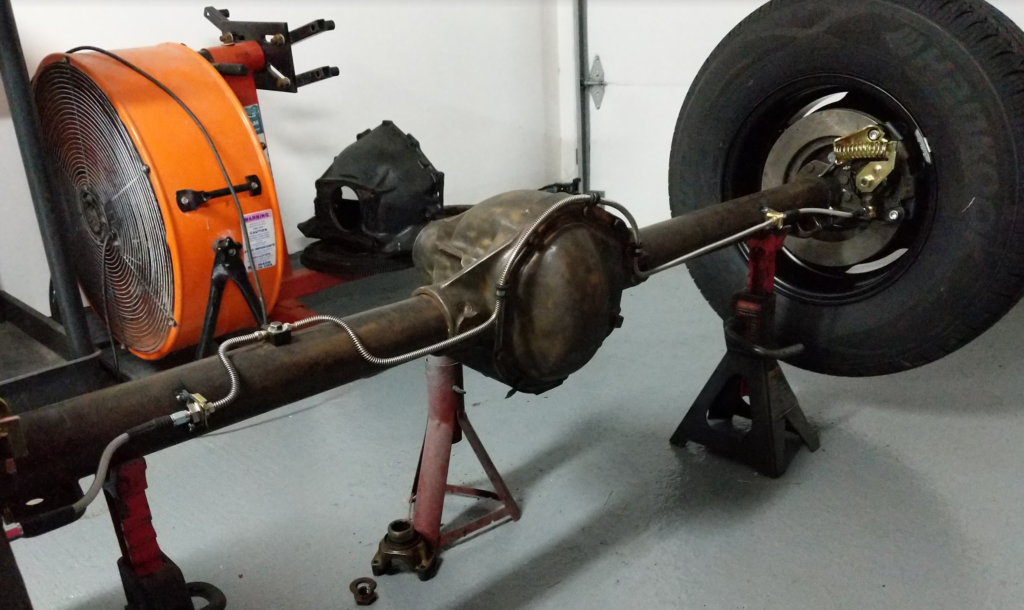
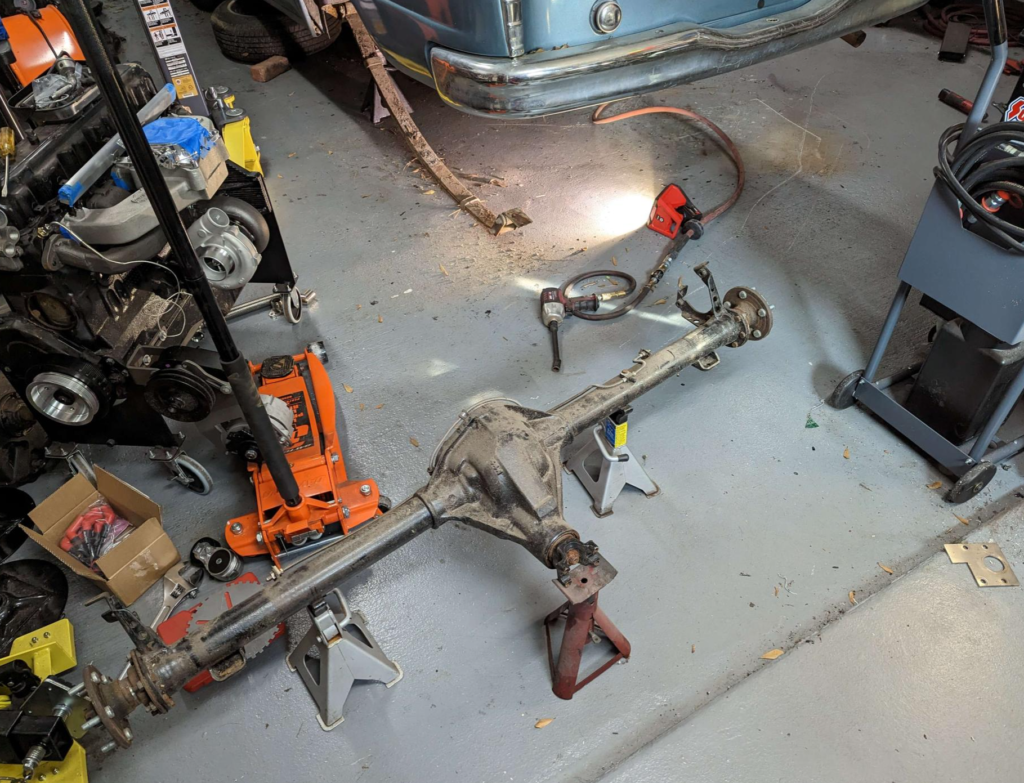
The rear axle of the Checker is a older Dana 44 with taper rear axle shafts, 4.09 gearing, and none adjusting drum brakes.
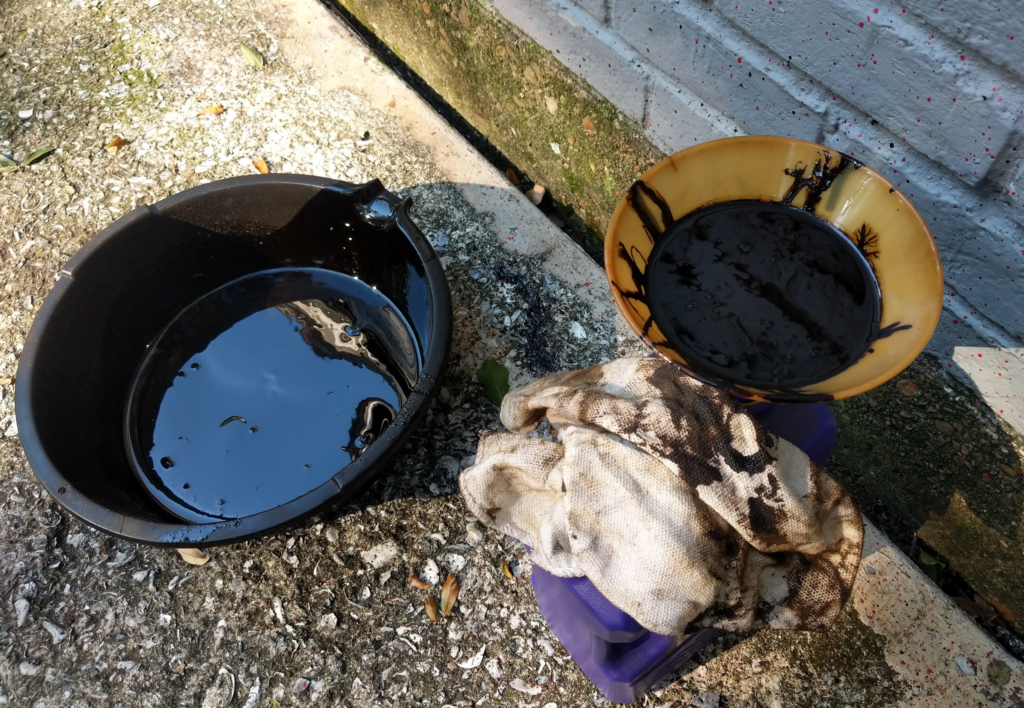
First step, drain the fluid…
60 year old gear oil. Yup smells as good as it looks. Then remove the axle from the rear of the checker.
Then start stripping down the axle.
This is just nasty.
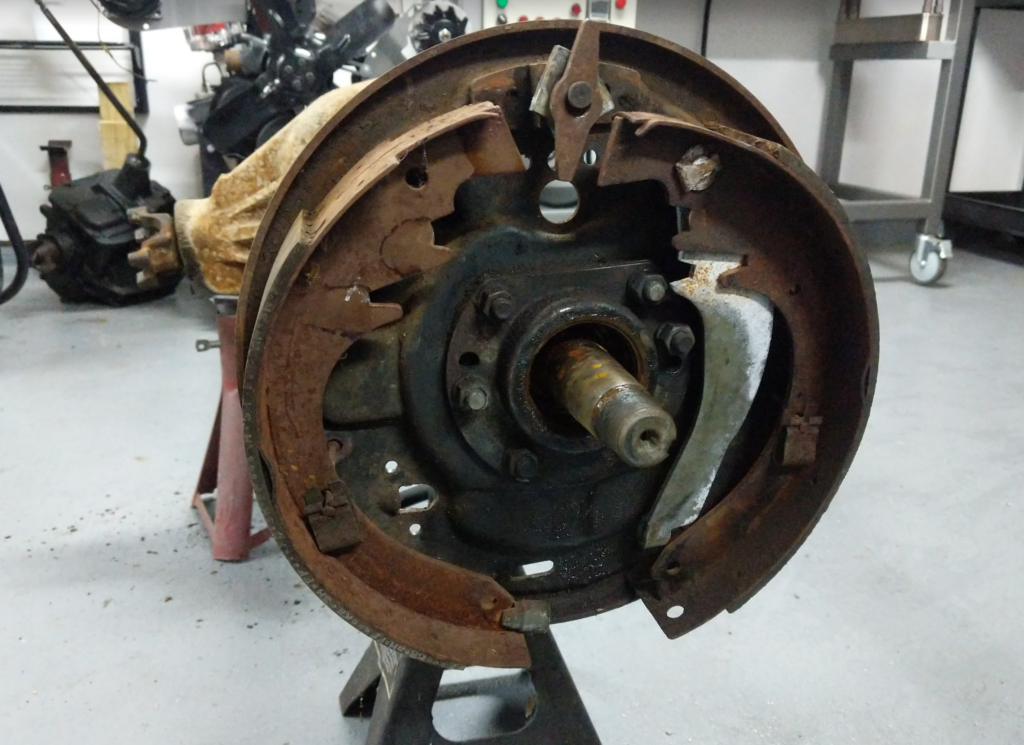
Removing the old brake parts.
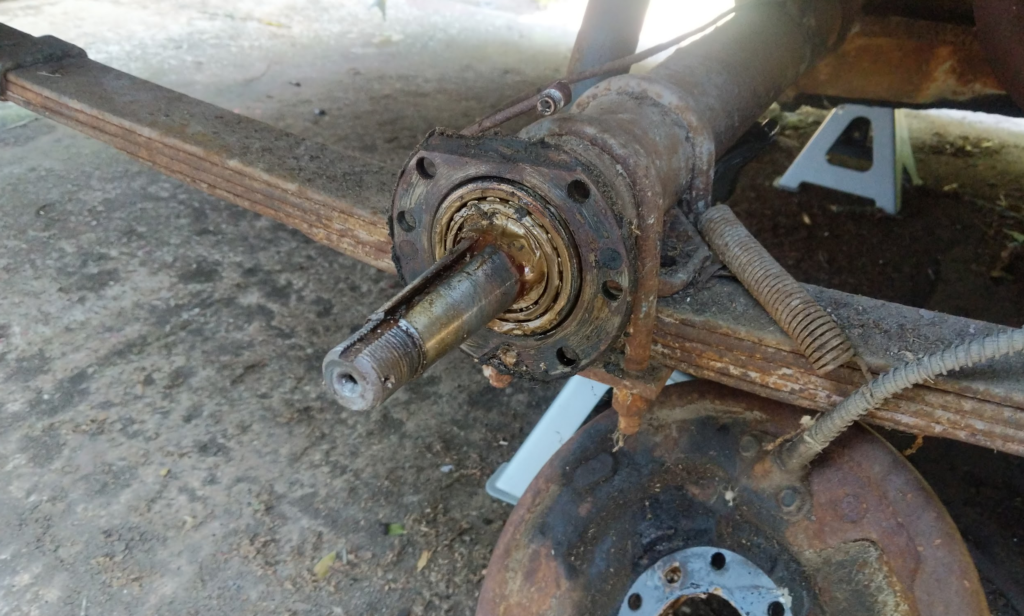
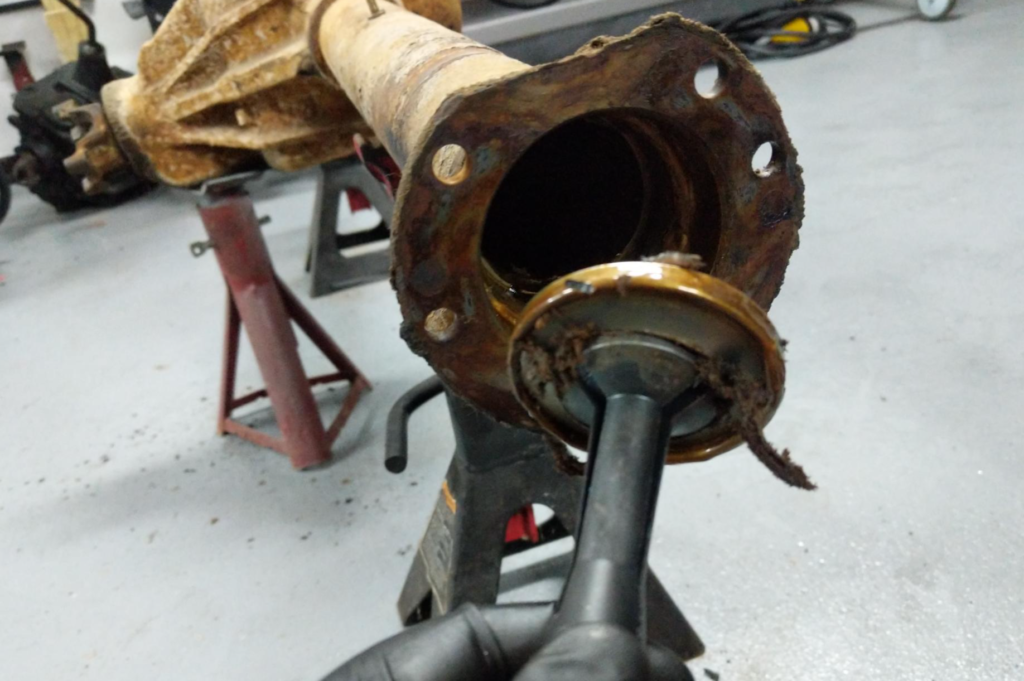
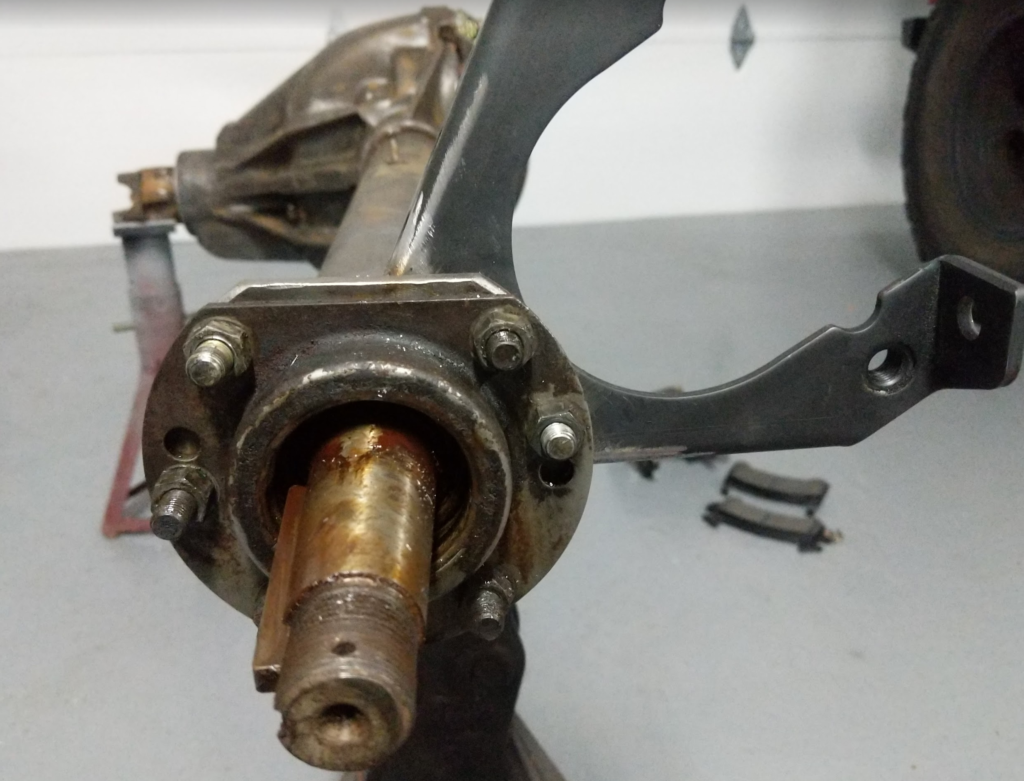
Pulling the axle seals. Goopy old “gold” grease. There are two seals here.
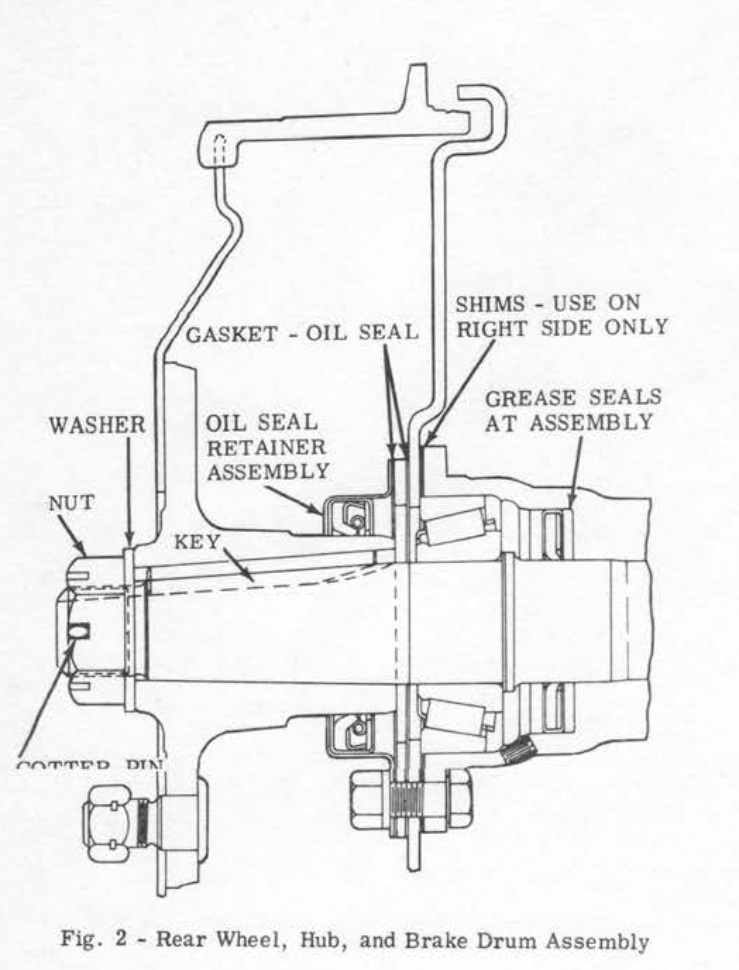
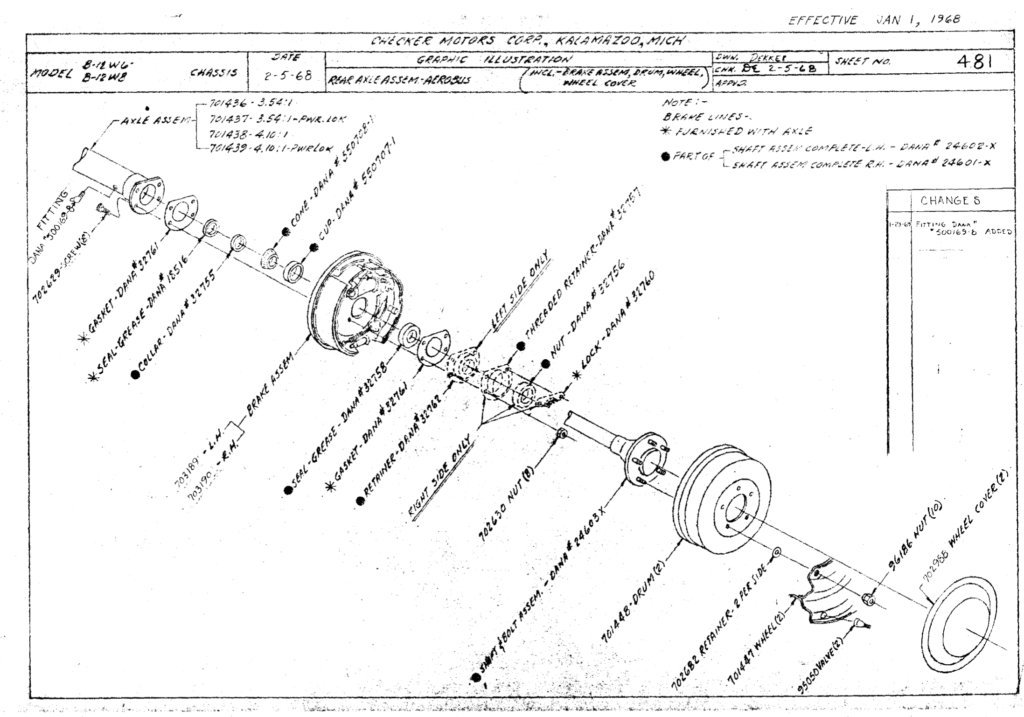
An outer seal that seals on the hub spindle and then an inner seal to keep the bearing grease from mixing with the axle oil. Outer seal part number is TIMKEN 450083. Inner axle seal part number is TIMKEN 7245. Though Checker during this era was doing lots of mid year changes and my axle doesn’t quite line up with the engineering drawings. Best thing you can do is pull the seals and read the part numbers off them and measure them to find modern cross references.
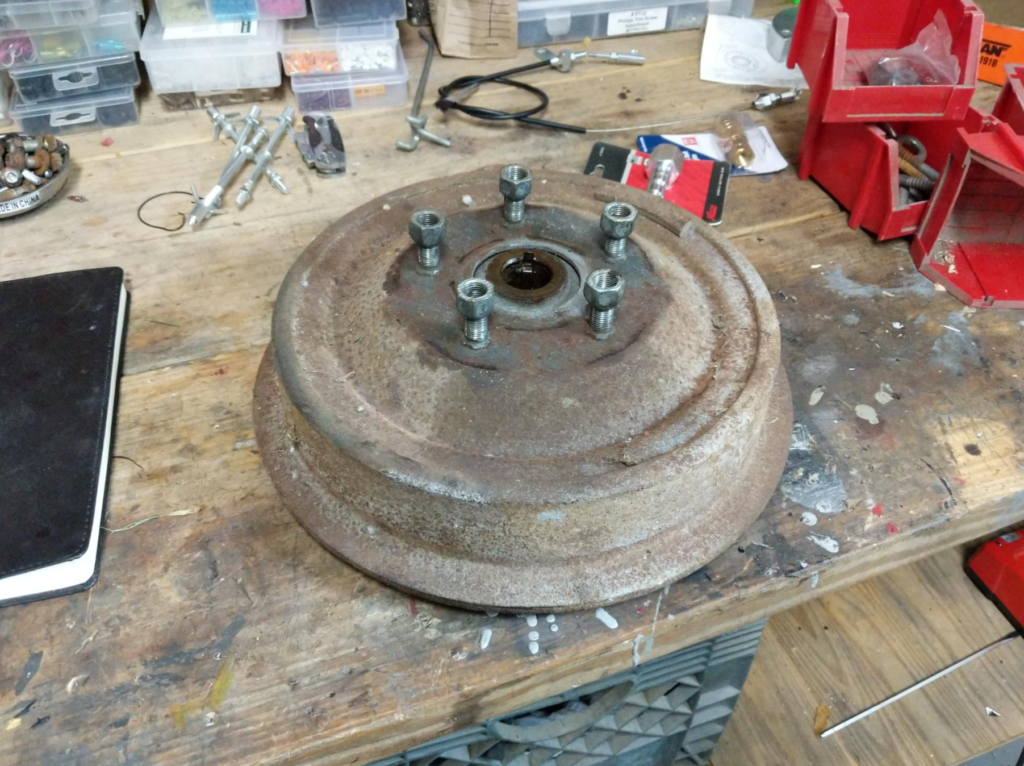
Then I wire brushed the entire axle and looked at converting the axle from the original drums to discs. To separate the brake drum from the hub I put the old lug nuts on and pounded out the wheel studs with a hammer.
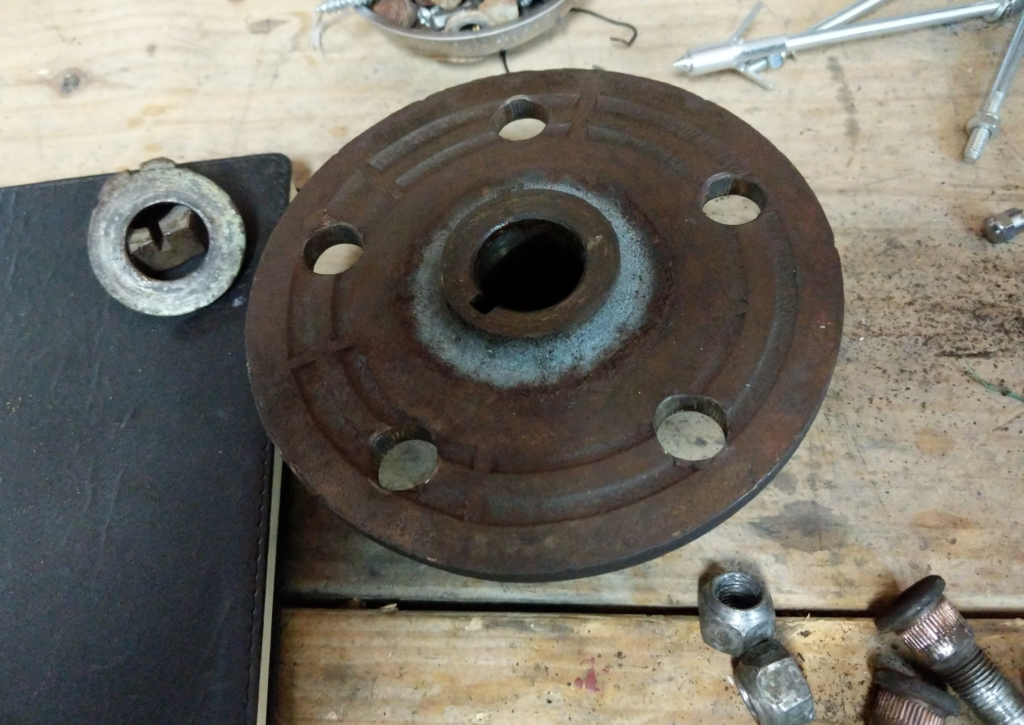
After all 5 studs are removed the hub falls out of the brake drum.
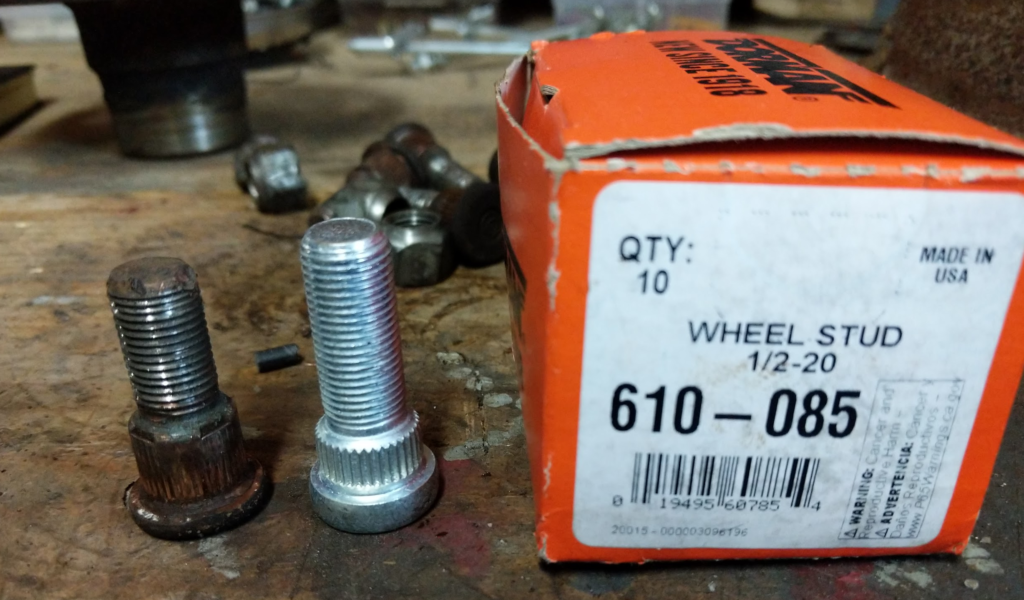
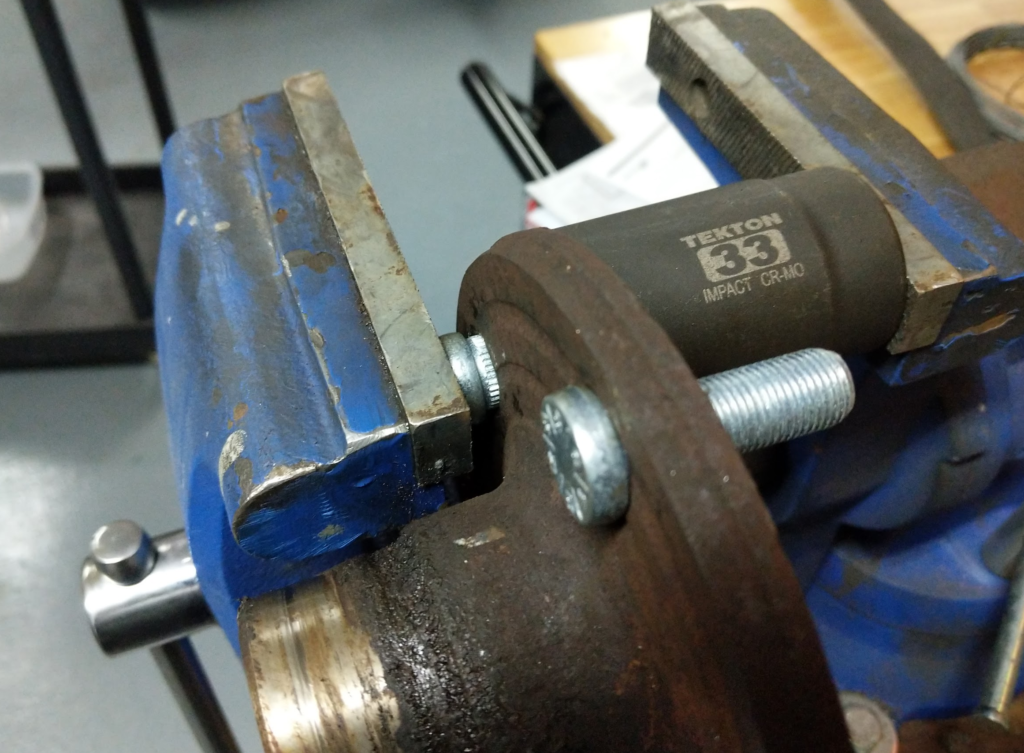
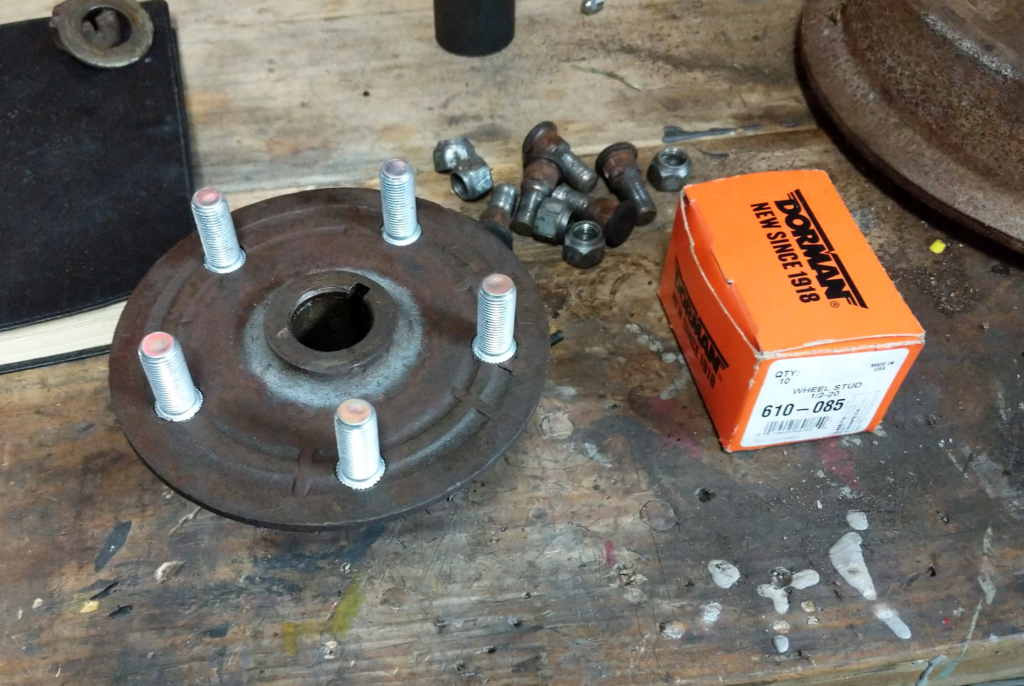
I measured the old studs knurl section and found some replacements that had a shorter knurl section and a longer threaded section. This is what you want to do for discs. You don’t want the knurl section of the wheel stud to go through the hub unless you want to press your discs to your hub!
Dorman 610-085 worked out great for my application.
Press them in with a socket and vise. I should really get a proper press someday!
Here is one of the hubs completed. Note that the knurled part of the studs don’t go through the hub.
Mocking up the discs. For the discs and calipers I went with the following parts. These are the kind of calipers that have a built in parking brake lever.
Discs: Speedway Motors #91031039
Calipers: Speedway Motors #91603059
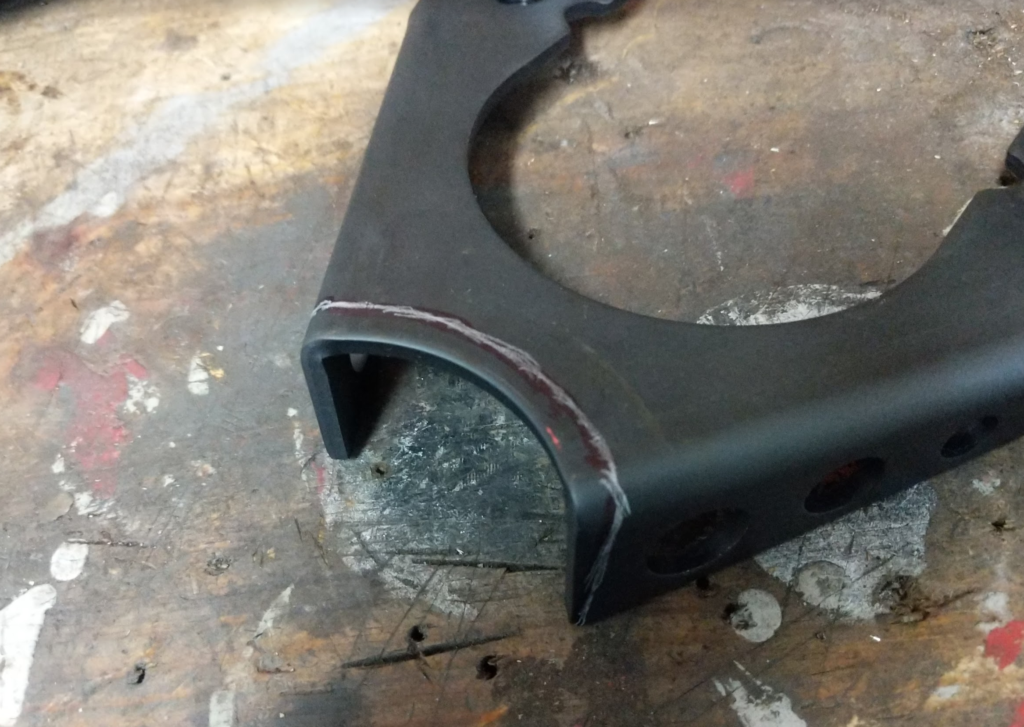
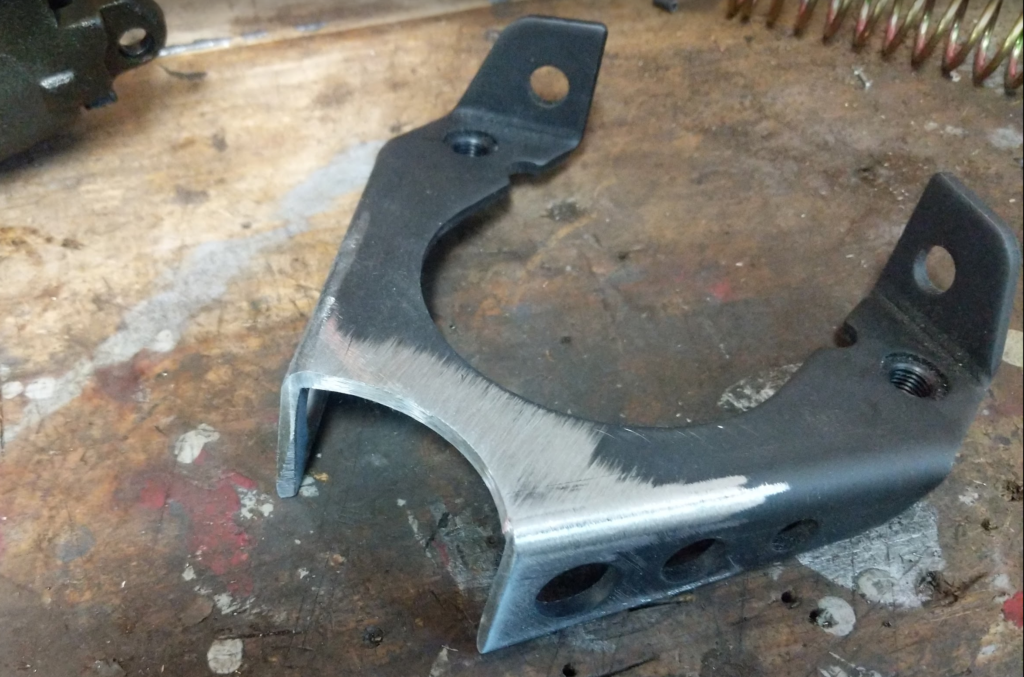
Brackets: Speedway Motors #91641010
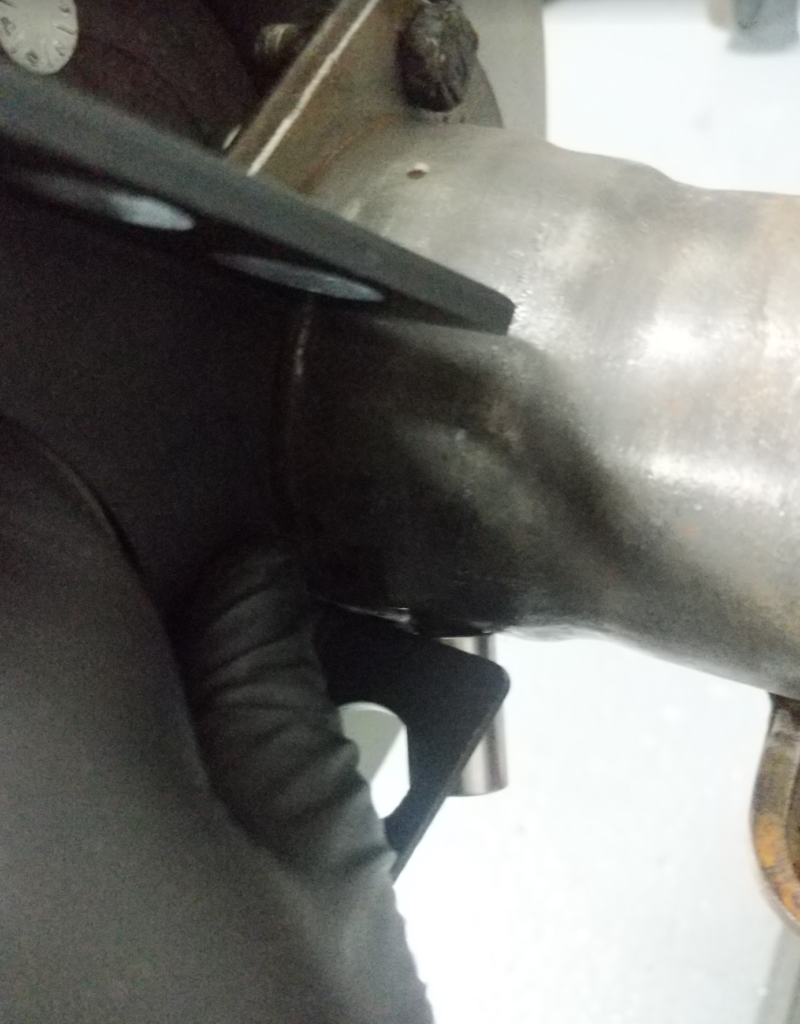
Seeing how the bracket will weld on.
Trimming the bracket to match the axle housing.
Prepping for welding.
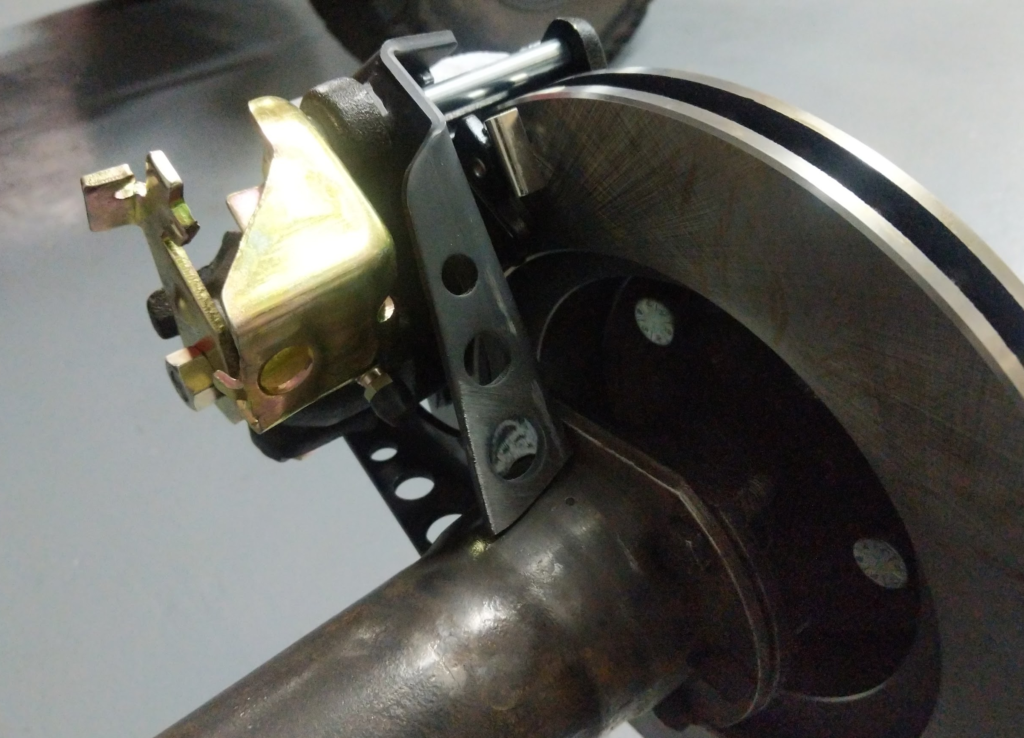
Getting the bracket in the right spot by mounting the caliper and disc.
Tack the bracket in.
Before final welding I drilled out the bracket where the bearing retainer bolts had to pass through the bracket and then welded it up.
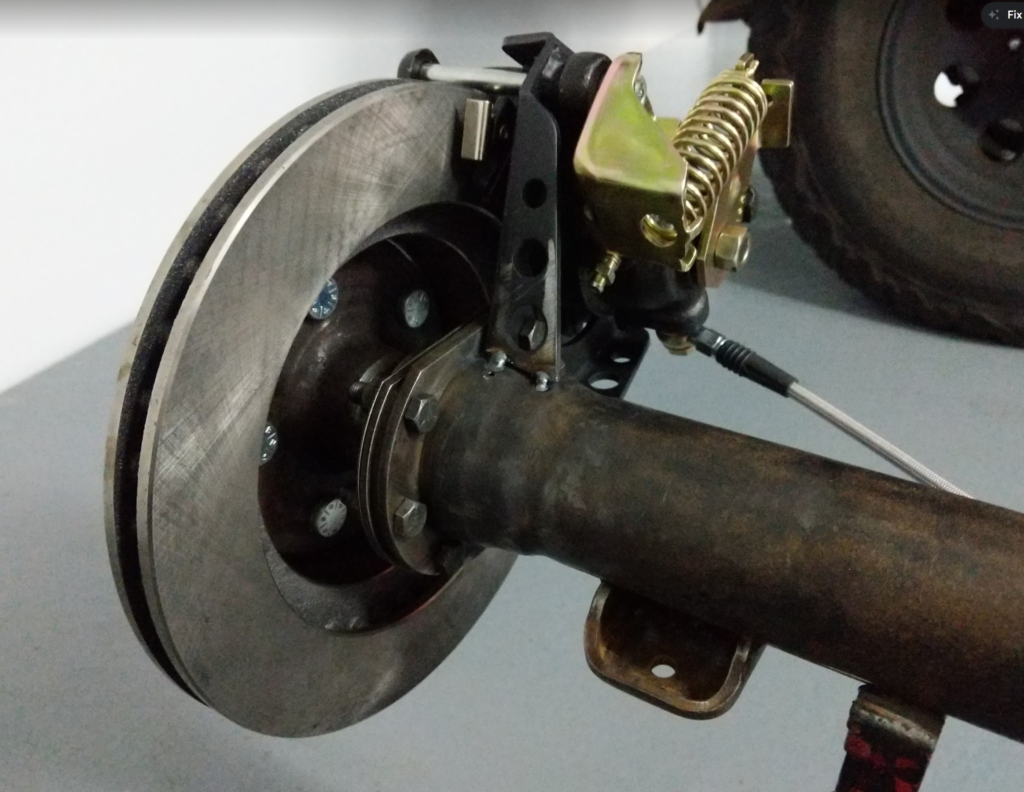
Routed some brake lines with p-clips.
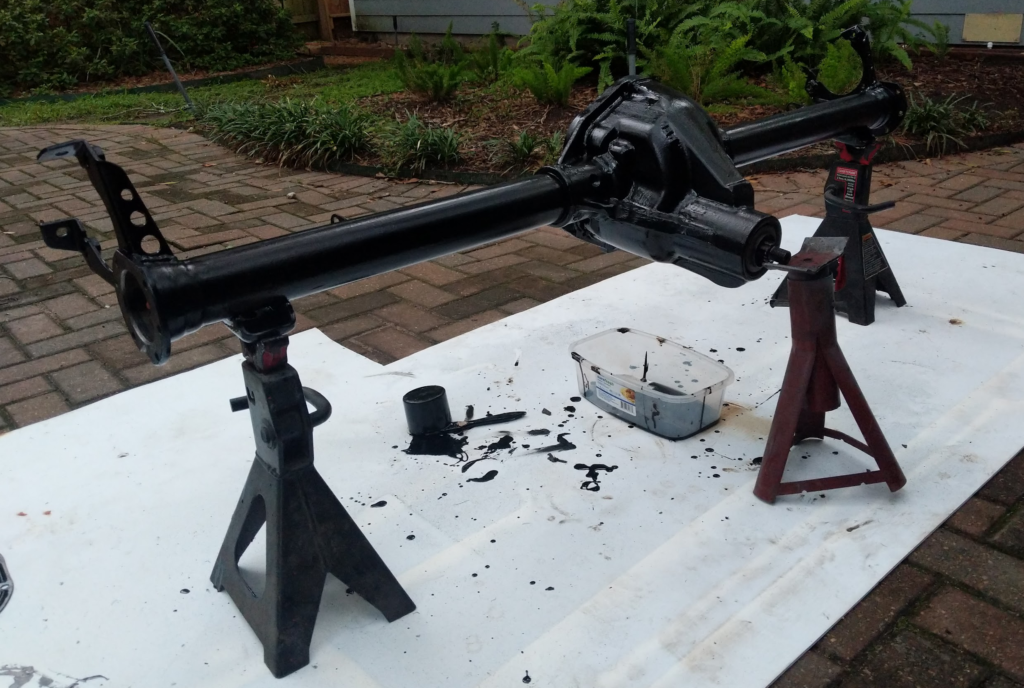
Then gave it a nice coat of paint.
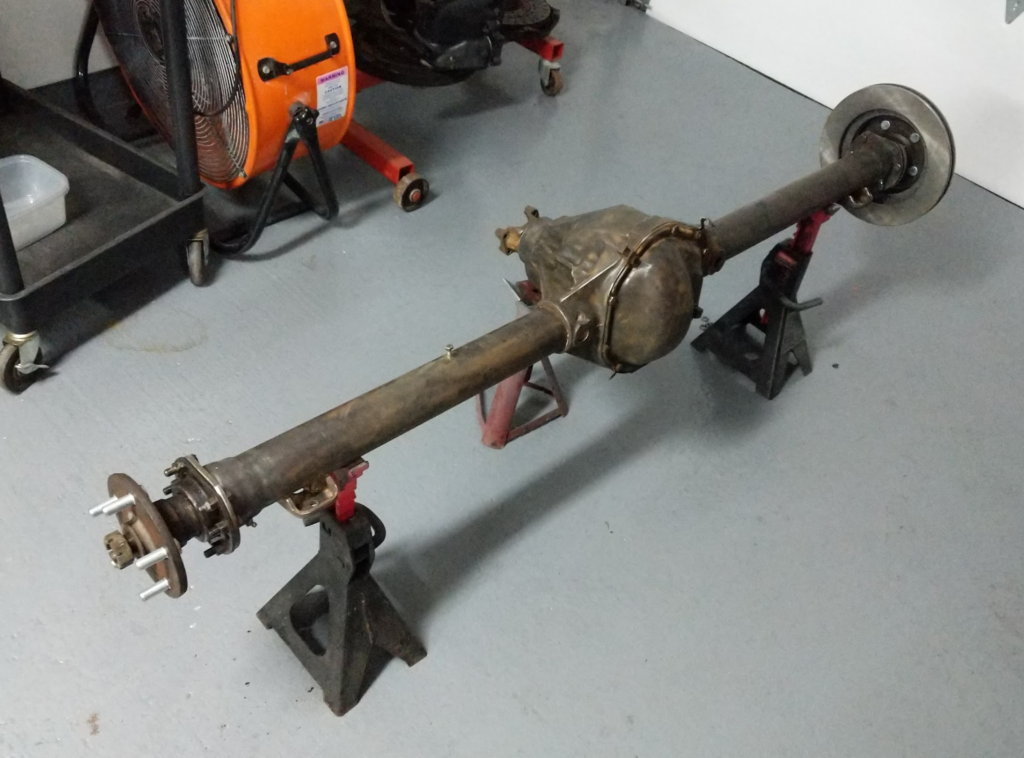
Then I reassembled the axle and put it back under the Checker… to forget about since I decided to work on my Red Jeep instead of the Checker.
Thus, the Checker sat for 3 years before I have been getting back to working on it.
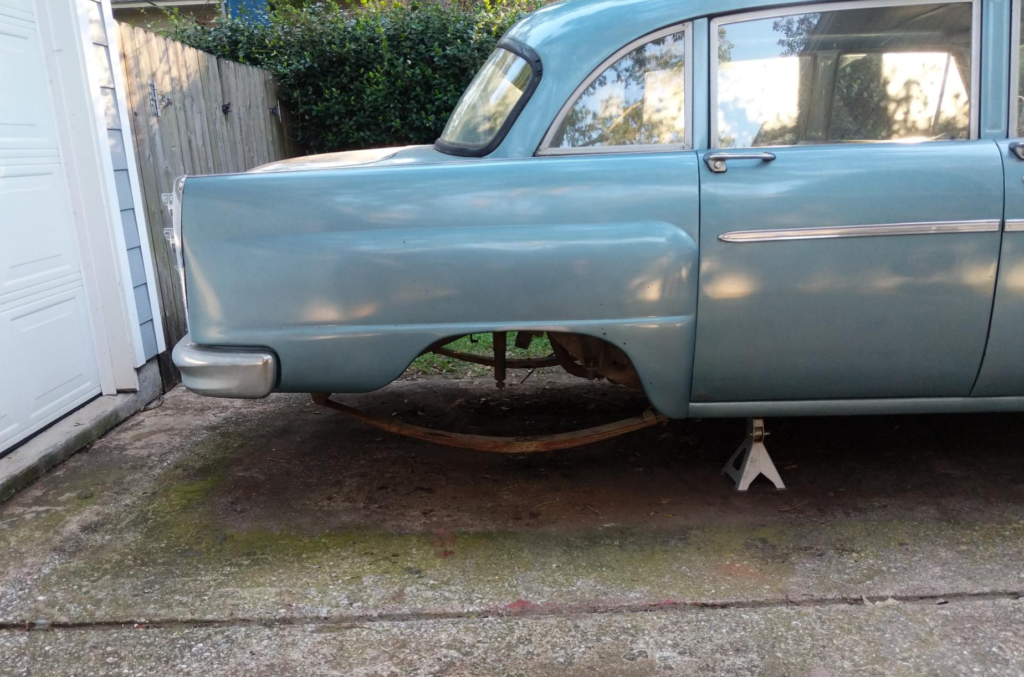
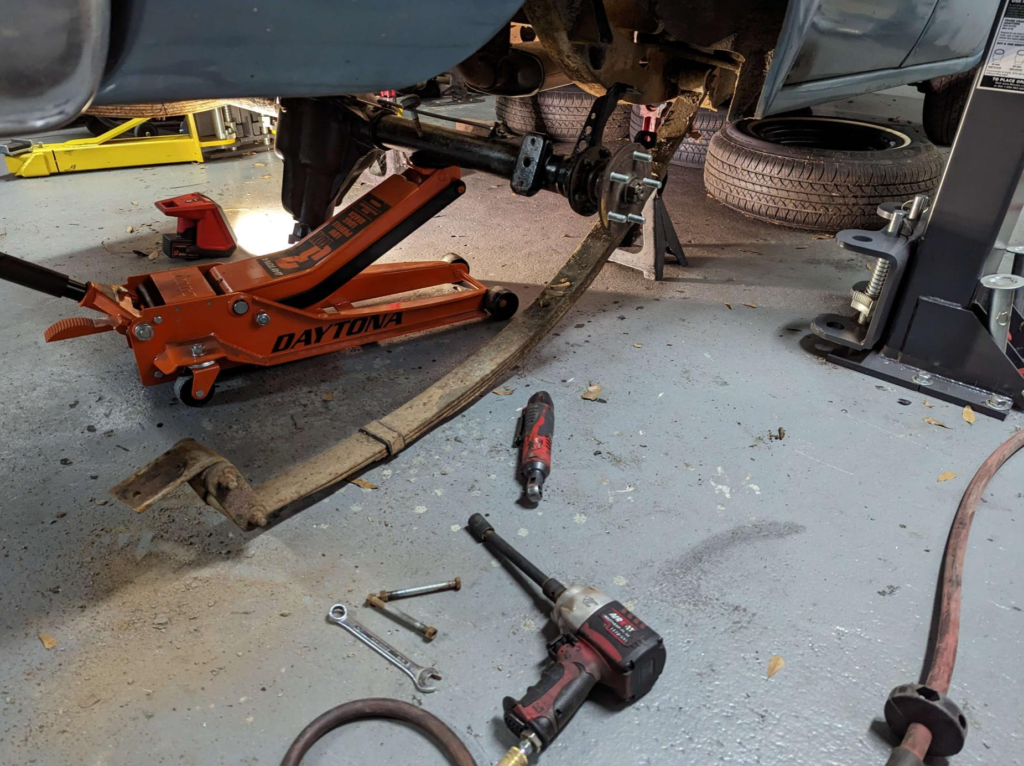
Today, I pulled the axle back out to finish up the rear suspension and axle work. One of the problems with the axle was that the brake lines interfered with the shocks. Will have to move the brake line brackets…
Pulling the rear leaf springs out.
The front leaf spring bolt can’t come out without removing this body bolt… and the body bolt was rusted solid and just spun in place. Nothing a little application of a sawzall can solve!
Axle removed once again after 3 years. Amazing how dirty it became just sitting in the driveway!
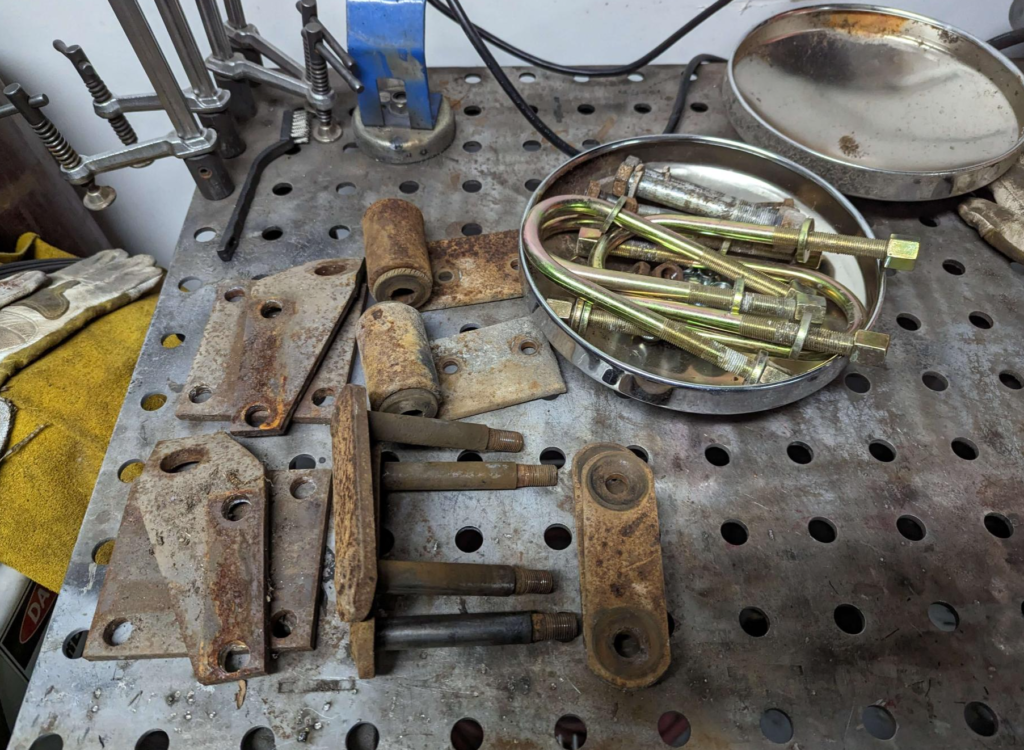
Here is all the leaf spring hardware that I will be refurbishing. The plan is to vapor hone the parts and then zinc plate them. The U-bolts are “new” from 3 years ago. Part number: Calvert Racing U-Bolts UR275X70. I remember it being kind hard to find some u-bolts that matched the originals in size.
U-Bolt Length (in.): 7.000 in. U-Bolt I.D. Width (in.): 2.750 in. U-Bolt Diameter: 0.500 in.
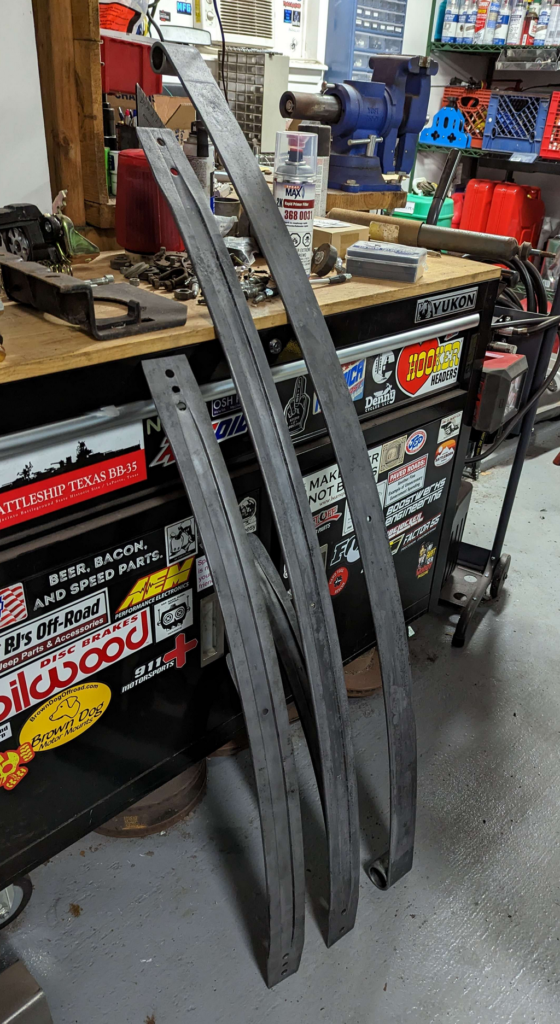
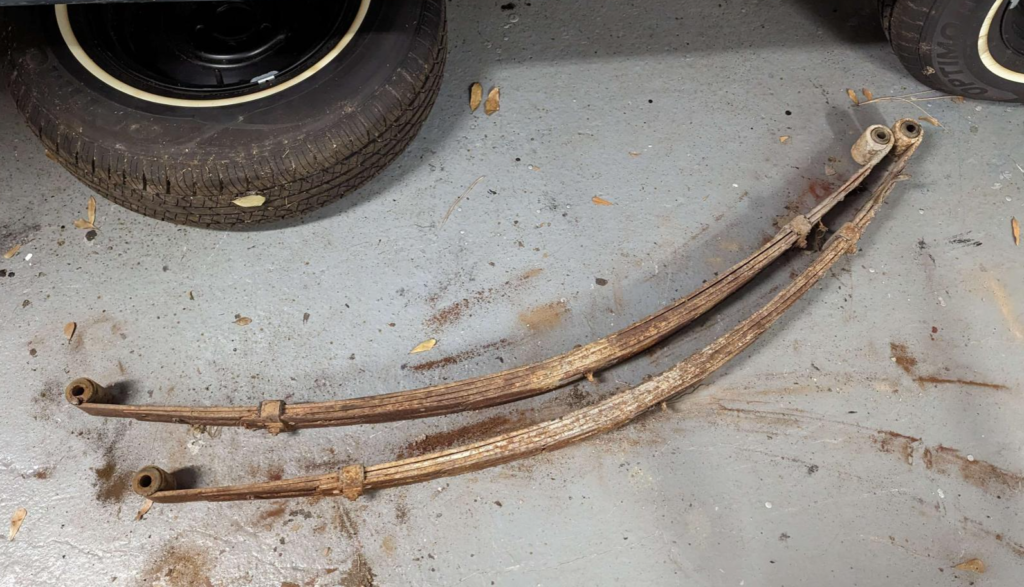
These are the springs. Besides the bushing and appearance they are in good shape. I will try to refurbish these. Clean them up, new paint, new bushings. Should be good to go?
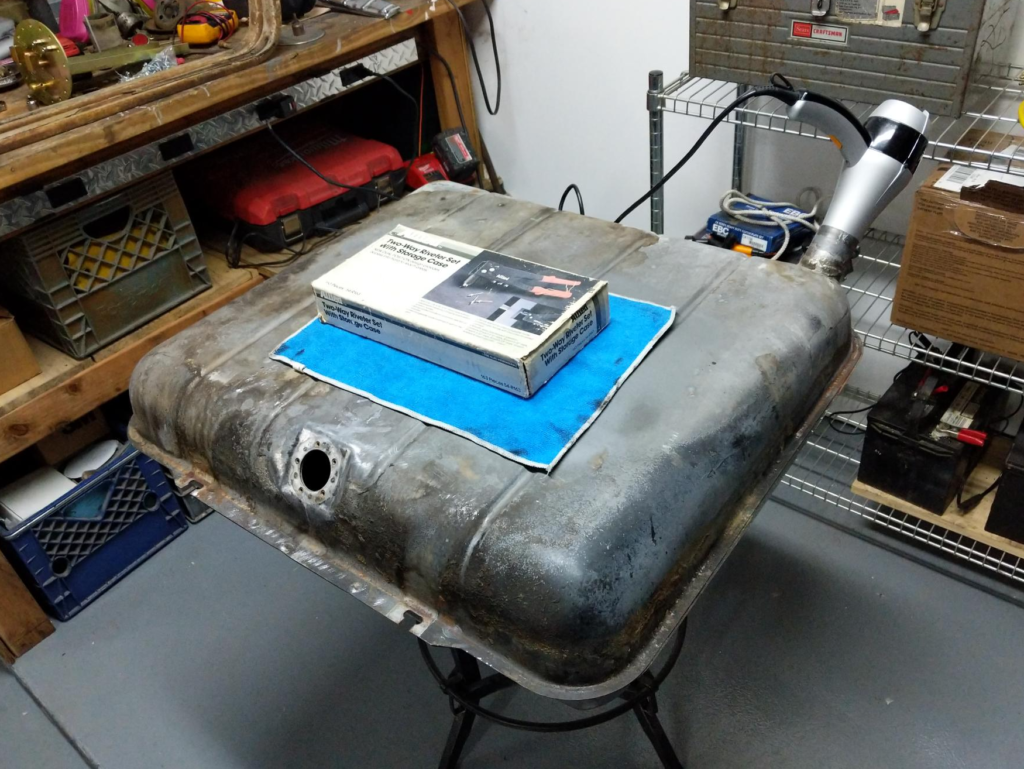
Pulled the gas tank from the Checker. It has rust pin holes and is in rough shape. Original or NOS (new old stock) are really expensive so lets try to save the original.
Pulled the tank and removed the sending unit which had a cork float! The tank looks like it had some damage from a road hazard strike near the original fuel pickup so we will need to repair that as well.
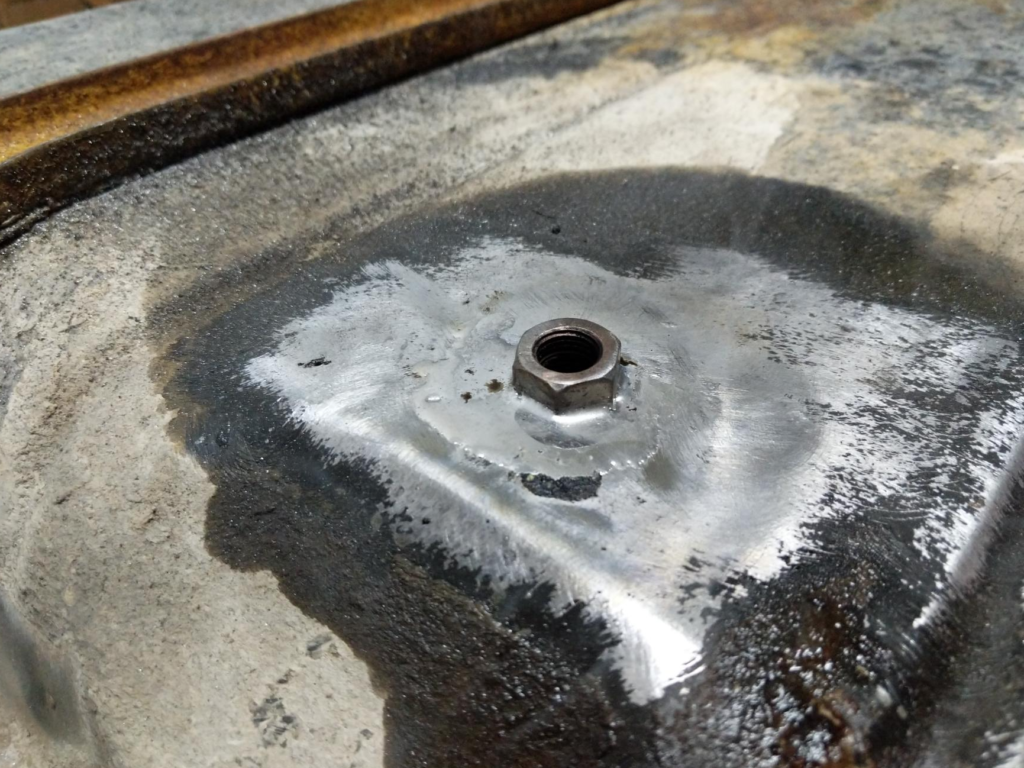
Repairing the bulk of the pin holes was done be flowing leaded solder into them. The above picture is the factory drain that was in the tank where most of the pin holes where located at. The tank is made out of pressed steel that was then soldered/brazed together with lead. Repairing with lead is the “obvious” choice. Use lots of acid based flux!
The original fuel pickup was torn off the tank. I used the lead solder to reattach it. I am not going to use the original fuel pickup so I put a 1/4″ NPT plug into the hole.
After all the repairs where done, I de-rusted the tank with muriatic acid and rinsed with a metal prep (mastercoat metal prep). Before I can epoxy coat the inside of the tank, it needs to be super dry. Hair dryer in the tanks intake tube works like a treat.
Jumping ahead a bit…
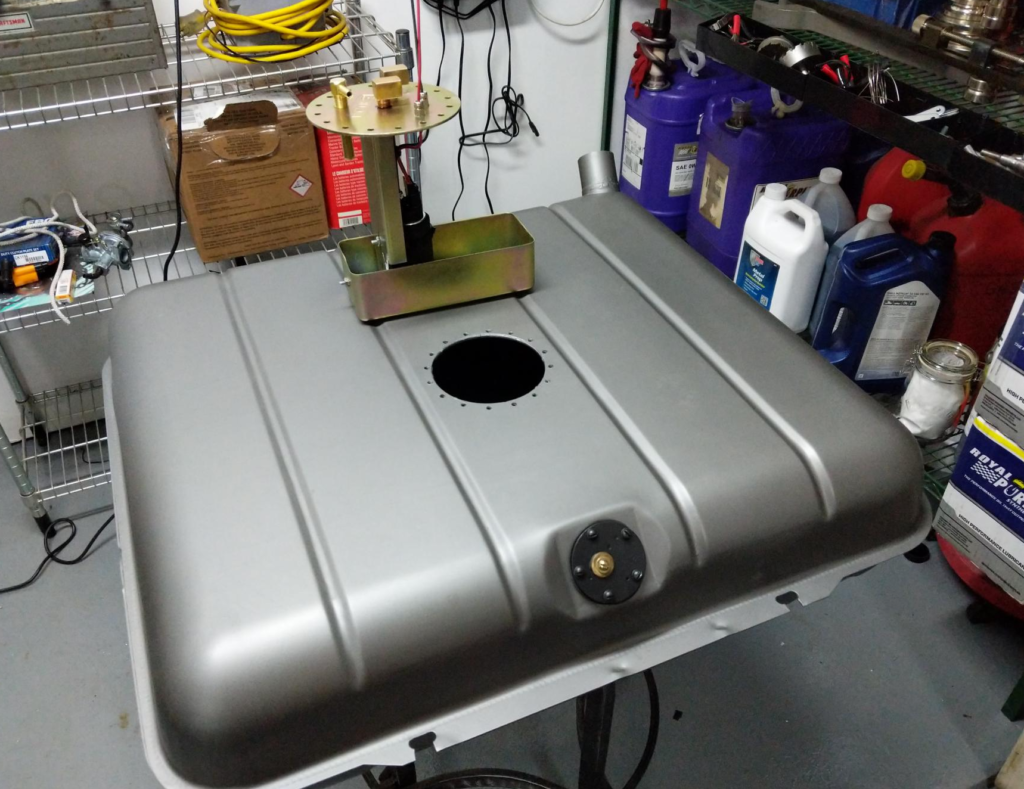
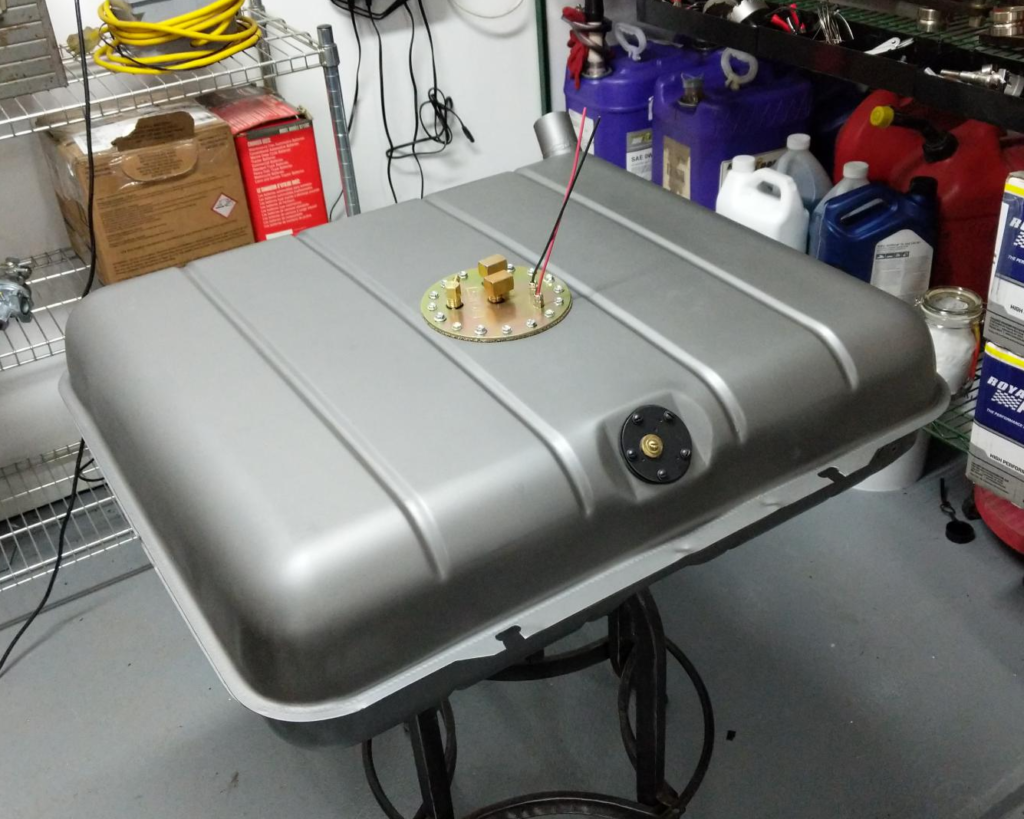
Painted the tank with Steel-It stainless paint after removing most of the exterior cruft with a brass wire wheel. I then welded in a backing ring for an in tank fuel pump module from Tanks Inc.
What the tank looks like now. The insides are coated with POR15 tank liner. Hope it lasts!