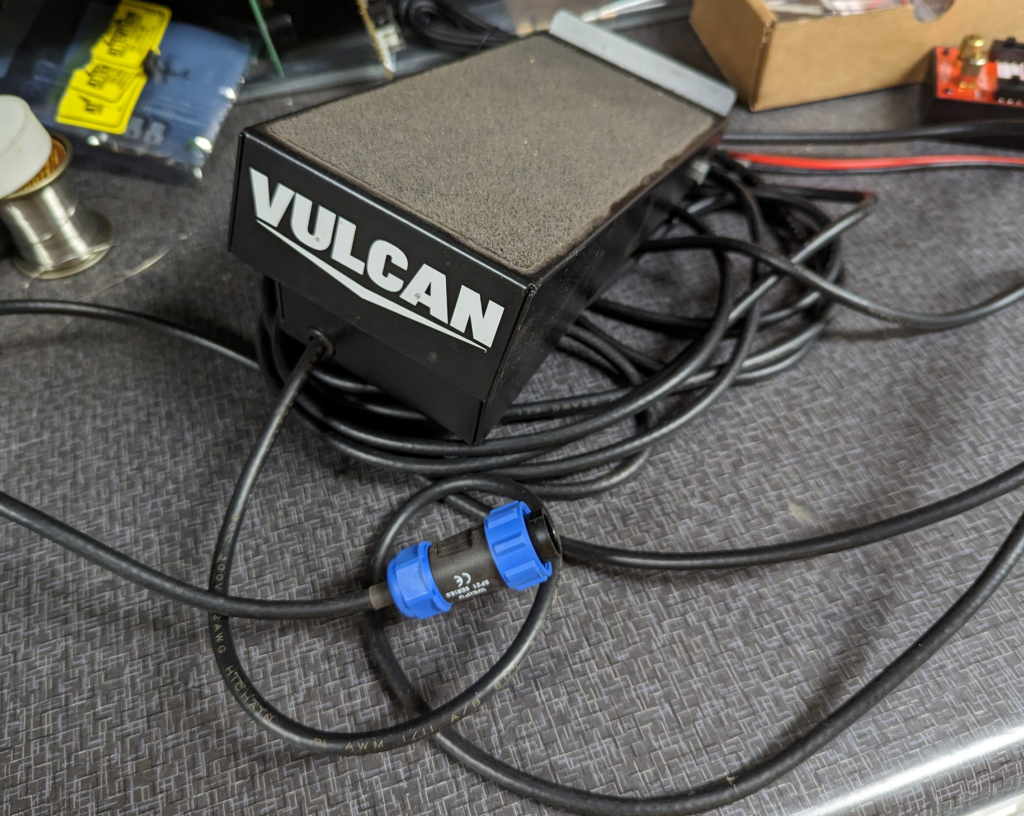
After chatting with Stephen Kraig on the podcast about hacking tig foot control pedals, I wondered what made the Vulcan brand foot pedal different. Most tig welding machines have either a 5 pin or 6 pin connector. Both of these types of foot pedals work the same. There is a simple SPST switch and then a potentiometer for how far the pedal travels. Farther the pedal goes down, the more amperage the tig welder will output. This requires 5 wires. The 6 pin connectors just have an unused pin.
The Vulcan Tig Welder (from Harbor Freight) has a 9 pin connector for the foot pedal! What do these extra pins do? Or are they just unused as well?
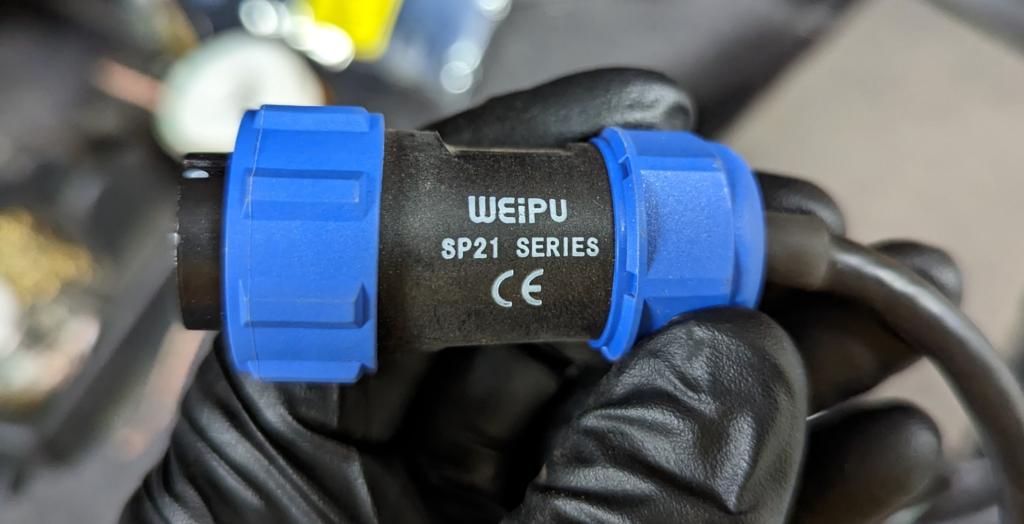
The connector is a Weipu SP21 series. Part Number: SP2110/P9 II 1. Looks like you can get these on AliExpress.
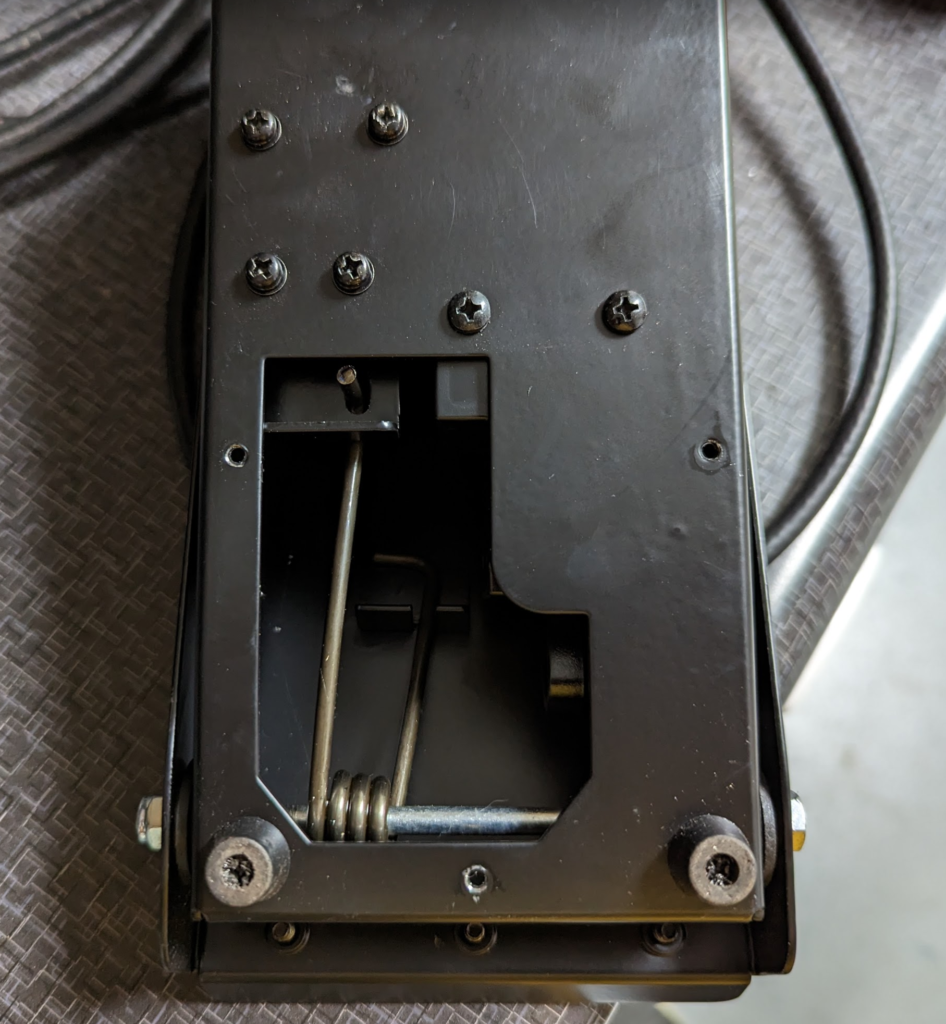
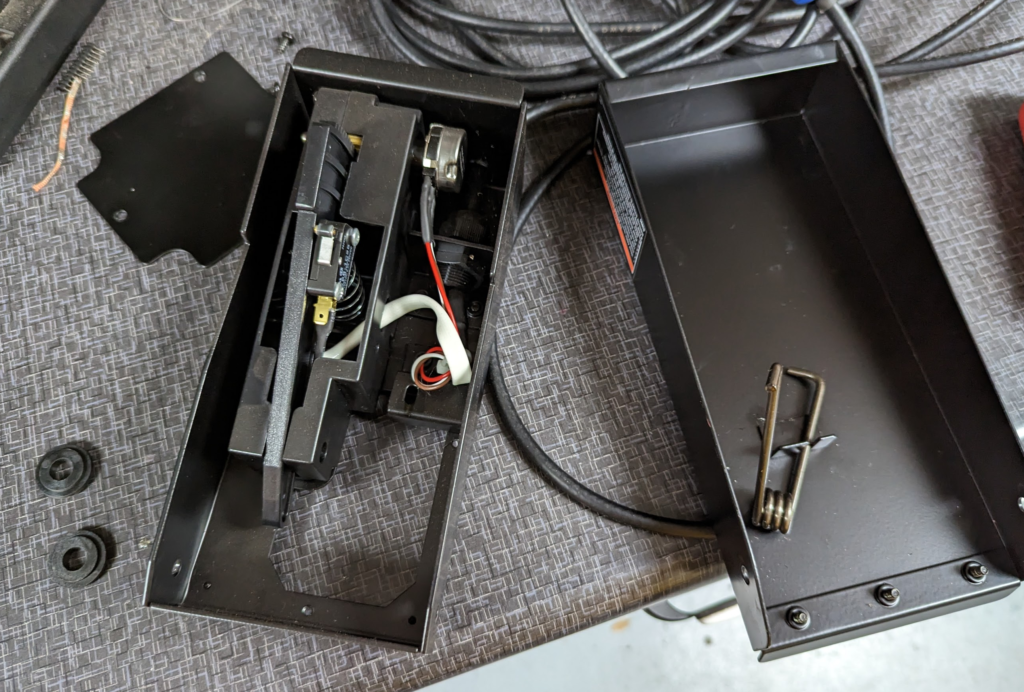
To open the foot pedal you need to remove this the panel on the bottom side with 3 screws. You will see the foot pedal spring inside.
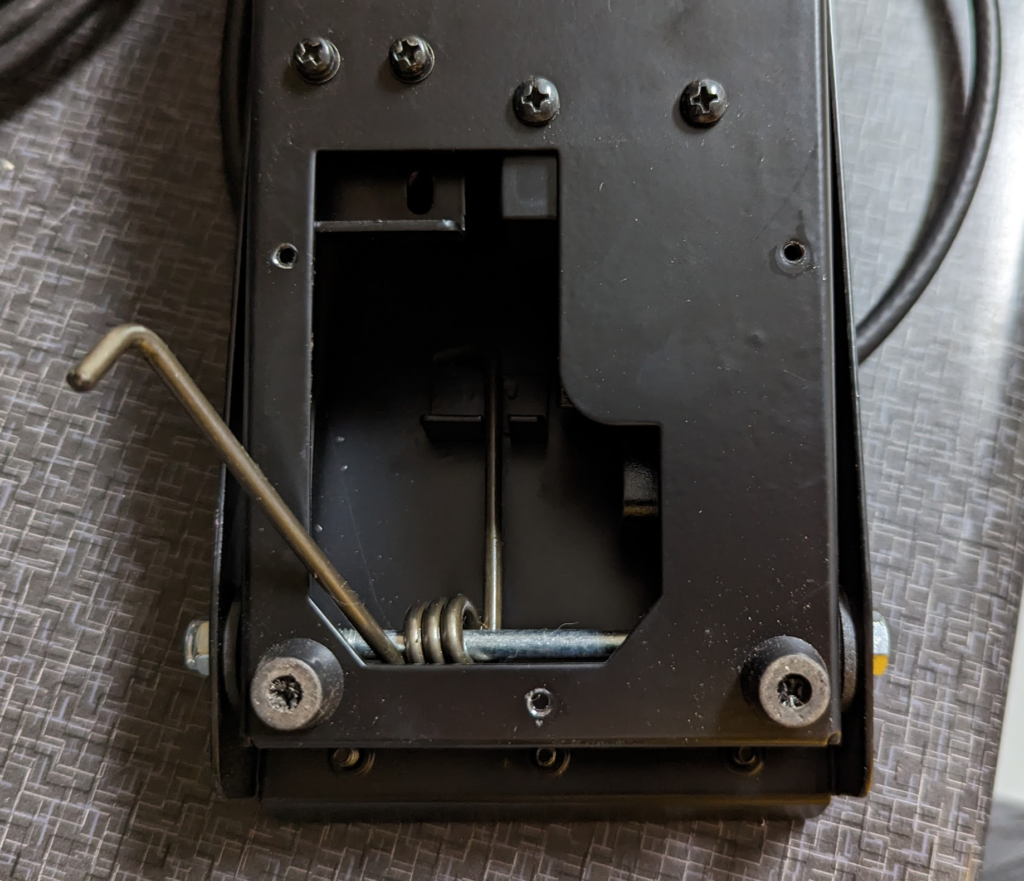
The spring needs to be pressed down and unhooked from the bottom side (side facing upwards during disassembly).
Then use a 10mm socket and wrench to remove the bolt used for the pivot and pull the case apart. There are two spacers on the bolt that locate the top part of the foot pedal with the bottom side along the pivot bolt.
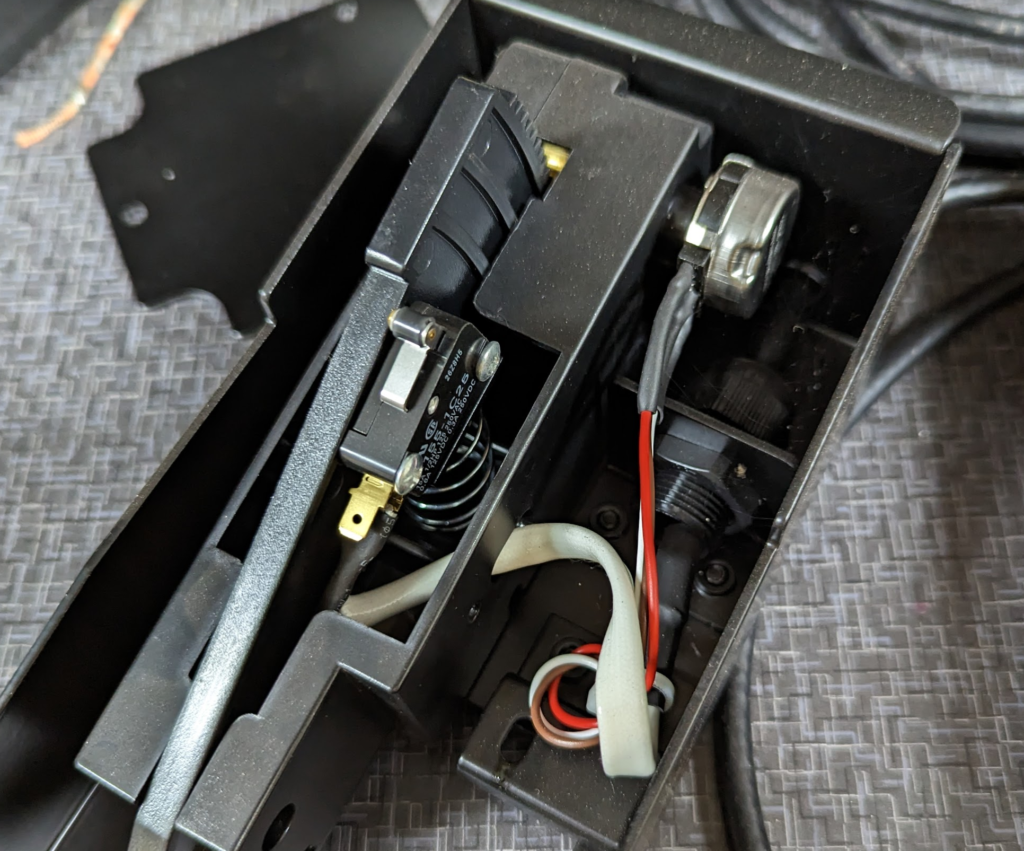
Inside the pedal we have a microswitch and a single potentiometer. Only 5 wires. Why Vulcan specified a 9 pin connector is lost to me. Would be interesting to see if there are any connections to the other 4 “unused” pins on the welder side…
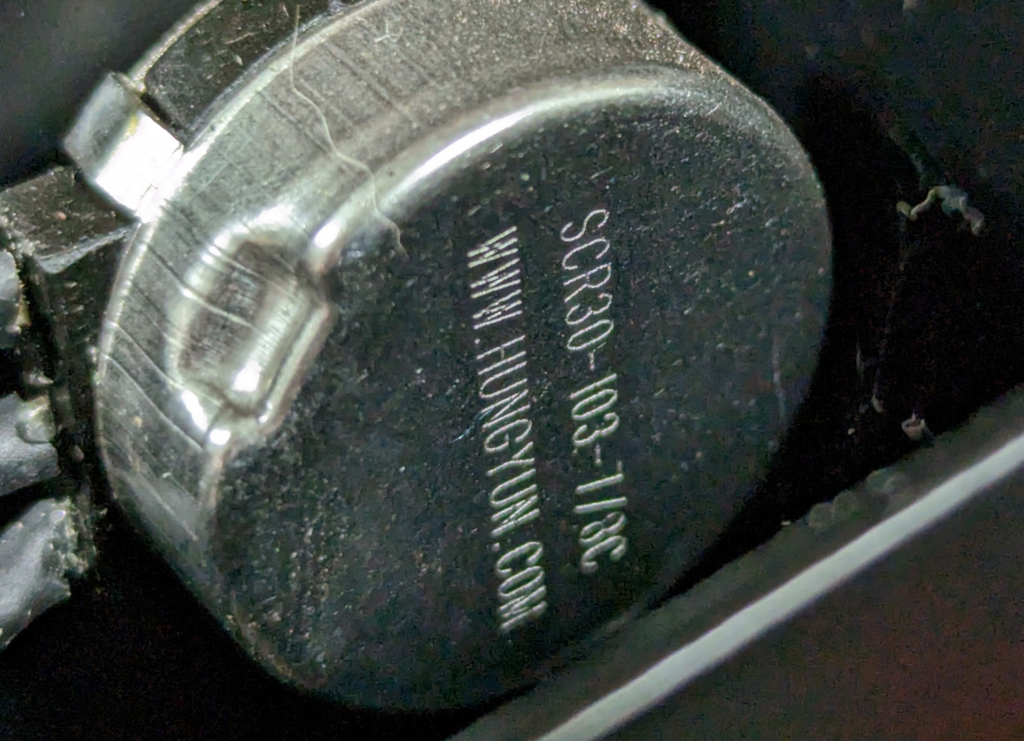
Potentiometer is a SCR30-103-7/8C by HungYun. 10K resistance.
Here is a pinout for the connector.
I can probably get any finger controlled switch to work with this welder if its a 10K potentiometer.
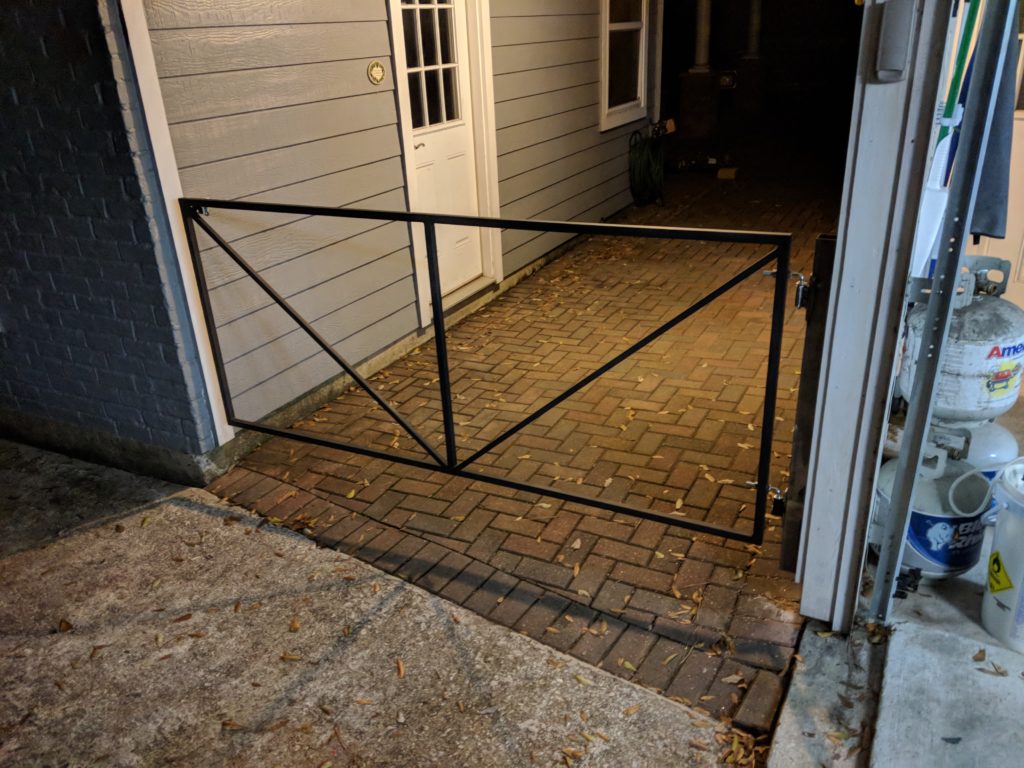
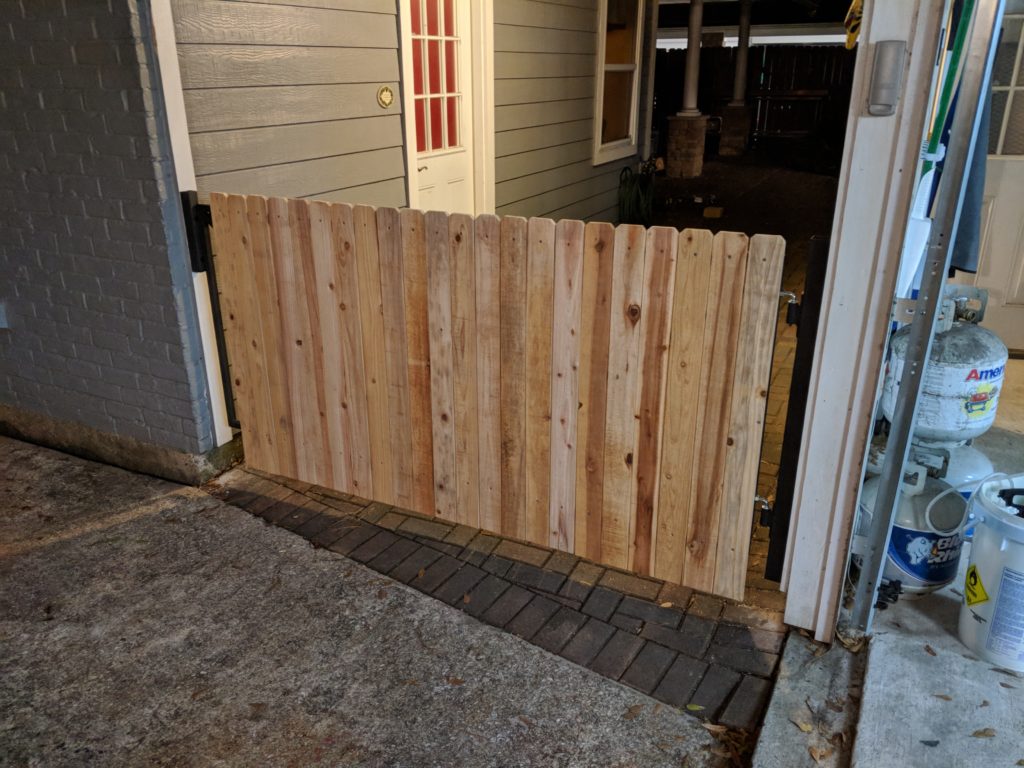
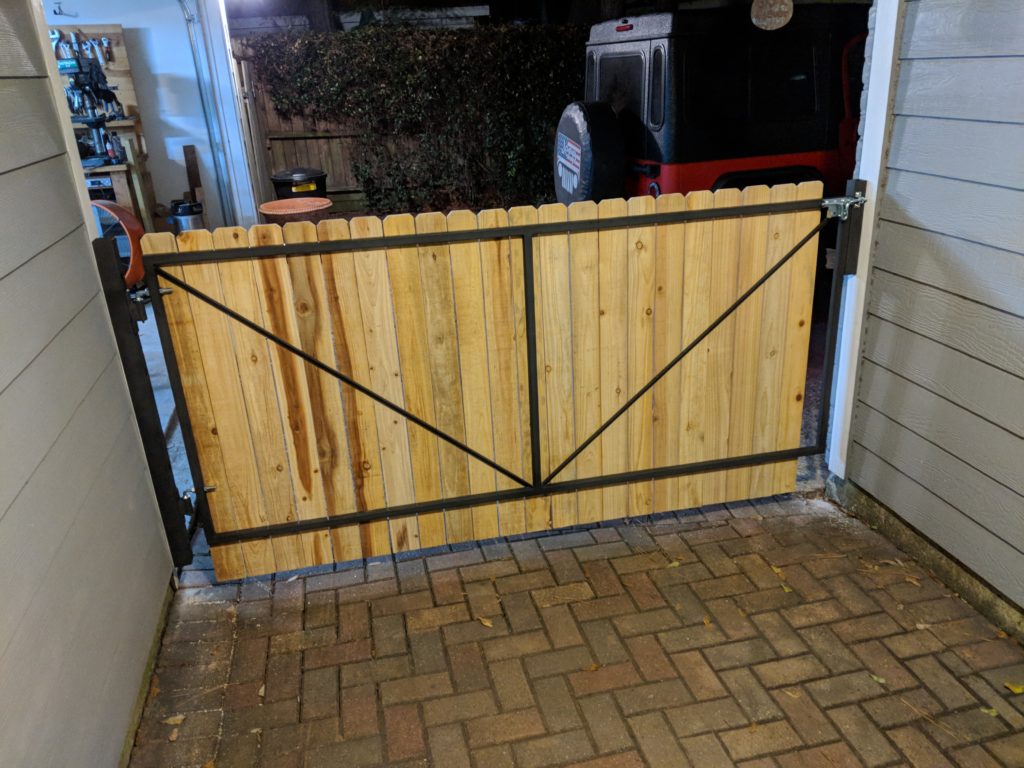
For my garage/shop air compressor (Ingersoll Rand SS5) I wanted to setup a inline dryer and hose reel so I could use it all around the garage and still use the same hose when I needed to spray paint and sand blast (these require dry air).
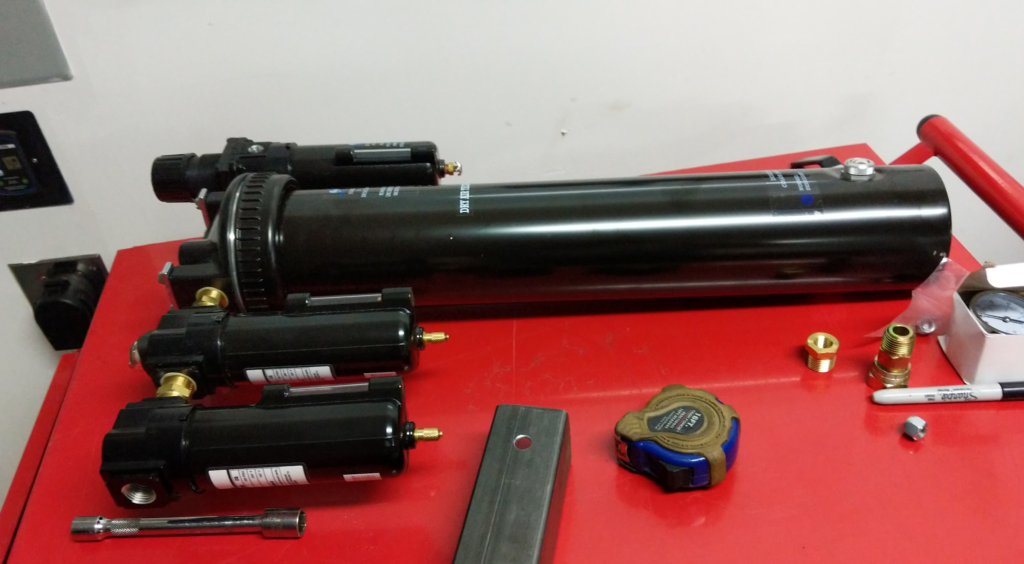
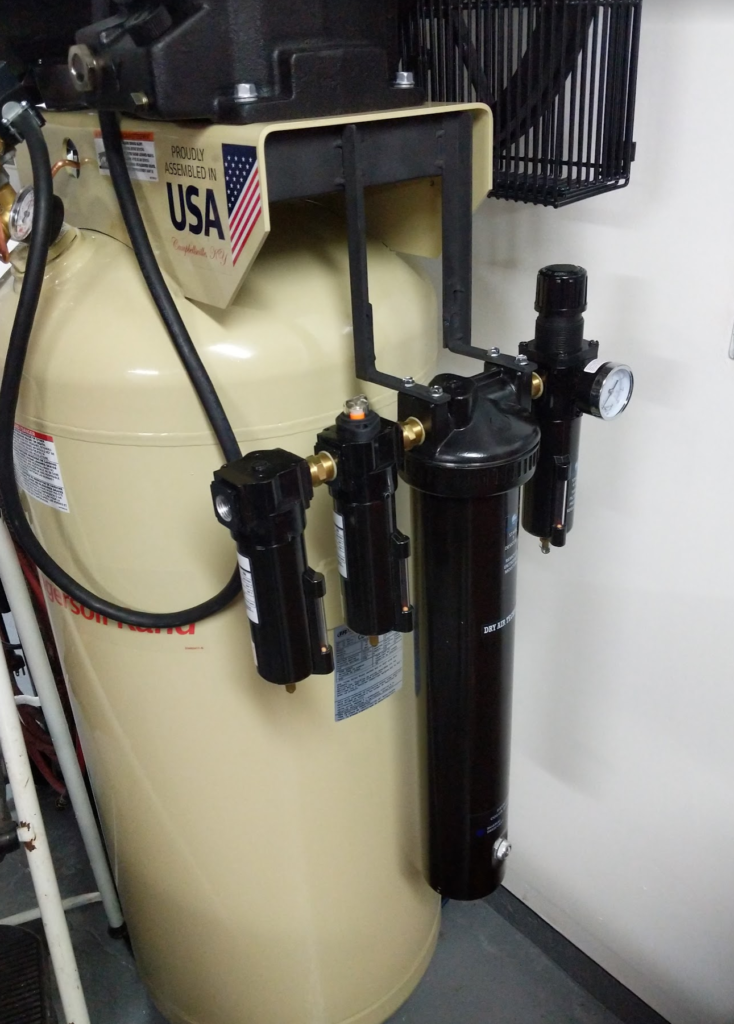
This is the air dryer system I ordered, an Arrow Pneumatics PC7612XXL. It has an oil separator, water separator, desiccant air dryer, then a pressure regulator.
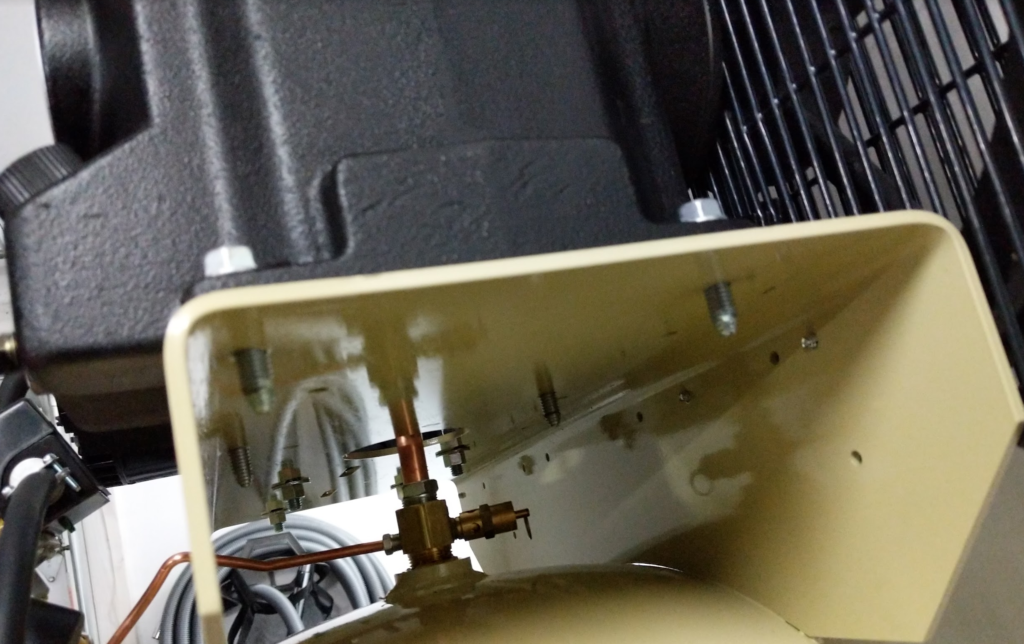
Problem is mounting it. There isn’t a lot of room in the garage on the wall for the air dryer system. What about mounting it to the air compressor itself and use up some old scrap steel material in the process?
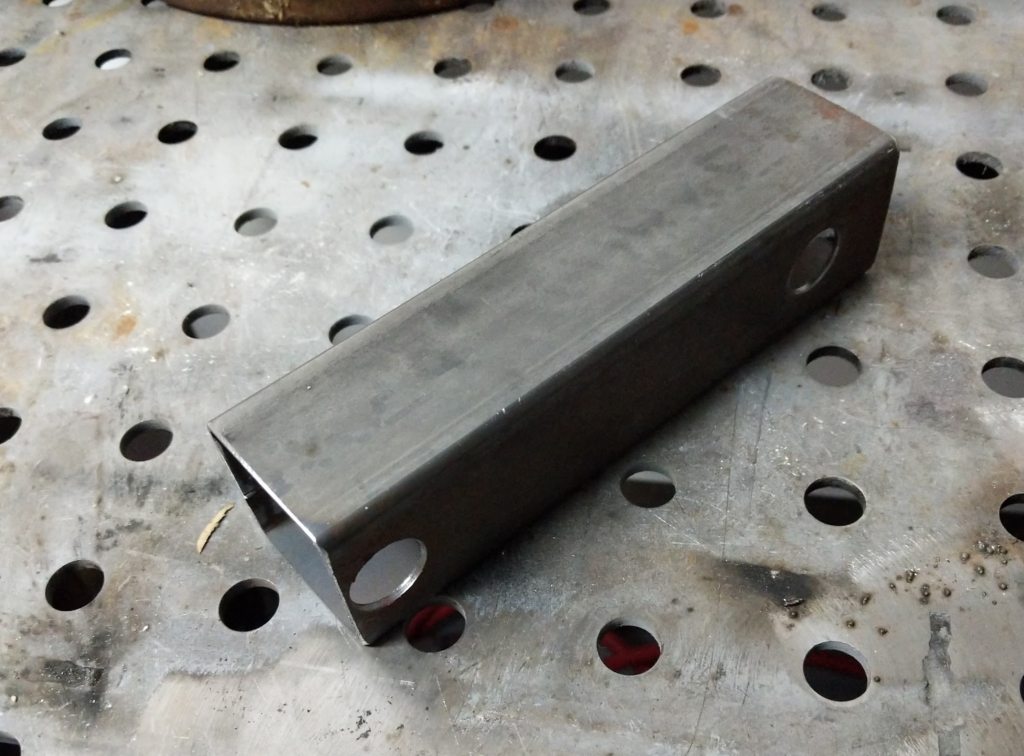
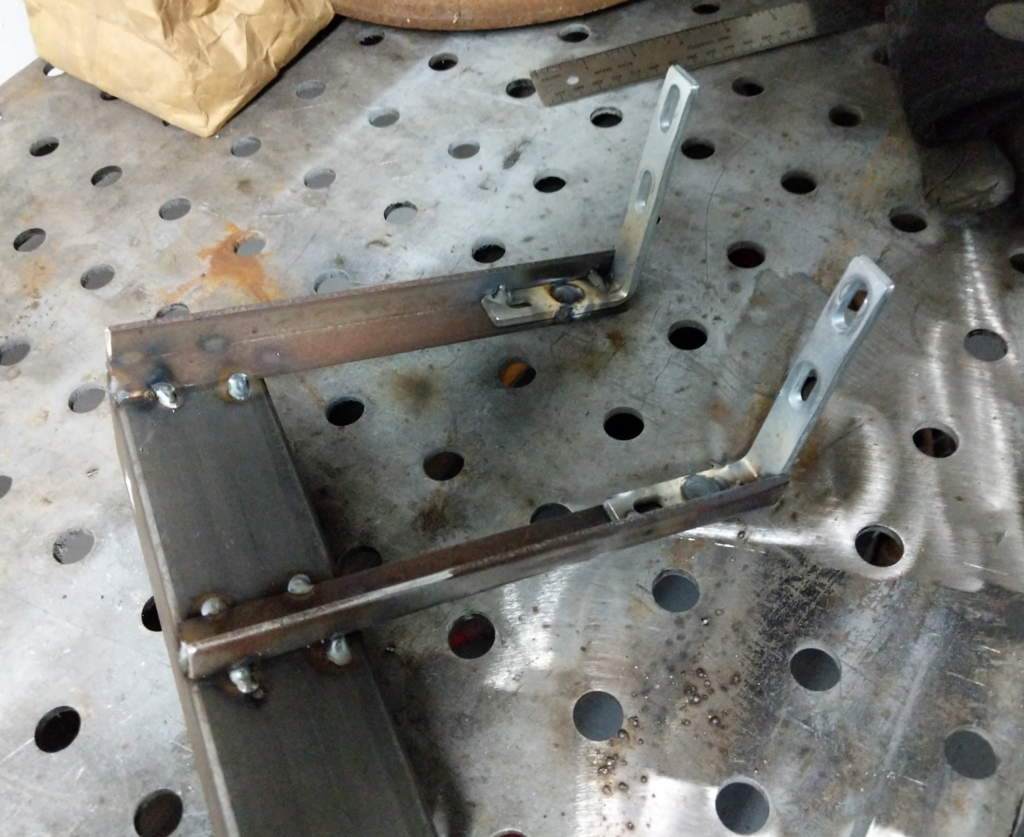
Mock up the main bracket out of some 2″ box tubing.
The bolts for the compressor unit has enough thread to put on a nut? Will attach the bracket here.The large holes are so you can fit a socket from the bottom side of the bracket to attach a nut to the bolts on the compressor.
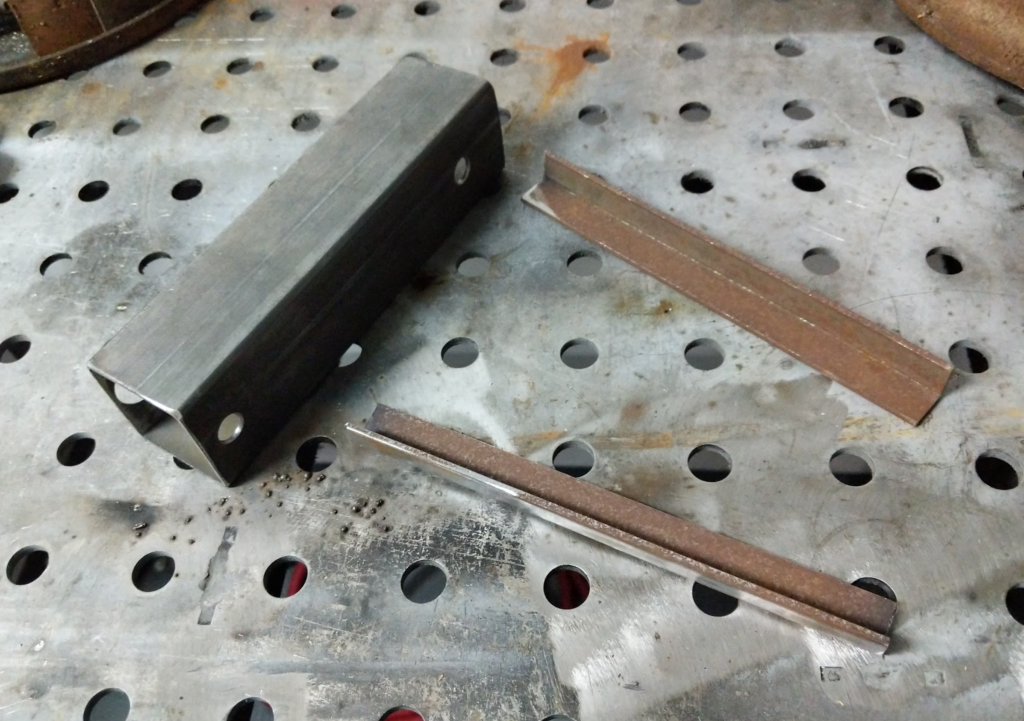
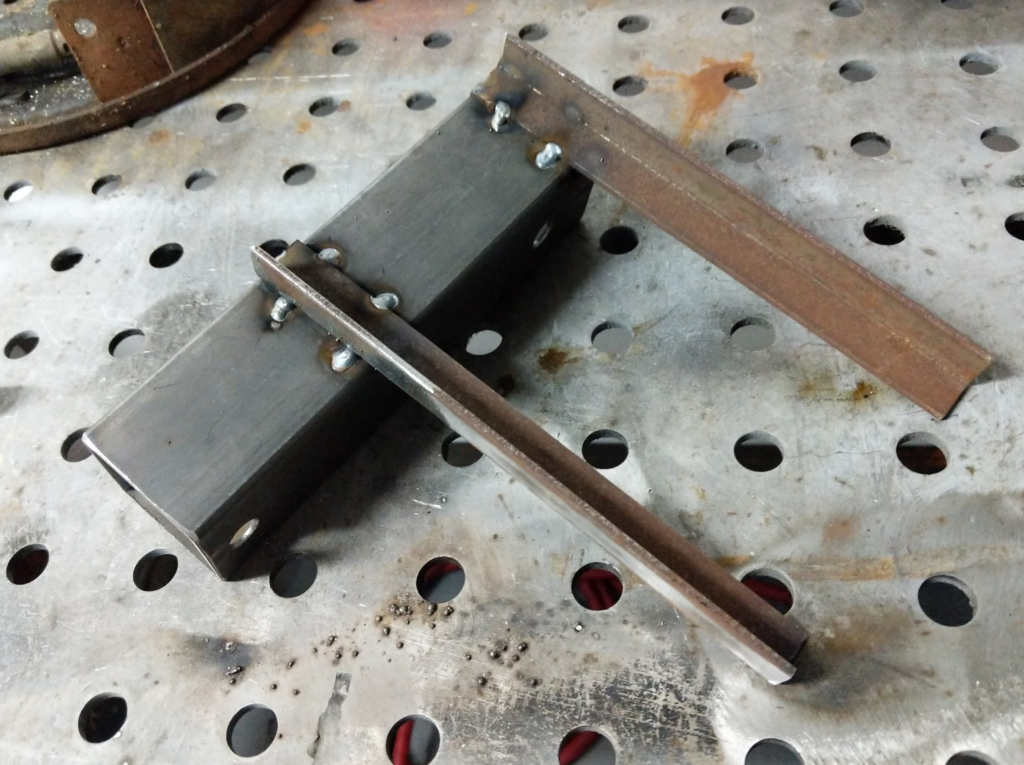
The air dryer system came with some little brackets that you can mount the desiccant dryer part of the system to for a wall mount. Welded these with the correct spacing to the bracket.
Add some black primer paint and bolted on.
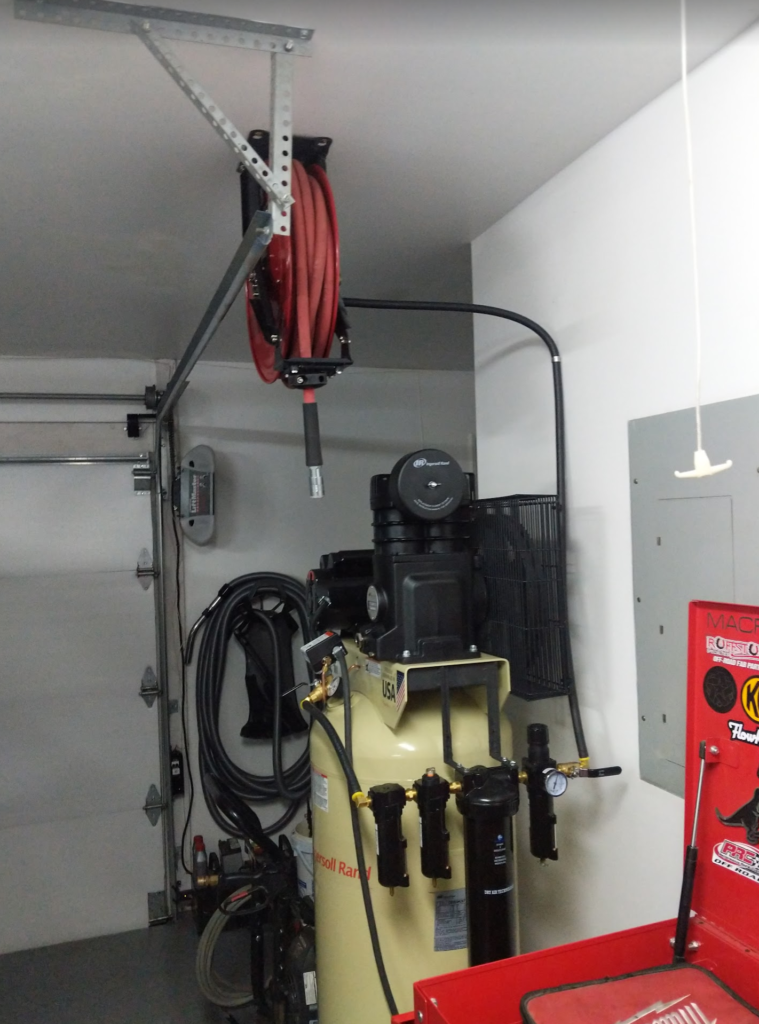
Here is the entire air compressor system with the hose reel.
The hose reel is TEKTON 46878. The system is plumbed with Thermoid Flex-Loc hose and fittings. On the end of the hose reel I am running large Milton (S-224) G-Style couplers for maximum flow. Then I have two 3 foot long leaders that connector the G-Style Coupler and adapt them to the standard D-Style couplers.
Why two leaders? Or why leaders in general? One leader is just a straight pass through. Used for running tools that require clean, dry air like blow off guns, paint sprayers, sand blasting, and tire filler. The second leader has a Coilhose Pneumatics 40014 In-Line Lubricator for tools that require oil.
The leaders also reduce wear on the main 1/2″ hose in the reel. The last couple feet of the hose is where the hose gets twisted up and abused. Easier and cheaper to replace a leader then have to replace or splice the main hose.
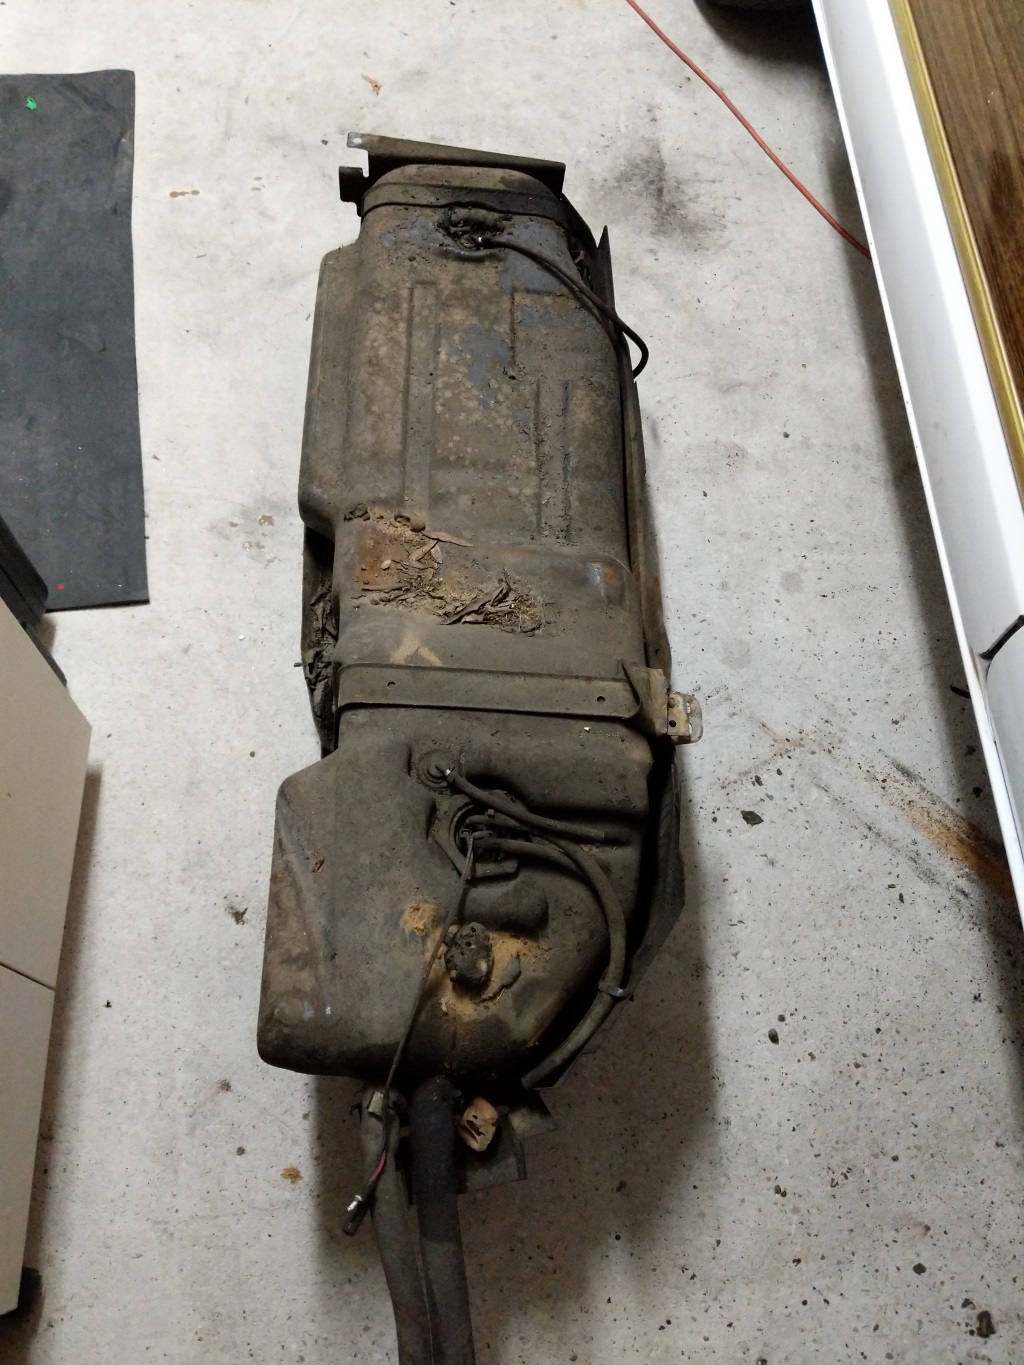
A common issue with Grand Wagoneers is rusting gas tank skids. Gas tanks on Wagoneers are plastic. To support the weight, the gas tanks are fastened to a metal skid. Then the skid is bolted to the frame. This is a great setup as the gas tank can not rust out and clog fuel filters but Jeep made the skid plates out of thin metal with poor rust prevention so they do not last.
Pulled gas tank out of the wagon. Dirty!
I disconnected the fuel lines and fill lines then dropped the tank. Skid is full of dirt and rust. The straps that hold the tank to the skid where rusted through so removing the tank from the skid was easy.
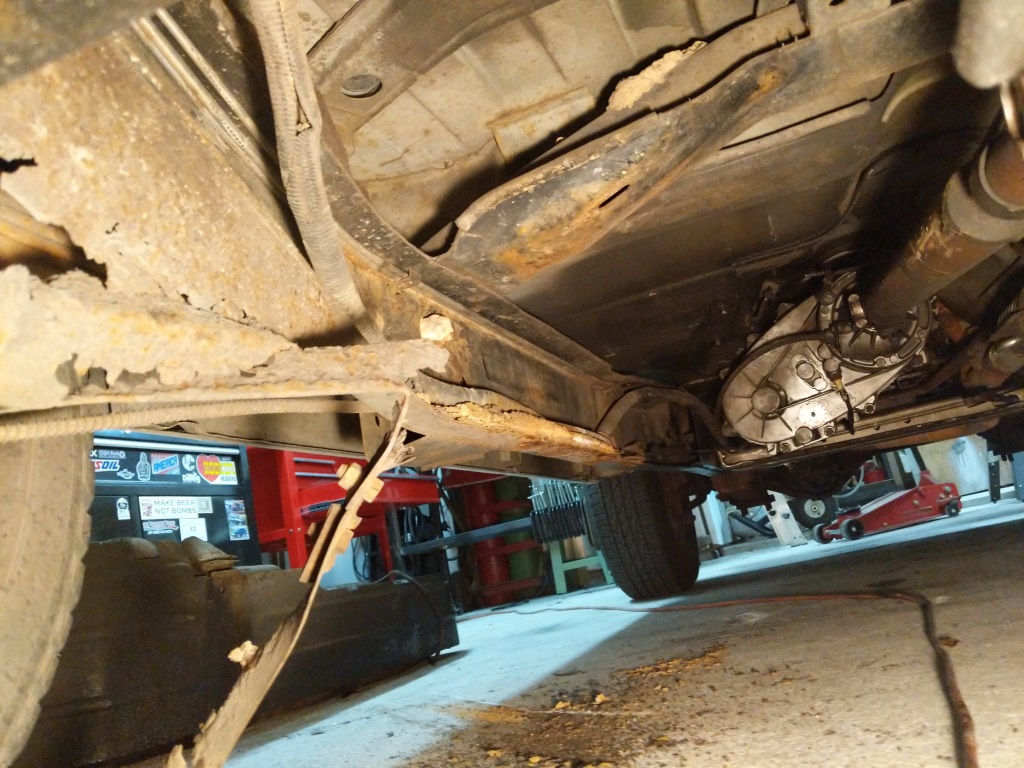
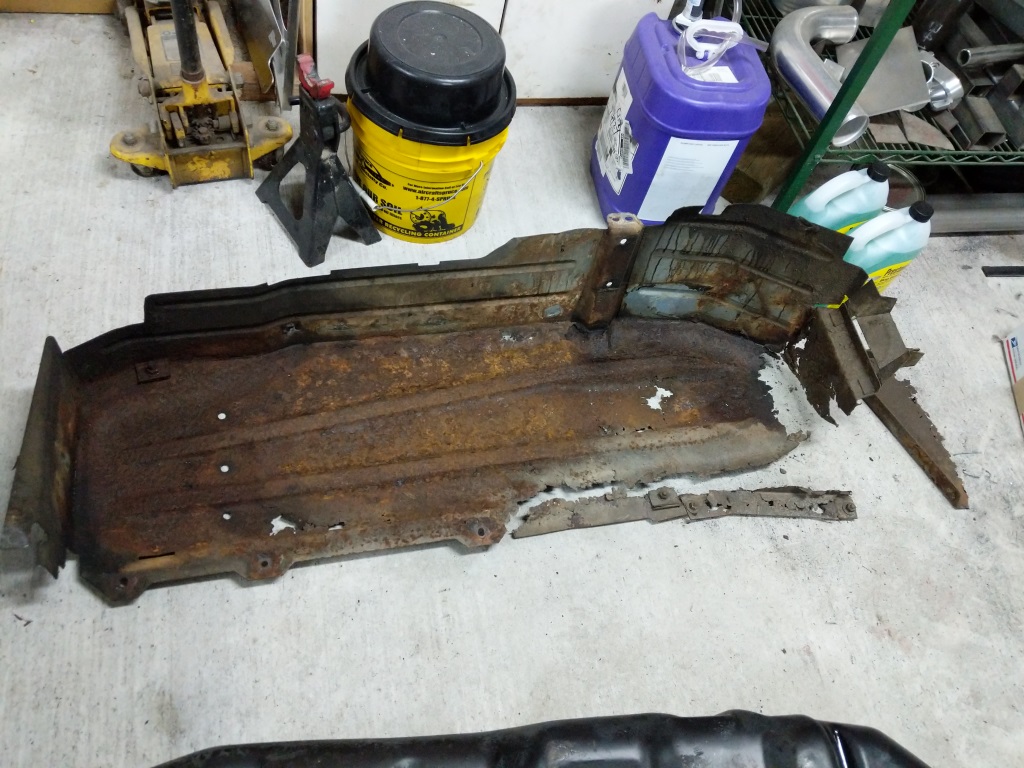
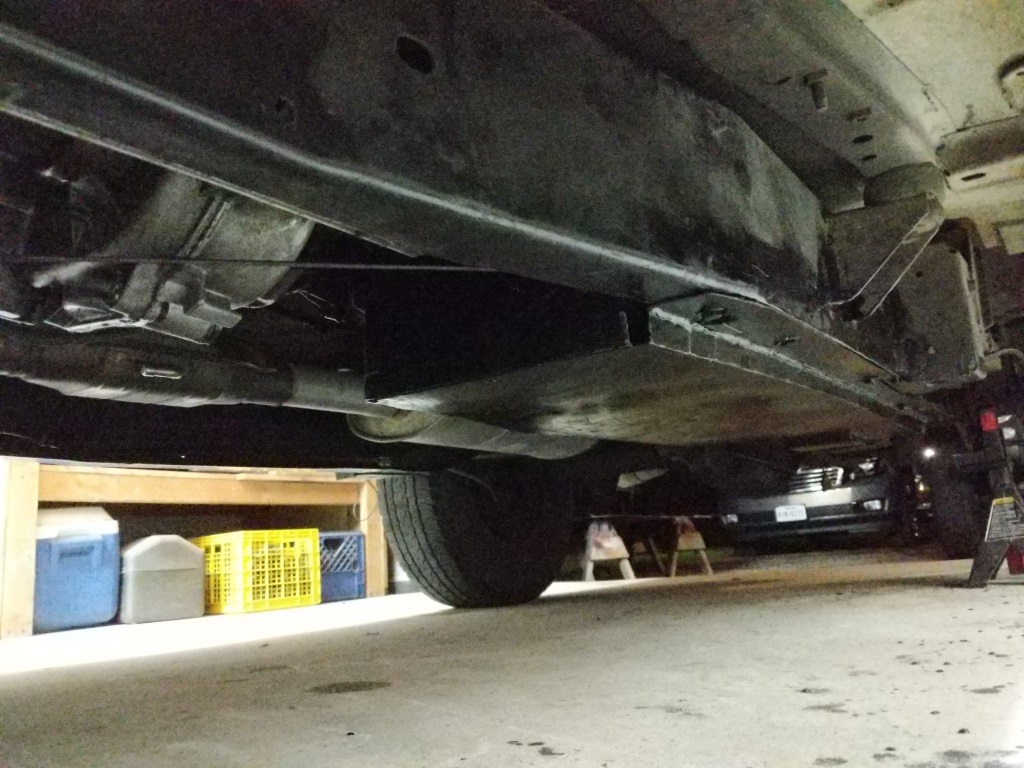
Frame inspection and cleanup.
I then inspected the frame where the gas tank lives. This is also a very common area for rust to happen. This looks bad but the frame was 100% intact. There was ton of dirt build up on the frame that at first looked like rust. The rusted holes in the left side of the picture is left over parts of the skid plate that was still attached to the frame. I cleaned up the frame and painted it with some chassis saver to prevent any further rust.
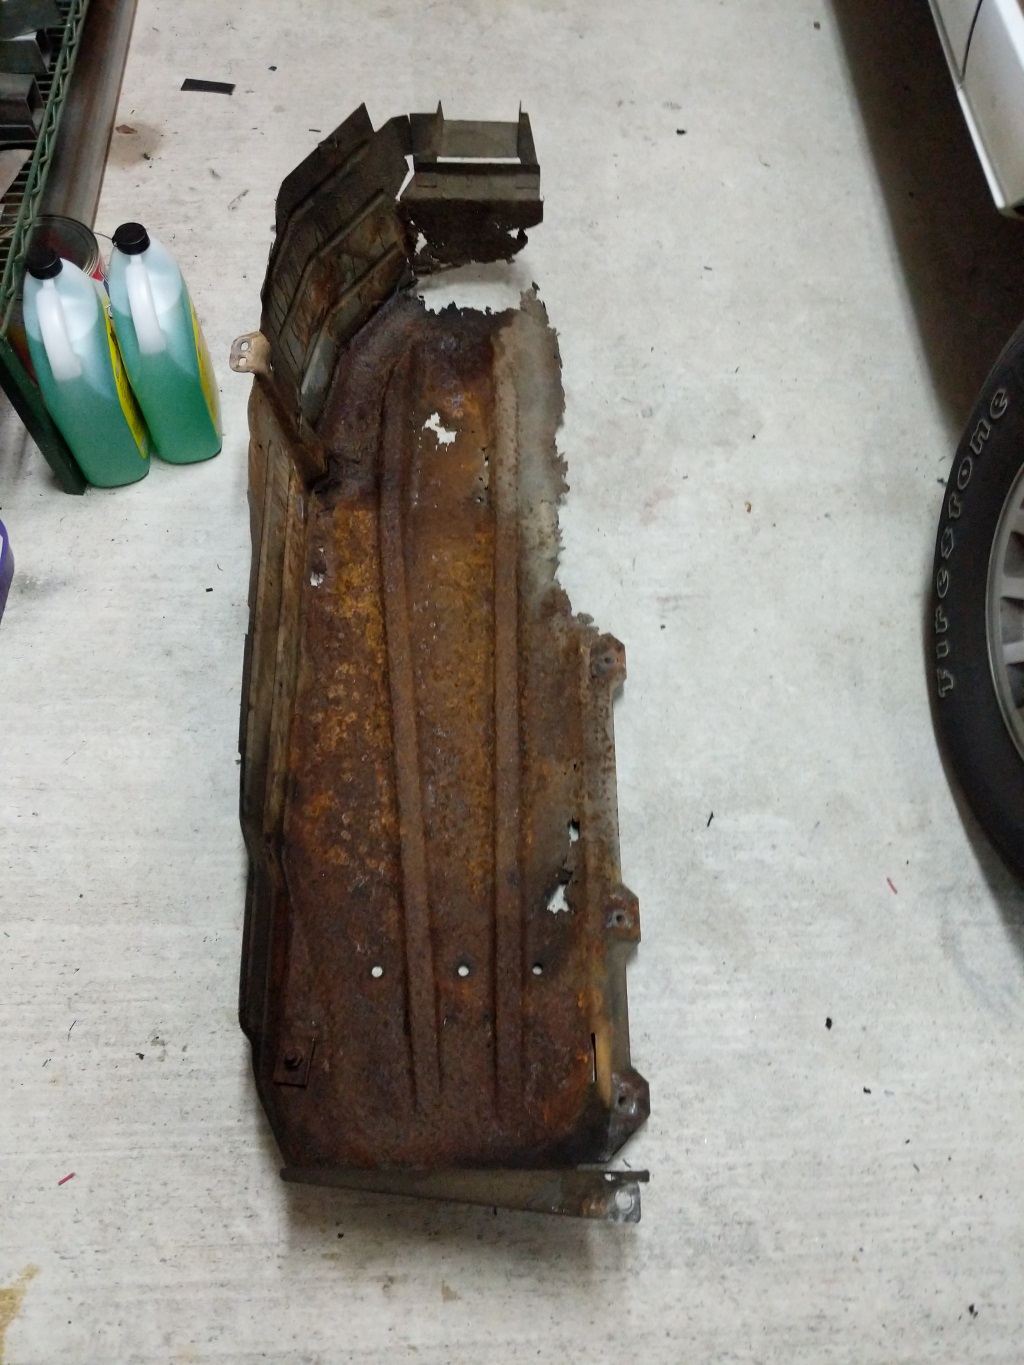
Skid plate cleaned up after removal of gas tank.
Then I cleaned up what was left of the skid plate. I was hoping to repair the skid by patching it but the skid was to far gone at this point.
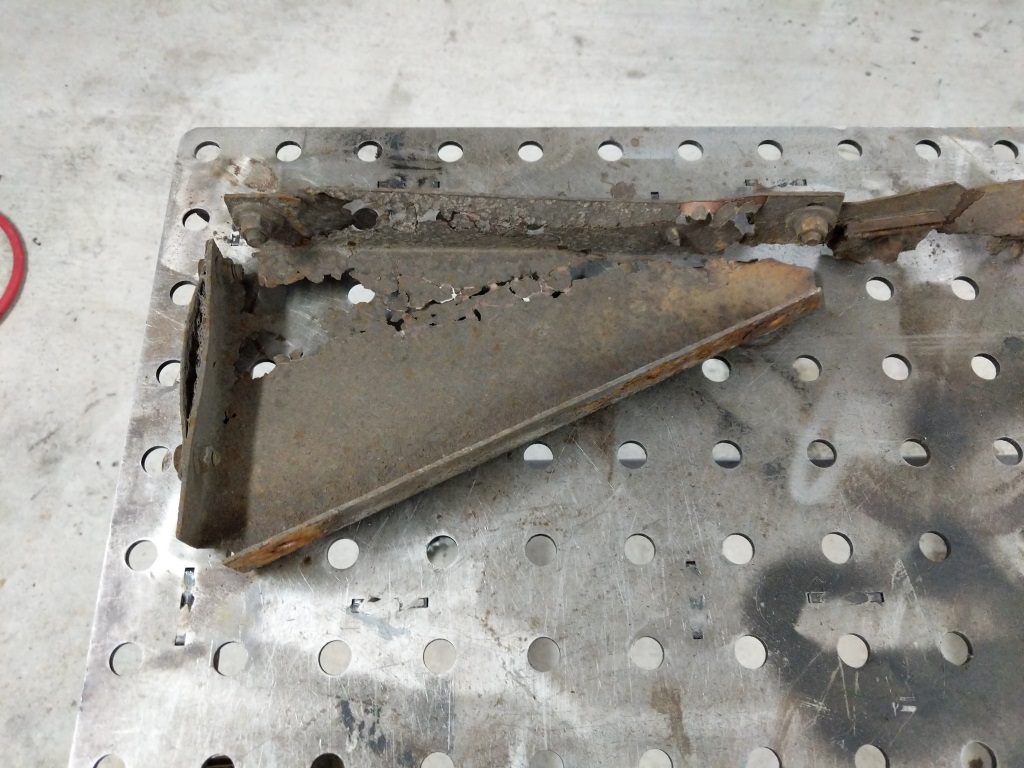
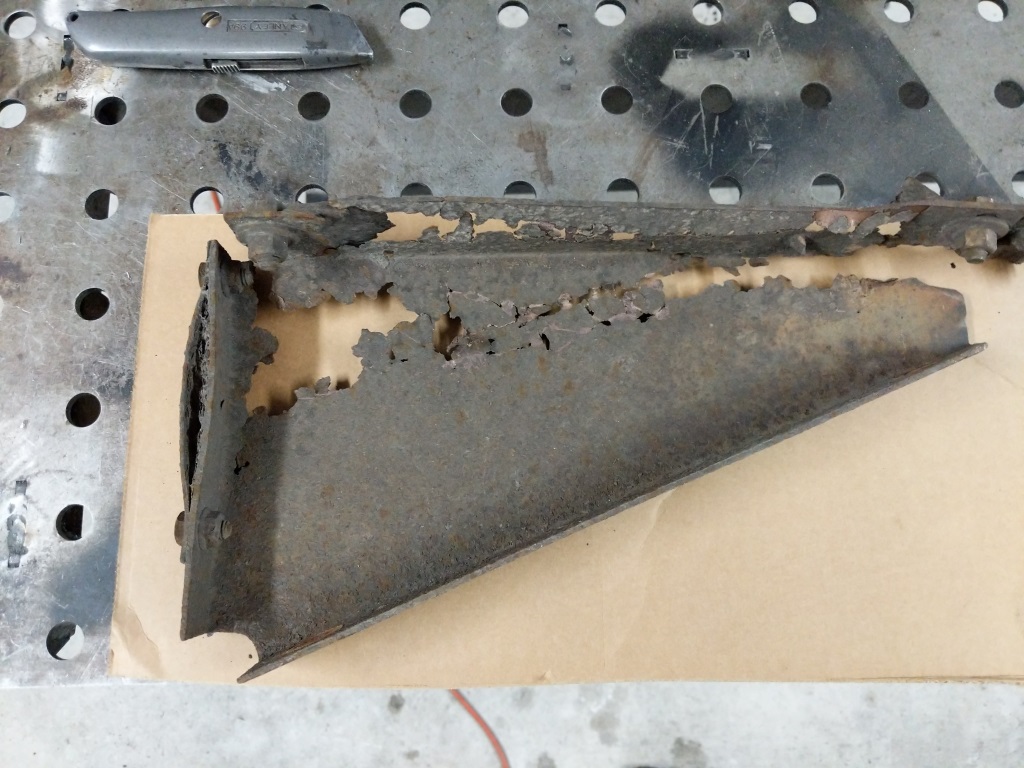
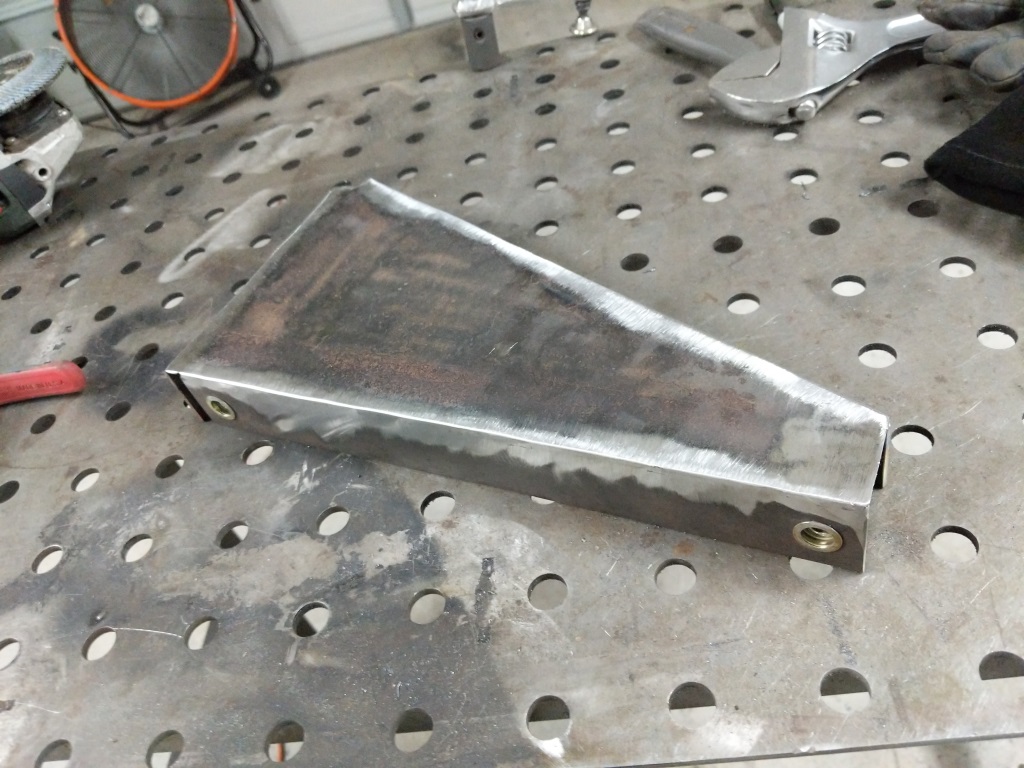
Skid plate triangle brace. Not much left of it!
Then pulled the skid plate triangle brace and cleaned it up. Swiss cheese steel. I decided to rebuild the triangle brace first since it will be easier.
Brackets for the triangle brace.
Built the new bracket parts for the triangle brace. I added nutserts to make install easier later.
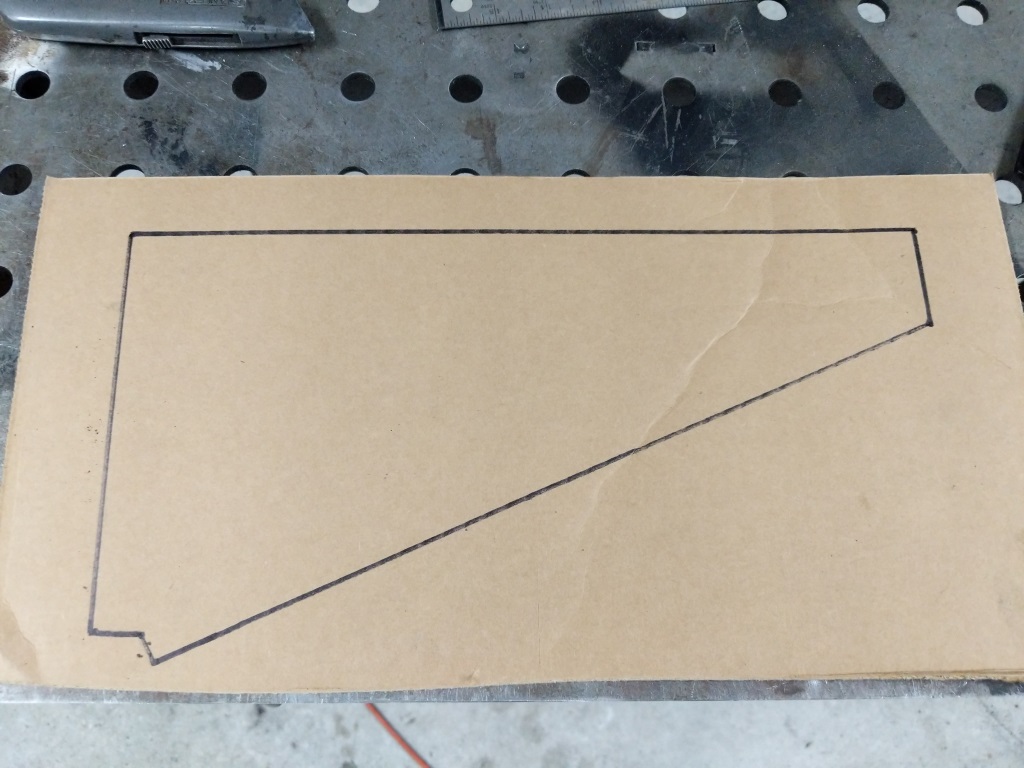
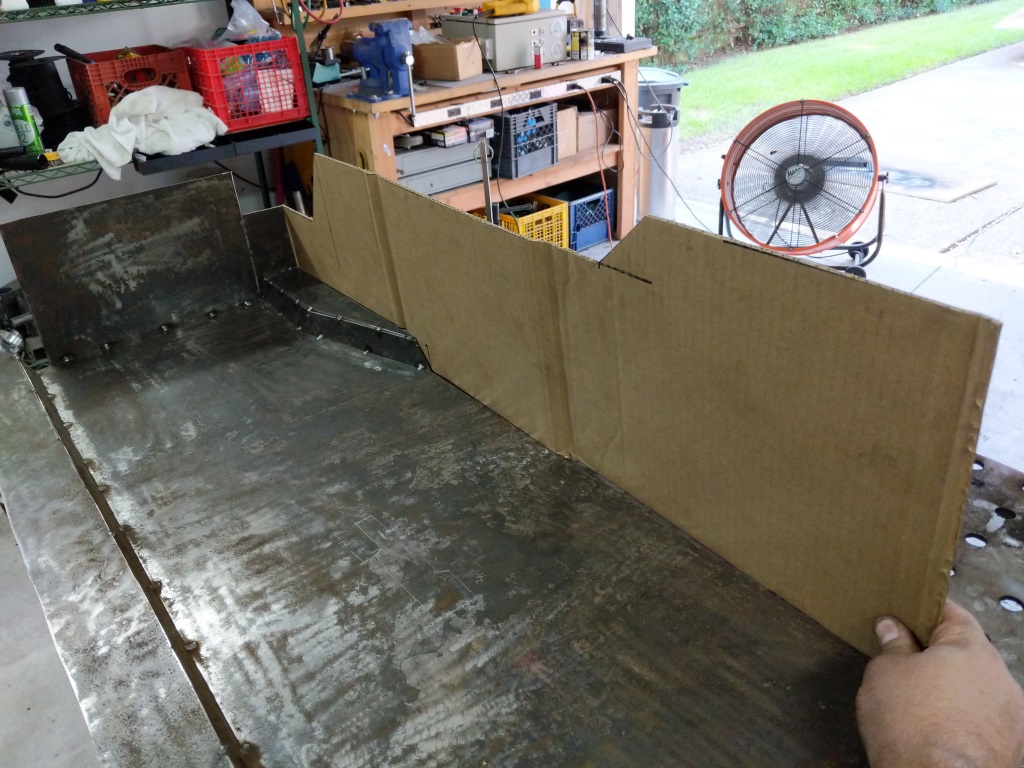
Tracing the old brace into cardboard.
Brace traced.
Cardboard cutout.
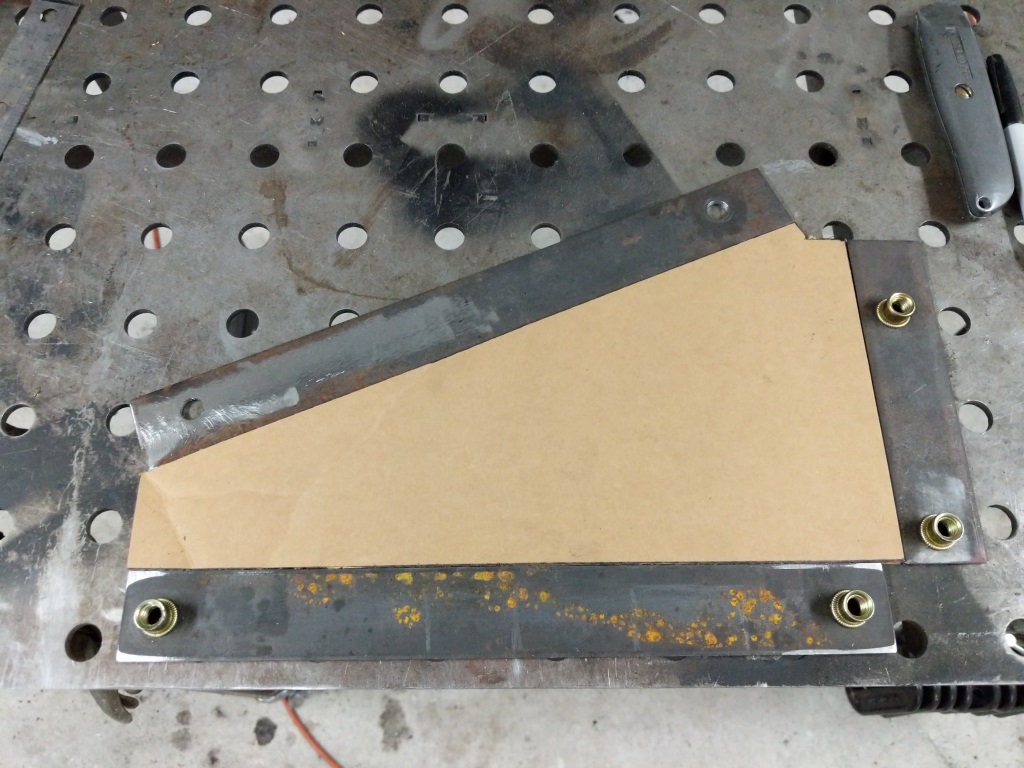
Testing fitting the brackets and cardboard cutout.
To make the rest of the triangle brace, I traced it onto some cardboard. Then I cut out the cardboard and mocked it up with the braces I cut out steel.
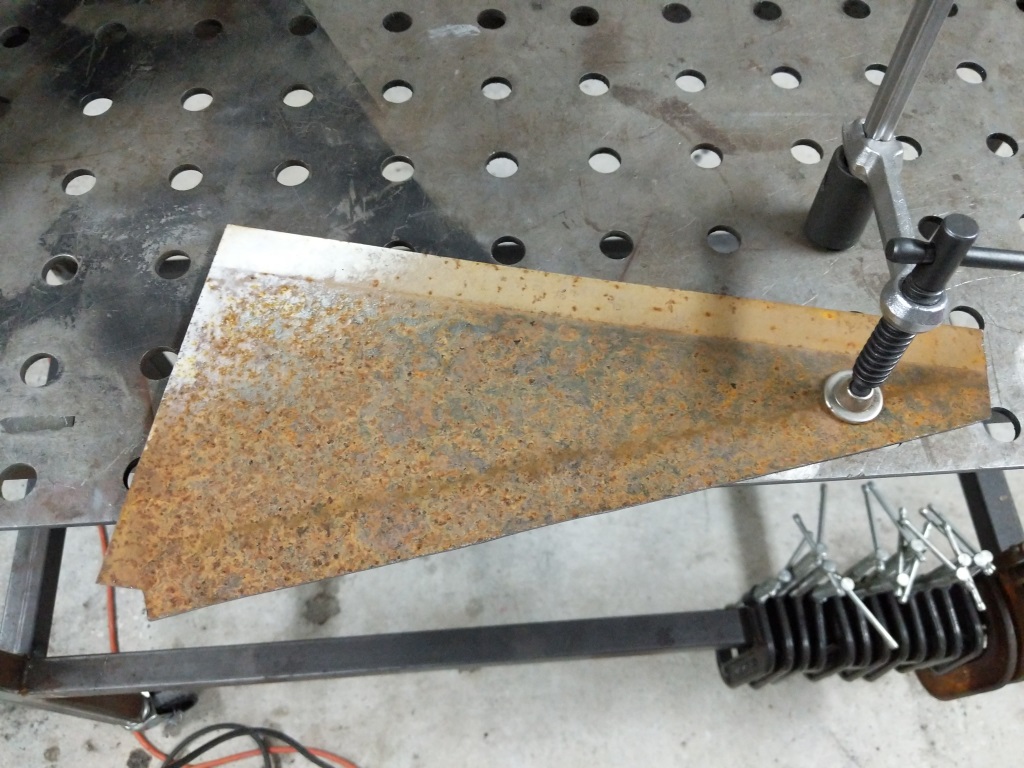
Cardboard template transferred into steel.
Steel cleaned of rust and scale.
Then I copied the cardboard into some 14AWG steel. The steel was bought LTP (Less Then Prime) which means it is rusted but it was inexpensive. Cut the steel out and then cleaned up with a flappy disc on the grinder.
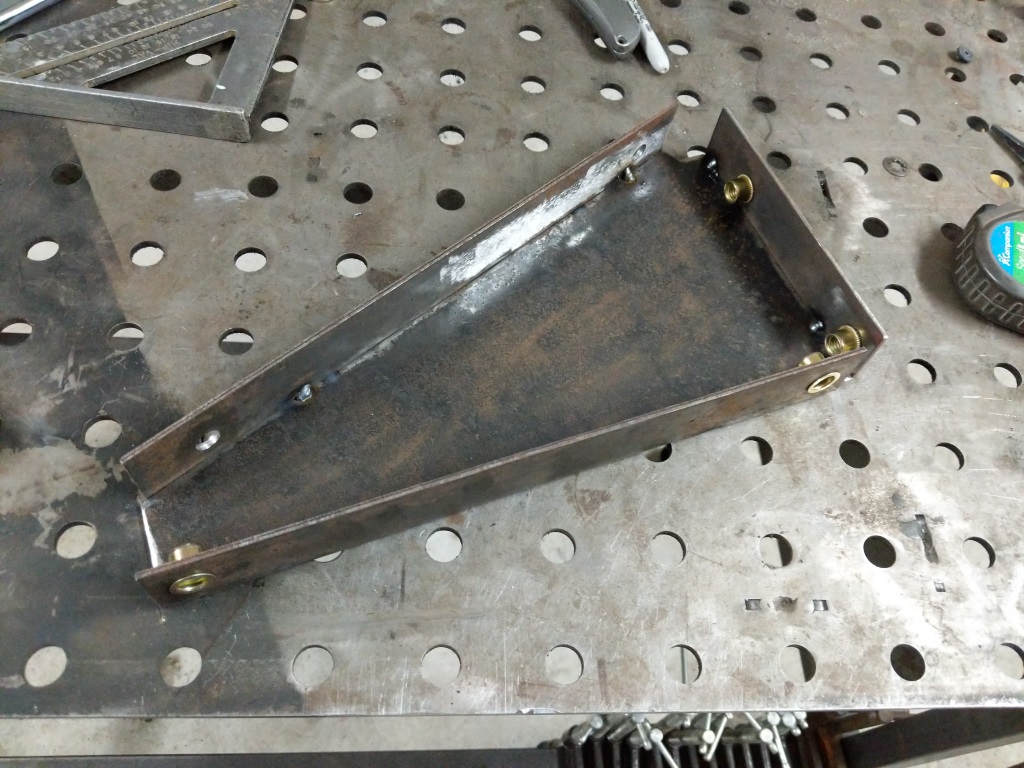
Brackets tacked to the steel triangle.
Comparing the original rusted bracket to the new one.
I then tacked the brackets onto the steel and compared it to the original bracket. Looks good to me!
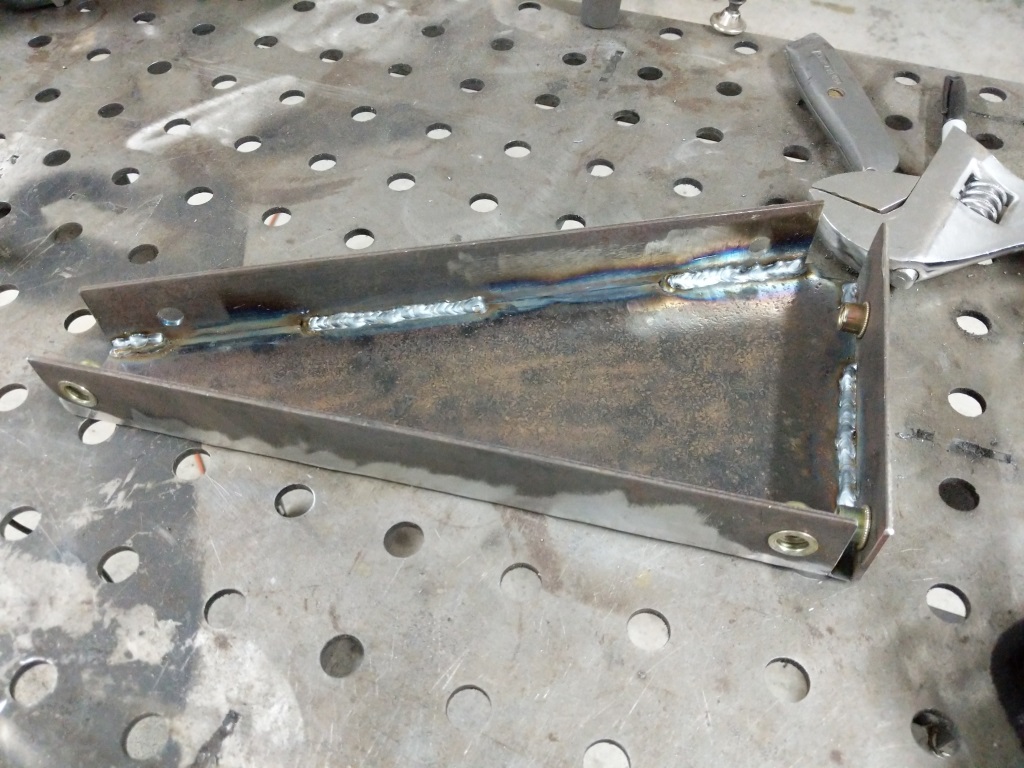
Outside welded and grinded smooth.
Inside welded. New bracket complete!
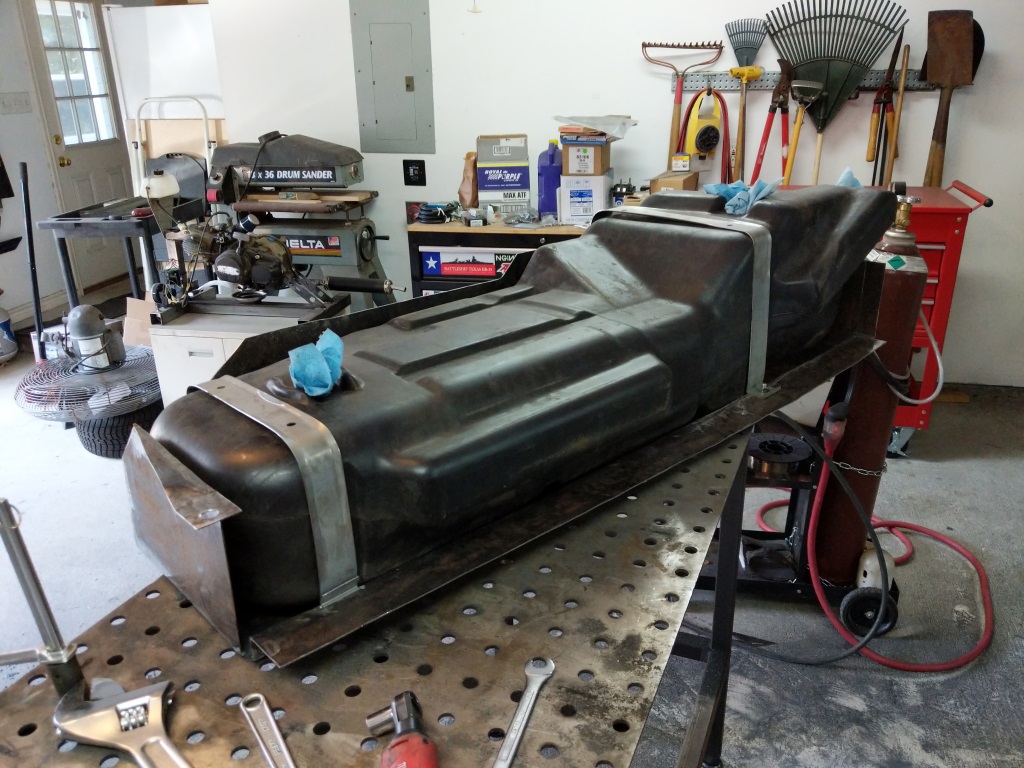
Triangle brace is complete. Time to start fabricating the skid plate for the gas tank.
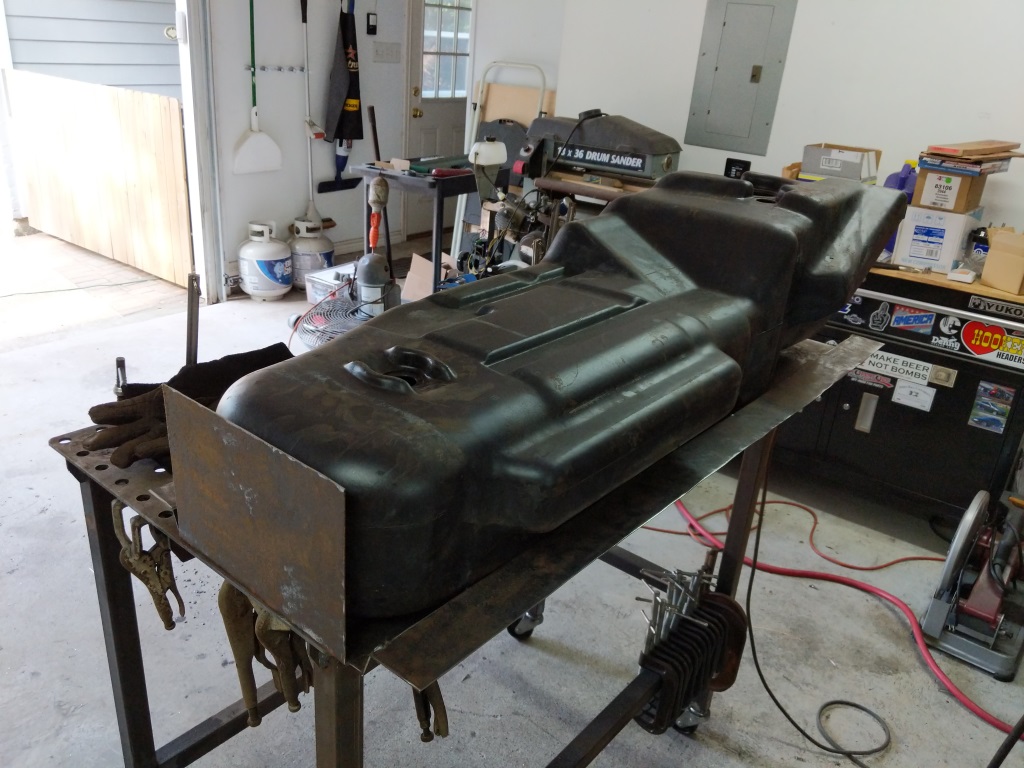
Skid plate pieced back together for measurements.
I started measuring the skid plate and started cutting some steel.
Skid plate construction. Checking fitment.
This is my construction technique. Measure, make cardboard cut out, test fit, cut out of steel, and tack up.
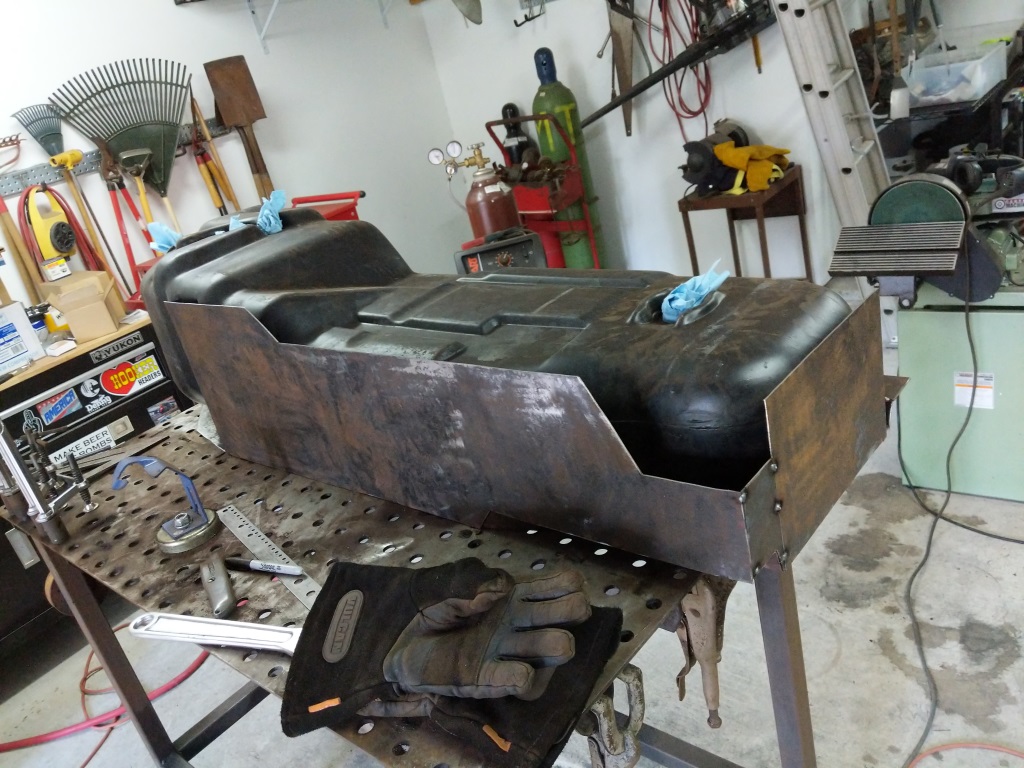
More test fitment after making the large side panel.
Other side of the large panel.
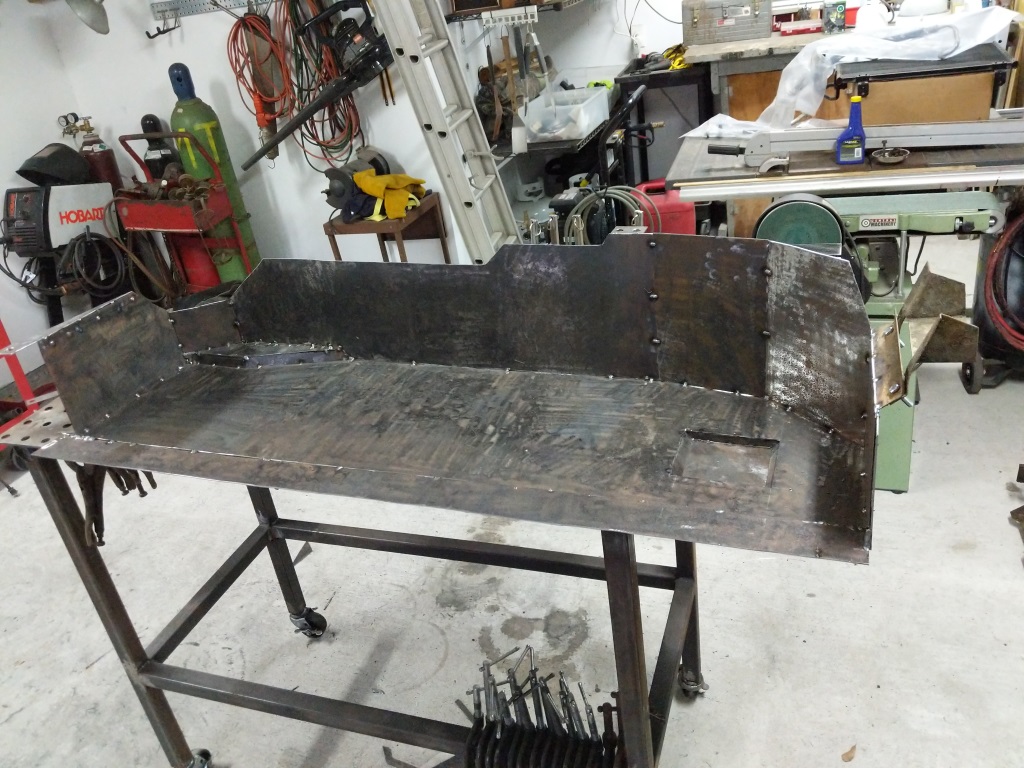
Rest of the side panels cut out and tacked up.
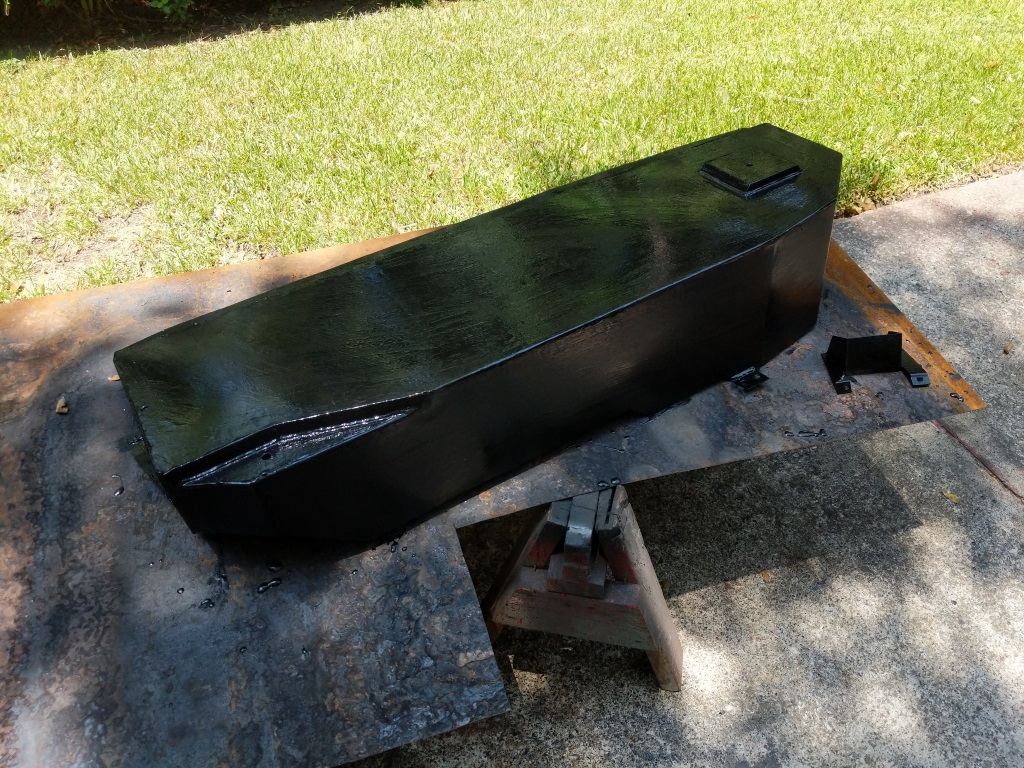
The gas tank has a lower bulge for the gas pickup. Made a drop down section and fitted up some steel to cap it.
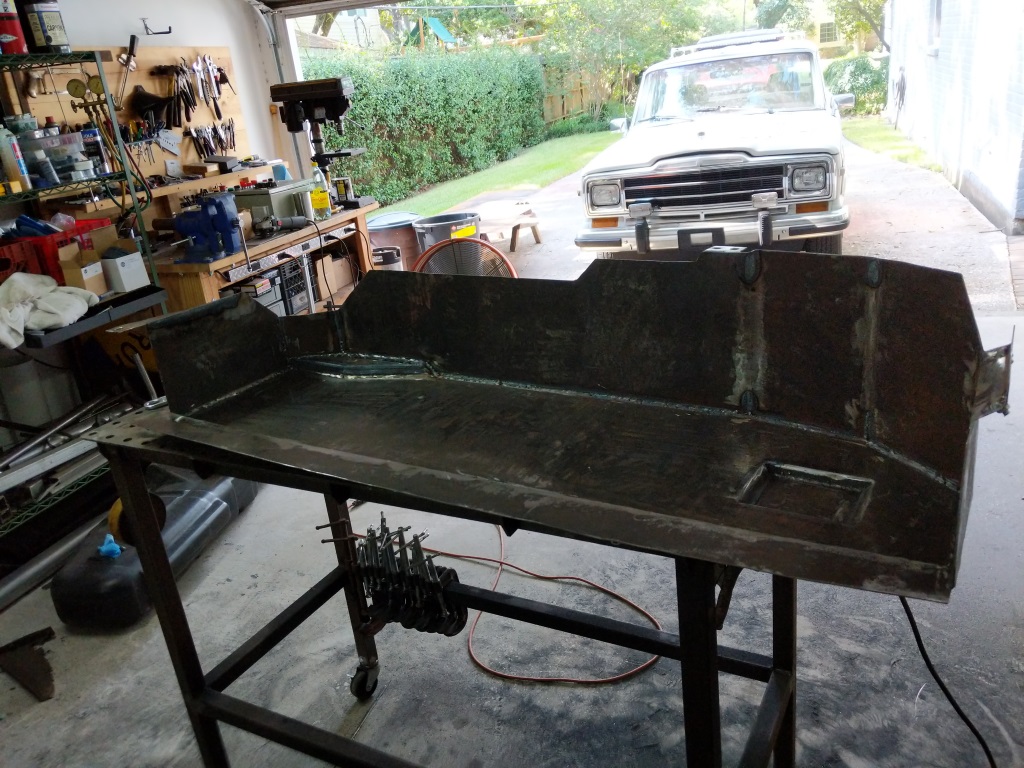
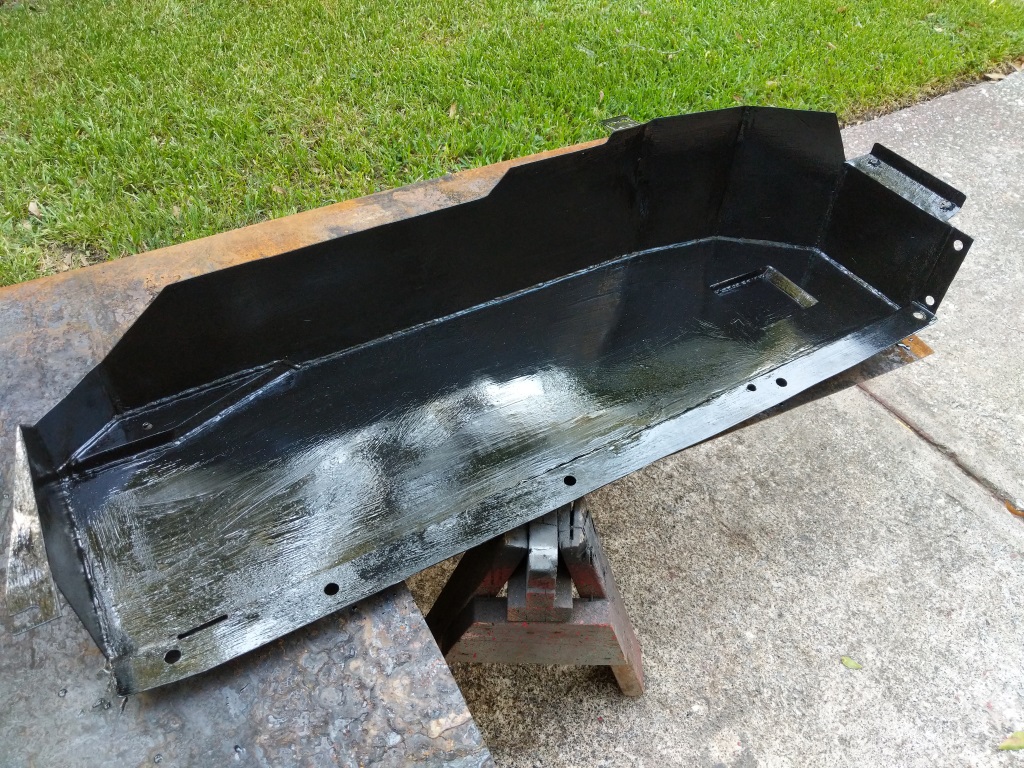
Skid plate seam welded and grinded. Lots of metal dust. My respirator was completely black after this. Wear your PPE people.
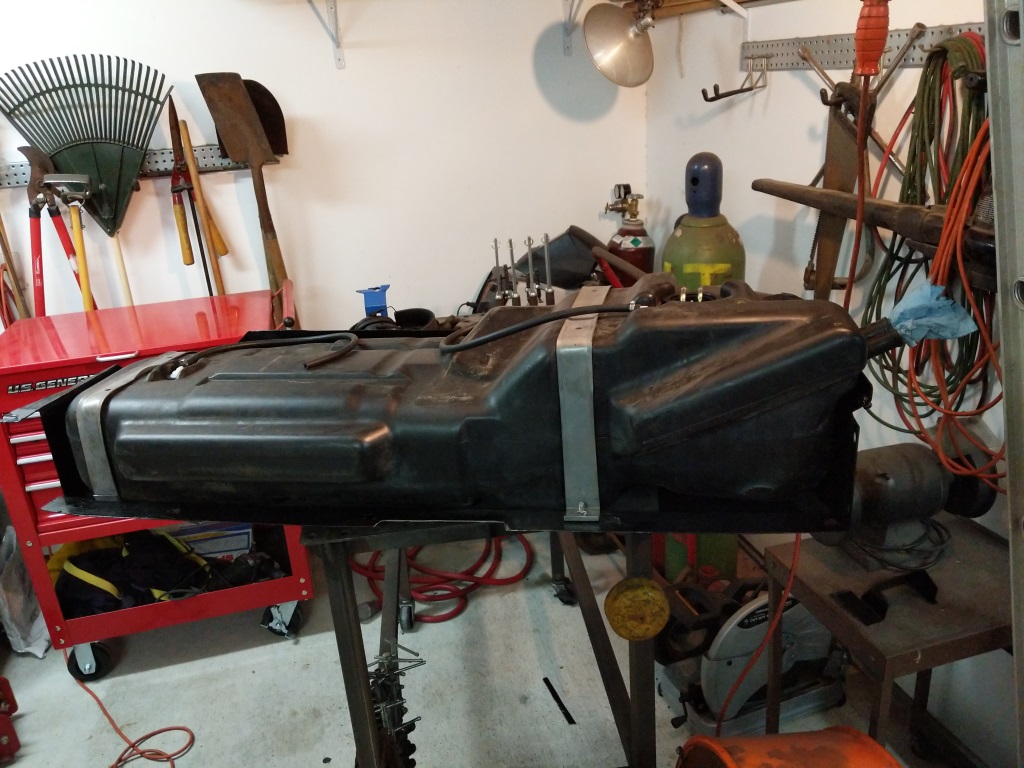
Test fitting the tank with the gas tank straps.
Painted the triangle bracket, skid, and associated brackets in chassis saver to prevent rust.
Bottom side painted. I drilled holes in the skid for water drainage as you can see here.
Gas tank fitted, vent lines plumbed, and fuel sender installed.
With the skid plate and triangle bracket fabricated and painted I installed the gas tank. Before that I cleaned out the gas tank with a pressure washer and dried it out. Then the gas tank received new gas tank straps, vents, vent hoses, and sending unit.
Gas tank with new skid installed under the wagon!
I then installed the skid under the wagon. Fit great and now I do not have to worry about the gas tank falling out.