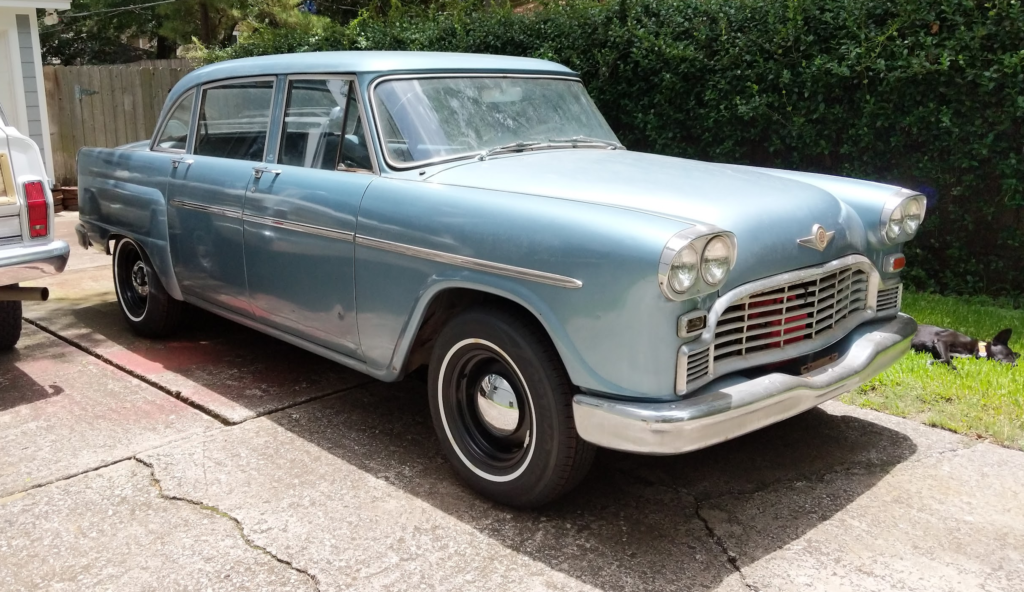
This post will be kinda in two parts: What I worked on with the rear end (suspension and axle stuff) on the Checker back around the time I bought it (2019/2020) and what I did today. Get caught up on documenting old work and then new progress!
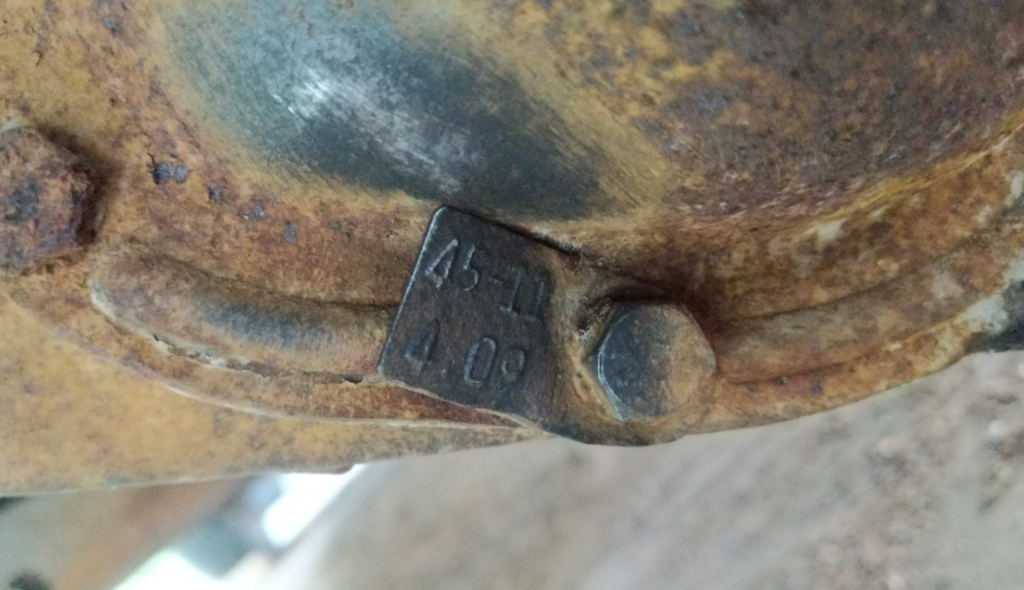
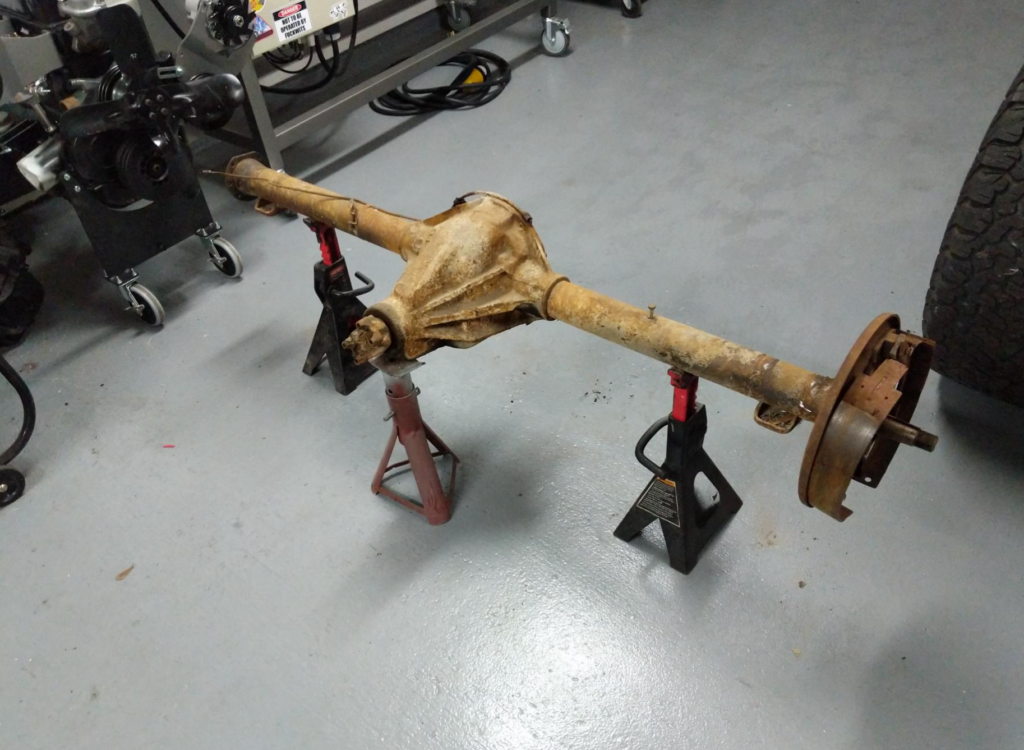
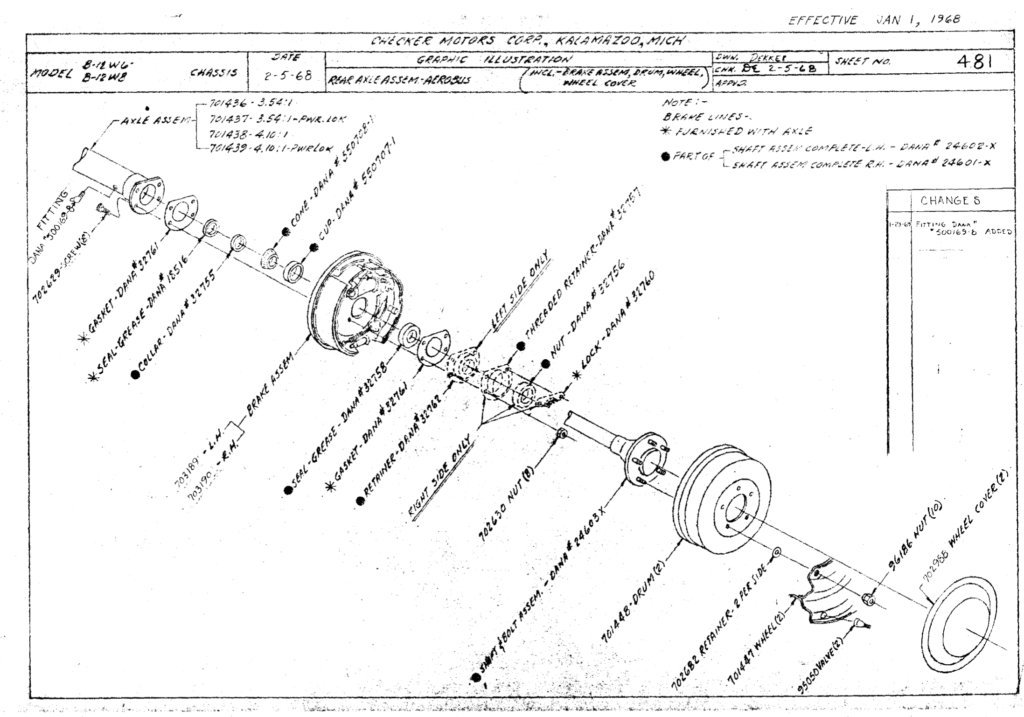
The rear axle of the Checker is a older Dana 44 with taper rear axle shafts, 4.09 gearing, and none adjusting drum brakes.
First step, drain the fluid…
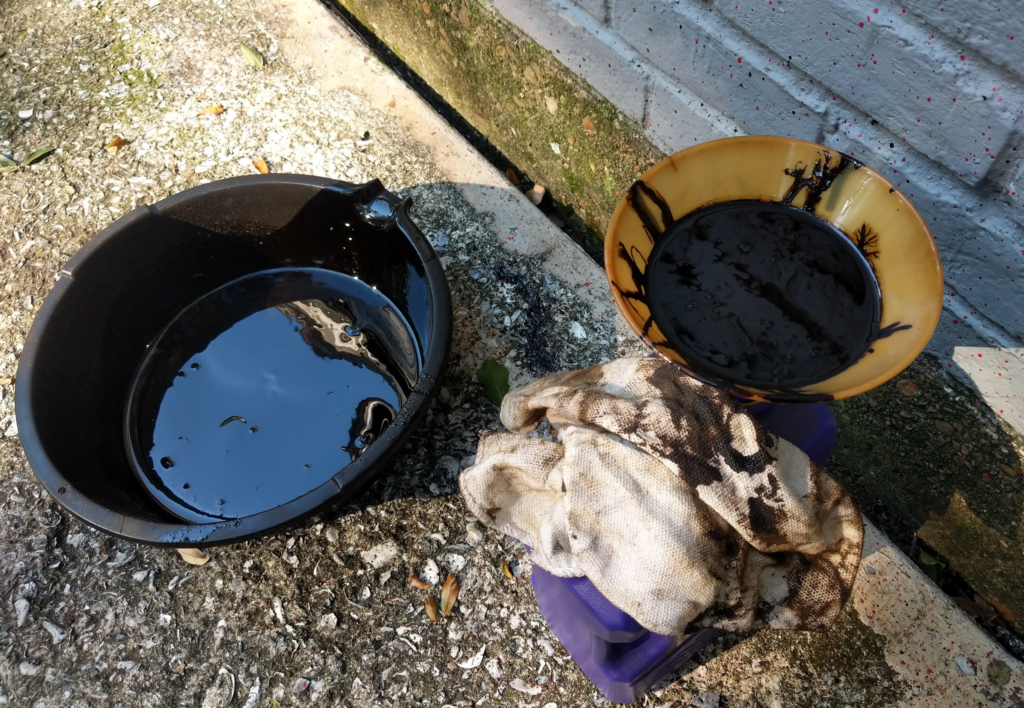
60 year old gear oil. Yup smells as good as it looks. Then remove the axle from the rear of the checker.
Then start stripping down the axle.
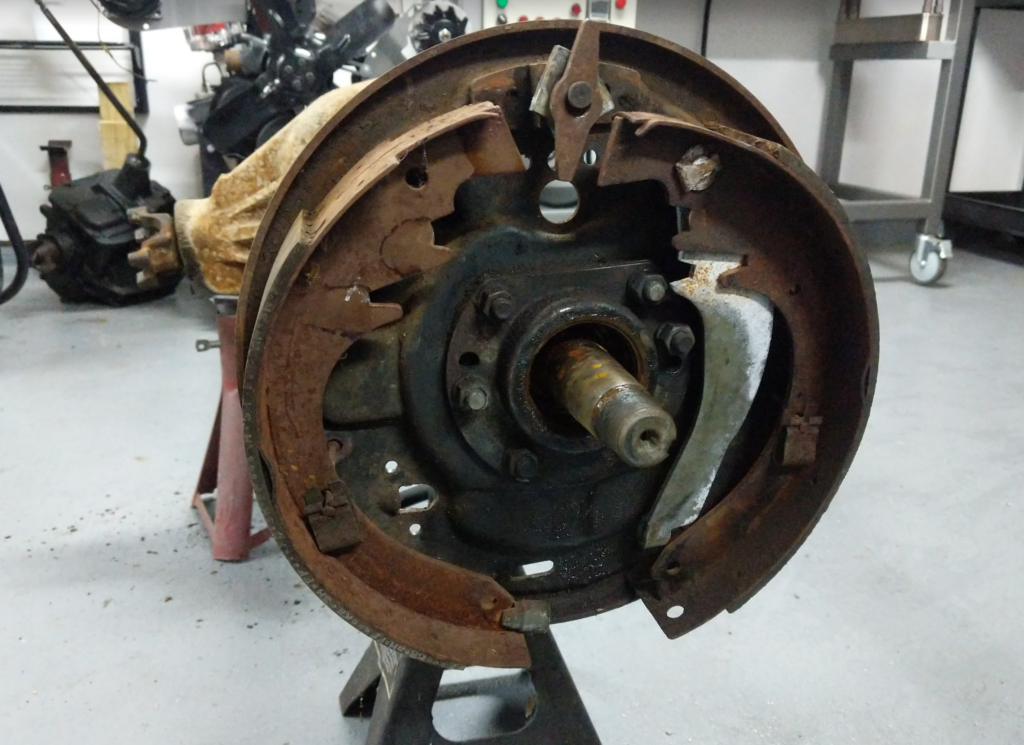
This is just nasty.
Removing the old brake parts.
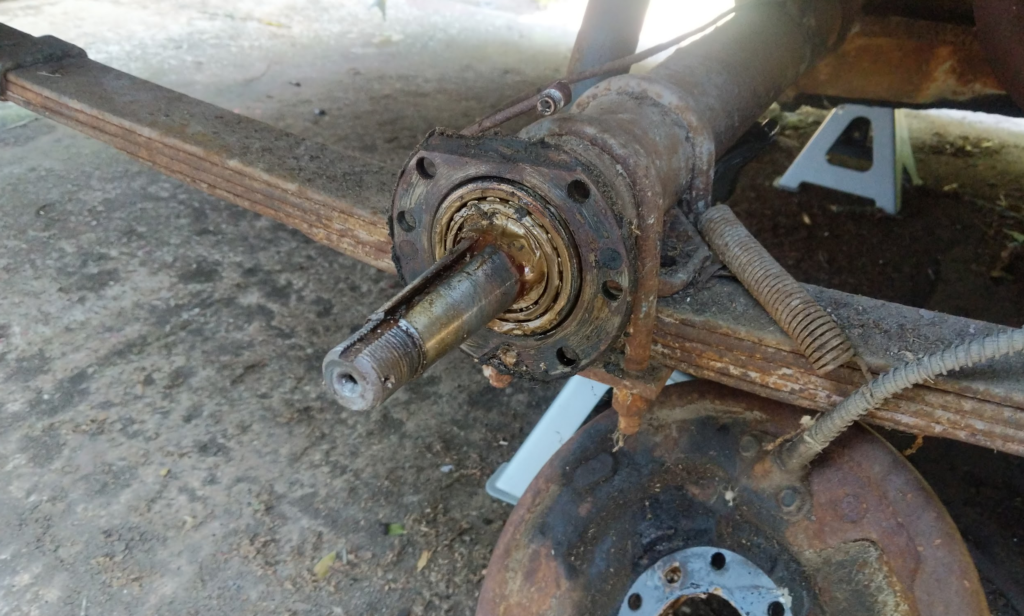
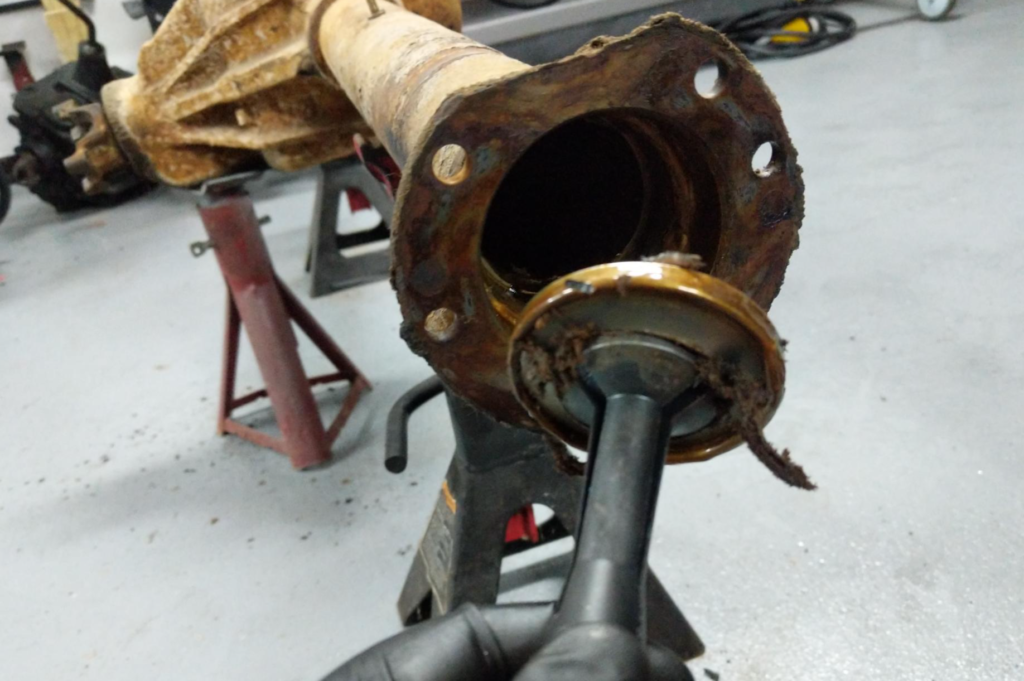
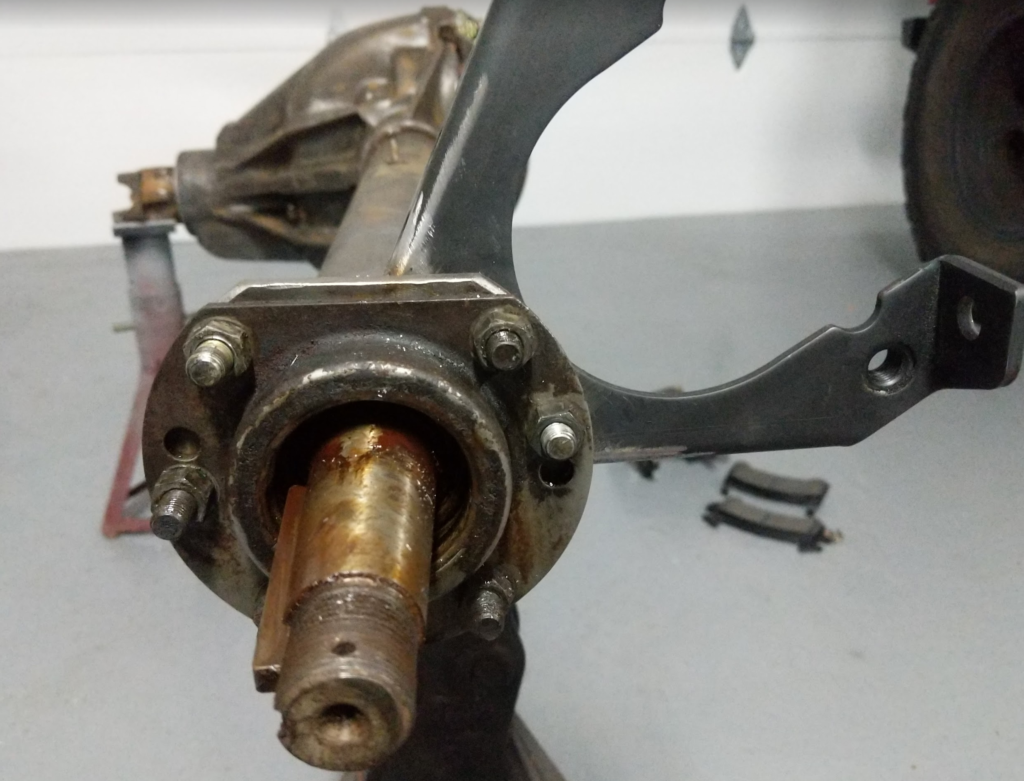
Pulling the axle seals. Goopy old “gold” grease. There are two seals here.
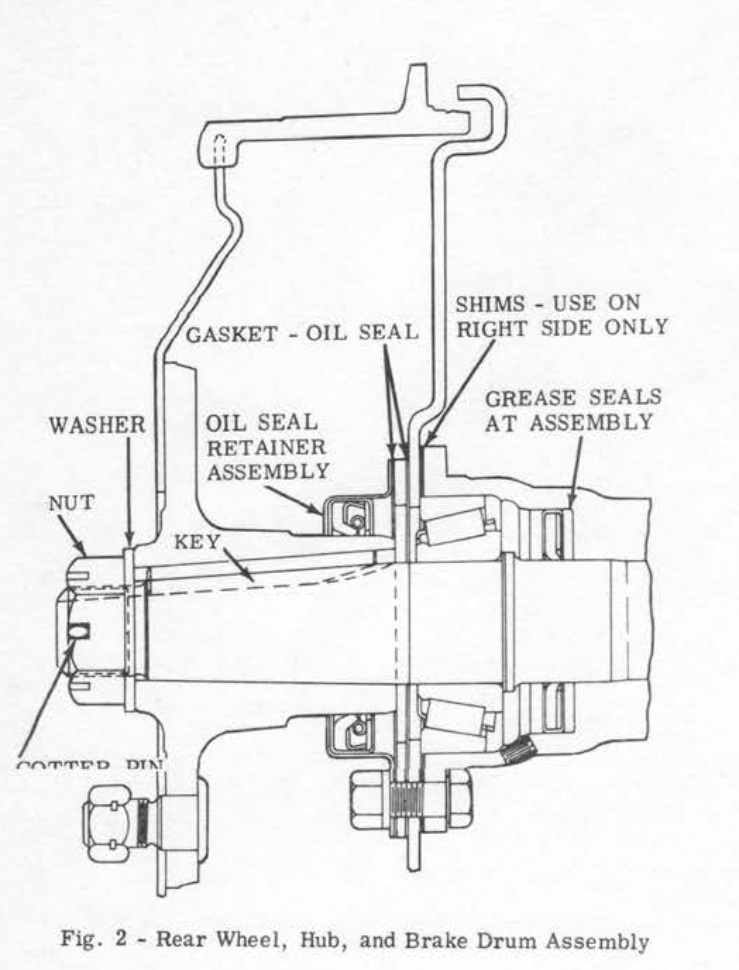
An outer seal that seals on the hub spindle and then an inner seal to keep the bearing grease from mixing with the axle oil. Outer seal part number is TIMKEN 450083. Inner axle seal part number is TIMKEN 7245. Though Checker during this era was doing lots of mid year changes and my axle doesn’t quite line up with the engineering drawings. Best thing you can do is pull the seals and read the part numbers off them and measure them to find modern cross references.
Then I wire brushed the entire axle and looked at converting the axle from the original drums to discs. To separate the brake drum from the hub I put the old lug nuts on and pounded out the wheel studs with a hammer.
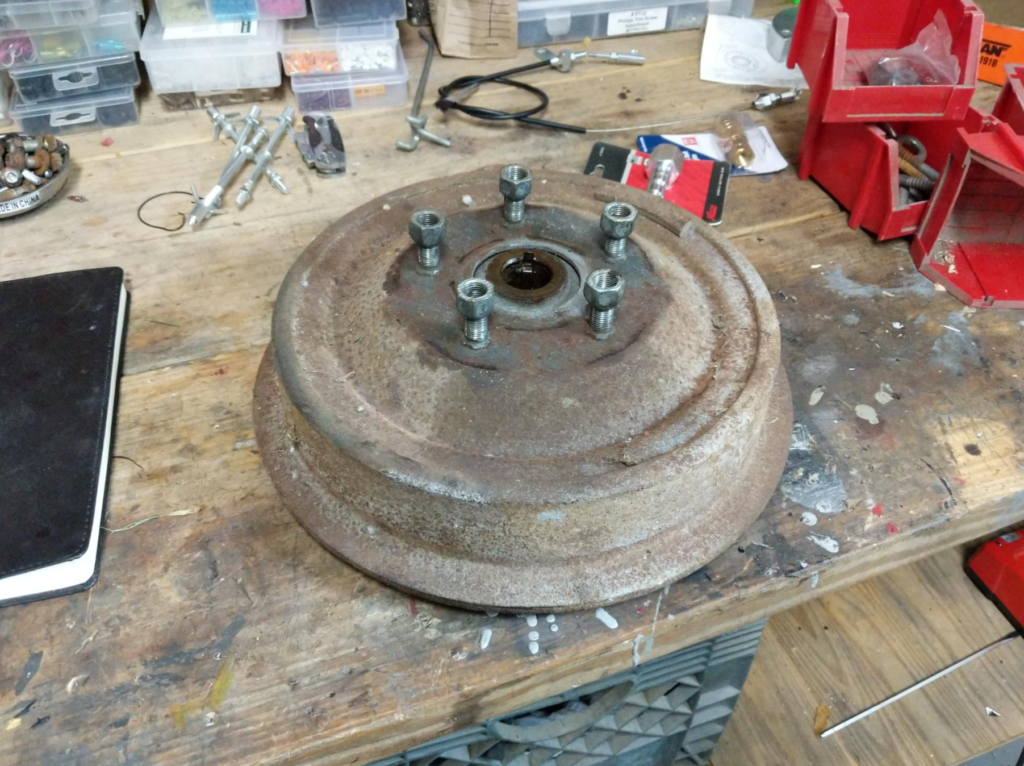
After all 5 studs are removed the hub falls out of the brake drum.
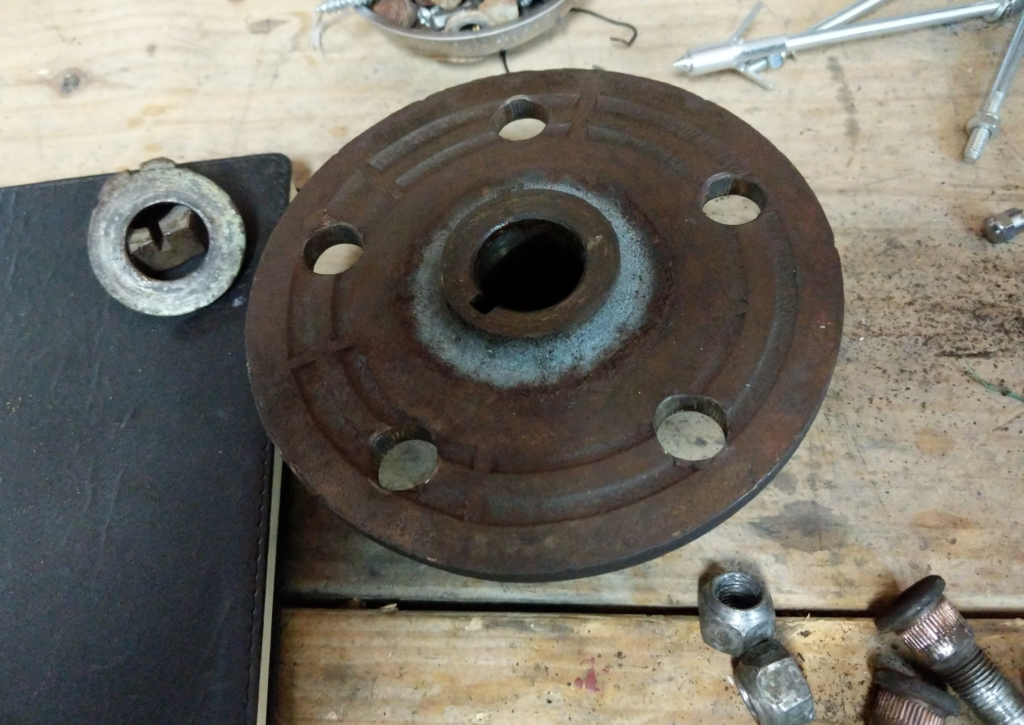
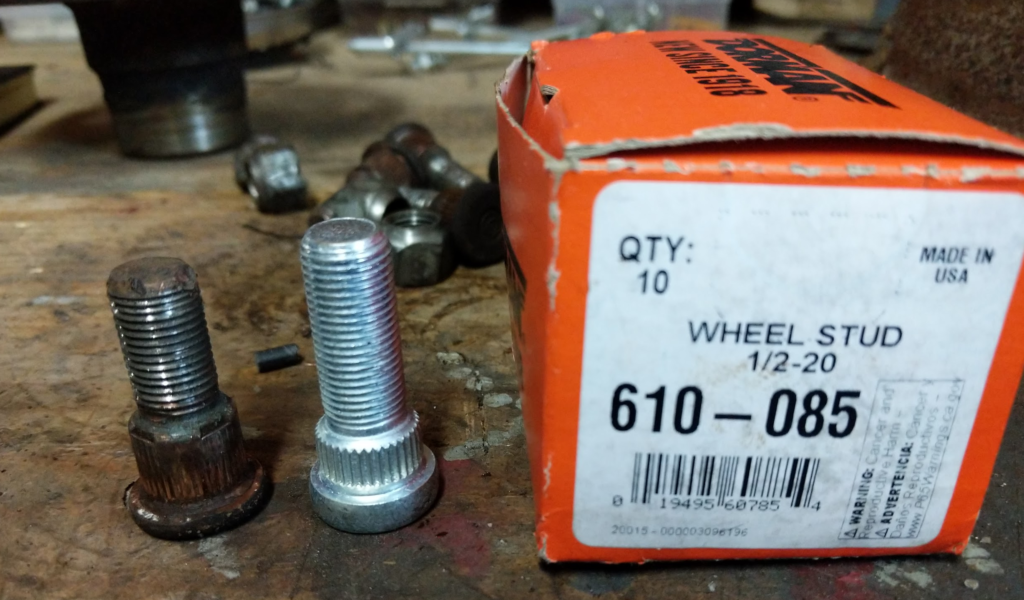
I measured the old studs knurl section and found some replacements that had a shorter knurl section and a longer threaded section. This is what you want to do for discs. You don’t want the knurl section of the wheel stud to go through the hub unless you want to press your discs to your hub!
Dorman 610-085 worked out great for my application.
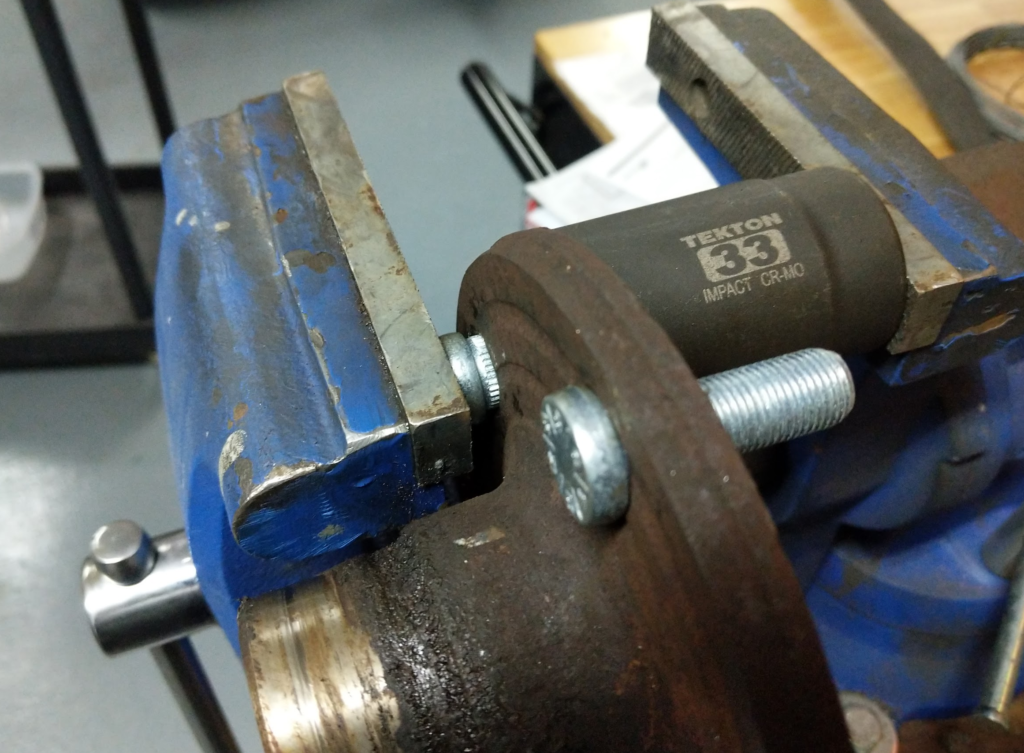
Press them in with a socket and vise. I should really get a proper press someday!
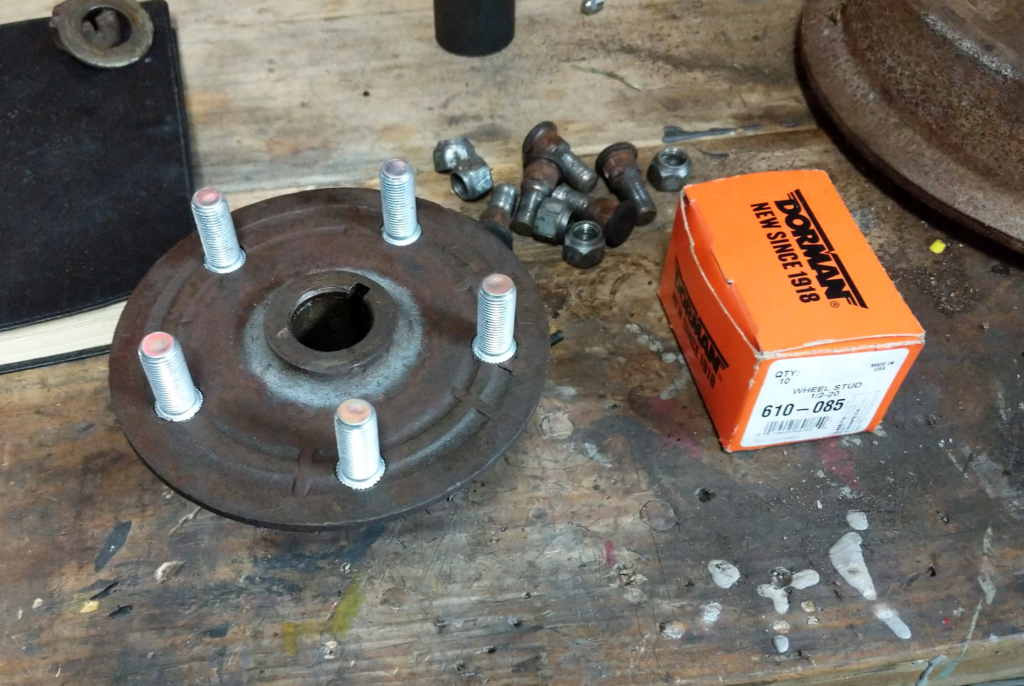
Here is one of the hubs completed. Note that the knurled part of the studs don’t go through the hub.
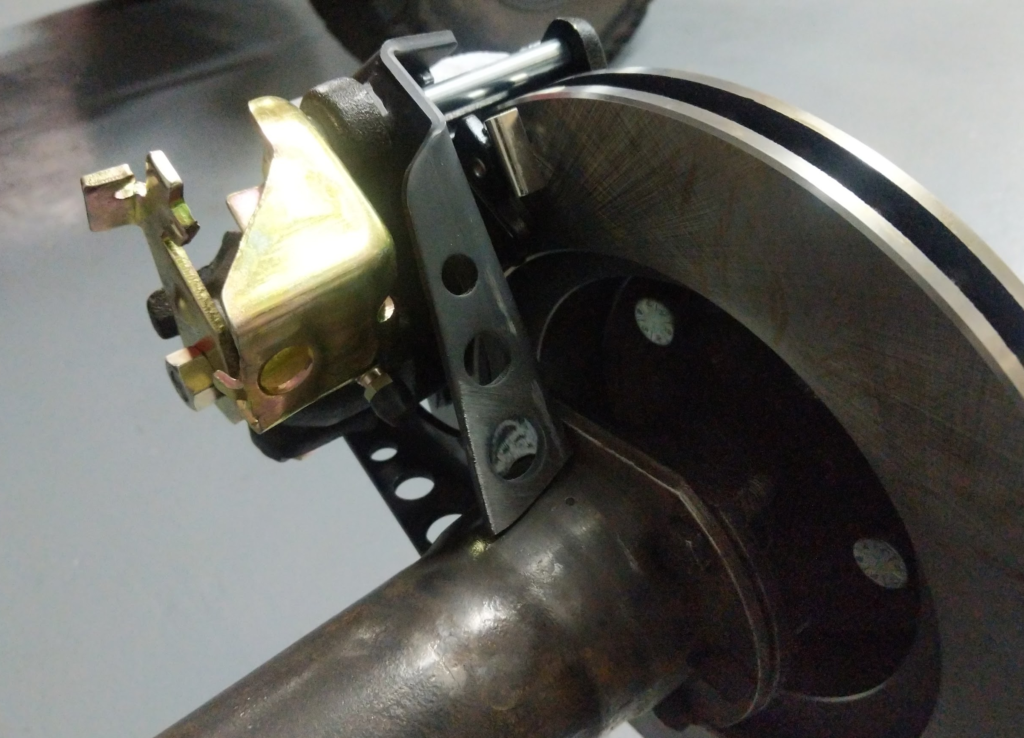
Mocking up the discs. For the discs and calipers I went with the following parts. These are the kind of calipers that have a built in parking brake lever.
Discs: Speedway Motors #91031039
Calipers: Speedway Motors #91603059
Brackets: Speedway Motors #91641010
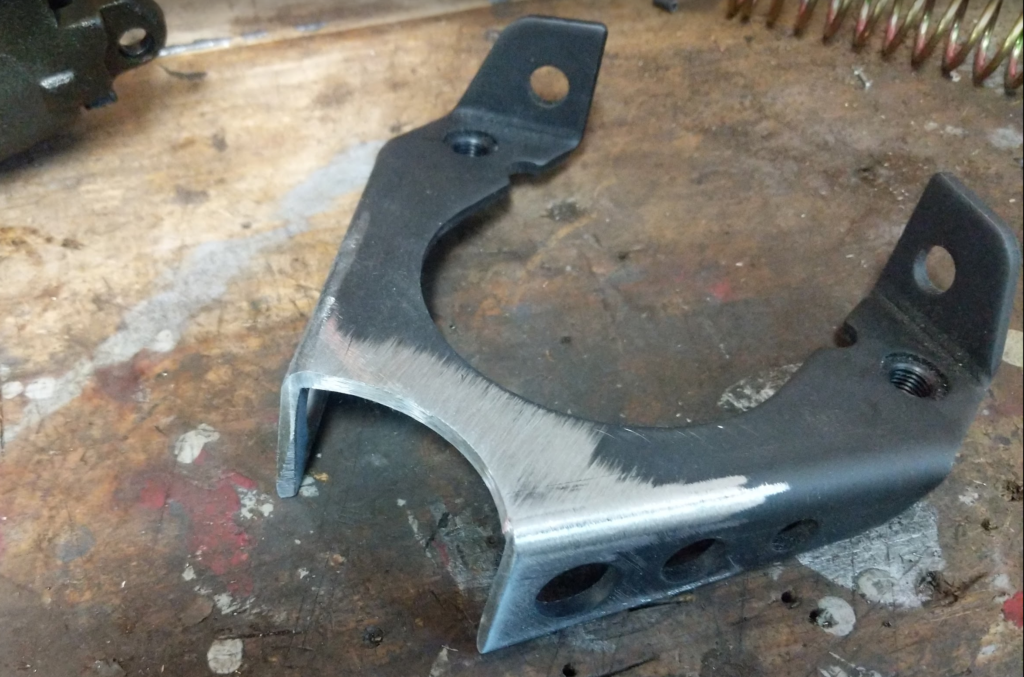
Seeing how the bracket will weld on.
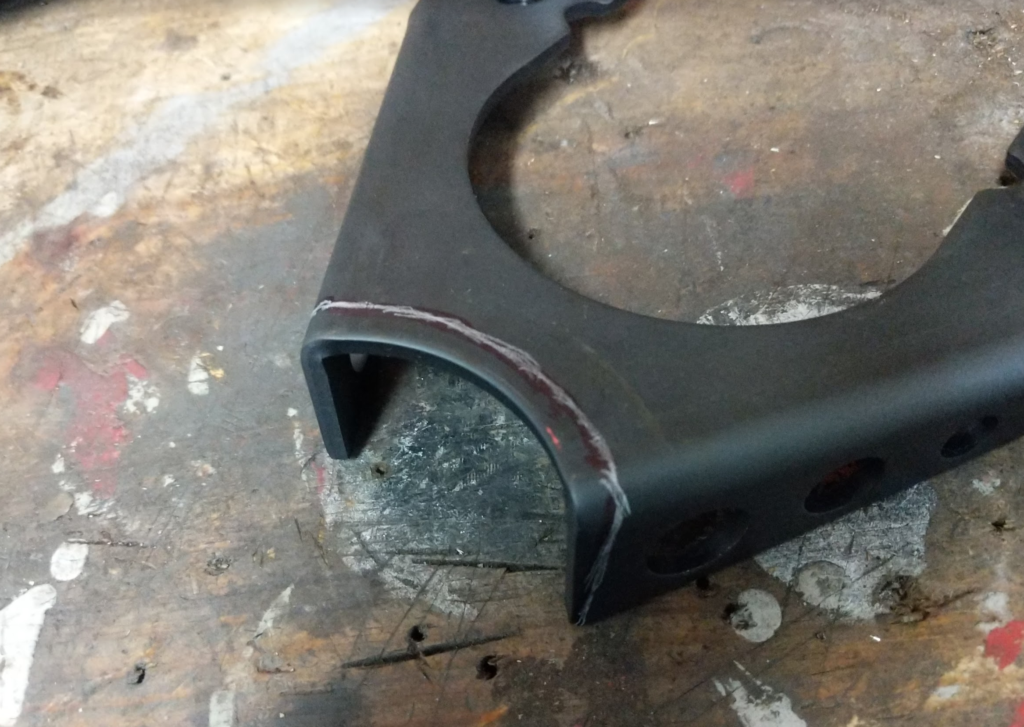
Trimming the bracket to match the axle housing.
Prepping for welding.
Getting the bracket in the right spot by mounting the caliper and disc.
Tack the bracket in.
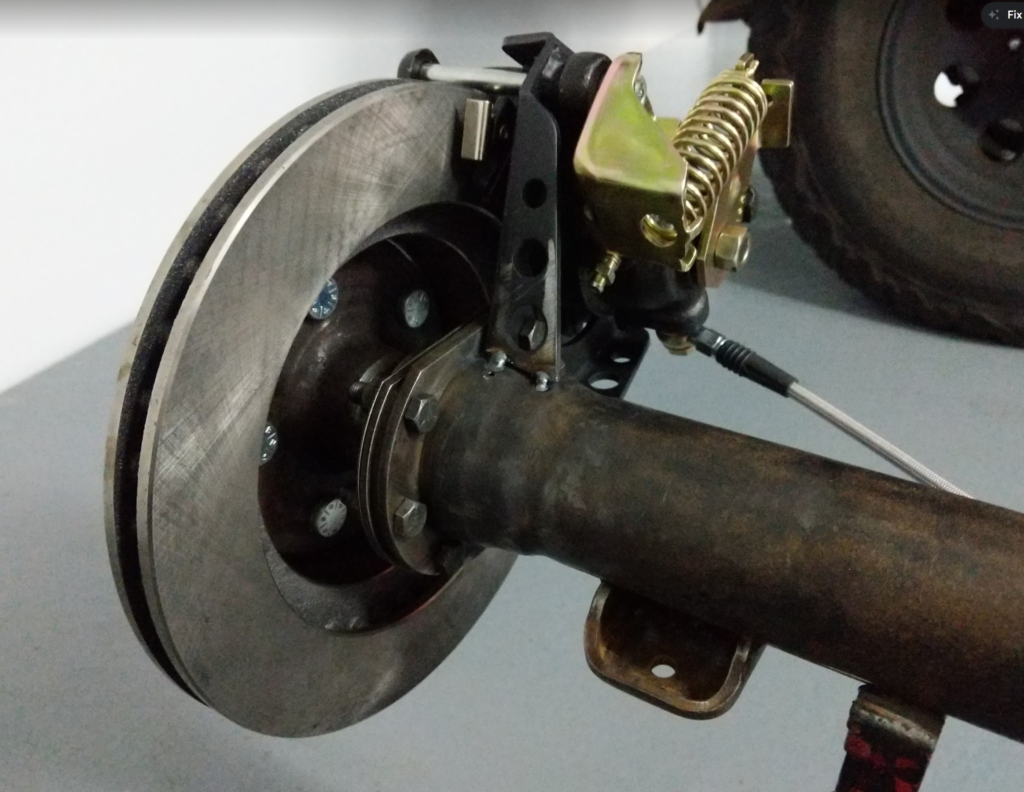
Before final welding I drilled out the bracket where the bearing retainer bolts had to pass through the bracket and then welded it up.
Routed some brake lines with p-clips.
Then gave it a nice coat of paint.
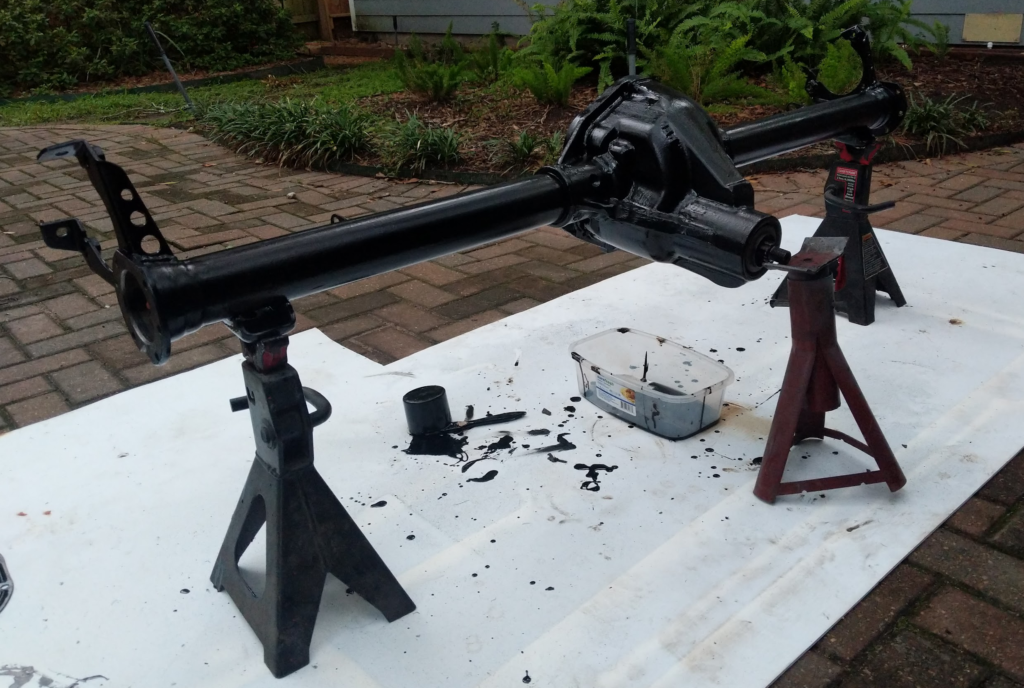
Then I reassembled the axle and put it back under the Checker… to forget about since I decided to work on my Red Jeep instead of the Checker.
Thus, the Checker sat for 3 years before I have been getting back to working on it.
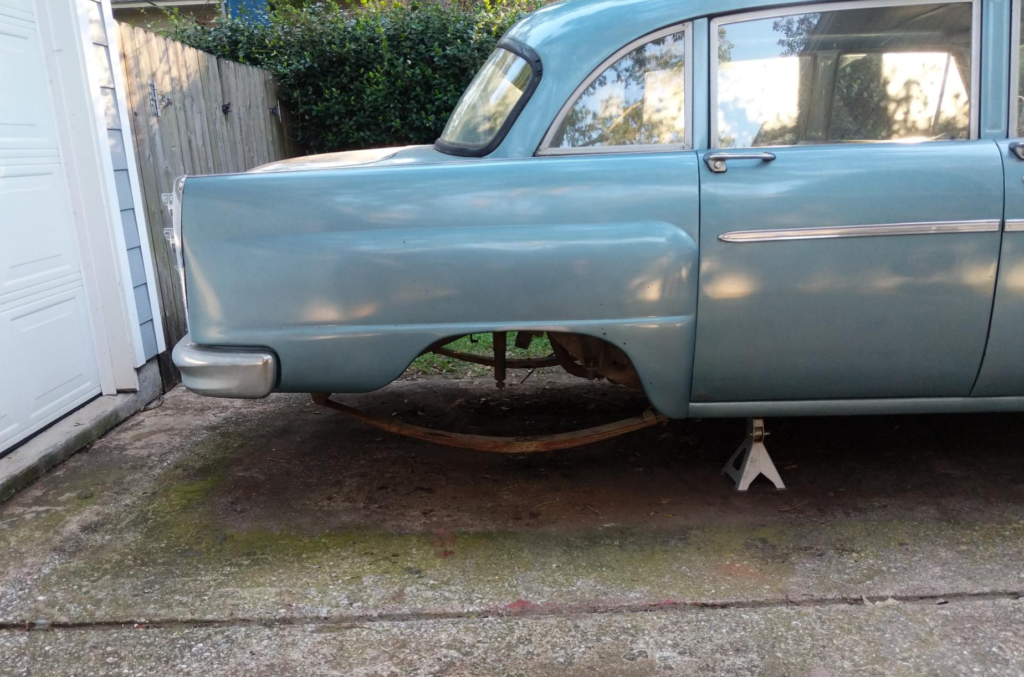
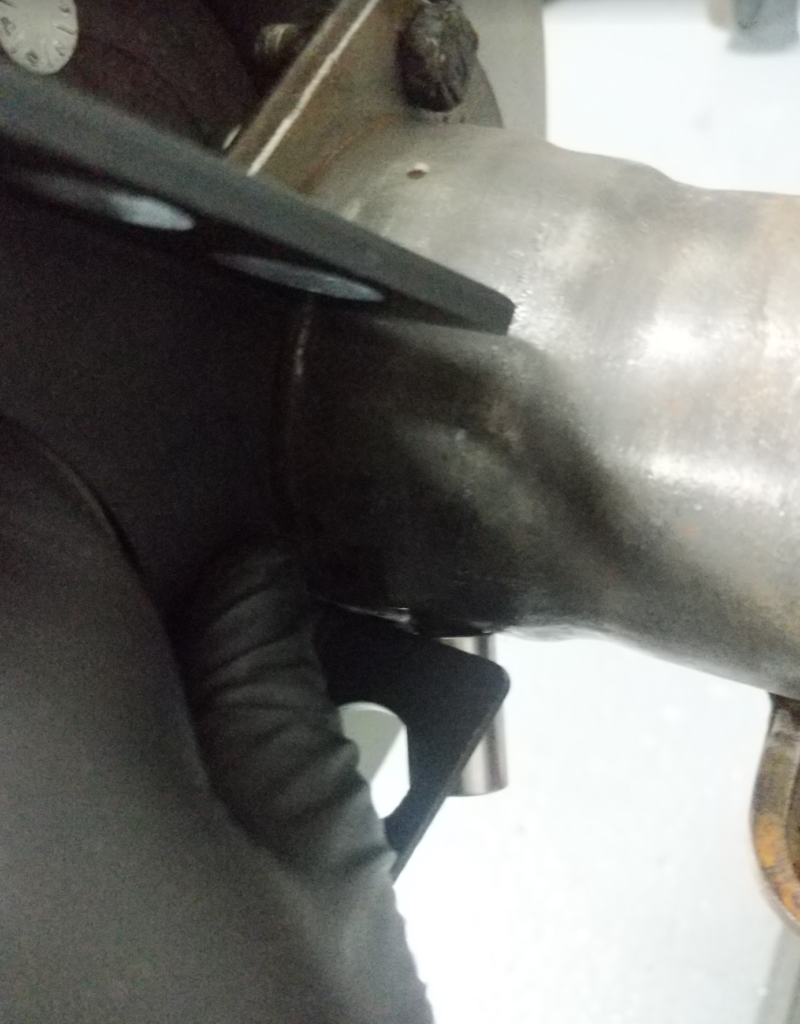
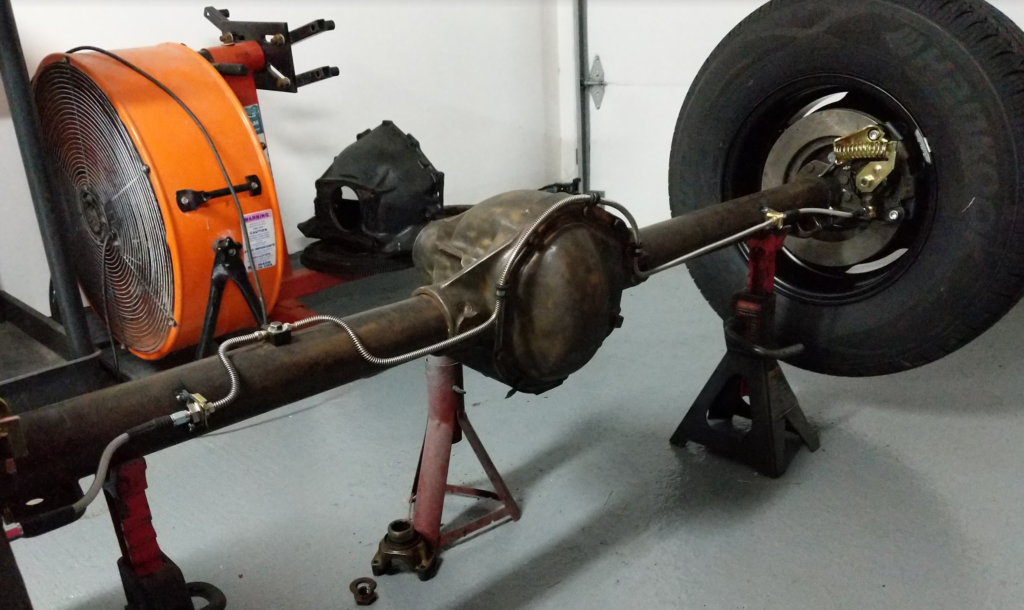
Today, I pulled the axle back out to finish up the rear suspension and axle work. One of the problems with the axle was that the brake lines interfered with the shocks. Will have to move the brake line brackets…
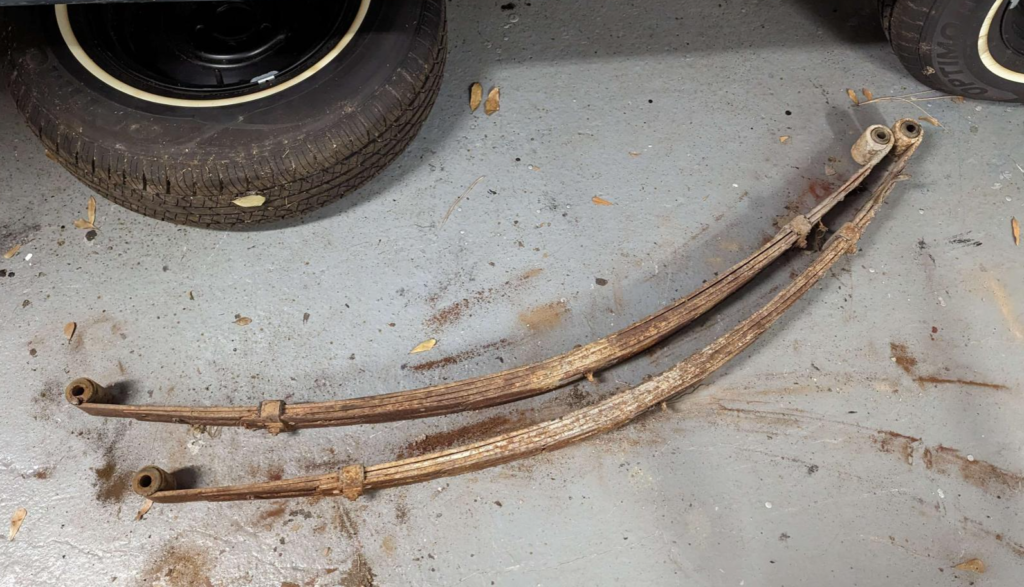
Pulling the rear leaf springs out.
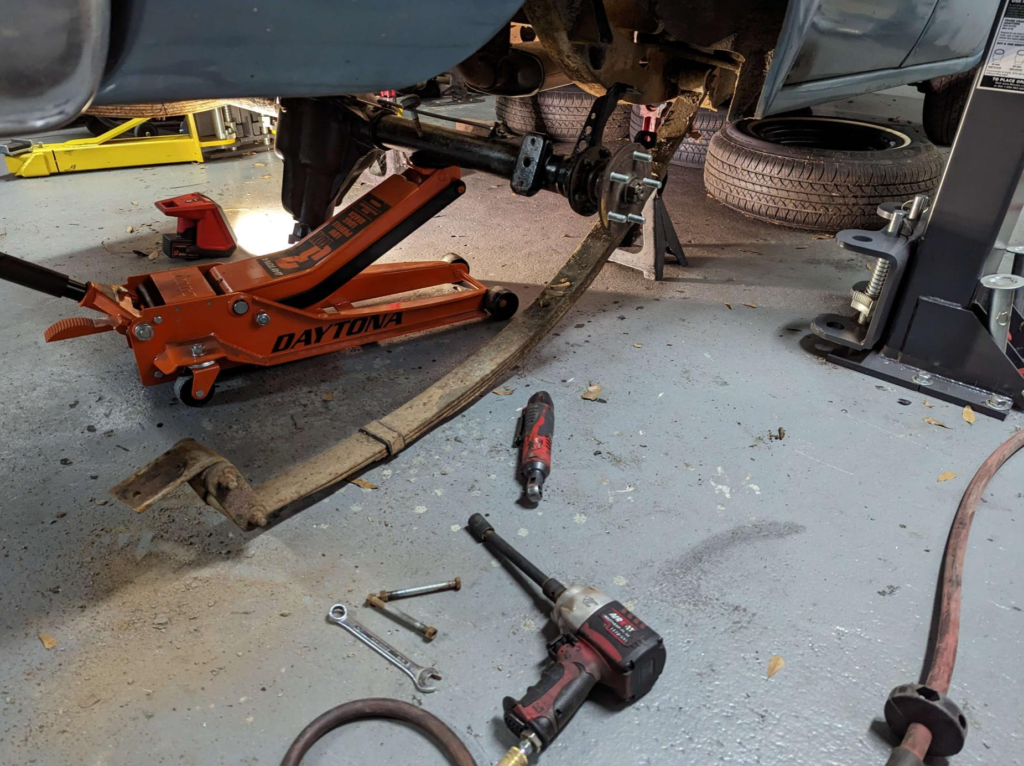
The front leaf spring bolt can’t come out without removing this body bolt… and the body bolt was rusted solid and just spun in place. Nothing a little application of a sawzall can solve!

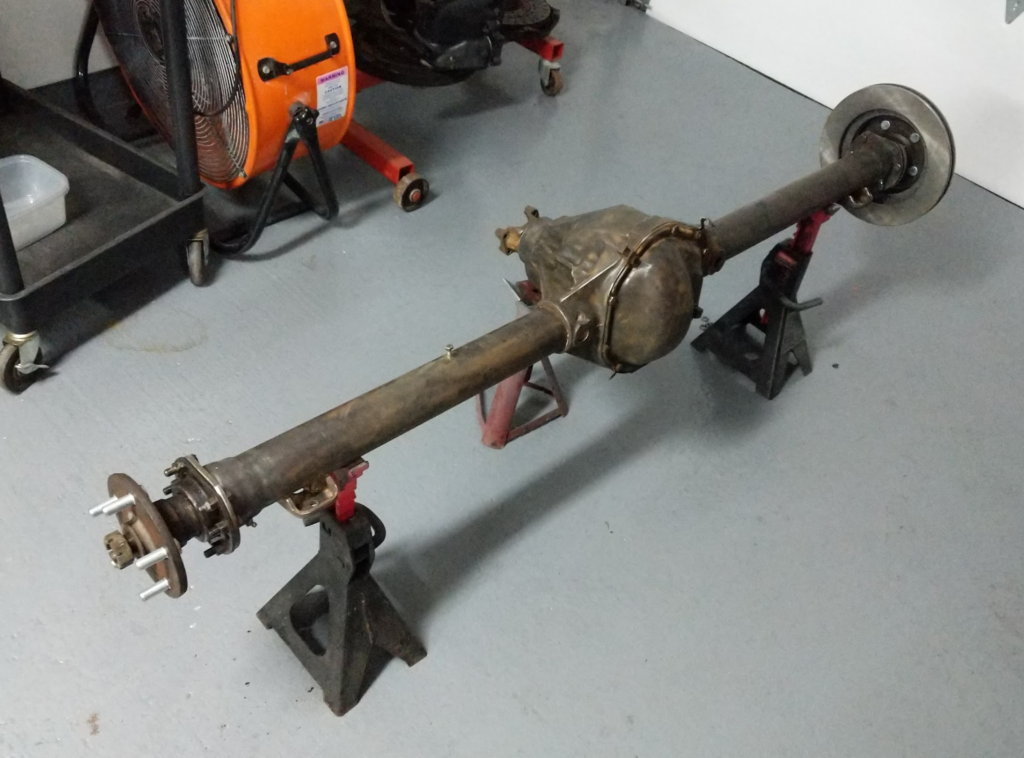
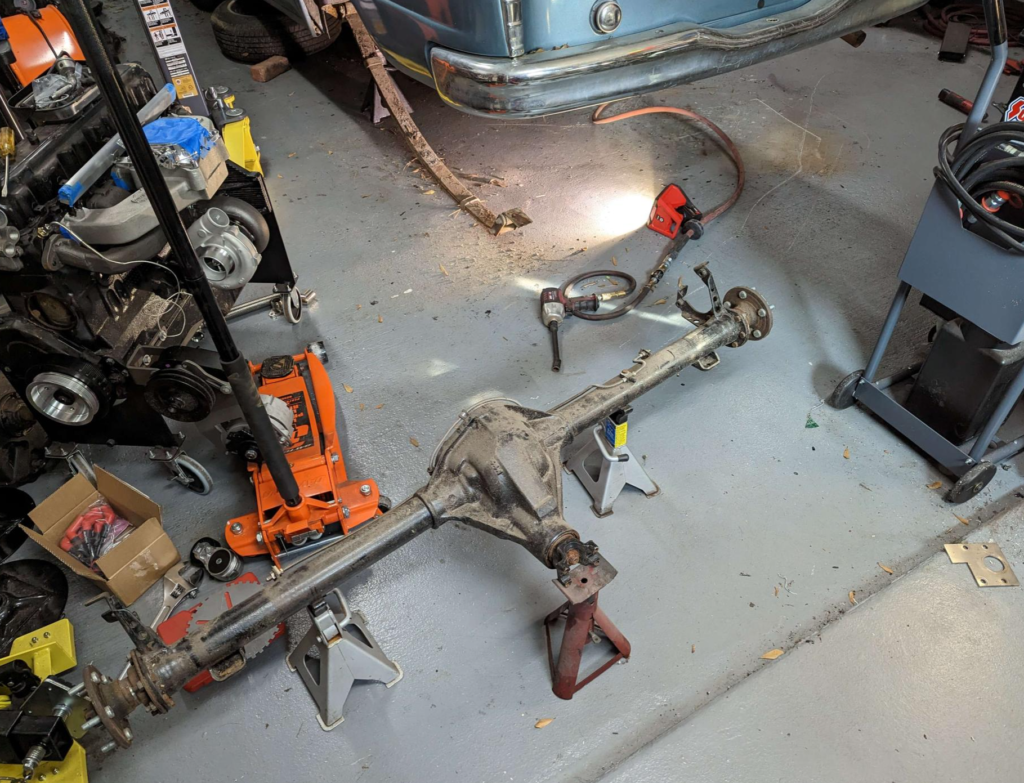
Axle removed once again after 3 years. Amazing how dirty it became just sitting in the driveway!
Here is all the leaf spring hardware that I will be refurbishing. The plan is to vapor hone the parts and then zinc plate them. The U-bolts are “new” from 3 years ago. Part number: Calvert Racing U-Bolts UR275X70. I remember it being kind hard to find some u-bolts that matched the originals in size.
U-Bolt Length (in.): 7.000 in.
U-Bolt I.D. Width (in.): 2.750 in.
U-Bolt Diameter: 0.500 in.
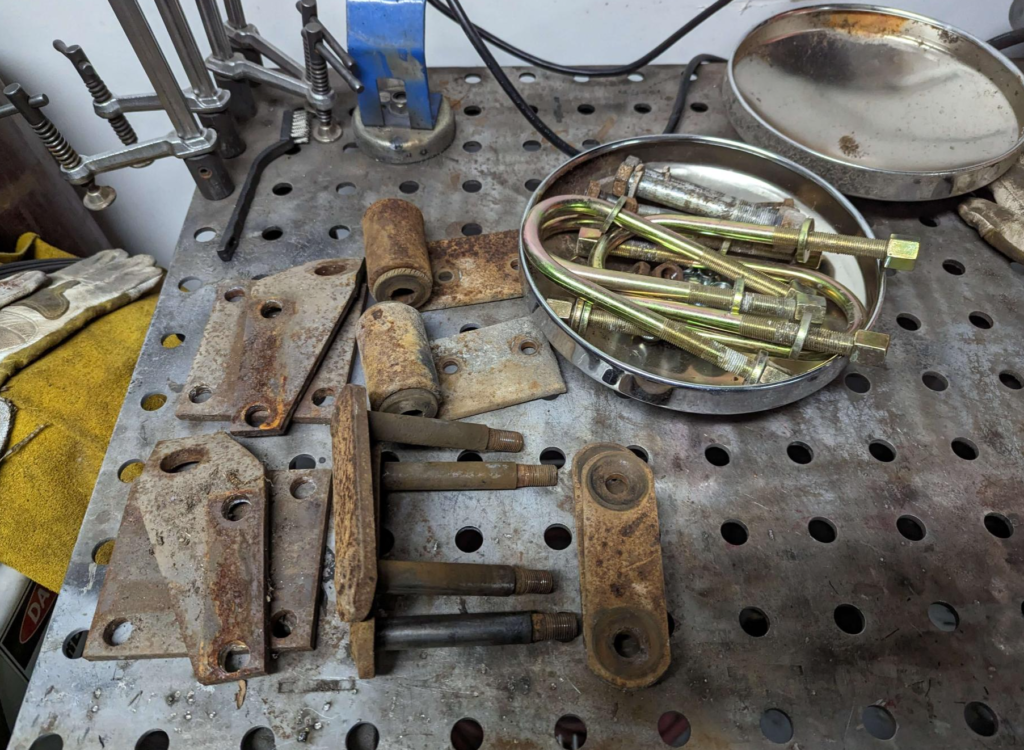
These are the springs. Besides the bushing and appearance they are in good shape. I will try to refurbish these. Clean them up, new paint, new bushings. Should be good to go?