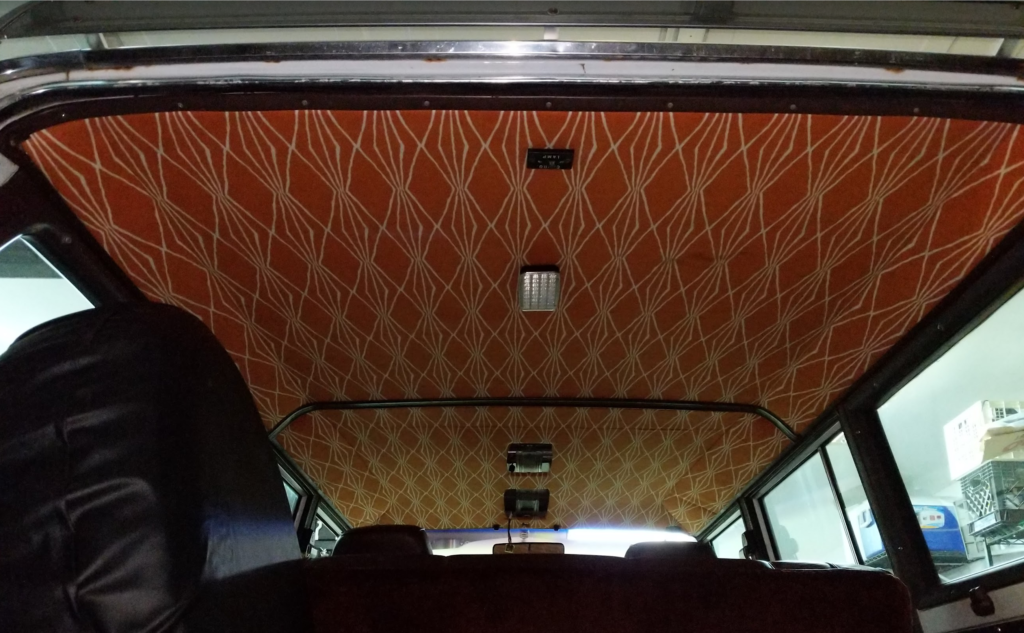
The original headliner for the Jeep Wagoneer was moldy and sagging. To fix this, I had to build my own complete headliner. I didn’t take any photos during the build but I will explain the process and materials I used.
Materials
- Coroplast Plastic Sheeting
- 2-4mm thickness, thinner is better
- This is the new backer material for the headliner, it is the same material political yard signs are made out of
- You can order this from a local sign shop
- Foam-Backed Automotive Headliner
- Try to find a Made in the USA material as the imported stuff tends to fall apart
- DAP Products Weldwood Landau Top & Trim HHR Solvent Type Spray Grade Contact Adhesive
- You want this stuff and not the kind already in spray cans
- Need a spray gun that can handle the thick glue, I used an HVLP gun with a 2.0mm nozzle
- You want a really good paint respirator when spraying this stuff
- A high quality fabric you want to put over the foam
- I went to my local fabric store and picked enough out to cover everything
- Make sure its wide enough!
Process
- Take the old headliner out of the vehicle.
- Remove what is left of the foam material off the old backer material. Be careful to keep the original backer in tact, it will fall apart if you let it.
- Use the original backer as a pattern and trace it out on the Coroplast. Orientate the Coroplast’s corrugations so they go lengthwise (Front to Back) to the vehicle.
- Cut out the Coroplast with a utility knife.
- On the parts where the Coroplast needs to bend or curve, cut through only through the top side of the Coroplast. This way it can bend or curve downwards. You might need to make multiple cuts to get the curve to match the original.
- Lay out the headliner foam and cut it to match your Coroplast, leaving about an inch all around the border.
- Spray down the contact adhesive in sections and press the headliner foam into the Coroplast. I tried to do it without stretching material.
- Let the contact adhesive dry.
- Trim the headliner foam to match the Coroplast.
- Lay your fabric over and trace it out, again matching your headliner and leaving about an inch all around the border.
- Spray down the contact adhesive in sections and press the fabric into the headliner foam.
- On the edge of the fabric, glue this with the contact adhesive to the backside of the new Coroplast backer. You might not be able to fold over the edge if you are using thicker (4mm) Coroplast as it wont fit into your trim pieces.
- Wait 24 hours for full cure and install!