
A couple months ago, someone backed into my mother’s brand new QX55 Infiniti and cracked the front grille surround. There is not a lot of repair videos or information about the QX55 since it is in its second year of production. Lets figure out how to replace the grille!
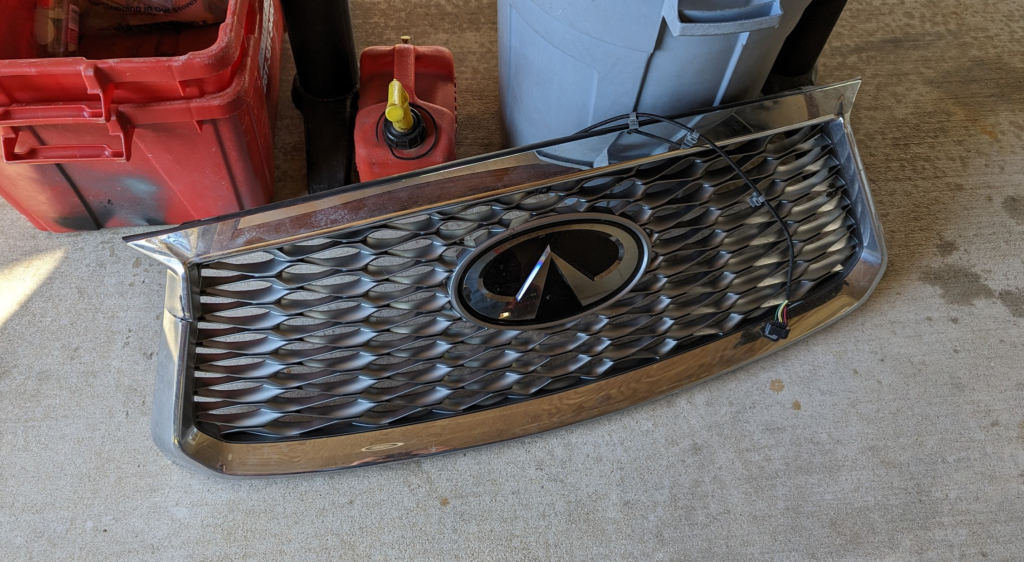
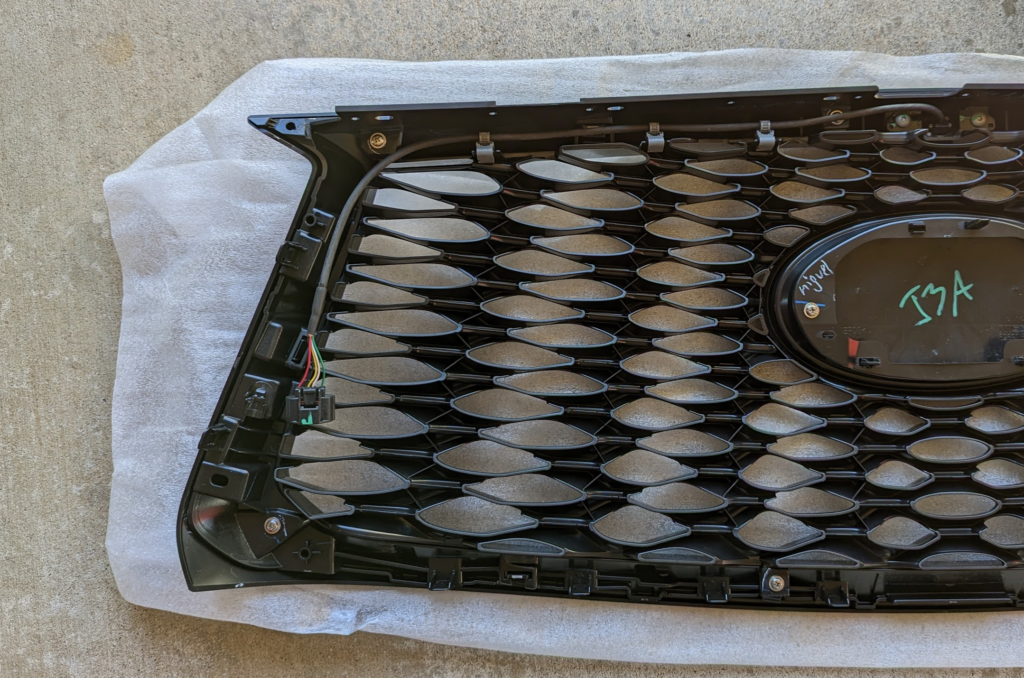
Part Number T99G7-5VG1A is the “blacked” out version of the standard chrome grille. It is the color my mother wanted.
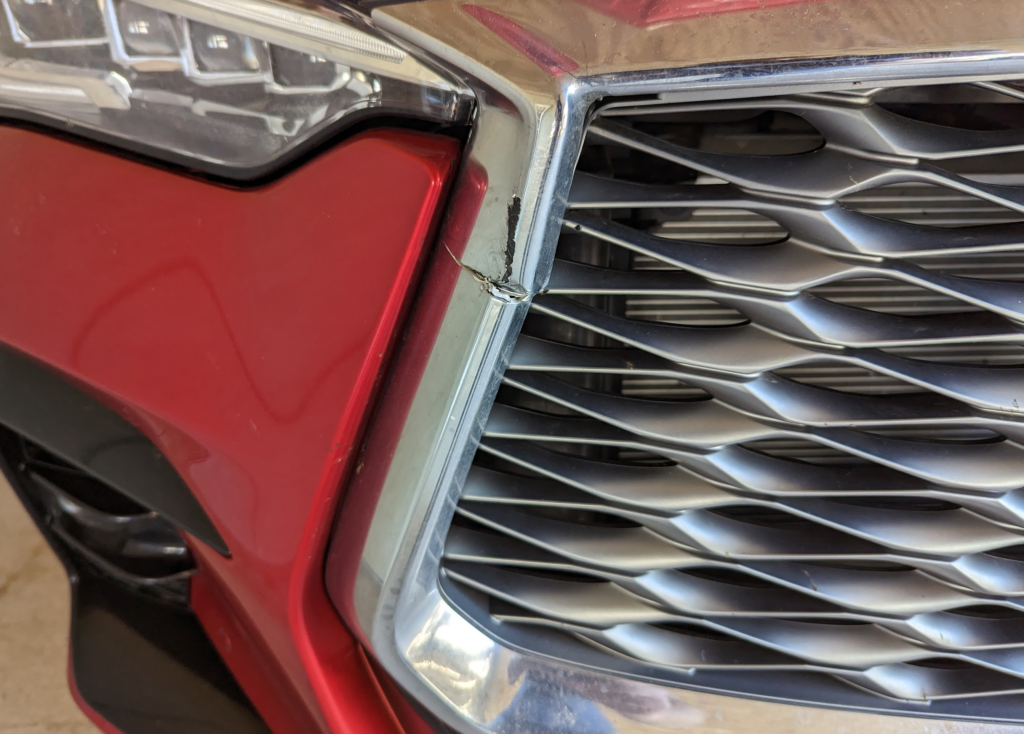
Damaged original grill. Less then 2000 miles on the car and some turd bucket backed into it.
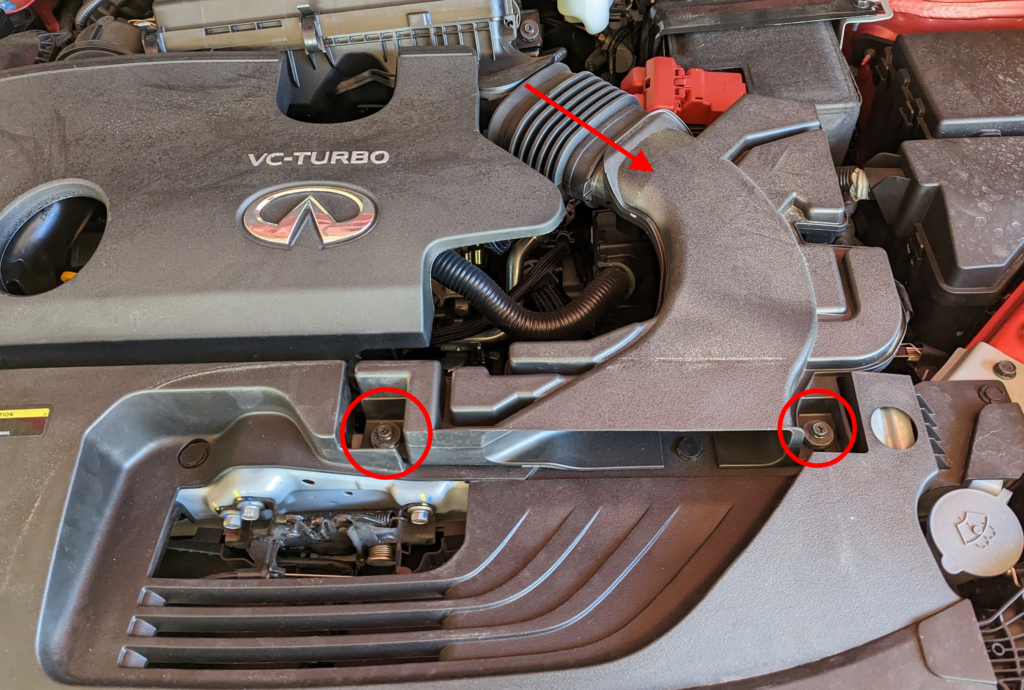
Open the hood and remove the air scoop thingy with a 10mm socket. Then pull the scoop boot off the intake.
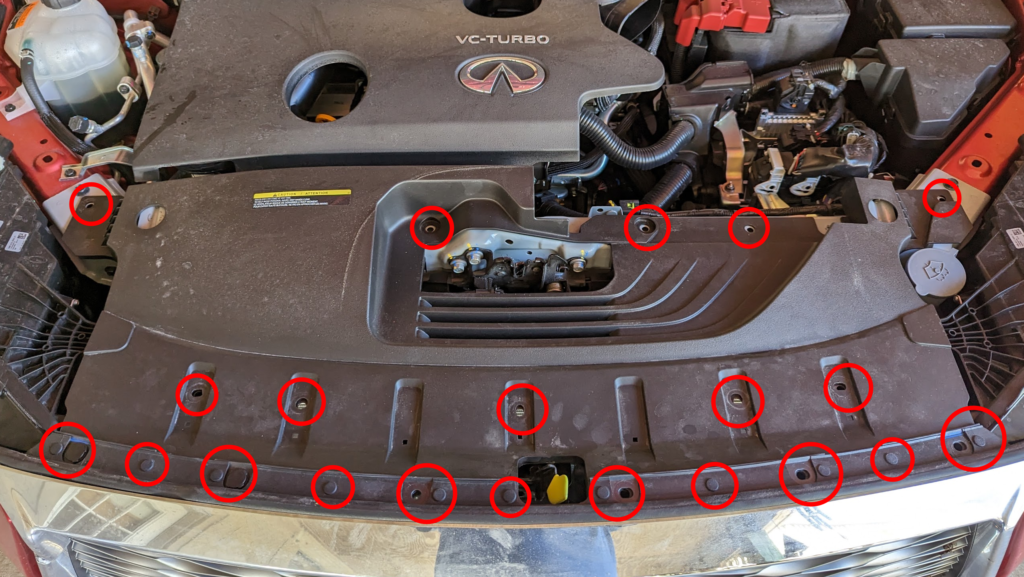
Now you will want to remove the plastic cover by removing a bunch of push pins.
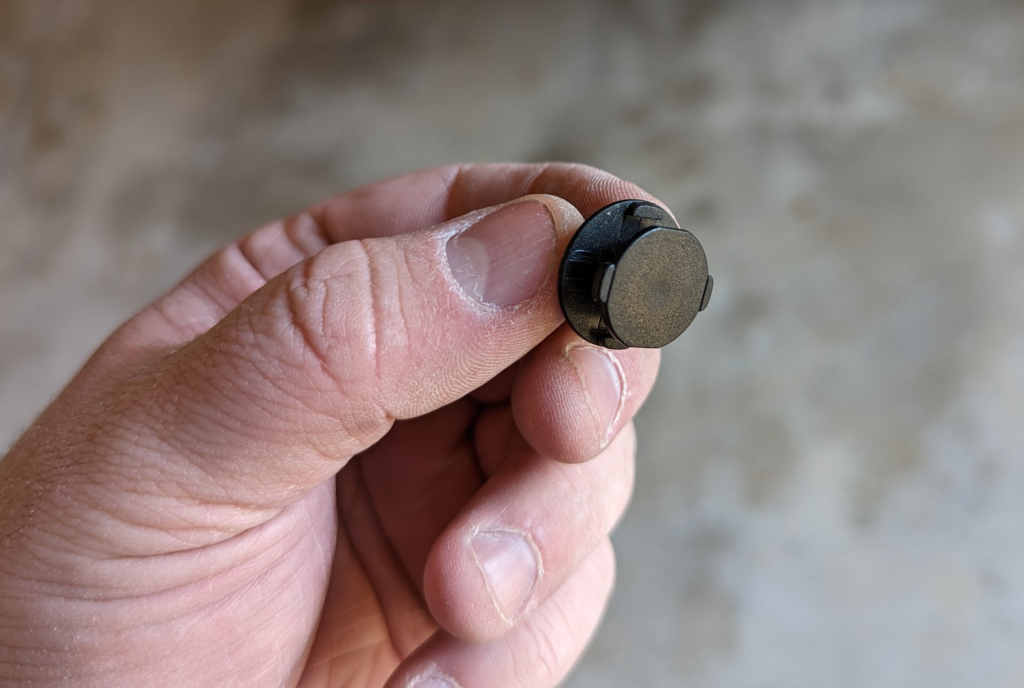
Easiest way to remove these is with a plastic pry bar from an interior trim removal tool kit.
After removing all the push pins, the plastic cover will feel like it wants to pop out but there is one more fastener that we can’t get at. It is under the plastic cover near the caution sticker on the cover.
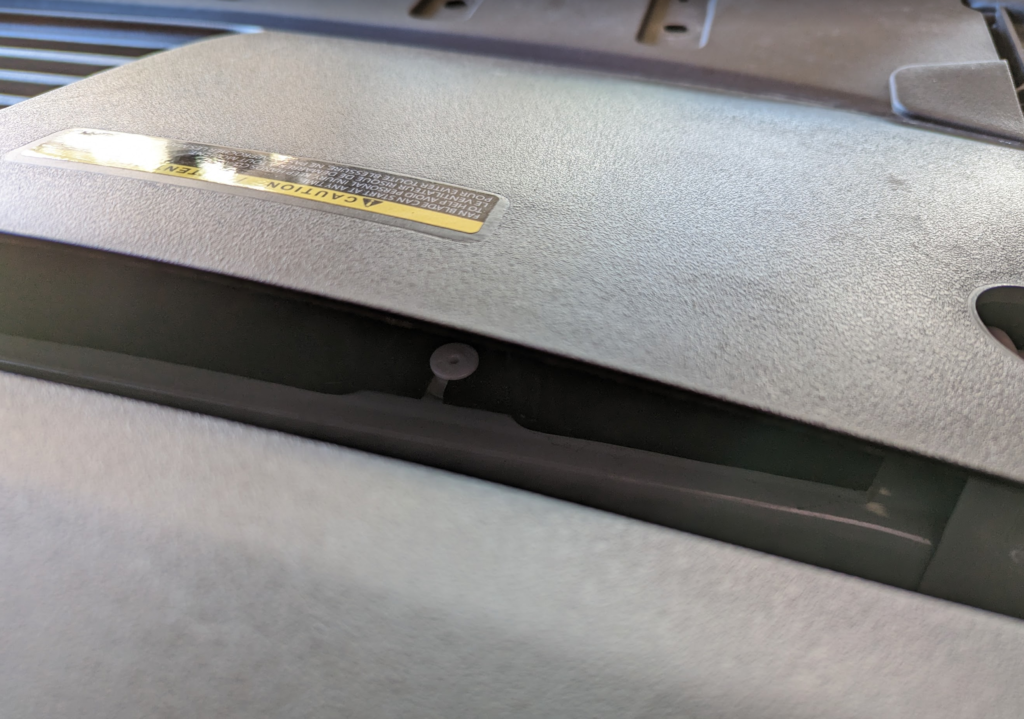
You can’t remove this without damaging either the plastic cover or the fastener. So you will have to pop the front side of the cover out and then slide the cover out of that fastener.
Pull the front grill outwards while using your plastic pry bar to pop the plastic around. The top plastic cover should come free now. Set it aside.
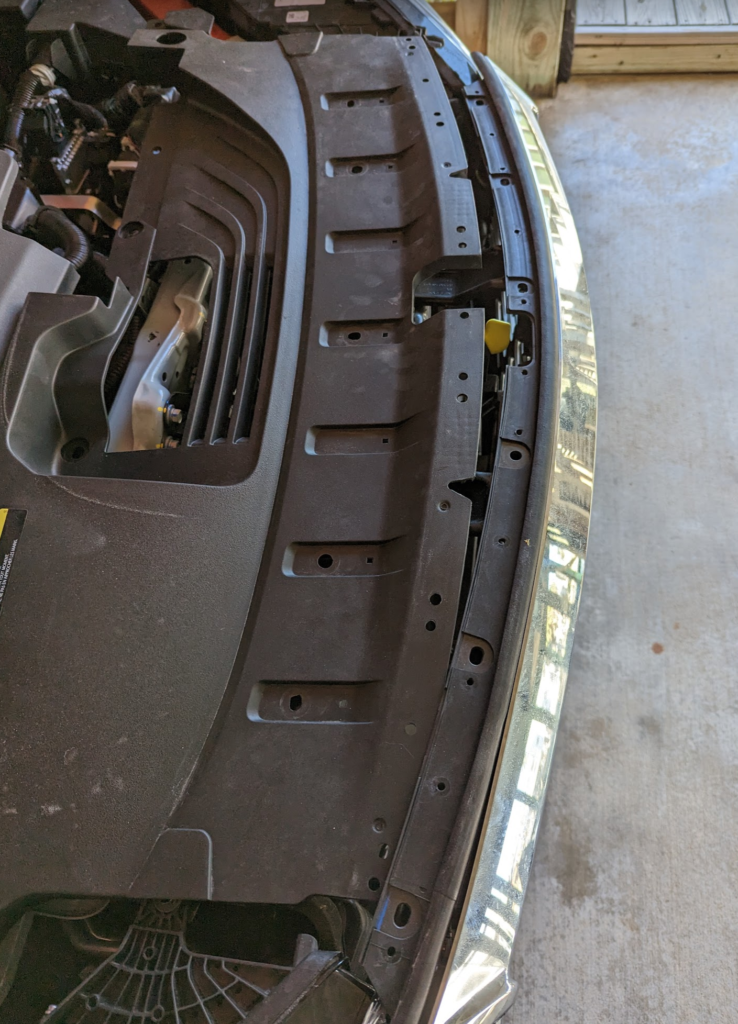
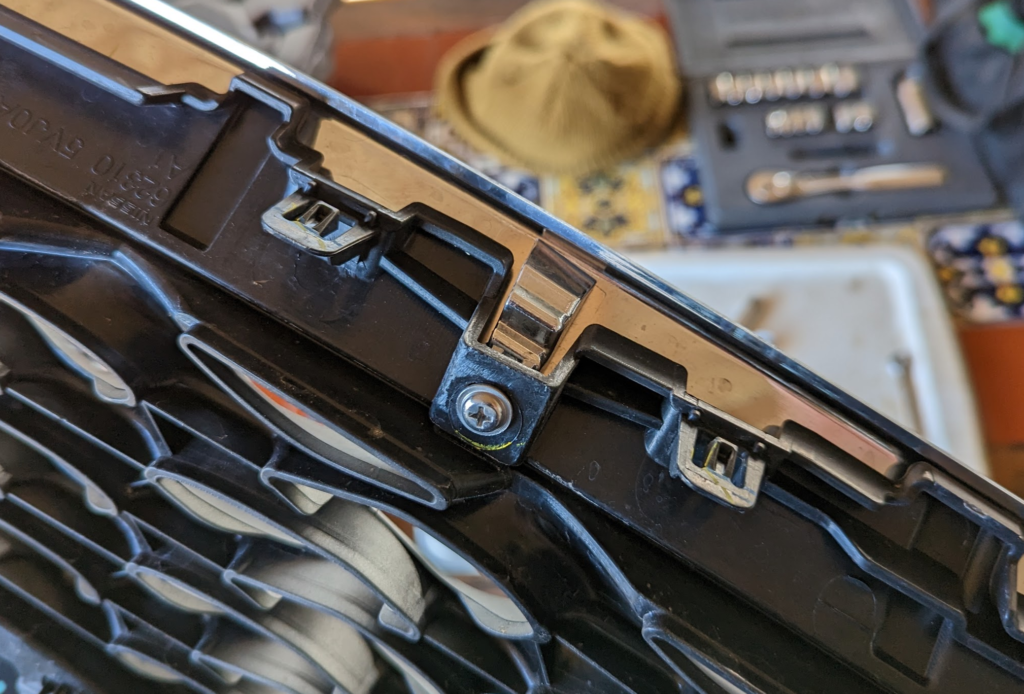
There are 4 10mm bolts that hold the grille to the rest of the body panels. They are in the corners of the grille. Here is a picture of the upper passenger side bolt that needs to be removed. A 10mm ratchet wrench is key here. Don’t drop the bolts.
After removing the 4 bolts, there is a wiring harness on the driver side of the grille for the front camera. Disconnect the connector and pop the connector off the mount. There is also a zip tie holding the cable to the bottom of the grille, cut the zip tie.
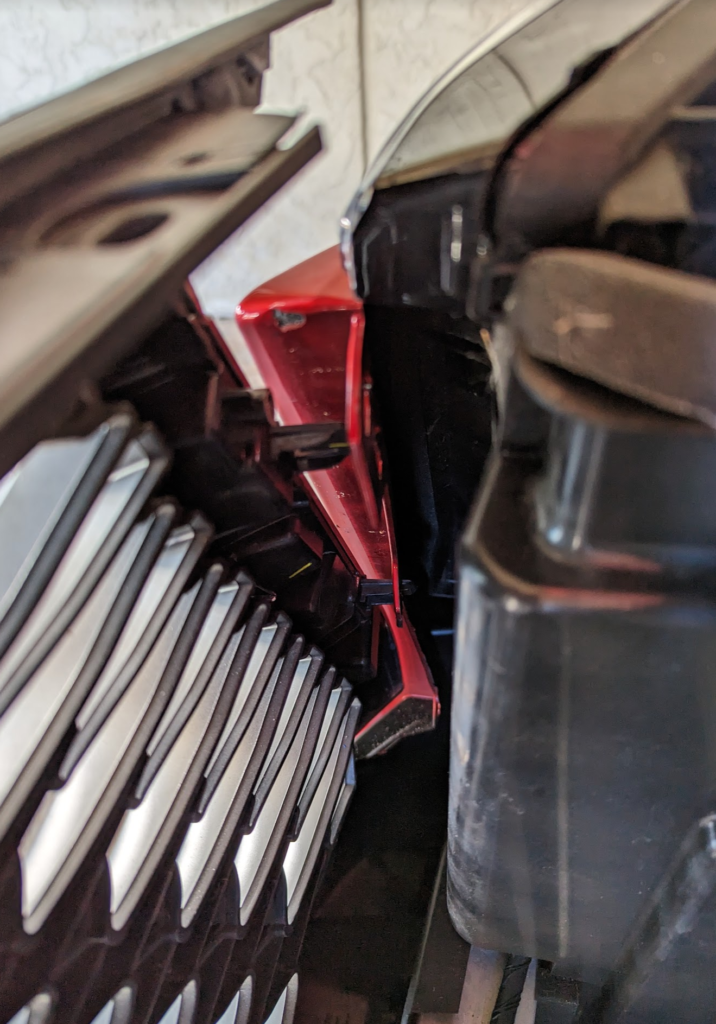
With the bolts and cables removed we can start unclipping the grille. There is 2 clips on both the driver and passenger side of the grille and then 8 along the bottom. If you get your finger on the outside of the clip and press in they should snap out. Doesn’t take a lot of force.
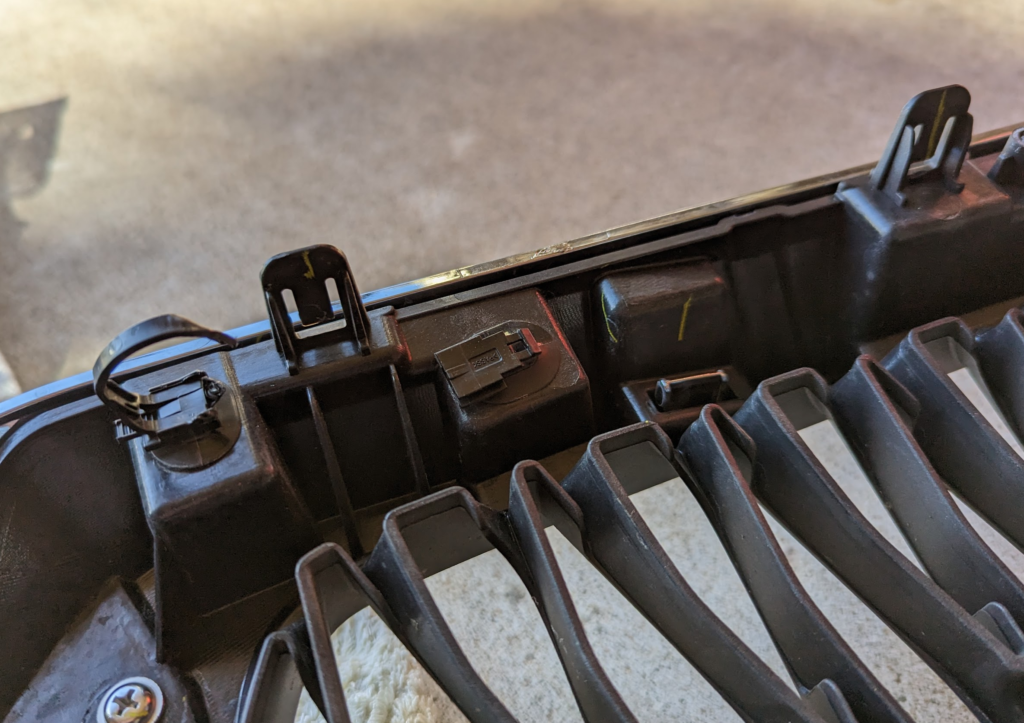
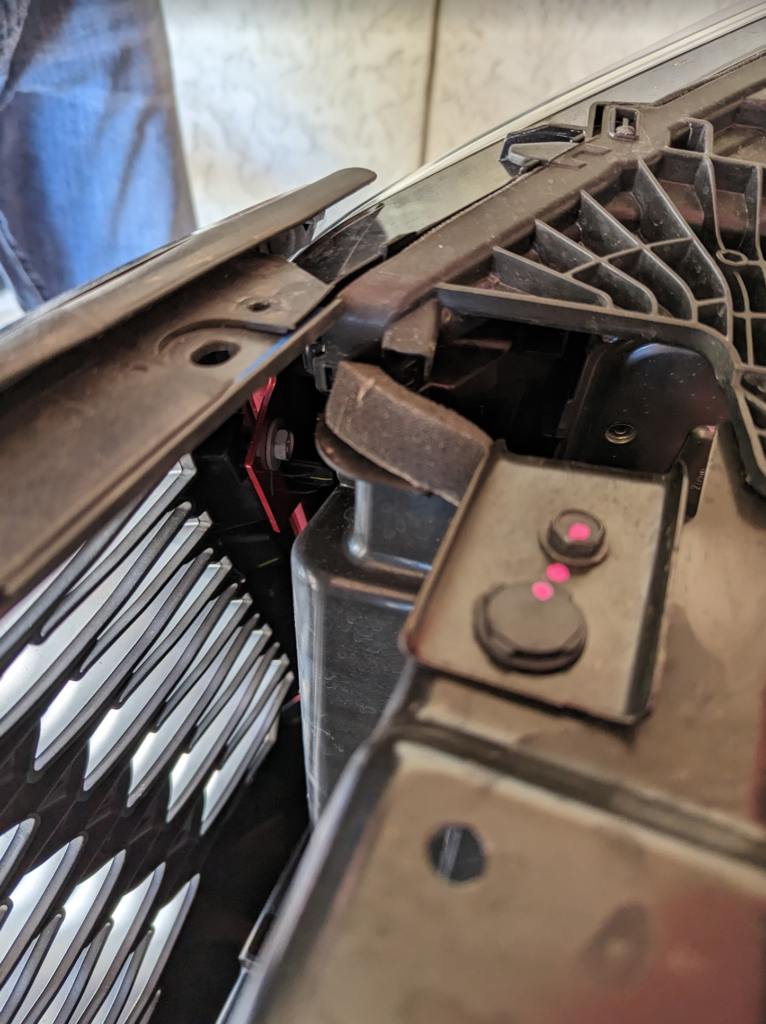
Here is a picture of the clips and that zip tie you need to cut. You want to press the clips inner part towards the center of the grille.
Another close up of the clips. Here you can see the inner “ramp” part of the clip you need to press in.
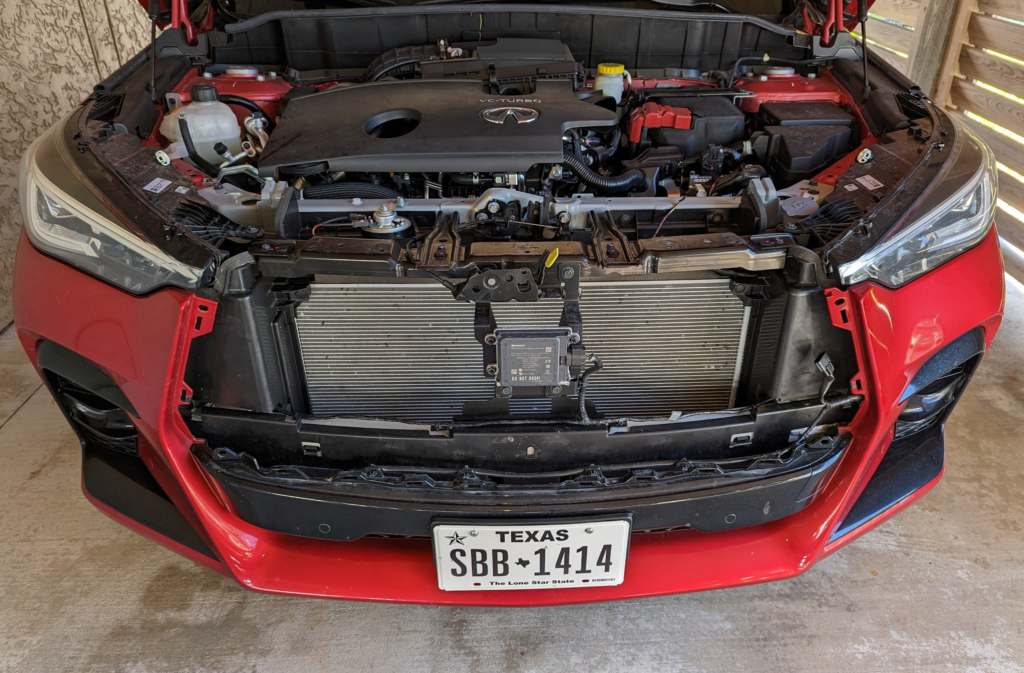
Grille removed!
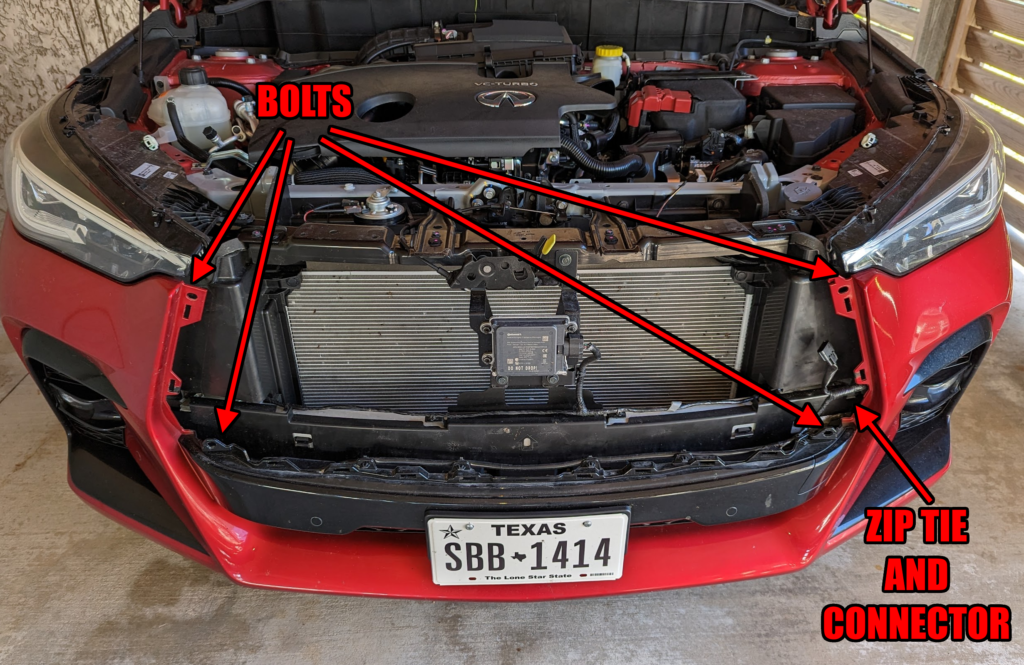
Where the bolts and wiring harness is located at.
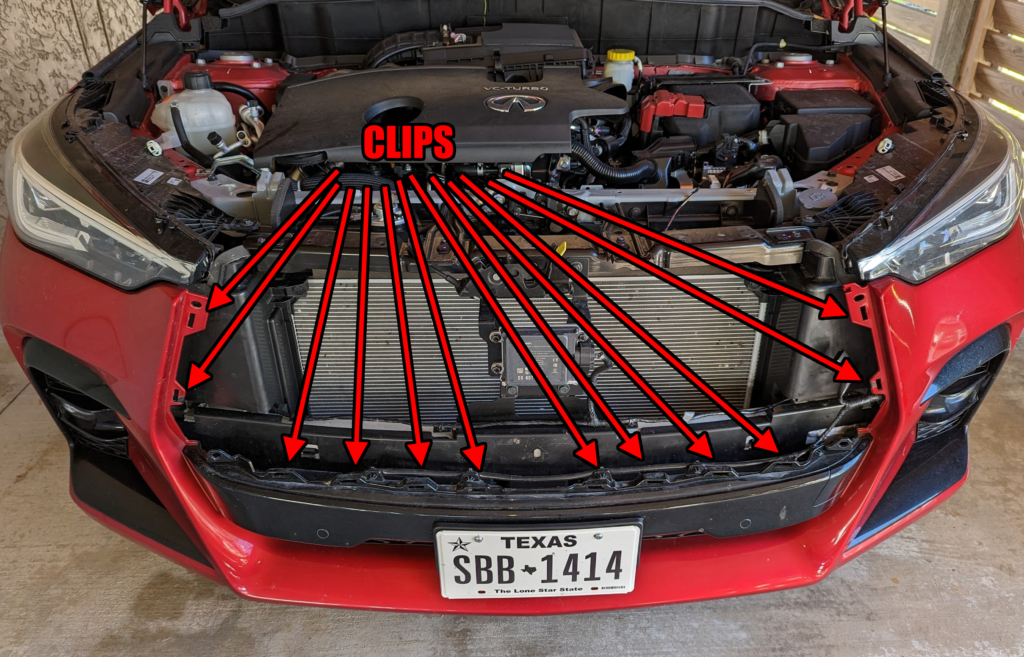
Here are the location of the clips.
We now need to pull of the logo and front camera. Logo unscrews from the back with two phillips screws and the camera requires a T10.
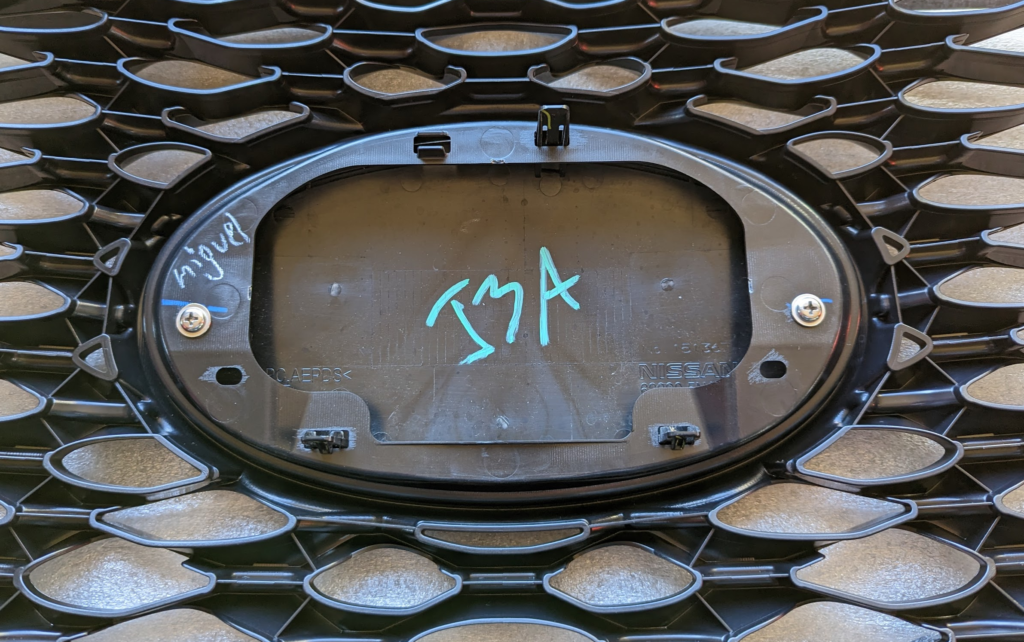
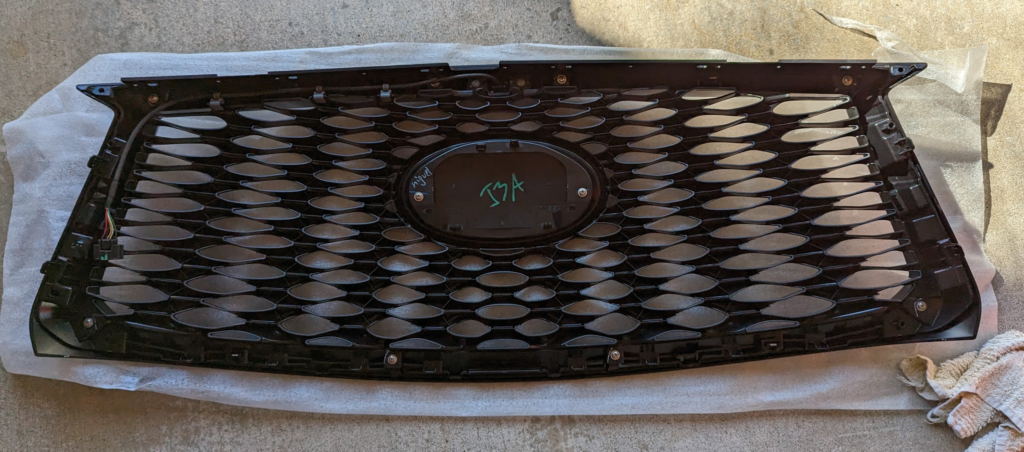
New grille with the camera and logo transferred over. You will need to pull the connector clip from the original grille as well.
Install is the exact opposite: pop the grill into all the clips on the body, reinstall those 4 10mm bolts in the corners, slide the top plastic cover into place. Pay attention to that one white plastic fastener that we couldn’t remove. The cover kinda just slides into place around that one. Reinstall all the push in clips and the air intake snorkel thing with the 2 10mm bolts and shut the hood!
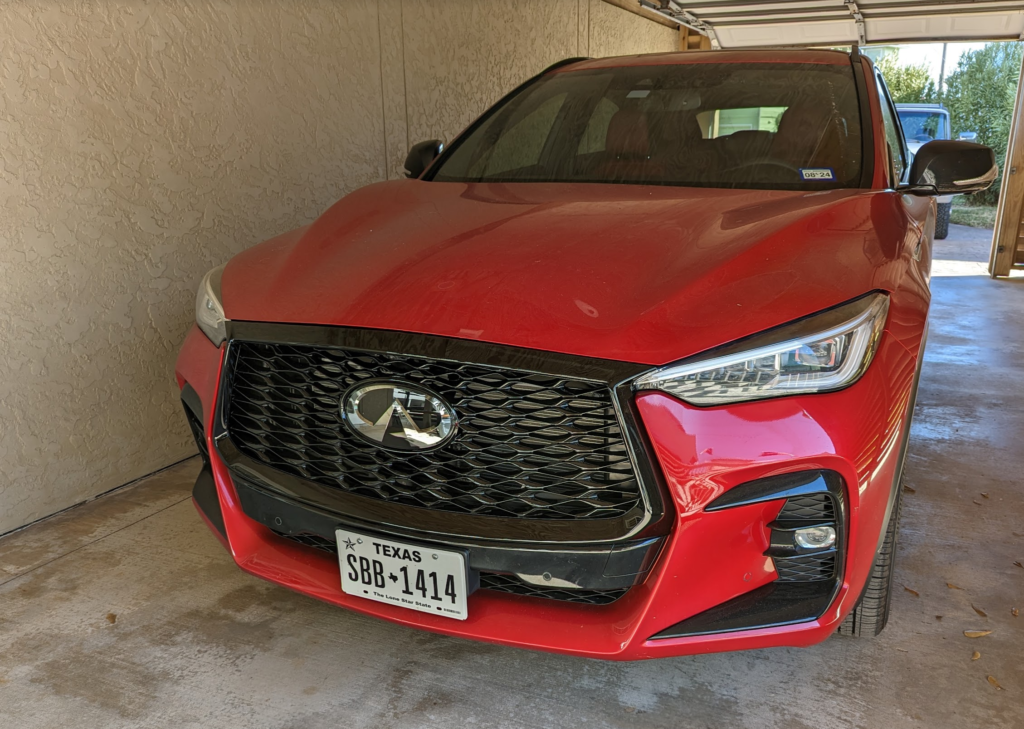
Grille fixed and look updated!