The Wagoneer’s AMC 360 engine is a bit worn out. The engine blows a bit of smoke on start up so I suspected it was the valve seals leaking down some oil into the cylinders when the engine isn’t running. The engine itself doesn’t burn much oil other wise.
The overview is: remove the valve covers, remove rockers and push rods, remove valve stem keepers and springs, install new seal.
Parts / Supplies Needed
- Valve Cover Gaskets
- FEL-PRO VS 50001 C
- Valve Seals
- EngineTech S2886
- Sealant
- Permatex 80062 High Tack Gasket Sealant
Tools Needed
- Valve Spring Compressor
- Proform 66784
- Valve Holder
- Lisle 19700
- Air Compressor
- Fittings to hook up to the valve holder
- Spark Plug Socket
- SAE Socket Set
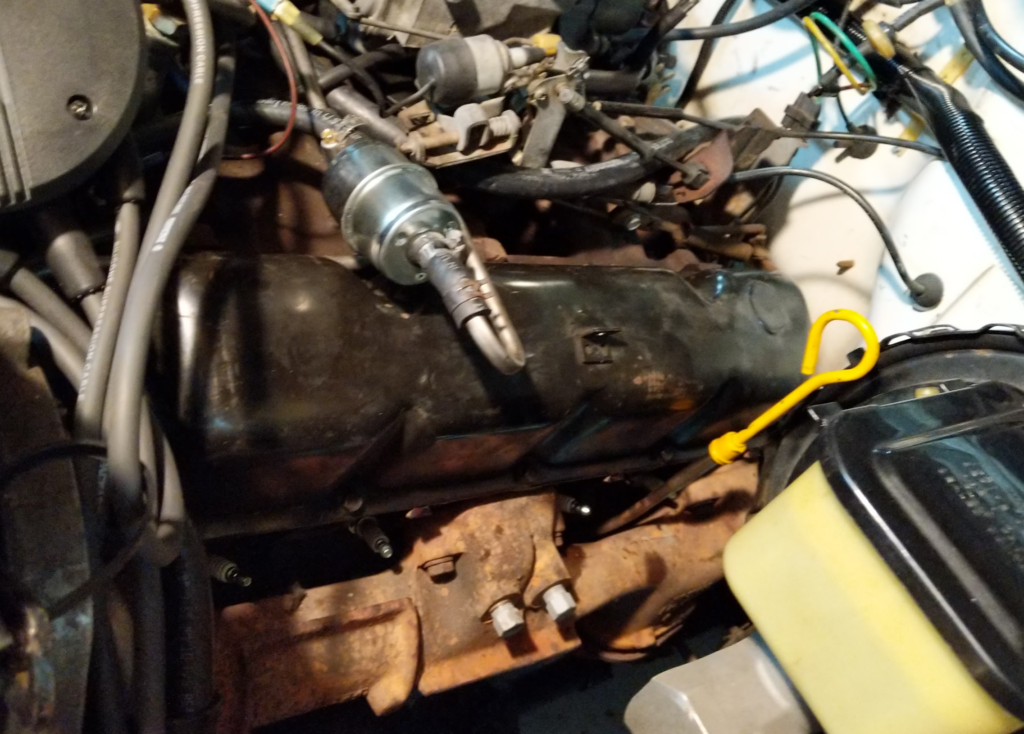
First move everything out of the way of the valve covers. For me the spark plug wires and the fuel lines where in the way so I had to disconnect these and move them out of the way.
Remove the valve cover. Clean up any old valve cover gasket left on the engine and valve cover.
Remove all the spark plugs from the engine. Keep them in order if you are not replacing them.
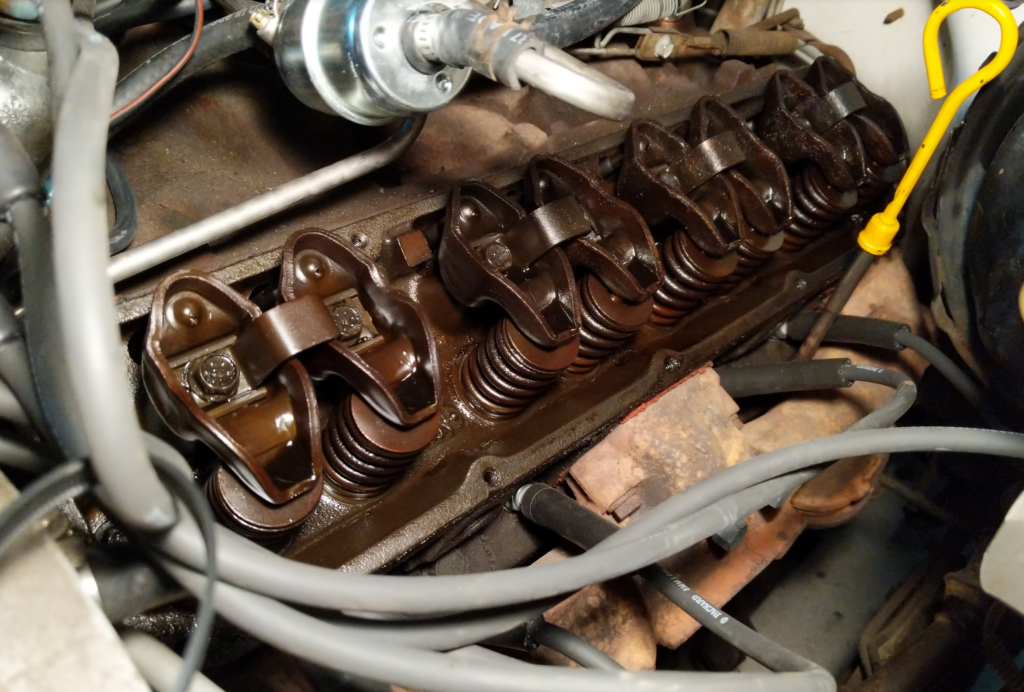
Next we want to remove all the rockers and push rods. To remove the rockers you want both valves to be closed before removing the two bolts holding each rocker pair on. Rotate the crank with a socket and wrench till the valves close (valves up and push rods down) then remove the bolts. Repeat for all 8 of the pairs.
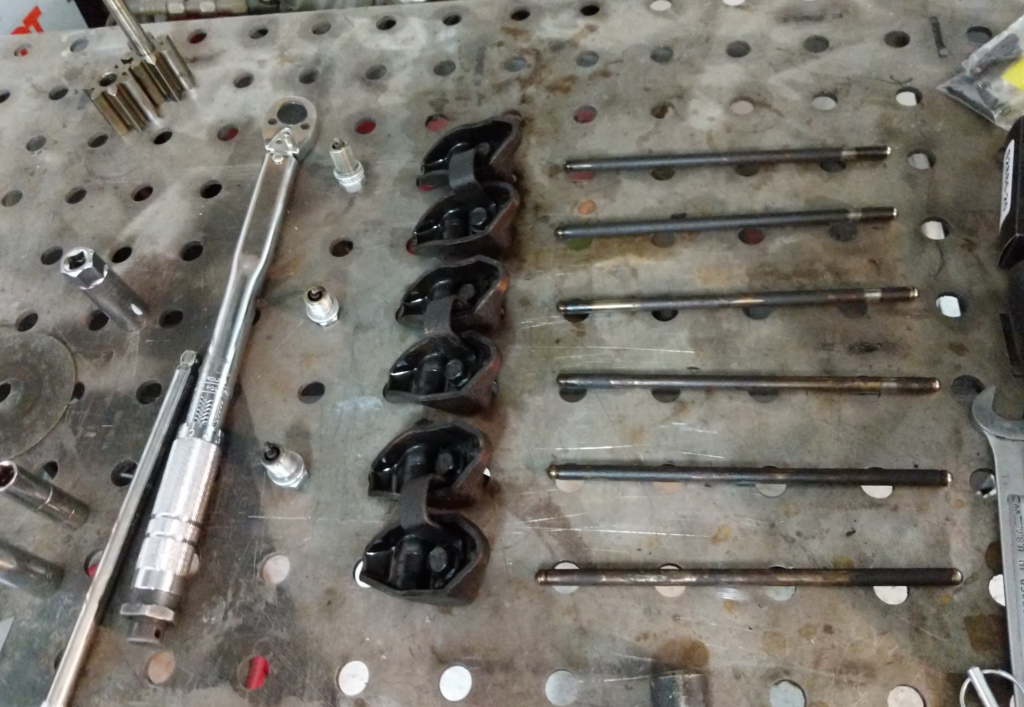
Make sure you keep the rockers and push rods paired up and organized so that the rockers and push rods can go back to the original location when reinstalling.
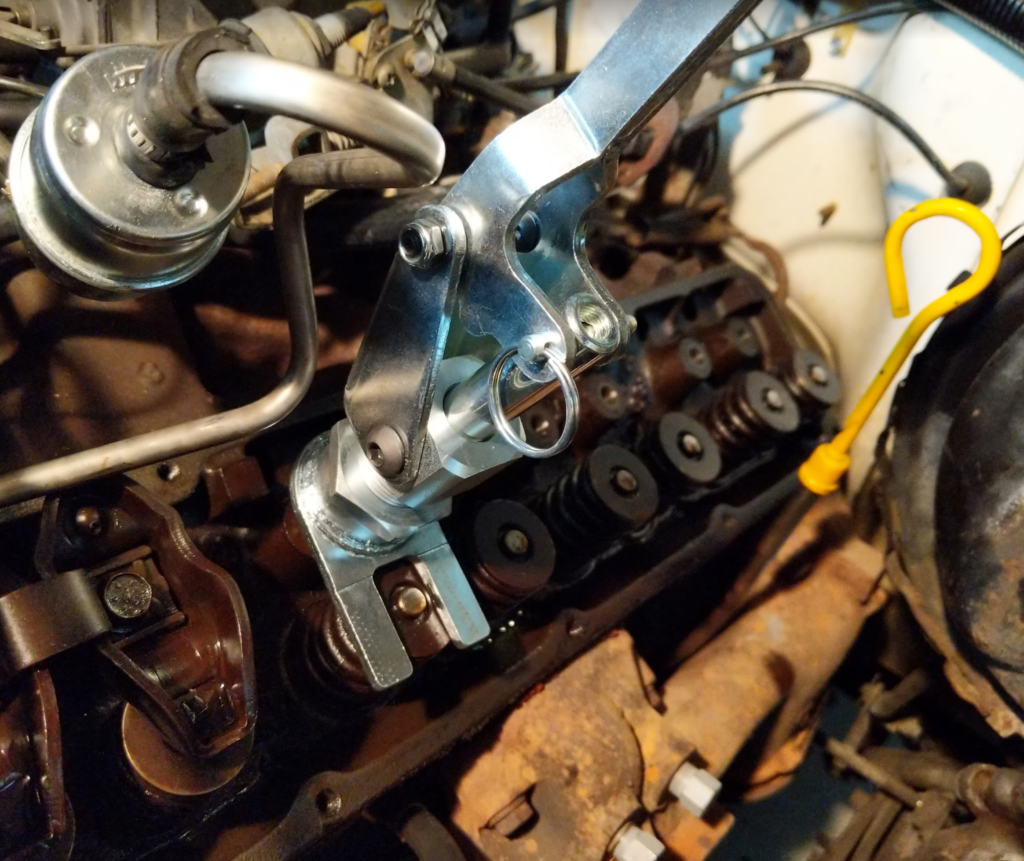
Ok next, thread in the valve holder into the spark plug hole and apply continuous air from the compressor into it. This will hold the valves up while we remove the valve keepers and springs to replace the seal.
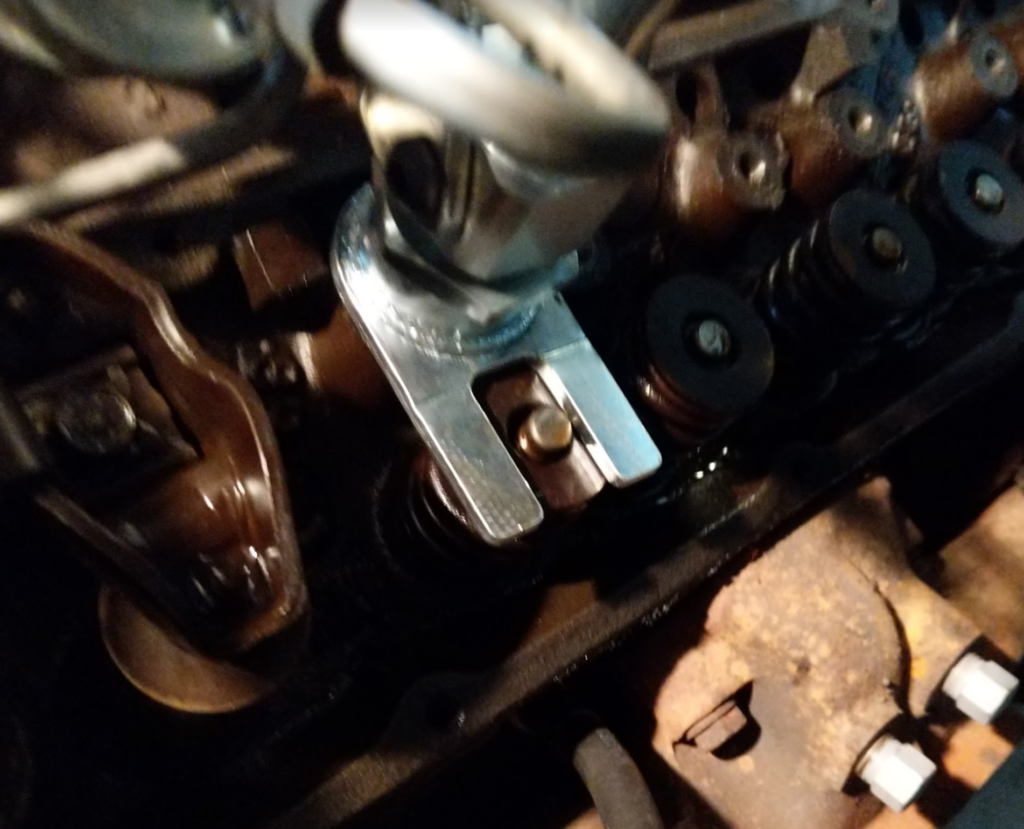
Next, thread on the stem of the valve spring compressor tool into the rocker bolt.
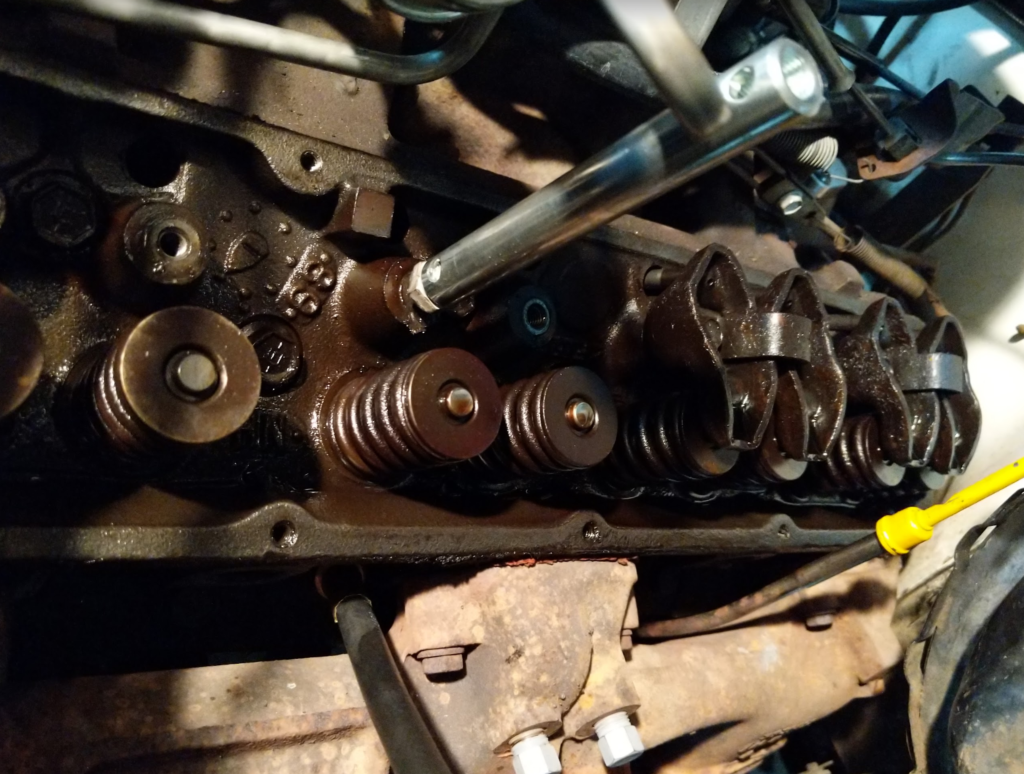
Install the rest of the valve stem tool over the stem.
WHAT EVER YOU DO. DON’T PRESS DOWN ON THE VALVE STEM. JUST THE SPRING.
Pressing down on the valve stem will break the seal of the valve and then the valve will drop into the cylinder. If that happens…. Time to order head gaskets and bolts.
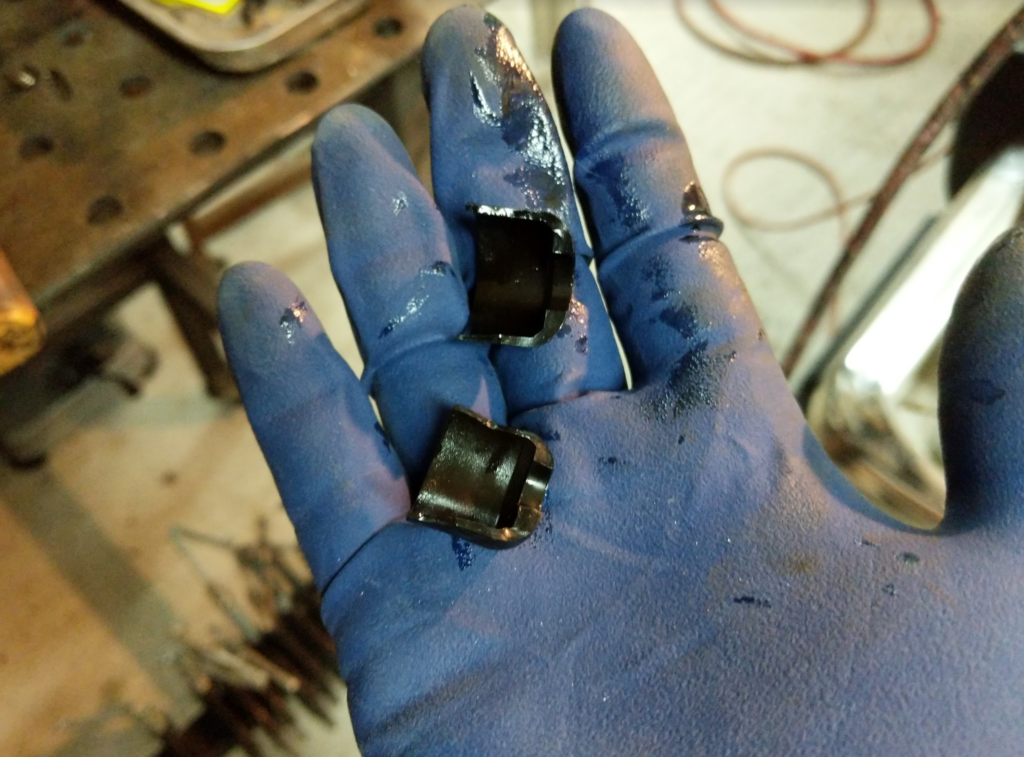
Pull on the valve compressor and it will press the top of the valve down. This will compress the spring around the valve stem. The valve keeper is two parts around the valve stem. Make sure you don’t loose them when they come loose from the valve stem.
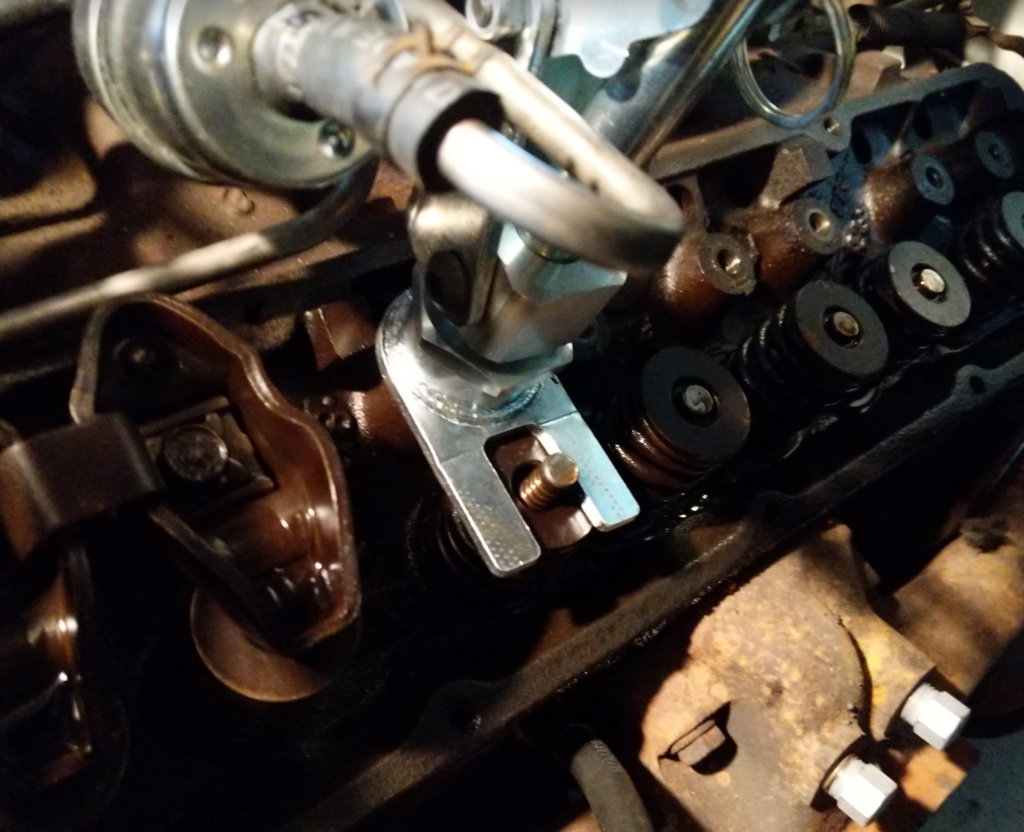
Once the valve keepers are removed, release the spring tension and remove the valve compressor tool. Then remove the valve spring.
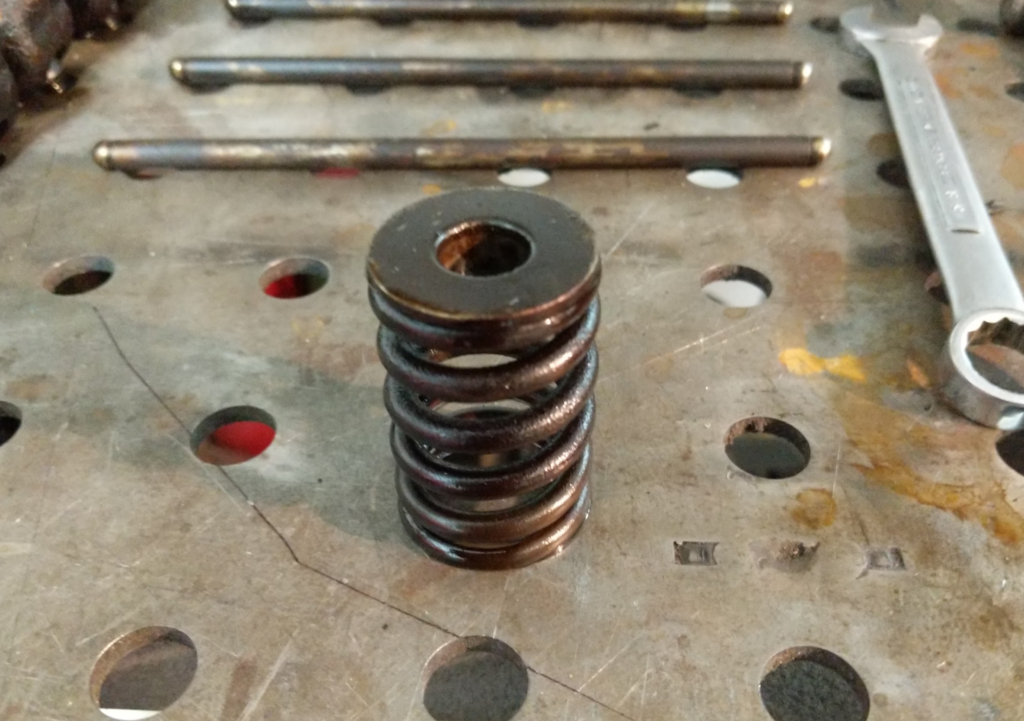
Here, remove any of the valve seals that still exist. Mine where all cracked or missing.
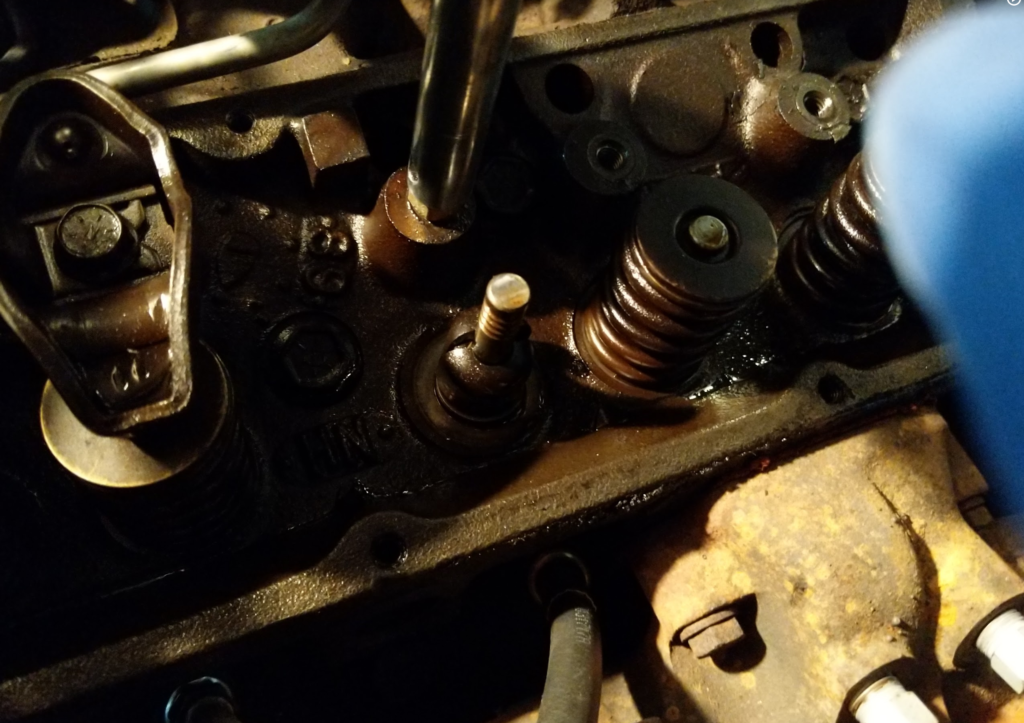
I don’t know if the original valve seals where hard plastic or just the rubber hardened up over the years but all of mine where shattered.
Slip on the new valve seals which are silicon with a spring to keep them in place.
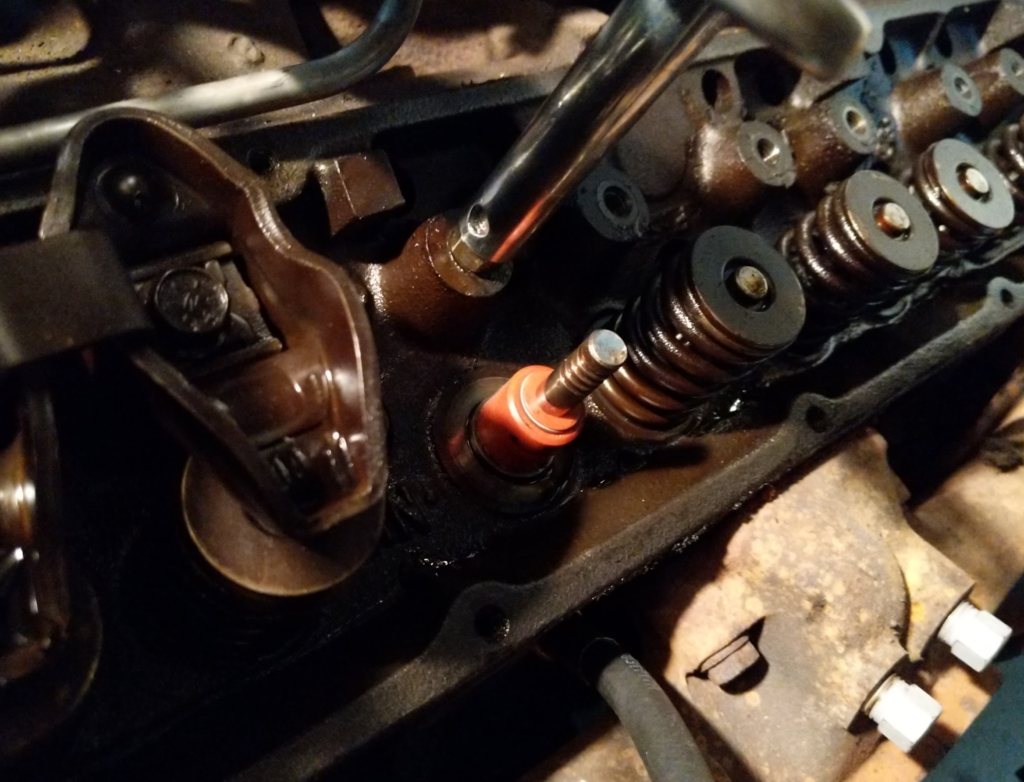
Replace the valve spring.
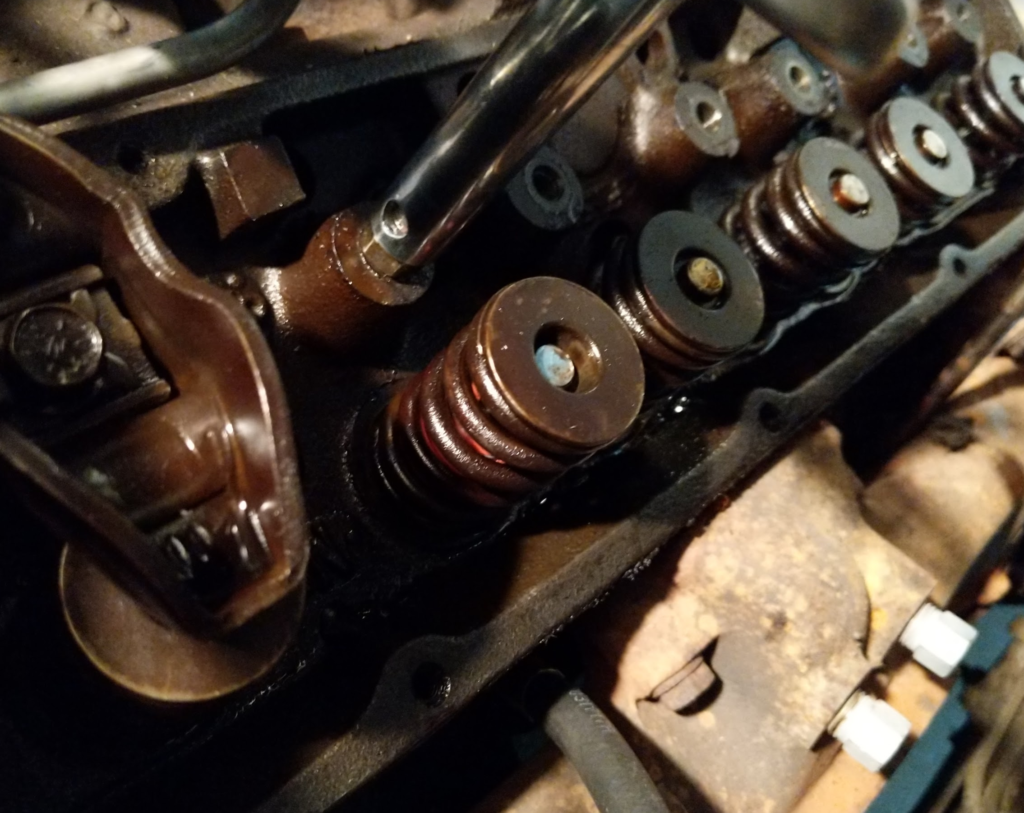
This is the most difficult part, use the valve spring compressor to compress that spring down and then with your other hand…. handle the two pieces of the valve keeper and hold them on the valve stem. Slowly release the compressor as the valve keepers set.
Do this 15 more times.
Then reinstall the pushrods and rocker arms back to the original locations. When installing the rocker arms, you need to make sure the valves are closed, just like when removing the rockers. What I like to do is to install the pushrods and rocker arms and then screw down the rocker arm bolts till I can tell what position the valves are in. Rotate the crank till both valves are closed and then torque to spec… which is 19ft lbs.
Then replace the valve covers. I like to use a high tack sealant to hold the cork to the valve covers while installing. Valve cover bolts are torqued to 45in lbs. Remember inch pounds!
Reinstall the spark plugs and send it!