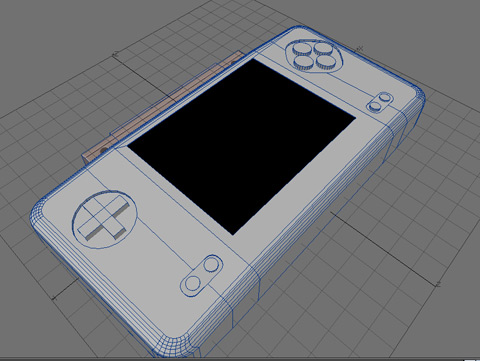
Finished the back. Time for a break!


Finished the back. Time for a break!
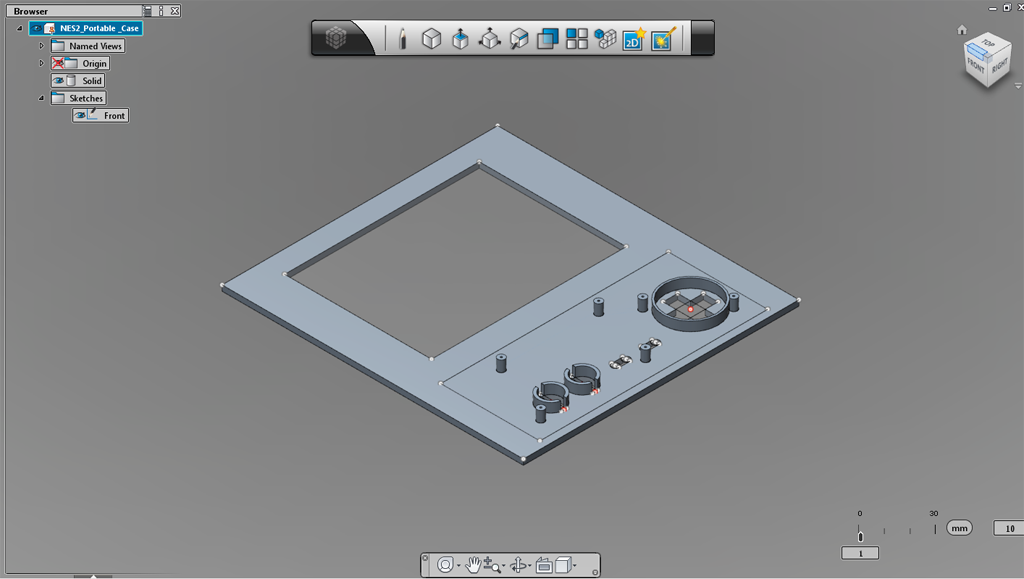
The front is pretty much done. Once the back is done I will come back and add some bevels and like to make it easier on the 3D printer.

So I decided to have the NES2 portable case be 3D printed by my friend Chris. Currently the front panel is almost done.
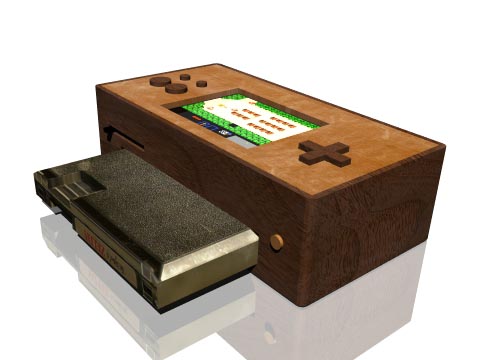
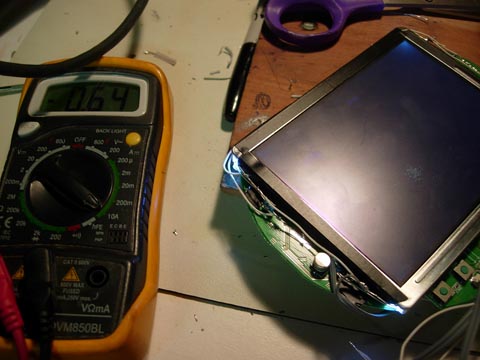
Here is an old portable I was working on a while ago. Just dug it out to keep working on it. Built off an NES2 and uses a PS1 5″ LCD.
This portable is designed using a vac formed case. It will be constructed out of ABS plastic over styrene for strength and texture.
Because this portable will use vac formed plastic I am able to make a much more ergonomic shaped case.
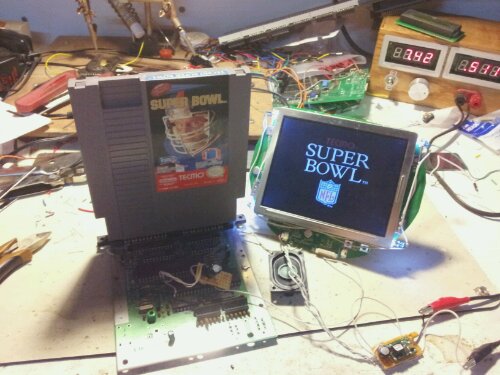
Project Unity is basically going to be a new PCB for the Atari 2600 that will feature a video mod, audio amp, power conversion circuity, and controls. This will enable a much smaller format for portables and make it easier to make a portable for beginners in the hobby.
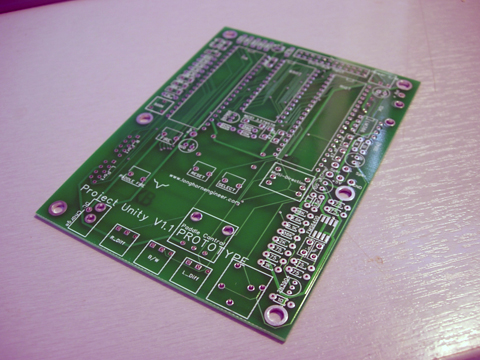
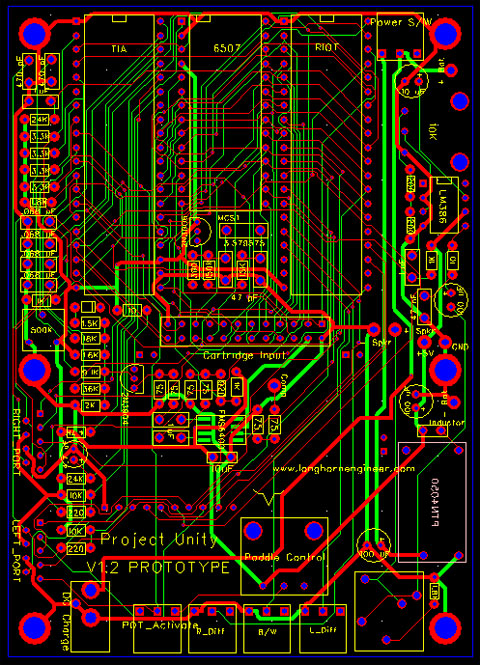
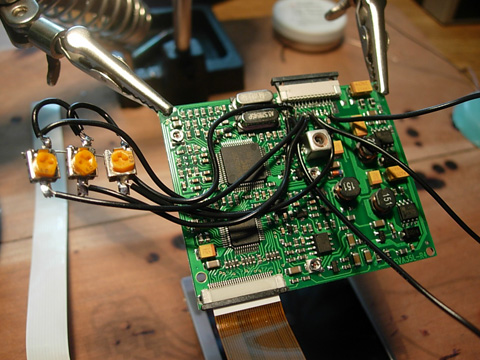
I hope I got the connections right. This is the first time I have designed something this large. Videos mods are easy to separate the Digital and Analog components (resistor ladder separates them well). I should have added more ground planes on this but its a prototype so its mainly for testing purposes. The only thing I am worried about is the power converter (switching regulator type Ti PTN4050) might be a bit to close to the clock signal for the Atari but its buffered by a couple 100uF caps so it should be ok.
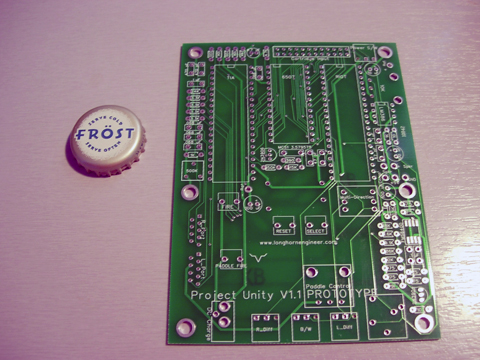
The board measures 4.65″ x 3.45″. Has built in power converters (to up a 3.7V Lithium Cell to 5V), audio amp, video mod, and controls for the left player. Stereo jack, right and left difficulty switches, black and white switch (some games use this as a control). Only thing it misses is the Right control port as Serial ports are dam huge.
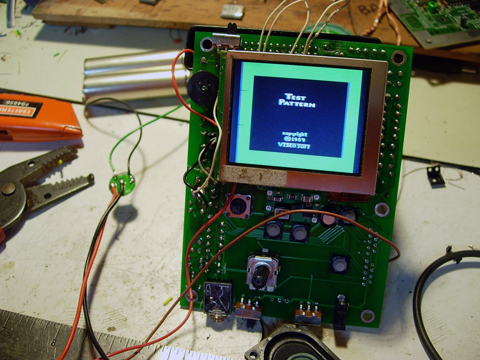
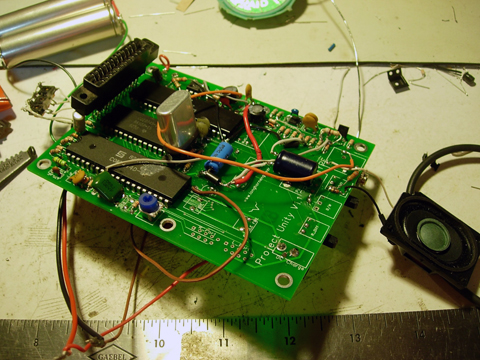
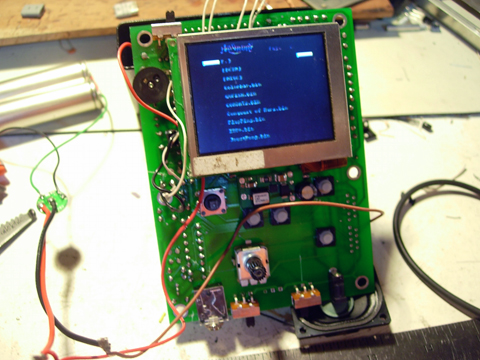
Everything soldered in place. Some stuff needs to be replaced but its working!
Ok the board is going to need some revision. The video circuity needs to be placed on the other side of the board along with a page worth of issues. Good thing the prototype at least works. All these issues are just nitpicks of mine.
After the success of my first two portables decided to start shrinking the size of my portables to something that would be easier to carry around. For V3 of the NESp I am going to base it off a NOAC (Nintendo On A Chip) board. A NOAC is basically a chip that emulates how a real NES works. The advantages are that it reduces power consumptions of the portable and it makes it smaller. However NOAC’s are not 100% compatibly with every single game (about 3-5 games don’t work).
Design Goals
Make it as small as possible
Use a 3.5″ screen
Smaller footprint then the PSone 5″
Large enough to easily see whats going on
Pre-LED modded
Minimum of 5 hours of life
Lithium battery 1600mAh
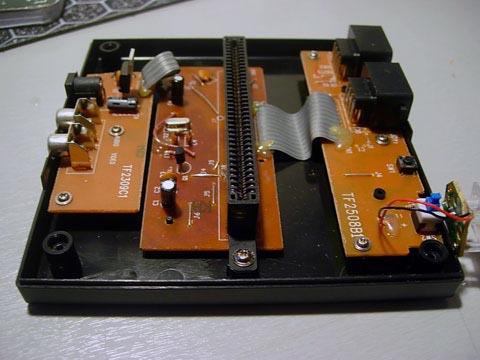
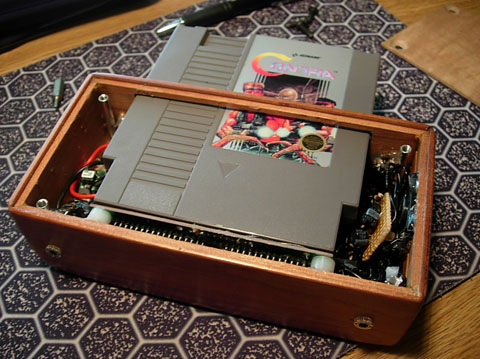
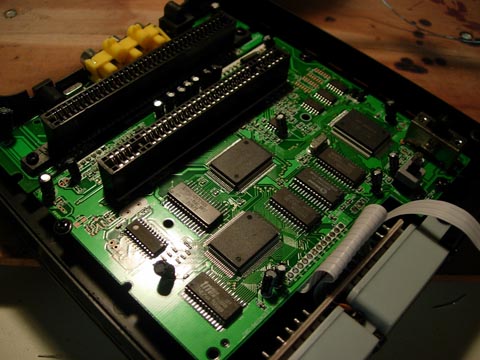
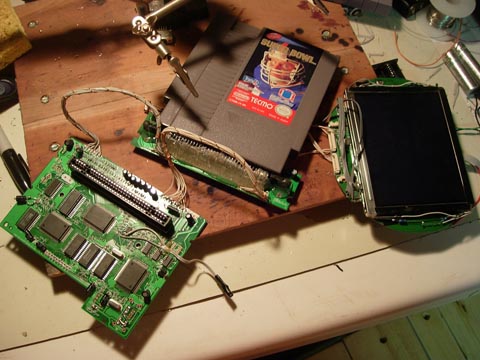
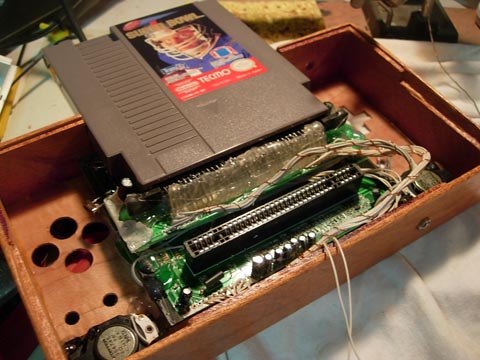
The NOAC is comprised of 3 boards. The board on the left is the A/V plugs and DC input. The middle board is where the NOAC is located and the right board is where the controllers are plugged in. The only board necessary is the middle board.
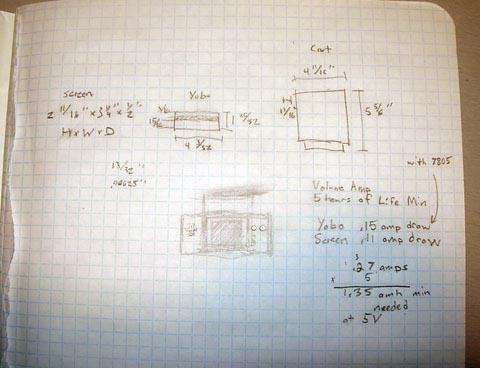
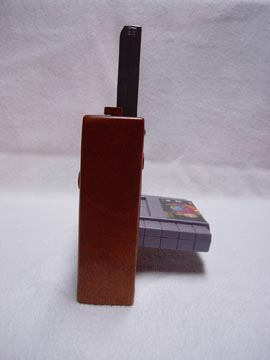
The total size should be around 6.5″x4″x2″ which is roughly half the size my previous portable (SNES V1) is.
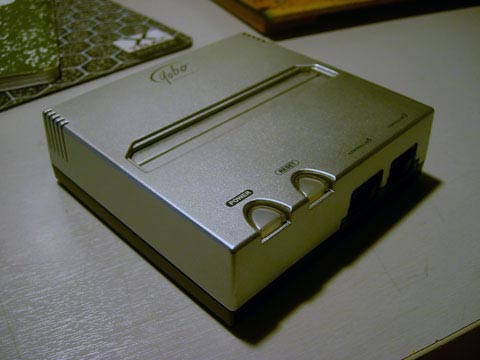
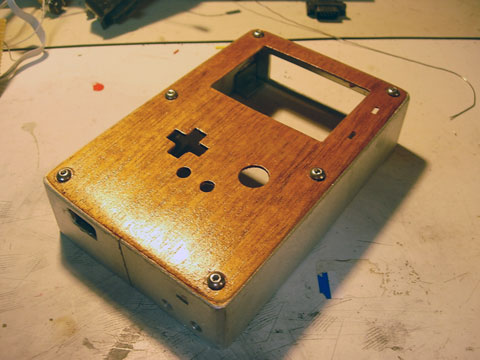
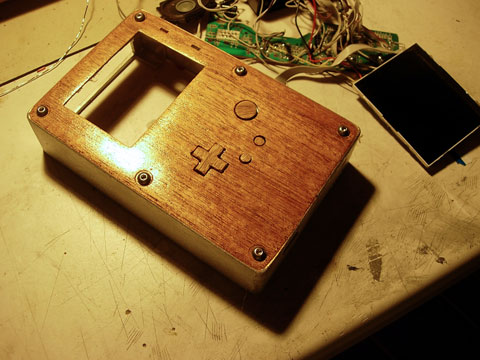
Finished the design today. Turned out pretty close to what I wanted it to be. 6.5″x3.5″x2″

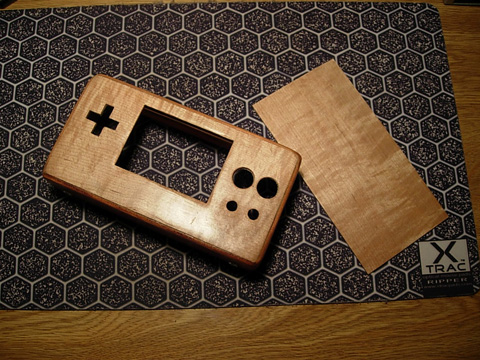
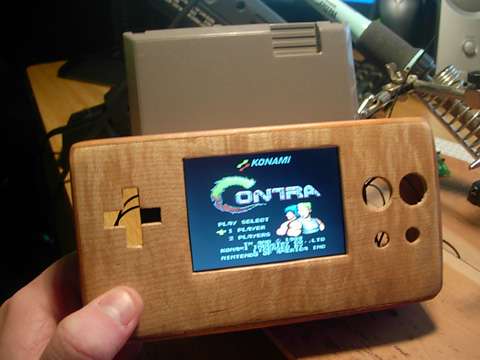
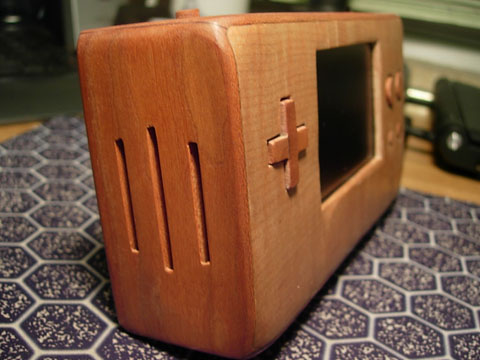
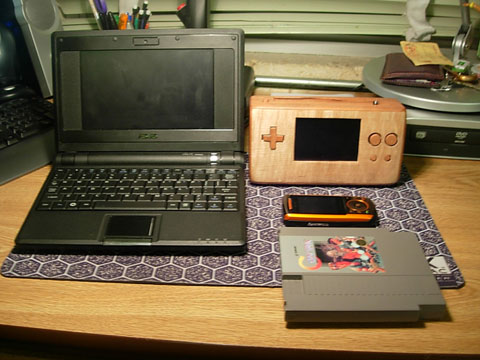
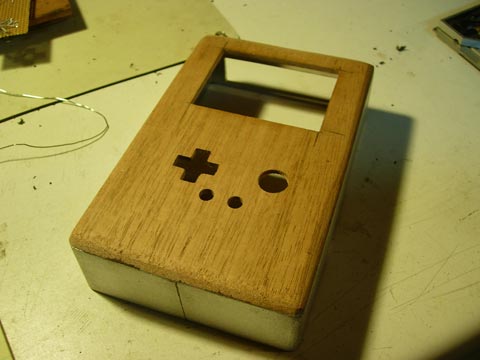
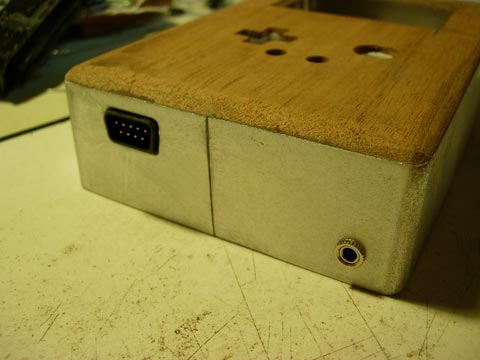
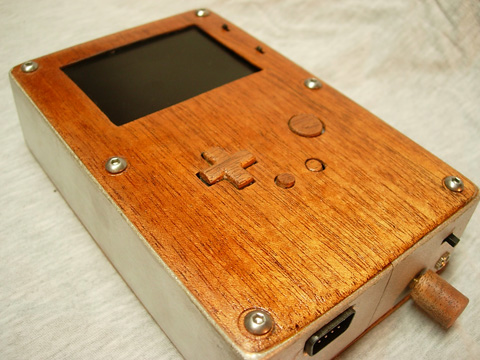
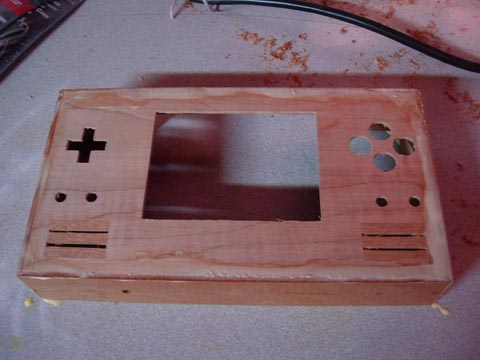
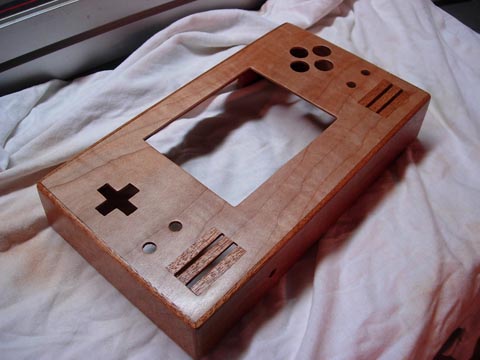
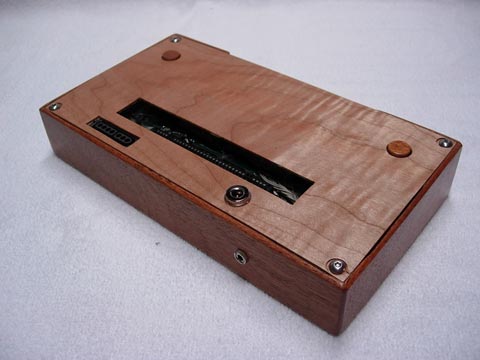
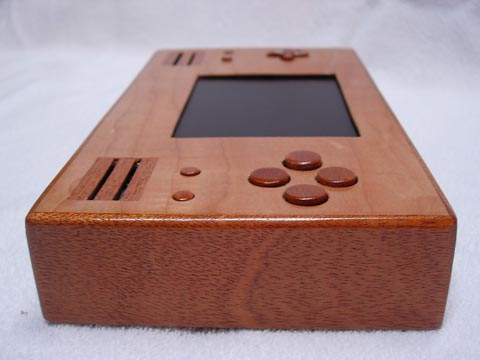
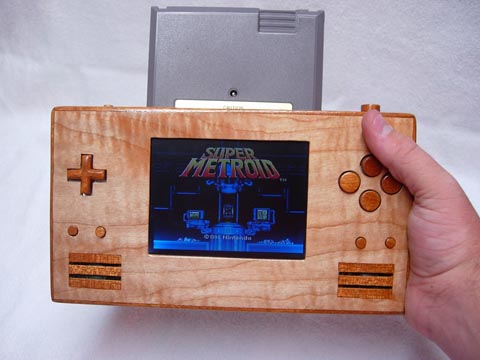
I finished the case. Turned out pretty good I think. Looks a lot like a wooden brick. The buttons and D-pad are done but I didn’t take a picture of those.
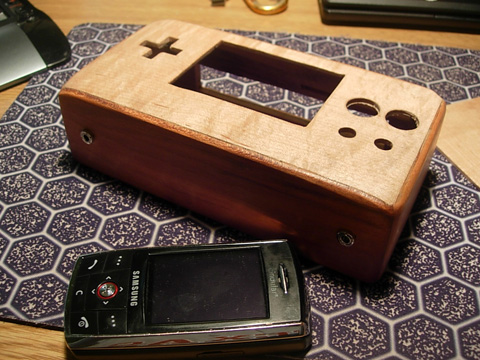
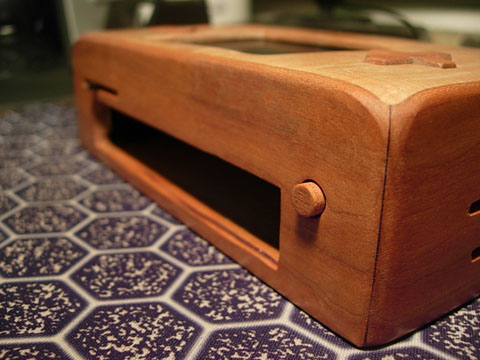
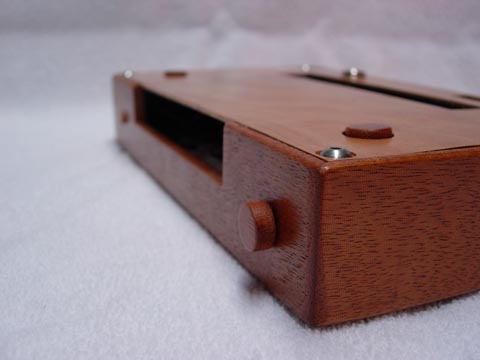
Here you can see the two input jacks. The one of the left will be headphones and the one on the right will be the recharge jack.
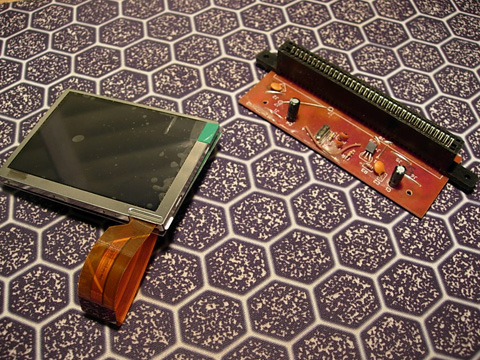
Finished hacking the NOAC and LCD screen today.
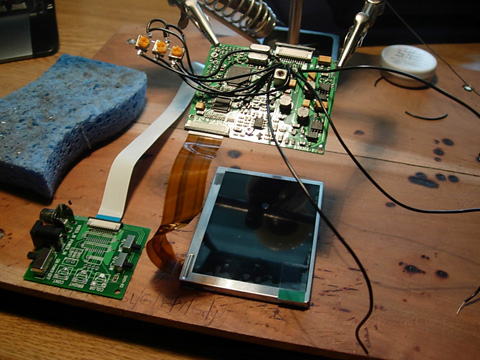
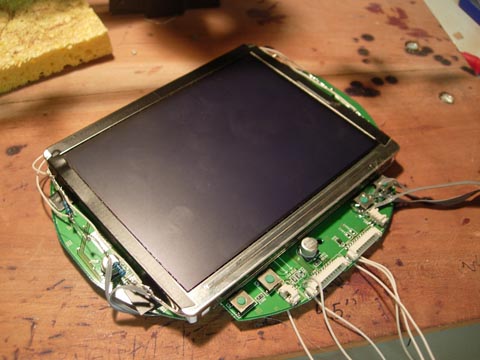
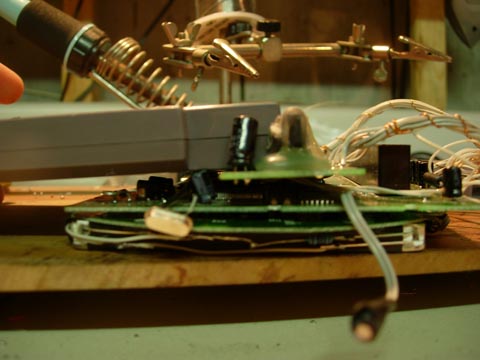
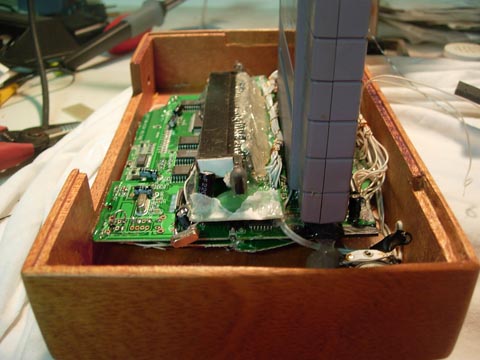
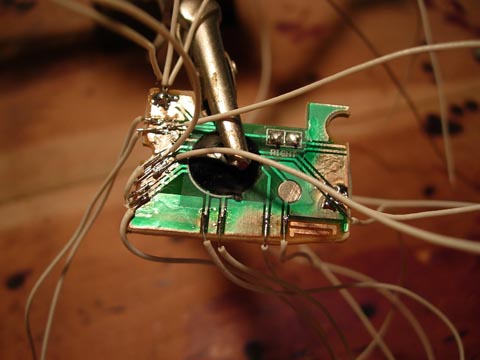
The controller board has to be removed so the screen will fit in the case. The board contains the inputs and other various controls for the LCD screen. These have to be soldered directly to the driver board for the screen. The board on the left is the controller board and the board in the clamps is the driver board.
The trim pots control the brightness, color, and contrast. Removing the control board reduced the overall thickness of the LCD screen from 1″ to 1/2″. The inputs and trim ports where connected directly to the driver board with 24AWG solid strand hook up wire. The driver board has convenient soldering pads for this.
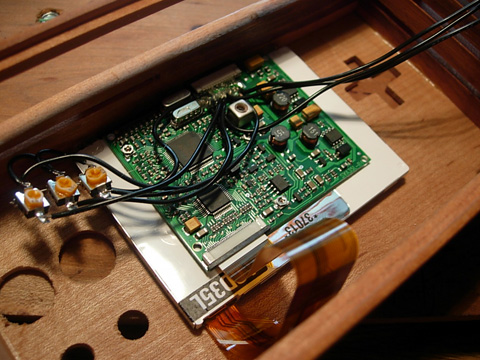
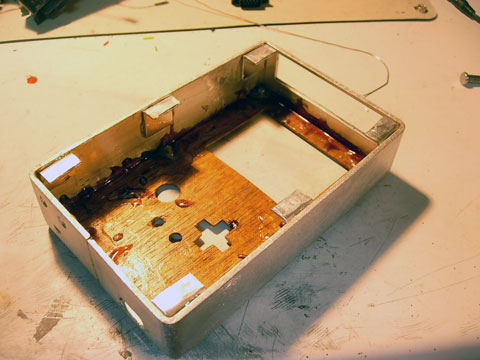
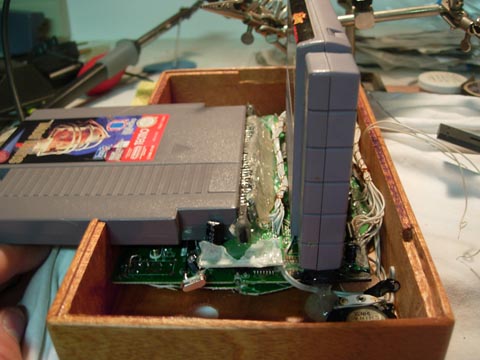
To fix the LCD screen into the case I used some hotglue. After I install the controls and buttons I will fix the trim pots to the case.
The NOAC was attached to the case with hotglue and soldered to the LCD screen. Slowly starting to get somewhere with this portable.
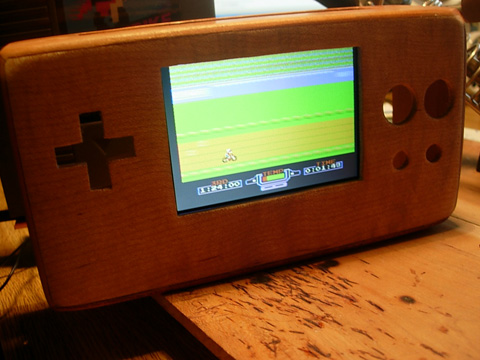
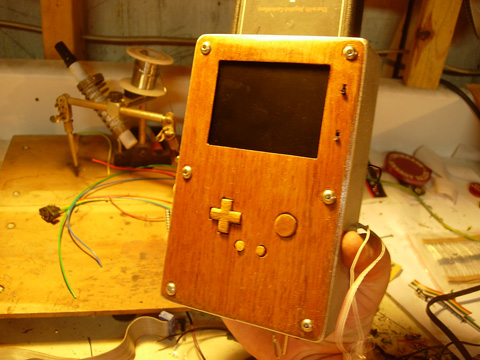
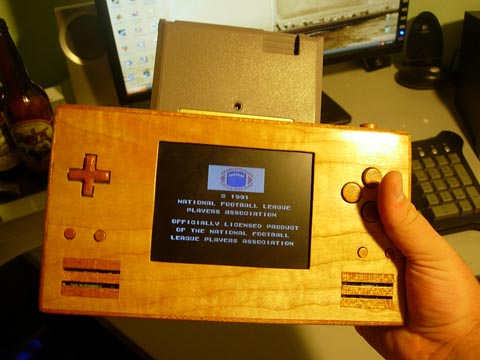
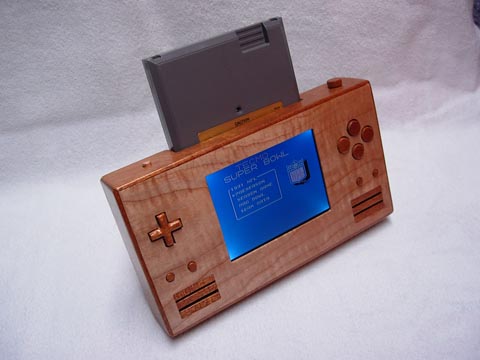
Back with good news. I finished the portable and I am now testing it.

Well enough with the guts.
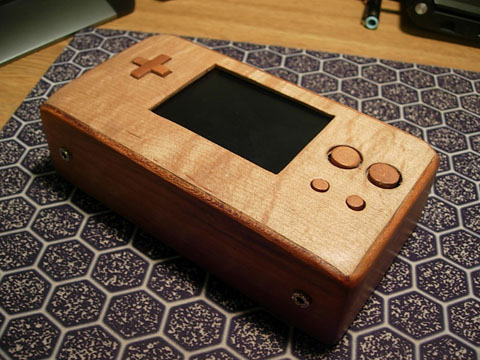
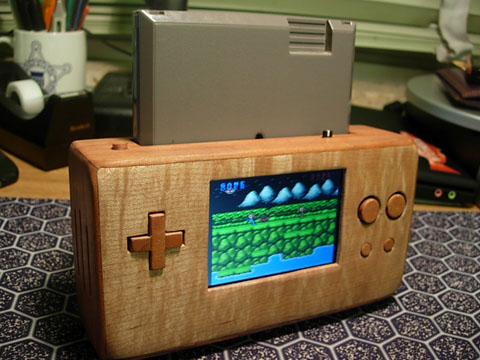
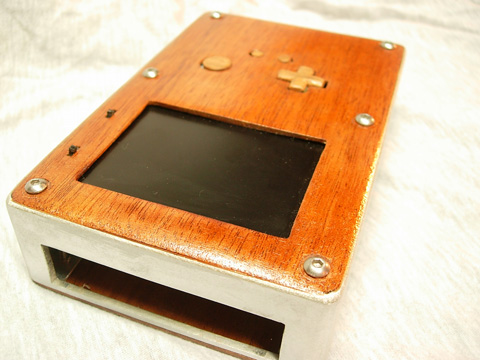
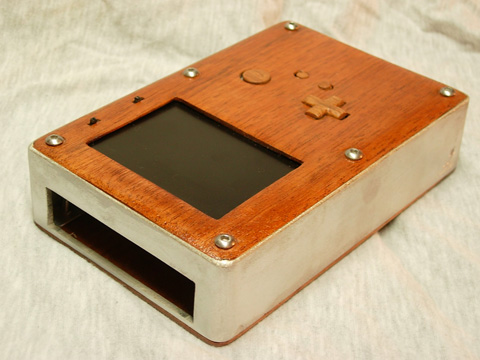
The case turned out much better then I had expected. At first I didn’t like how I rounded the corners but the more I play the portable the more I like them.
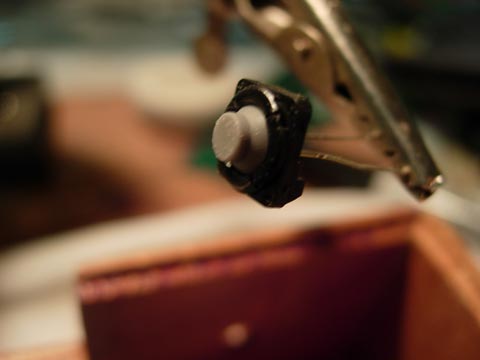
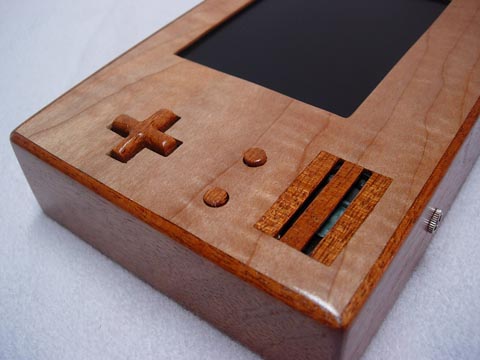
The power button here is epoxied to the top of a large tact switch.
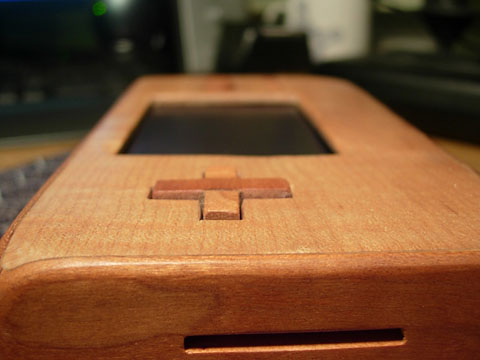
I received a suggestion to make the D-pad out of 1 solid piece of wood. I will look into it the next time I build a case.
Since the portable is so small the controller boards took up all the space on the front panel so the speaker had to go here.
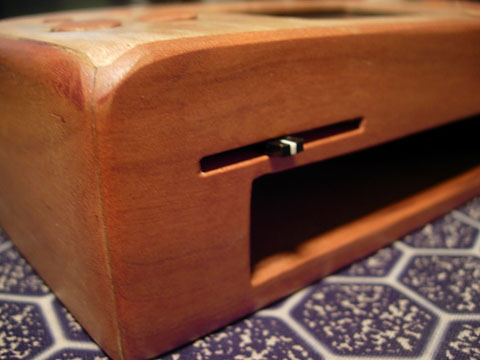
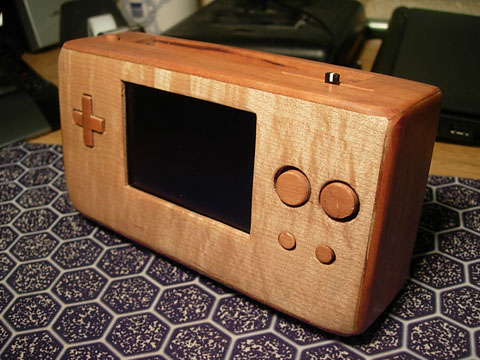
This volume slider is probably my favorite new feature of my design. Expect to see it in upcoming portables.
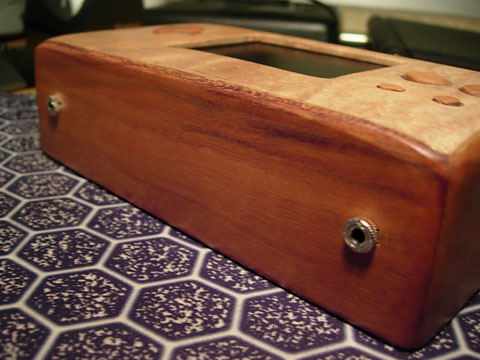
The one on the left is the headphone jack. It automatically switches the sound to the built in speaker off when you plug a headset in. The jack on the right is the charger. It also disconnects the battery from the main circuity when you charge the battery. The portable is unplayable when charging but it is safer when charging lithium batteries.

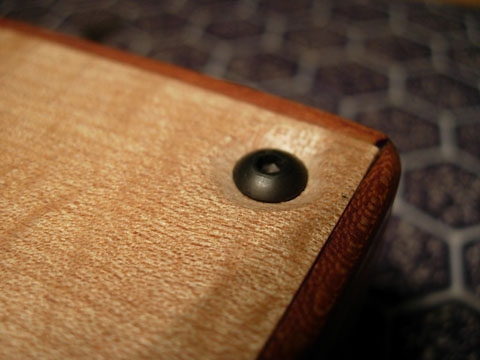
I really like these hex headed screws. They look much better then the normal stainless steel machine screws that I previously used.
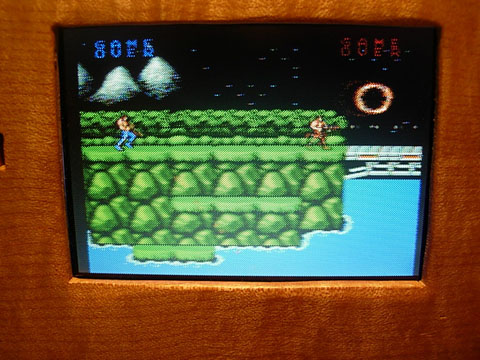
Being the first portable I built with an AEIComp LCD screen I was very impressed with the quality of the screens. They are bright, clear, and sharp.
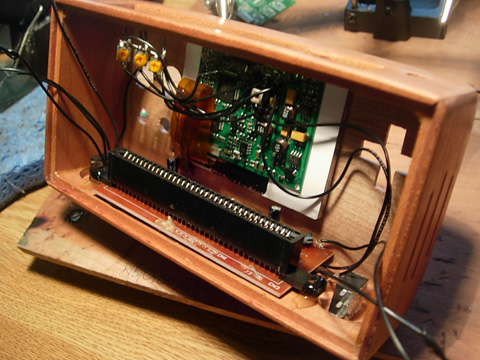
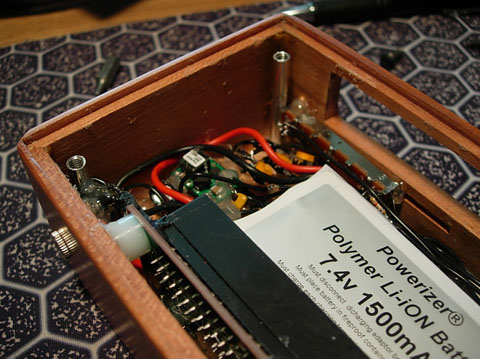
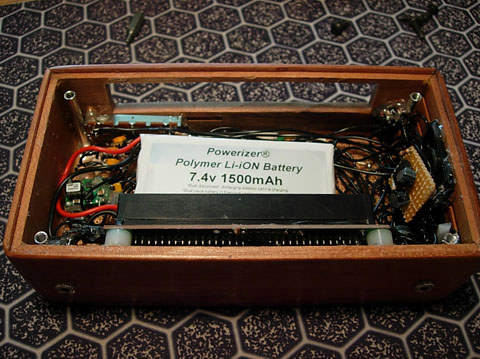
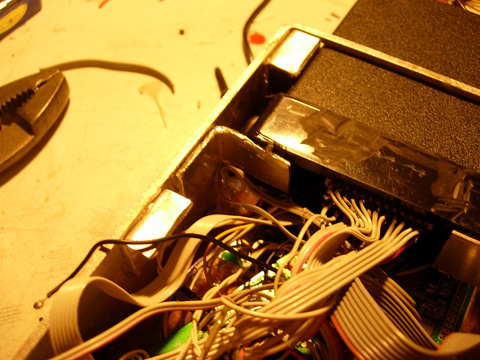
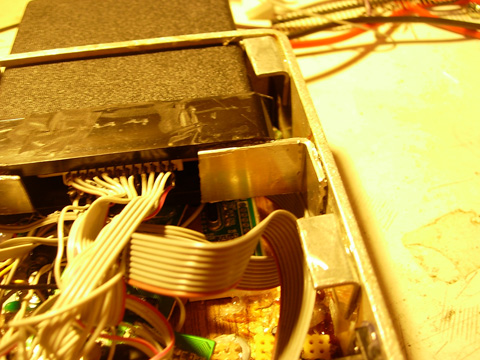
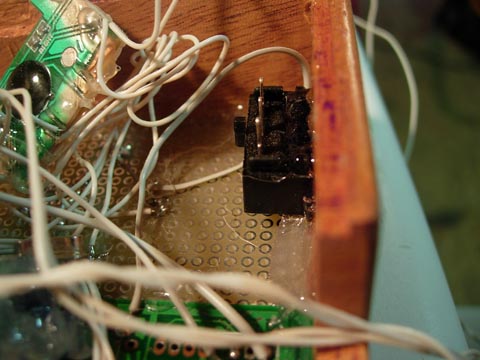
I am slowly refining my portable designs. In my next portable I am going to make the guts of the portable as streamlined as possible. Even though no one sees the insides it is just nice not to have a nest of wires to deal with.
Draws only .5A at 7.4V!
Basically this portable will be a portable Flashback 2 with cart slot. Looking to have all the features of a normal Atari built in. Including all the switches and joystick port.
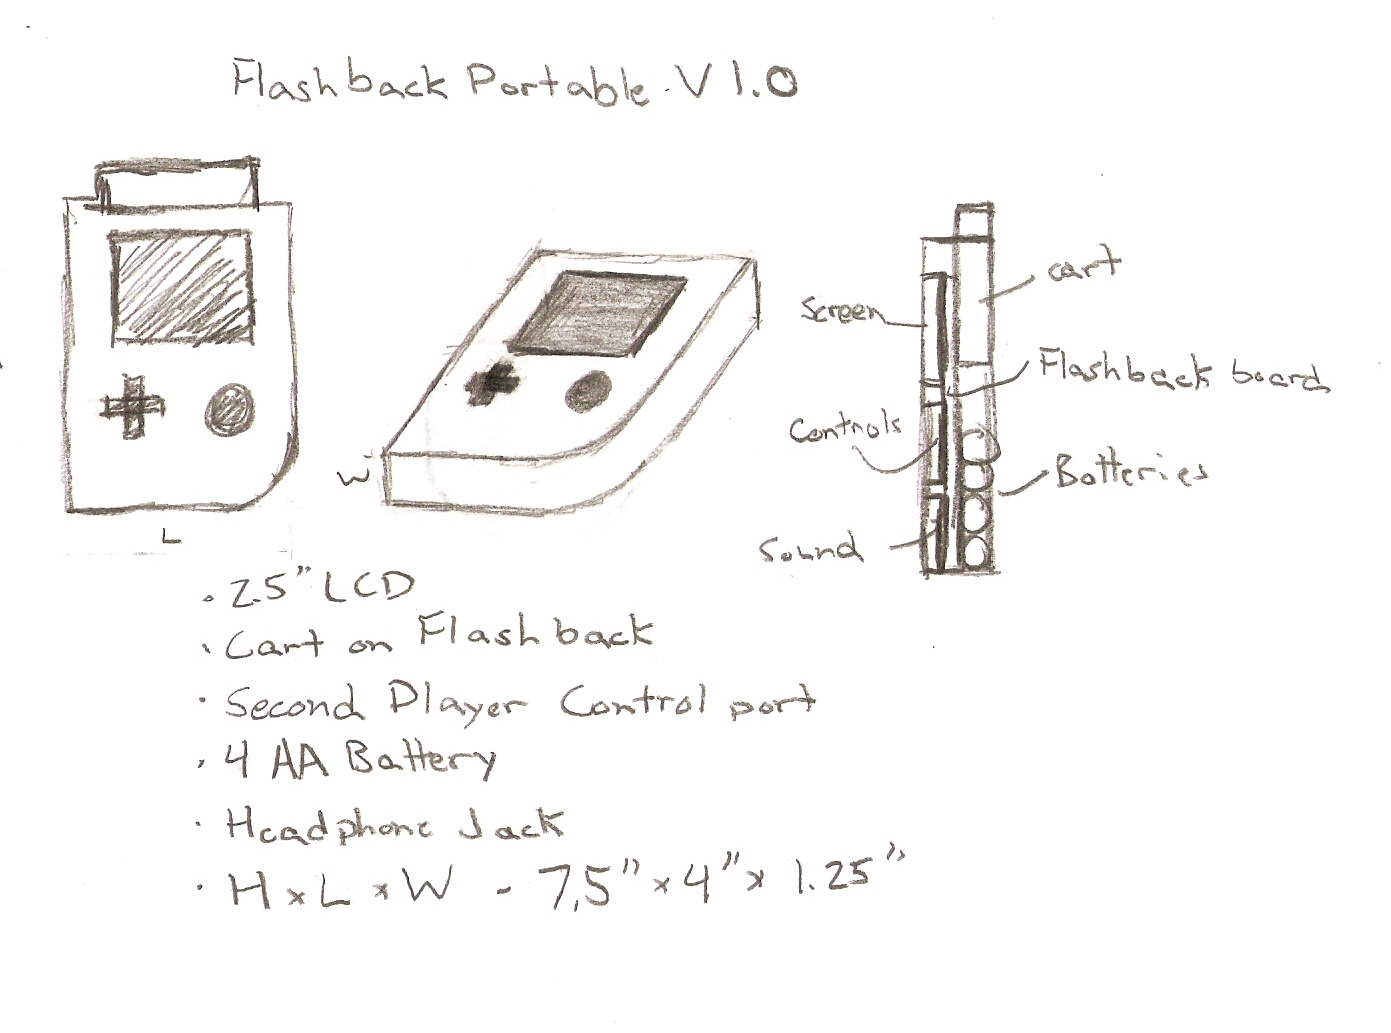
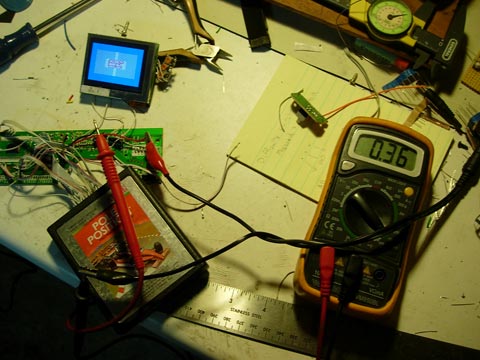
So far the Flashback Portable is working quite well. Cart mod, chopped down, video working, audio working, and it runs off of 4 rechargeable AA batteries (4.8V) with no voltage conversions.
The first Work In Progress video so far. This portable will be featured in a couple videos as I hope this will drum up more traffic for the site.
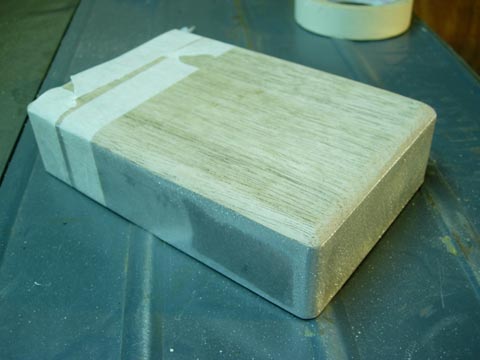
So I am waiting on the parts for the electronics I will work on the case a bit. The case is made out of aluminum bar that is 1/16″ thick. Bent it with a sheet metal break then epoxied the wood front on top.
Going to buy a 3.5″ screen for the portable as the 2.5″ screen is tiny.
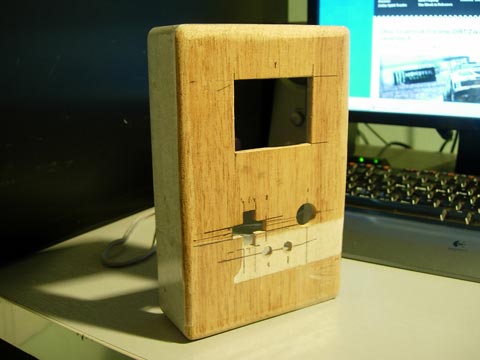
This is a work in progress for my Flashback portable I have been working on. Part two. It is 100% working on the electrical side. Case construction will be finished when I get the new 3.5″ screen and redo the screen hole. A couple switches need to be mounted and the like but its close to being done.
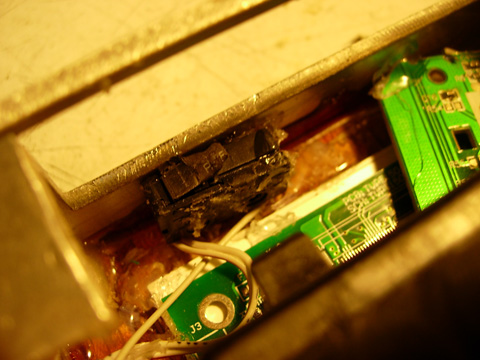
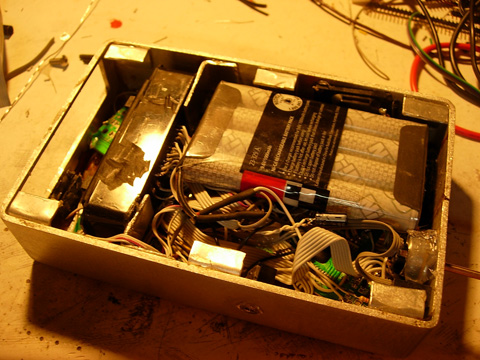
Done with the electronics for the Flashback Portable. 3.5″ LCD finally came state side. Next step I have to do is to stick the guts into the case.
Finally got that blasted 3.5″ screen in. From now on I am sticking with AEIcomp. Sure its more expensive but the screen quality is better and shipping only takes a couple days. Anyways on to the case!
Man that 3.5″ screen looks TO big now haha.
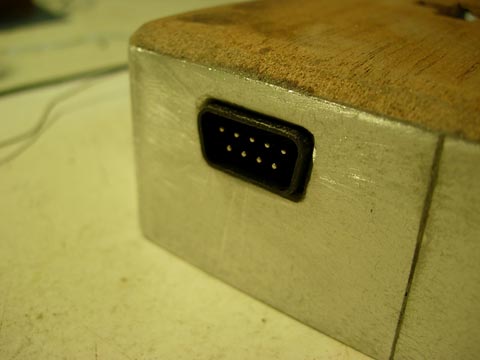
The second player port. Took awhile to file that slot out but it looks nice. Needs a bit more sanding before I finish the case out.
That is the headphone jack. Right next to it will be a knob for volume and the B/W switch. I am going to try to finish up the case tomorrow. Just need to cut a couple more holes and then polish the aluminum up and lacquer the wood. There is some internal stuff to build so I will try to get that done tomorrow to.
The Flashback portable is almost done. Should be finished in about a week.
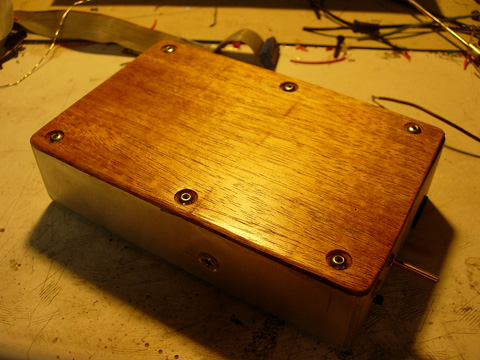
The metal tabs are going to be drilled then tapped so the back wooden panel can attach to the case.
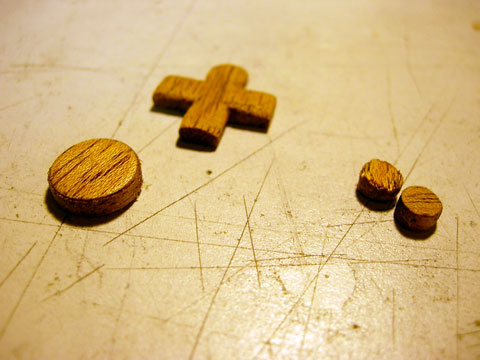
The d-pad and buttons.
Controls installed today. The screen isn’t not turning on however. Hoping its not broken.
After some delays and broken screens it is finally done.

The final pictures.
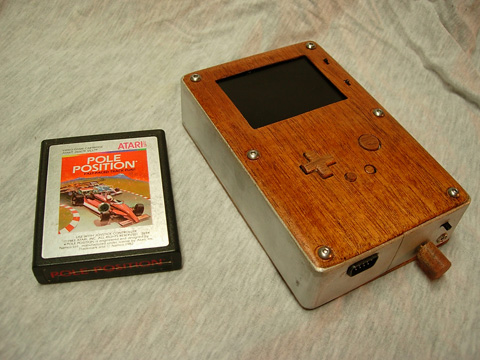
The portable sports a 1000mAh battery for an average battery life of around 6-8 hours. Around 40 built in games and a cart slot that can play 90% of all Atari 2600 games.
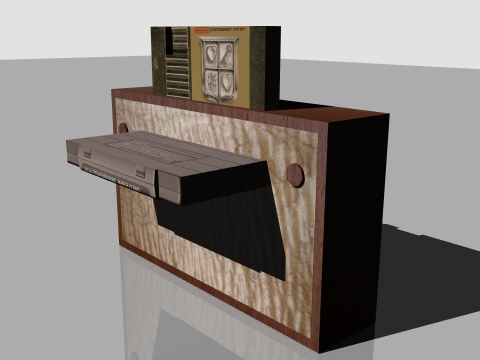
Nintendo Duo Portable V1 – Or Duop which is Pronounced “Doowop
This project will be an entry for the “Portable-Palooza” on the Benheck Forums. It could be the first dual NES and SNES portable every finished but I have to check on that.
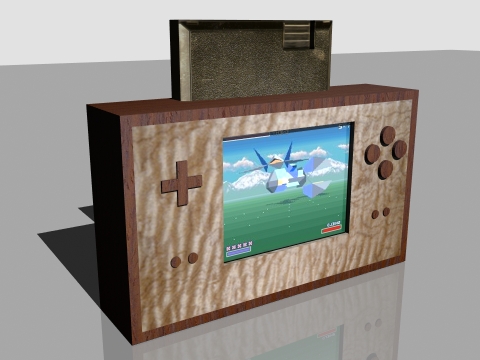
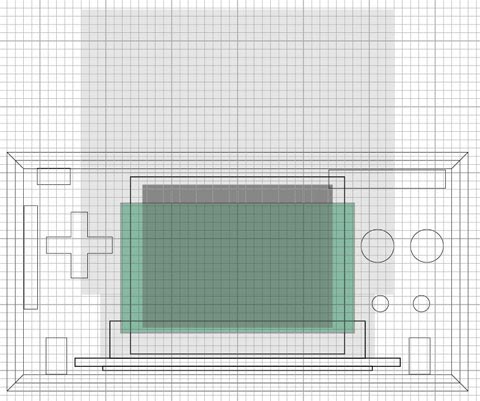
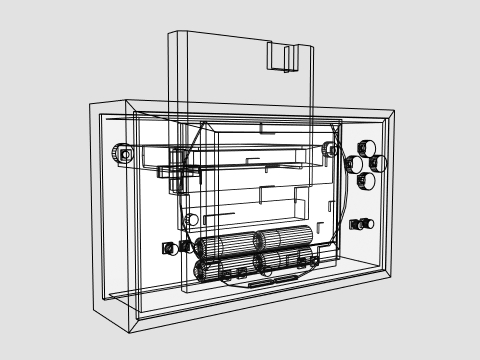
This project was completely designed in 3D space unlike my other portables. Usually I will draw out the design on paper but due to time constraints I passed that option up.
To start I based the design off of the case design on the dimensions posted by “lovablechevy” on the Benheck Forums. Upon receiving the parts I double checked everything and tweaked the design a bit.
The portable will feature switches that will feel exactly like the button presses on a normal SNES pad (squishy over clicky). Also the portable will know which type of game you have inserted via two switches in the cart slots.
Runs off of 4 AA batteries. Haven’t calculated how long the batteries will last but I guess it will be for around 2 hours.
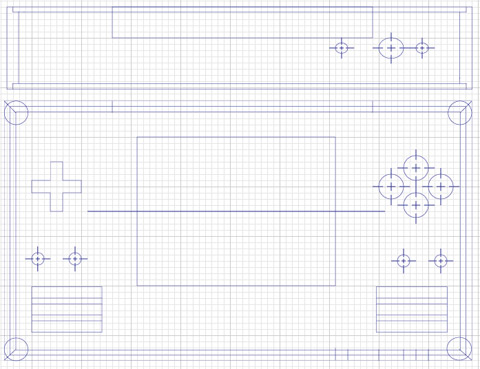
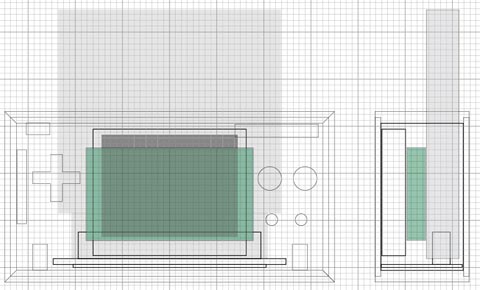
I finished the design of the portable. I rearranged the components to slim the portable down to the same thickness as my SNESp V2 so I really didn’t have to change much on the design of the case.
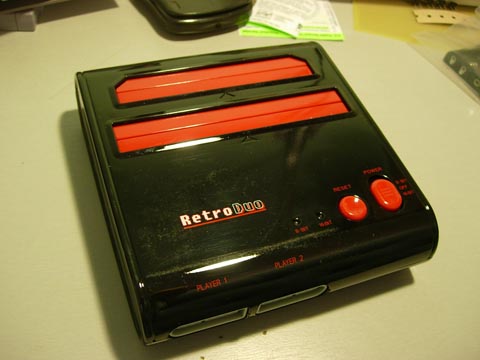
After opening the Retro Duo I was to see first hand how small the board really is. Pretty impressive to see how 20 years of tech can shrink down a SNES and NES.
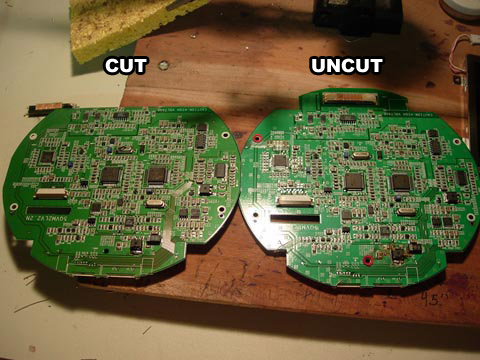
To make the screen fit inside the 4.5″ limit the top section that is used for the back light is chopped off completely. I used a scroll saw then filed the rough edge down.
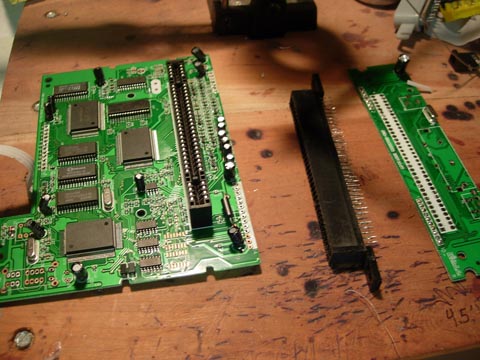
I desoldered the NES cart slot and board section to I can move it to its new location and bend the cart slot by 90 degrees.
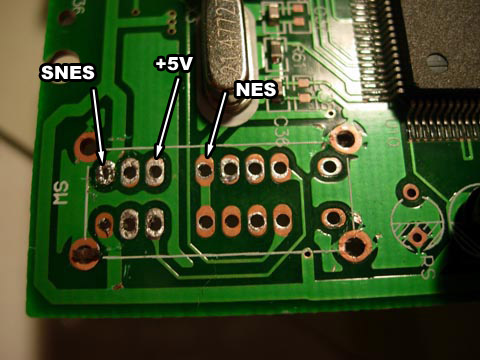
Here is a pinout of the power switch that is on the SNES side of the portable. Pretty simple. This disables the LED lights on the board so I removed those.
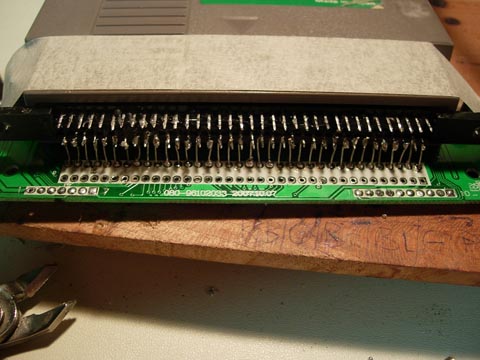
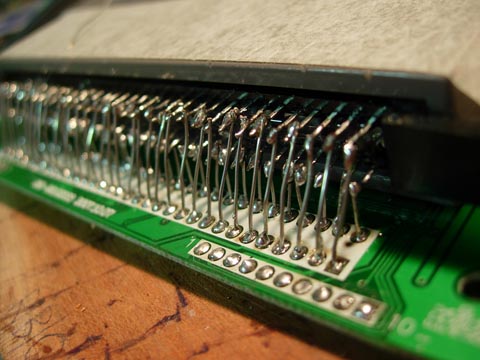
I used some bare hook-up wire to wire the cart slot. Since I am not going far I decided this would be the best solution.
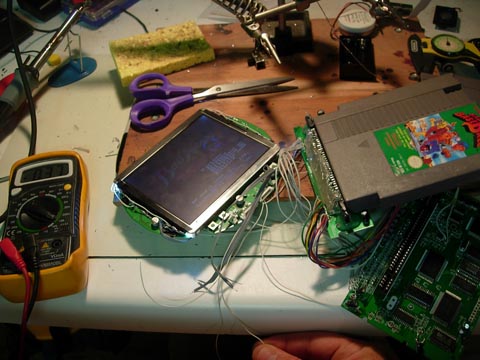
I did some testing and found it didn’t work. A couple hours later I isolated the problem to a little tiny cold solder joint.
The NES side of the portable draws 370mA. Taking in efficeintcy of 80% and a 4.8V power source, 4 AA NiMH 2600mAh cells, I found that the portable will last 3.6 hours on one charge.
The SNES side draws only 640mAh. Using the same criteria as the last calculation I got 2.1 hours on one charge.
Worked on the case today and got most of it built.
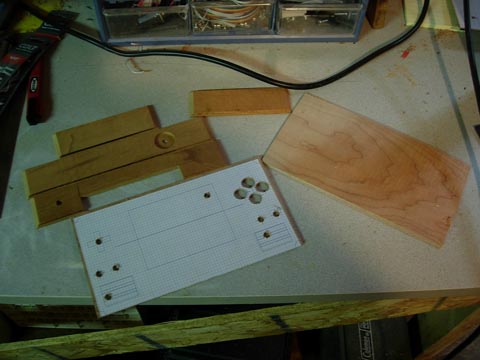
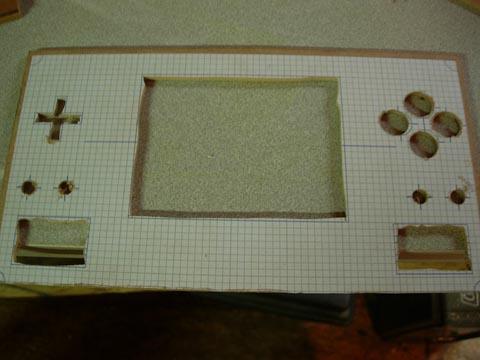
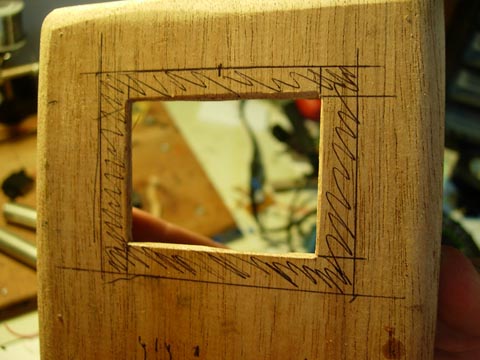
I used a scroll saw to cut the rough outline of the screen opening and speaker areas. I do this because it is allot easier to get a straight edge by filing down the edge to the line then it is to cut it.
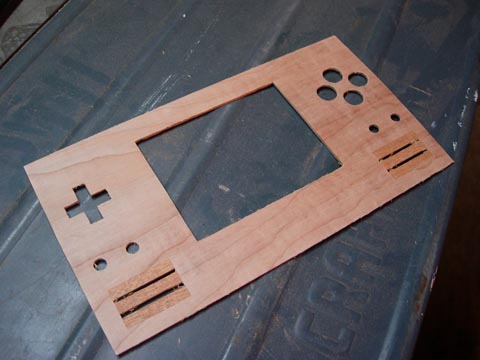
After a few hours of filing and sanding I came out with the finished front panel. The mahogany strips for the speaker covers are just wood glued in.
The trick is to glue the front panel and the sides together at the same time. This insures that the case is square.
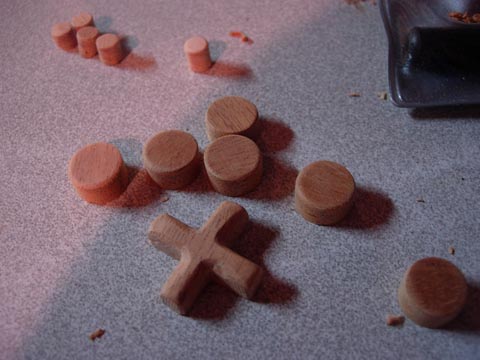
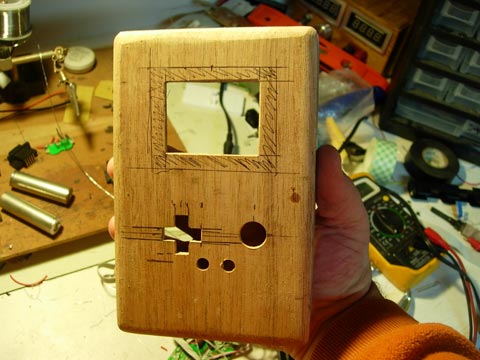
While the case was drying I cut out the buttons for the case. To cut them I use a zero taper plug bit. The D-pad is rough cut on the scroll saw and then filed down to the correct size.
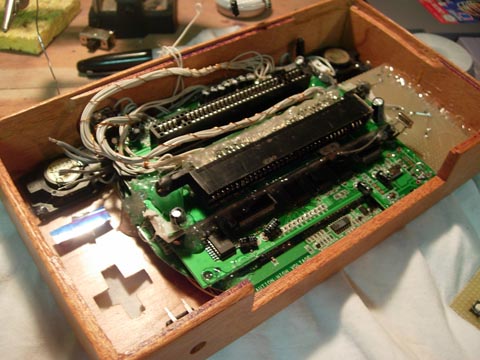
This is how the PCBs will stack up inside the case. I changed the design a bit and managed to squeeze the whole thing in a case the exact size as the SNES V2 case.
I finished the case Saturday night. Sanded it down with 220 grit and then applied 3 coats of Lacquer. The mahogany turned out ten times better then cherry does.
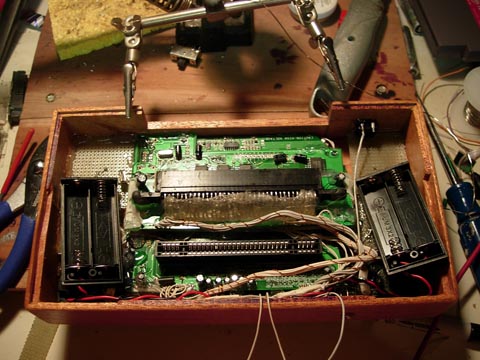
After waiting overnight for the lacquer to dry I stuck the guts into the case. I mounted the screen first and then the SNOAC board and then the NOAC came last. Each one has a layer of electrical tape to prevent shorting between boards.
I found a better tact switch style. It has a rubber dome that feels exactly like a normal console controller would feel.
Only a couple more days left on on this portable. I have to wait till mouser sends me some more tacts tho.
Been doing allot of work on the Duop. I finished the controls and the power circuit today. Unfortunately the SNES side of the portable started acting up. It was like interference on the video line but the NES side was fine. I looked for spilled solder, tried larger wires, rerouting wires, cold joints, ect.. and no dice. I turned it on this afternoon and it refused to turn on. There is sound but no video on either the SNES and NES side.
This is a controller IC from a retro duo controller. I cut it out this the scroll saw and filed it down. Was allot easier then making one out of two 4020s and a handful of resistors.
Because I redesigned the case where both carts can be inserted at the same time a switch in both cart slots to switch which one is inserted as the Duo would get confused and freak out. So I installed a little slide switch. The switch will have a wooden top and will blend in with the rest of the case.
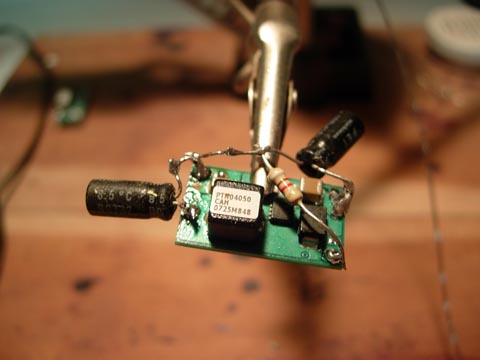
Good ole PTN04050. Will boost the 4.8V from the batteries to a good solid 7.4V with 90% efficiency.
Well because the Duo died I won’t be entering this into the contest. When the new one comes in this portable will be finished as I can drop the Duo in after only a little bit of hacking.
Been awhile since I have worked on this but now its done! After fiddling with the AA batteries I came to the conclusion that they can not provide the amperage needed to power the Duo beast. So I ordered a 4000mAh 7.4V Lithium battery which was the largest thing battery I could replace the 4 AA’s with.
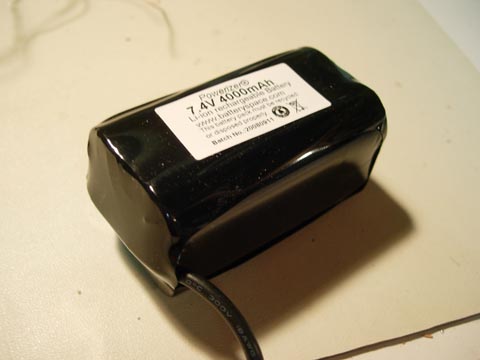
So the battery I ordered was about the same size as all 4 AA batteries stacked up. To make it fit I had to cut it open and flatten it out.
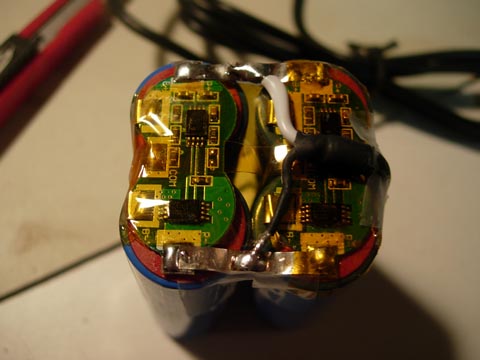
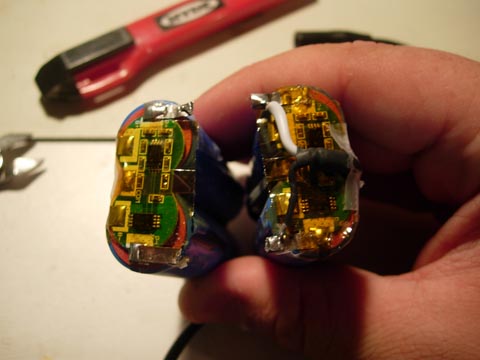
The battery has 4 lithium cells which are paired up behind a protection PCB. I decided to cut down the middle and tack on some wires so I could separate the two “packs”.

I placed the new batteries inside the portable and removed the PTN04050 from the power circuit as I am going to run the portable straight off the 7.4V battery.
Testing done! Time for the photo shoot!


Final Specs
4.2 Hours of battery life
2 Hour charge time
Plays NES and SNES games
Rubber tacts that feel like a normal controller
Stereo Sound with Headphone jack
Dimensions 9 3/8″ x 5 1/8″ x 1 5/8″
Well that concludes the worlds first portable NES/SNES!
A little game play video of the Duop in action.