
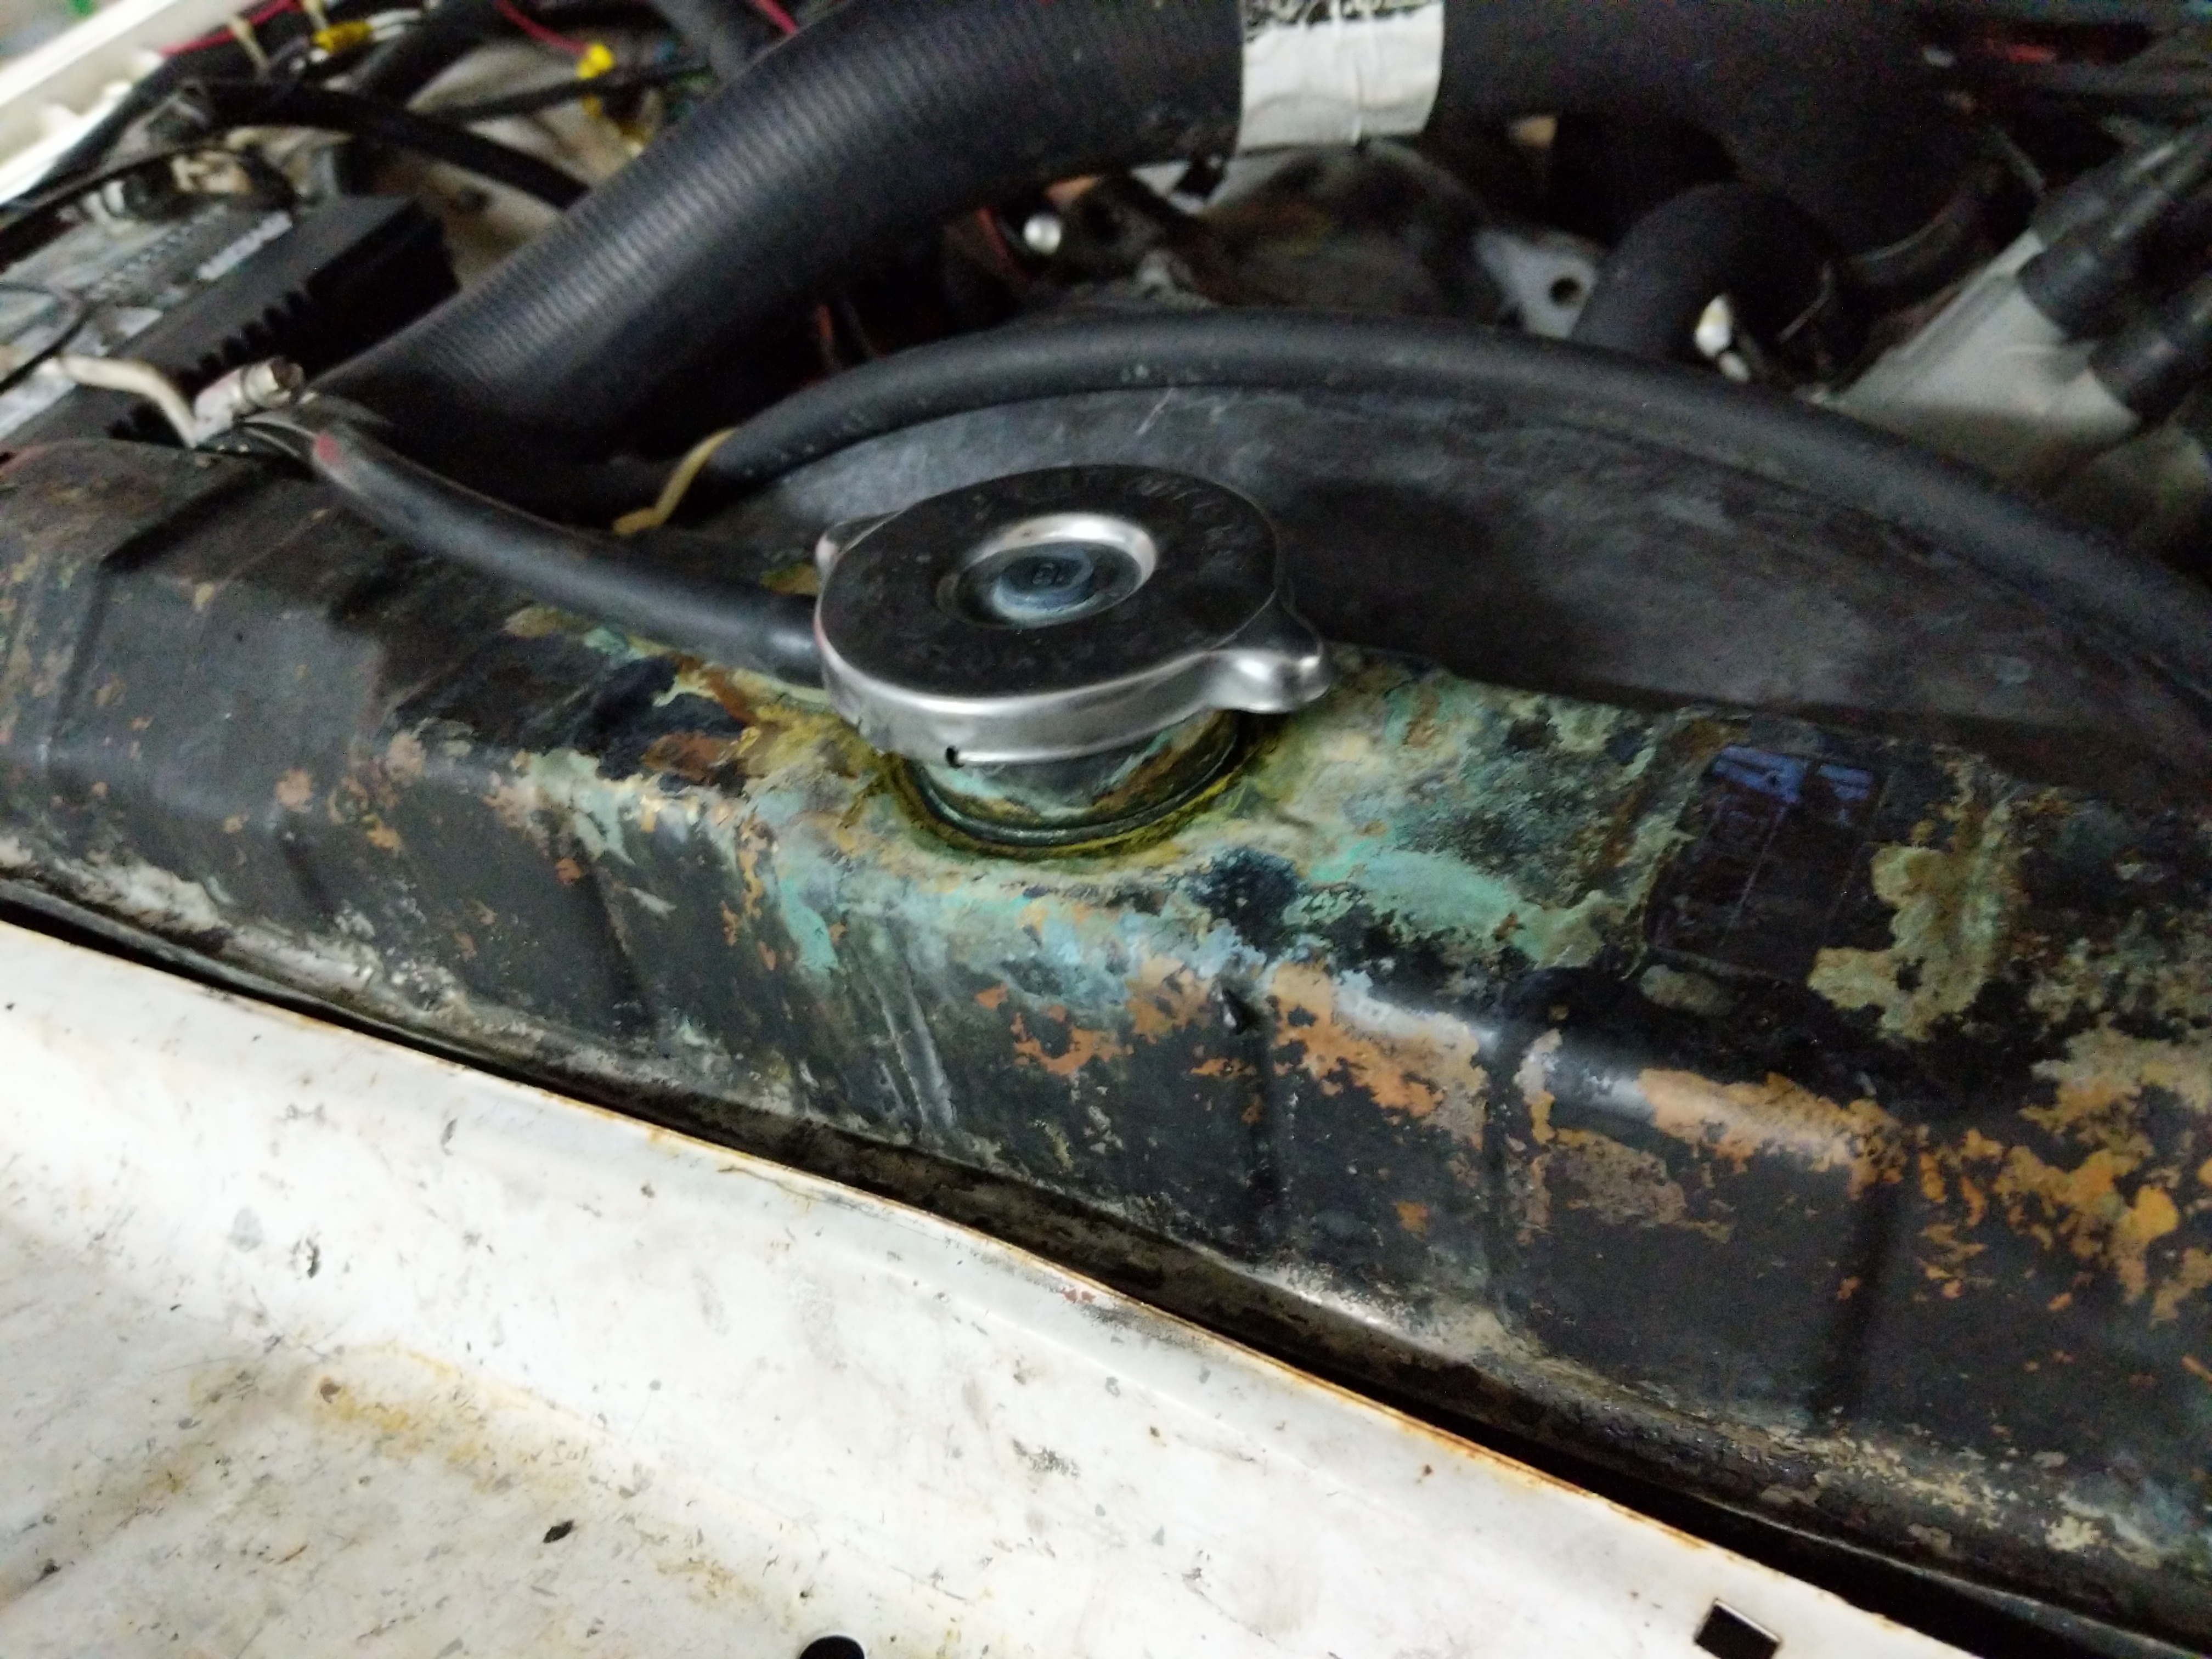
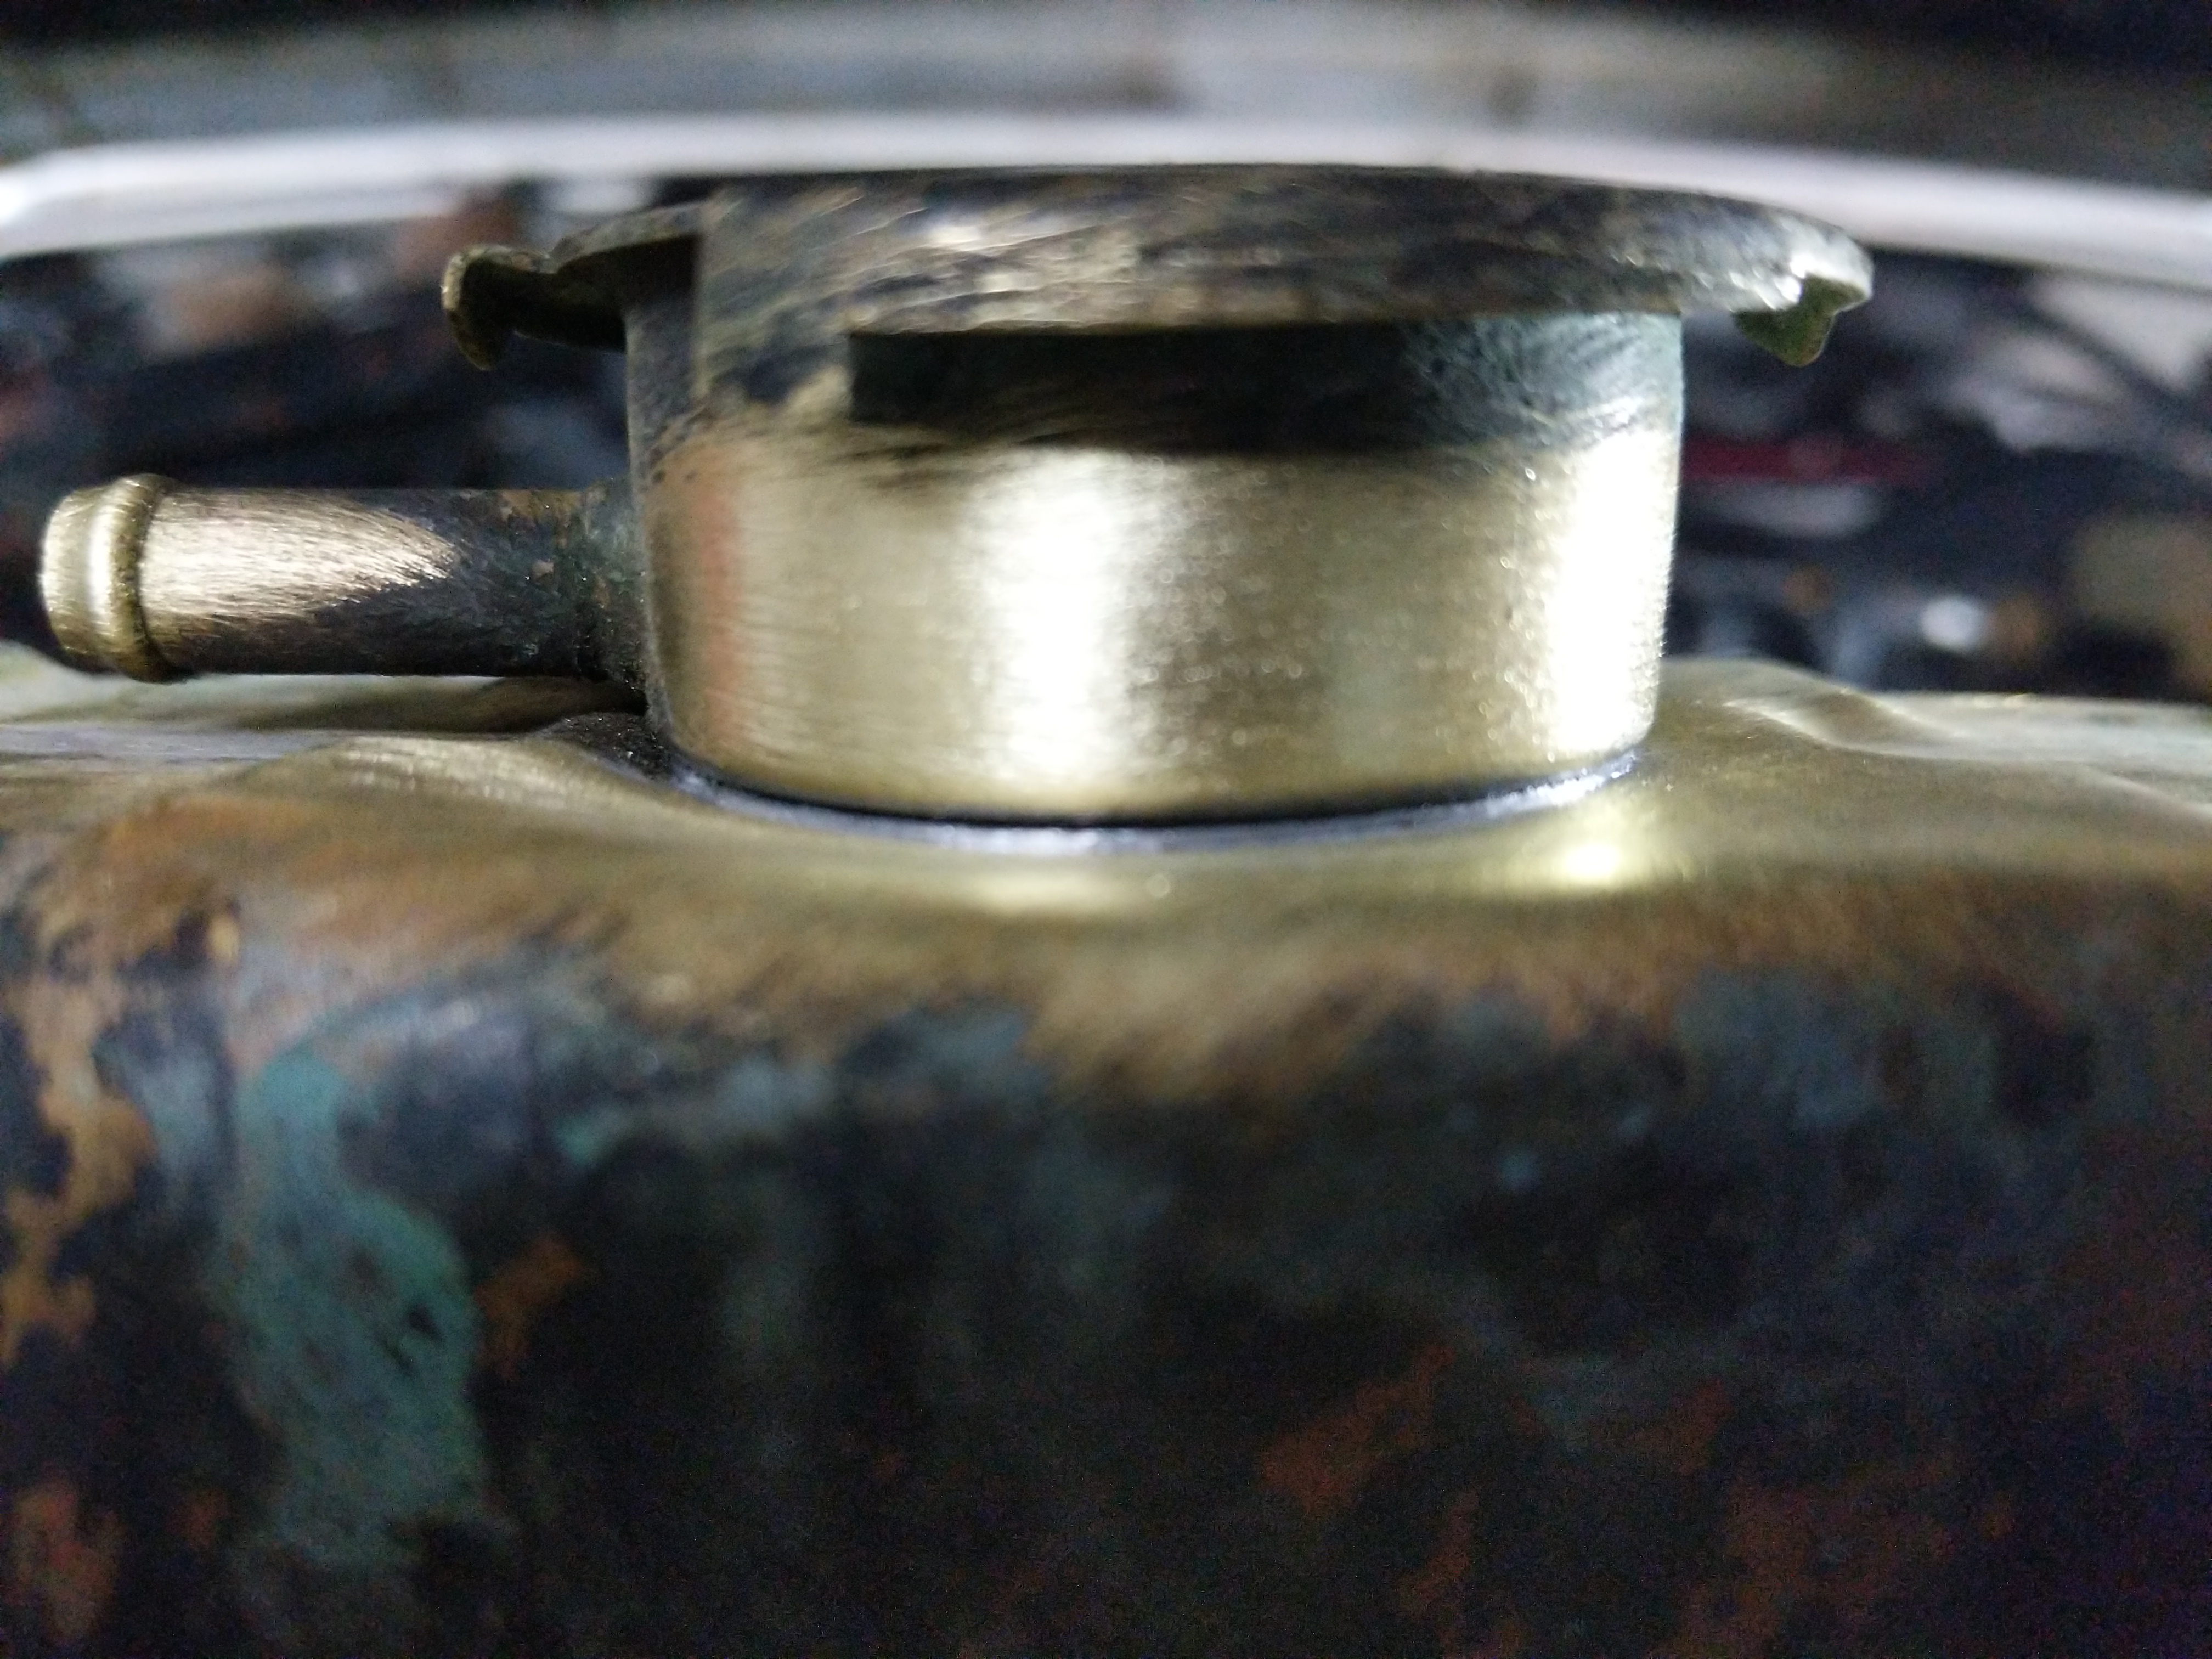
Time to start fixing things on the Wagoneer. It drives around town fine but when the engine is turned off after driving it tends to puke radiator fluid everywhere. Looking at the radiator it is clear this happens around the filler neck. Wiggling the filler neck it looks like there is a crack at the base. Since this is a brass/copper constructed radiator I should be able to braze/solder this back together.
While I am in here I am going to also replace the T-Stat, water pump, and clean up the heater box. Basically a cooling system rebuild.
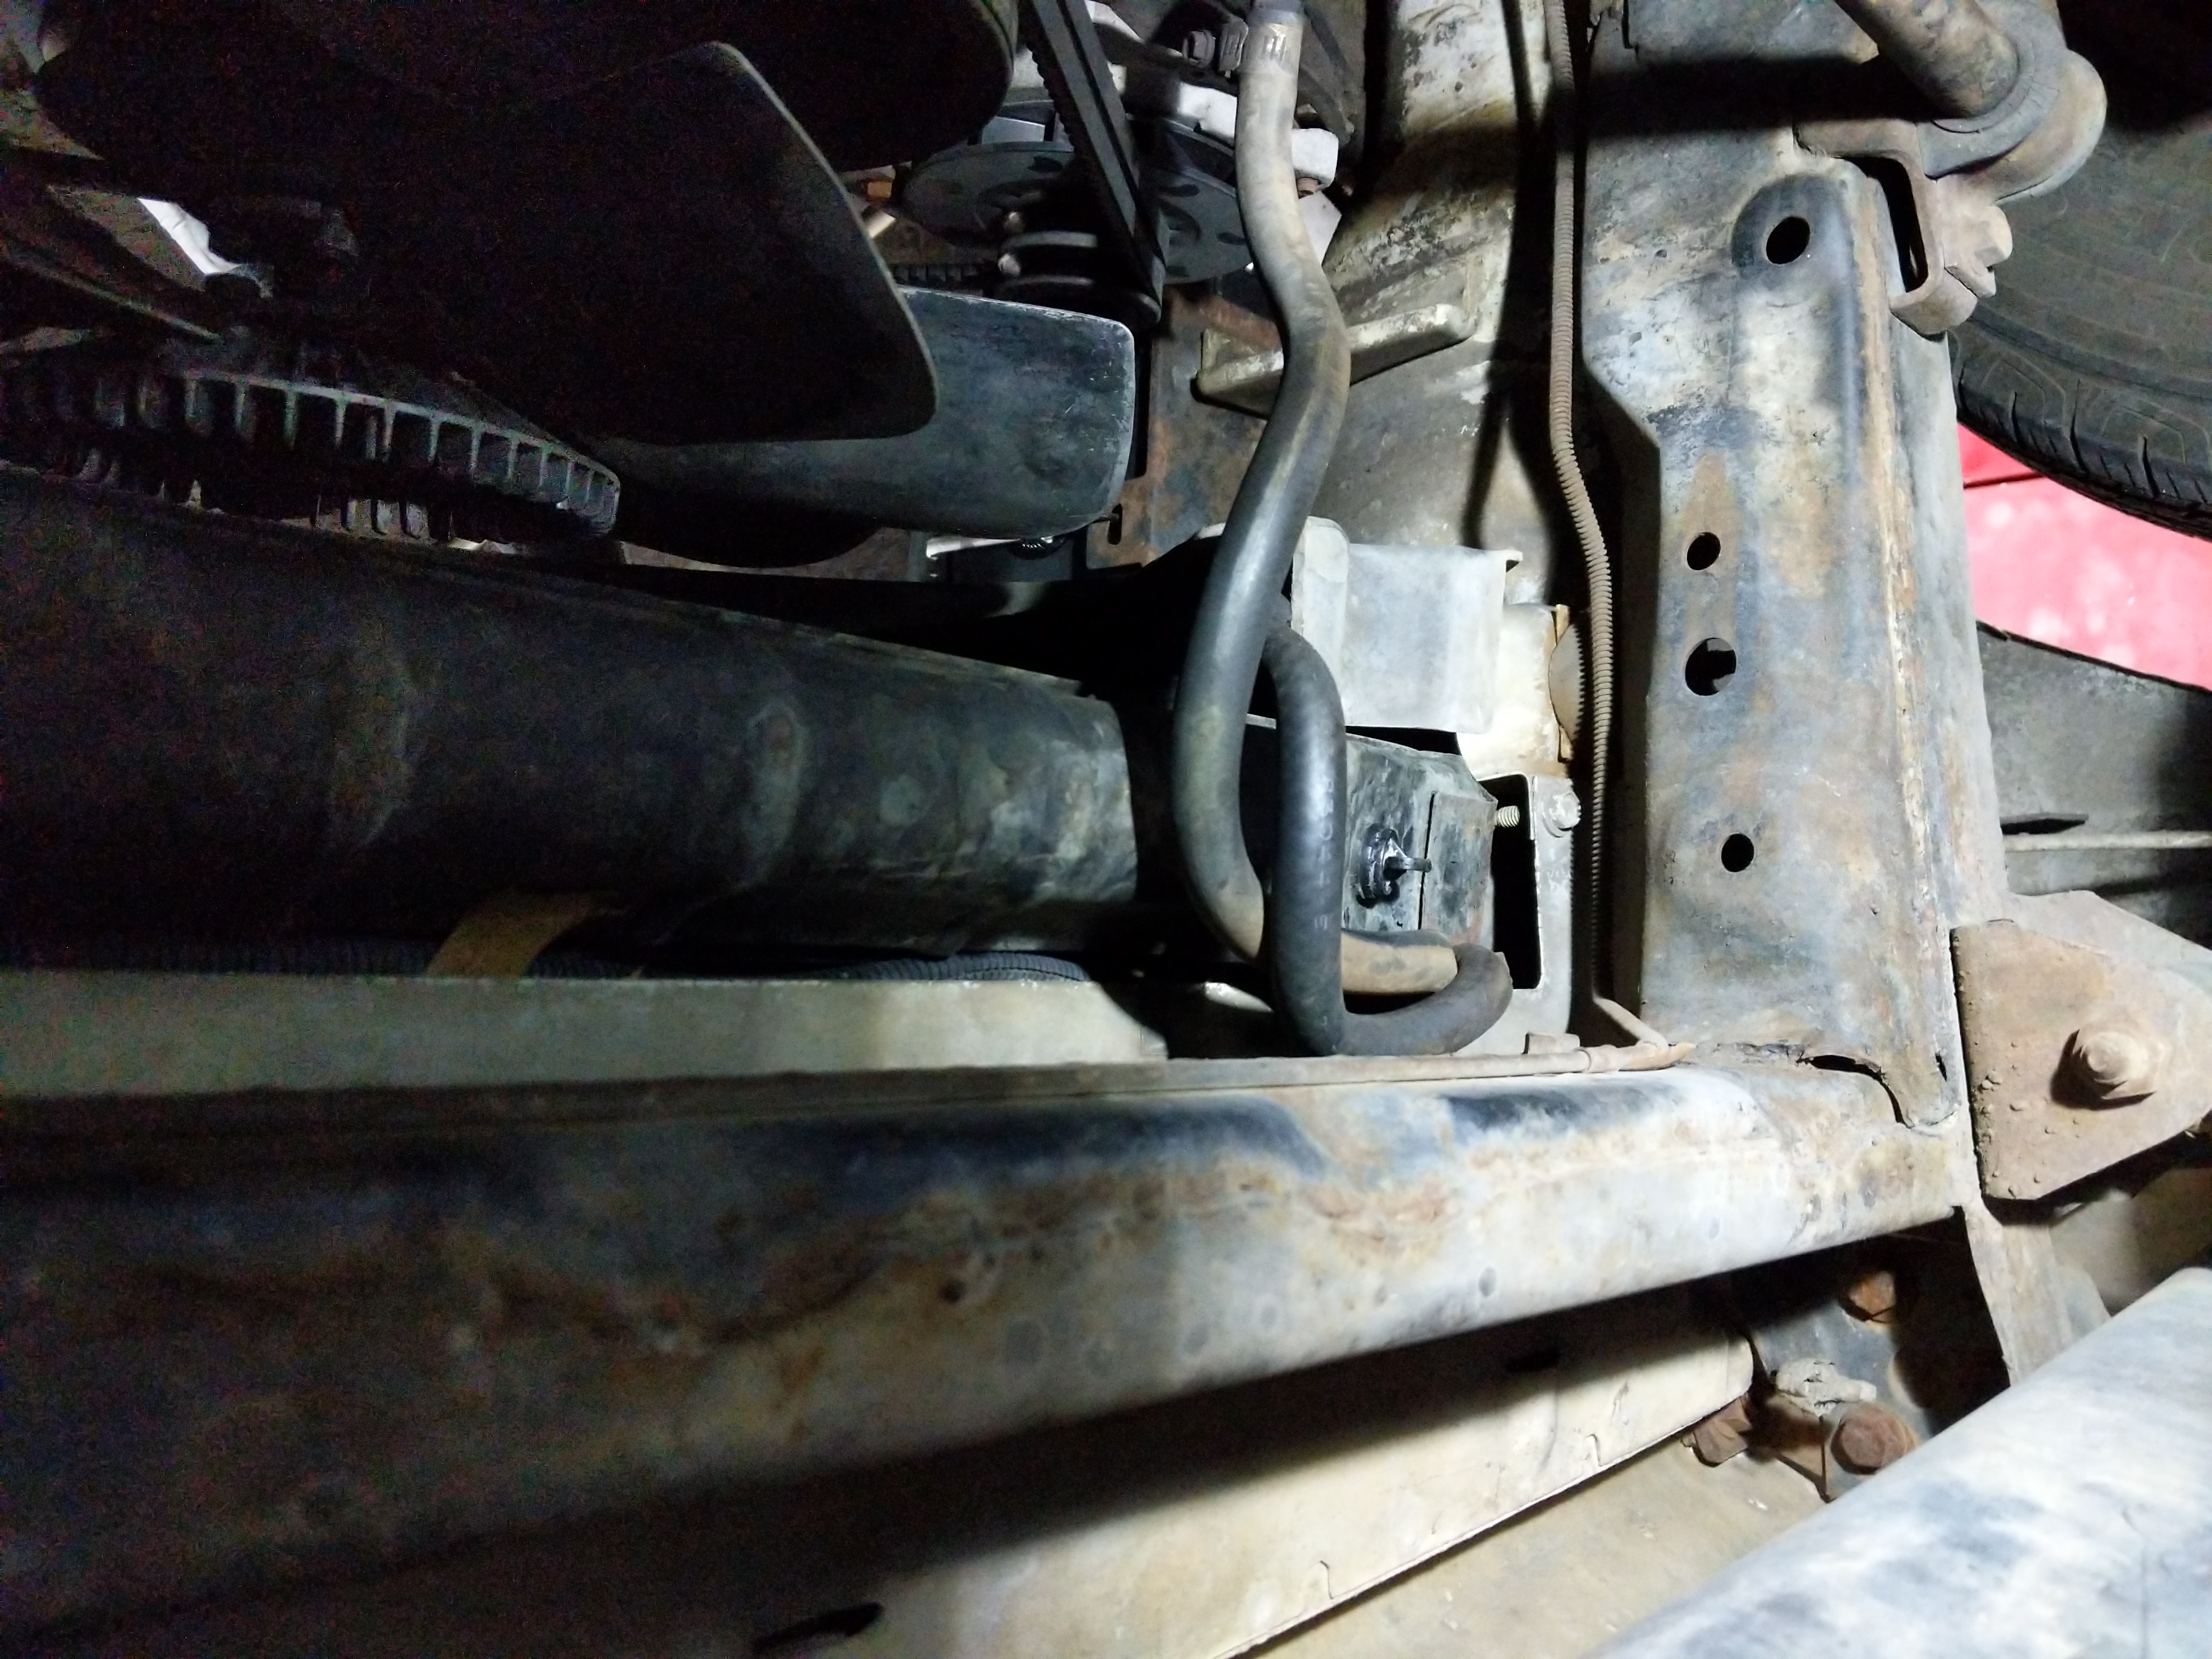
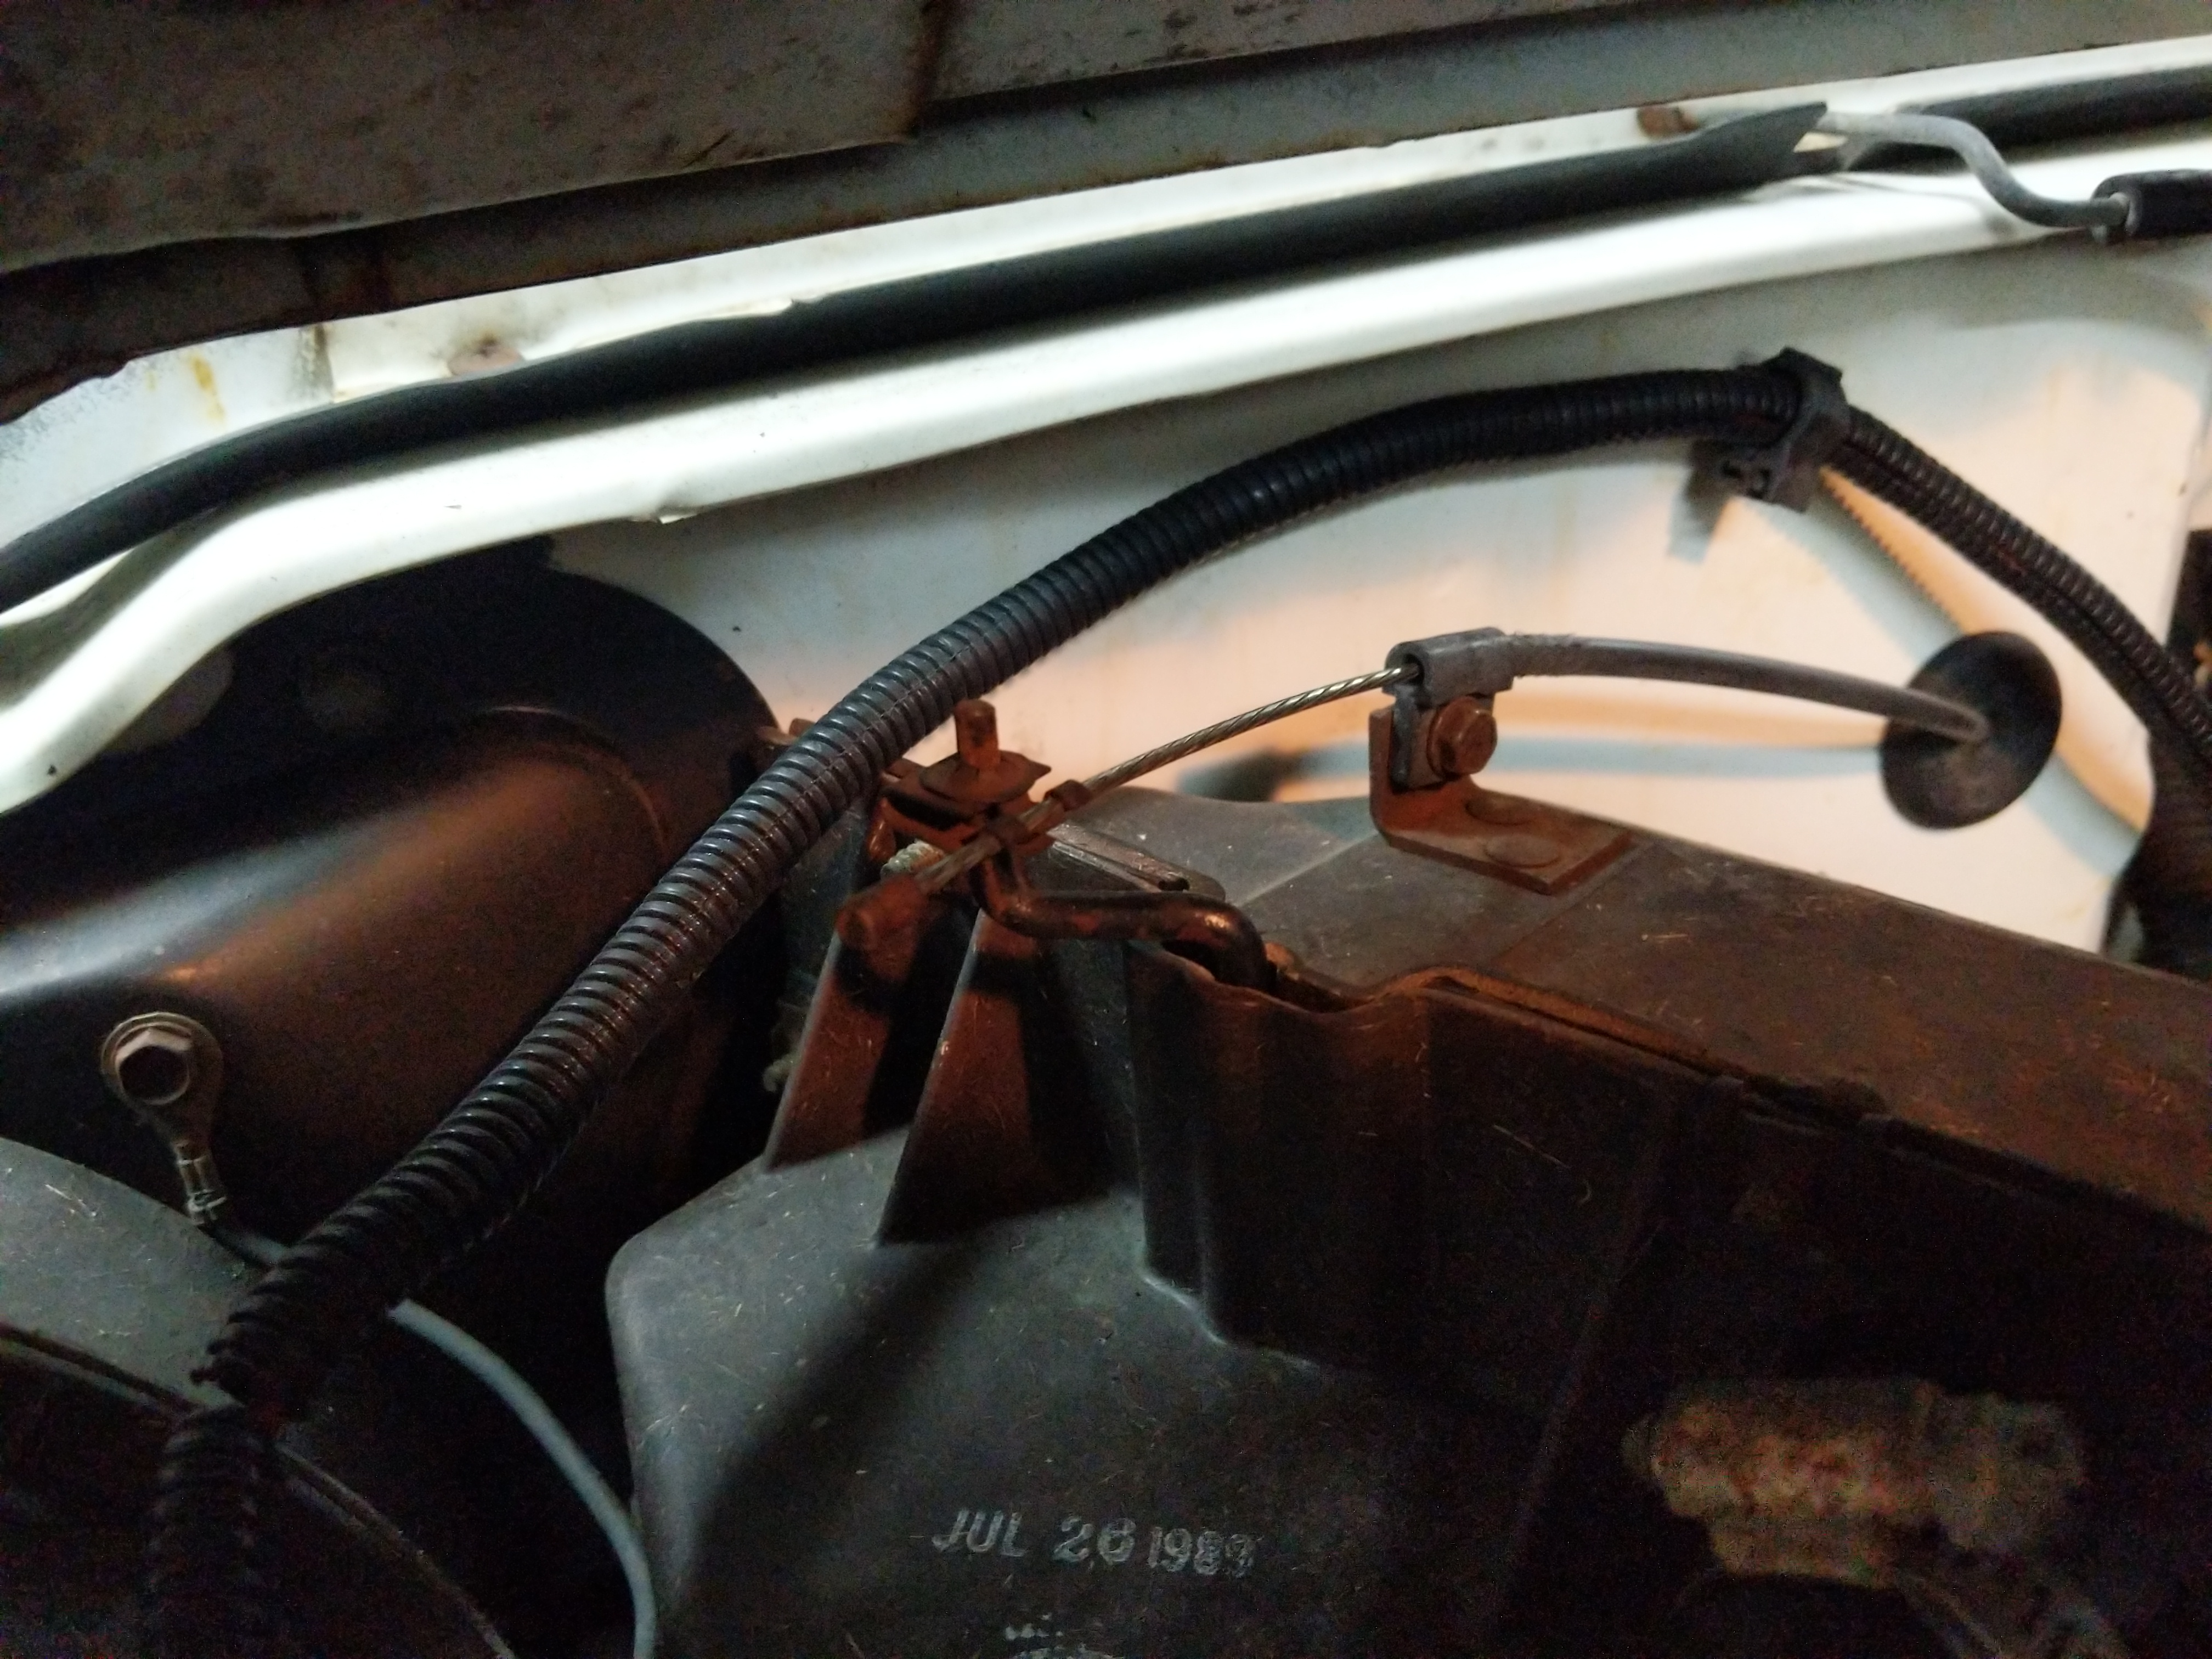
Draining all the coolant. On the Wagoneer the drain peacock is at the bottom which is nice. On the TJ Jeep it is horizontal and tends to shoot coolant all over the steering suspension. Only thing in the way was the two transmission fluid lines which I was able to zip tie out of the way.
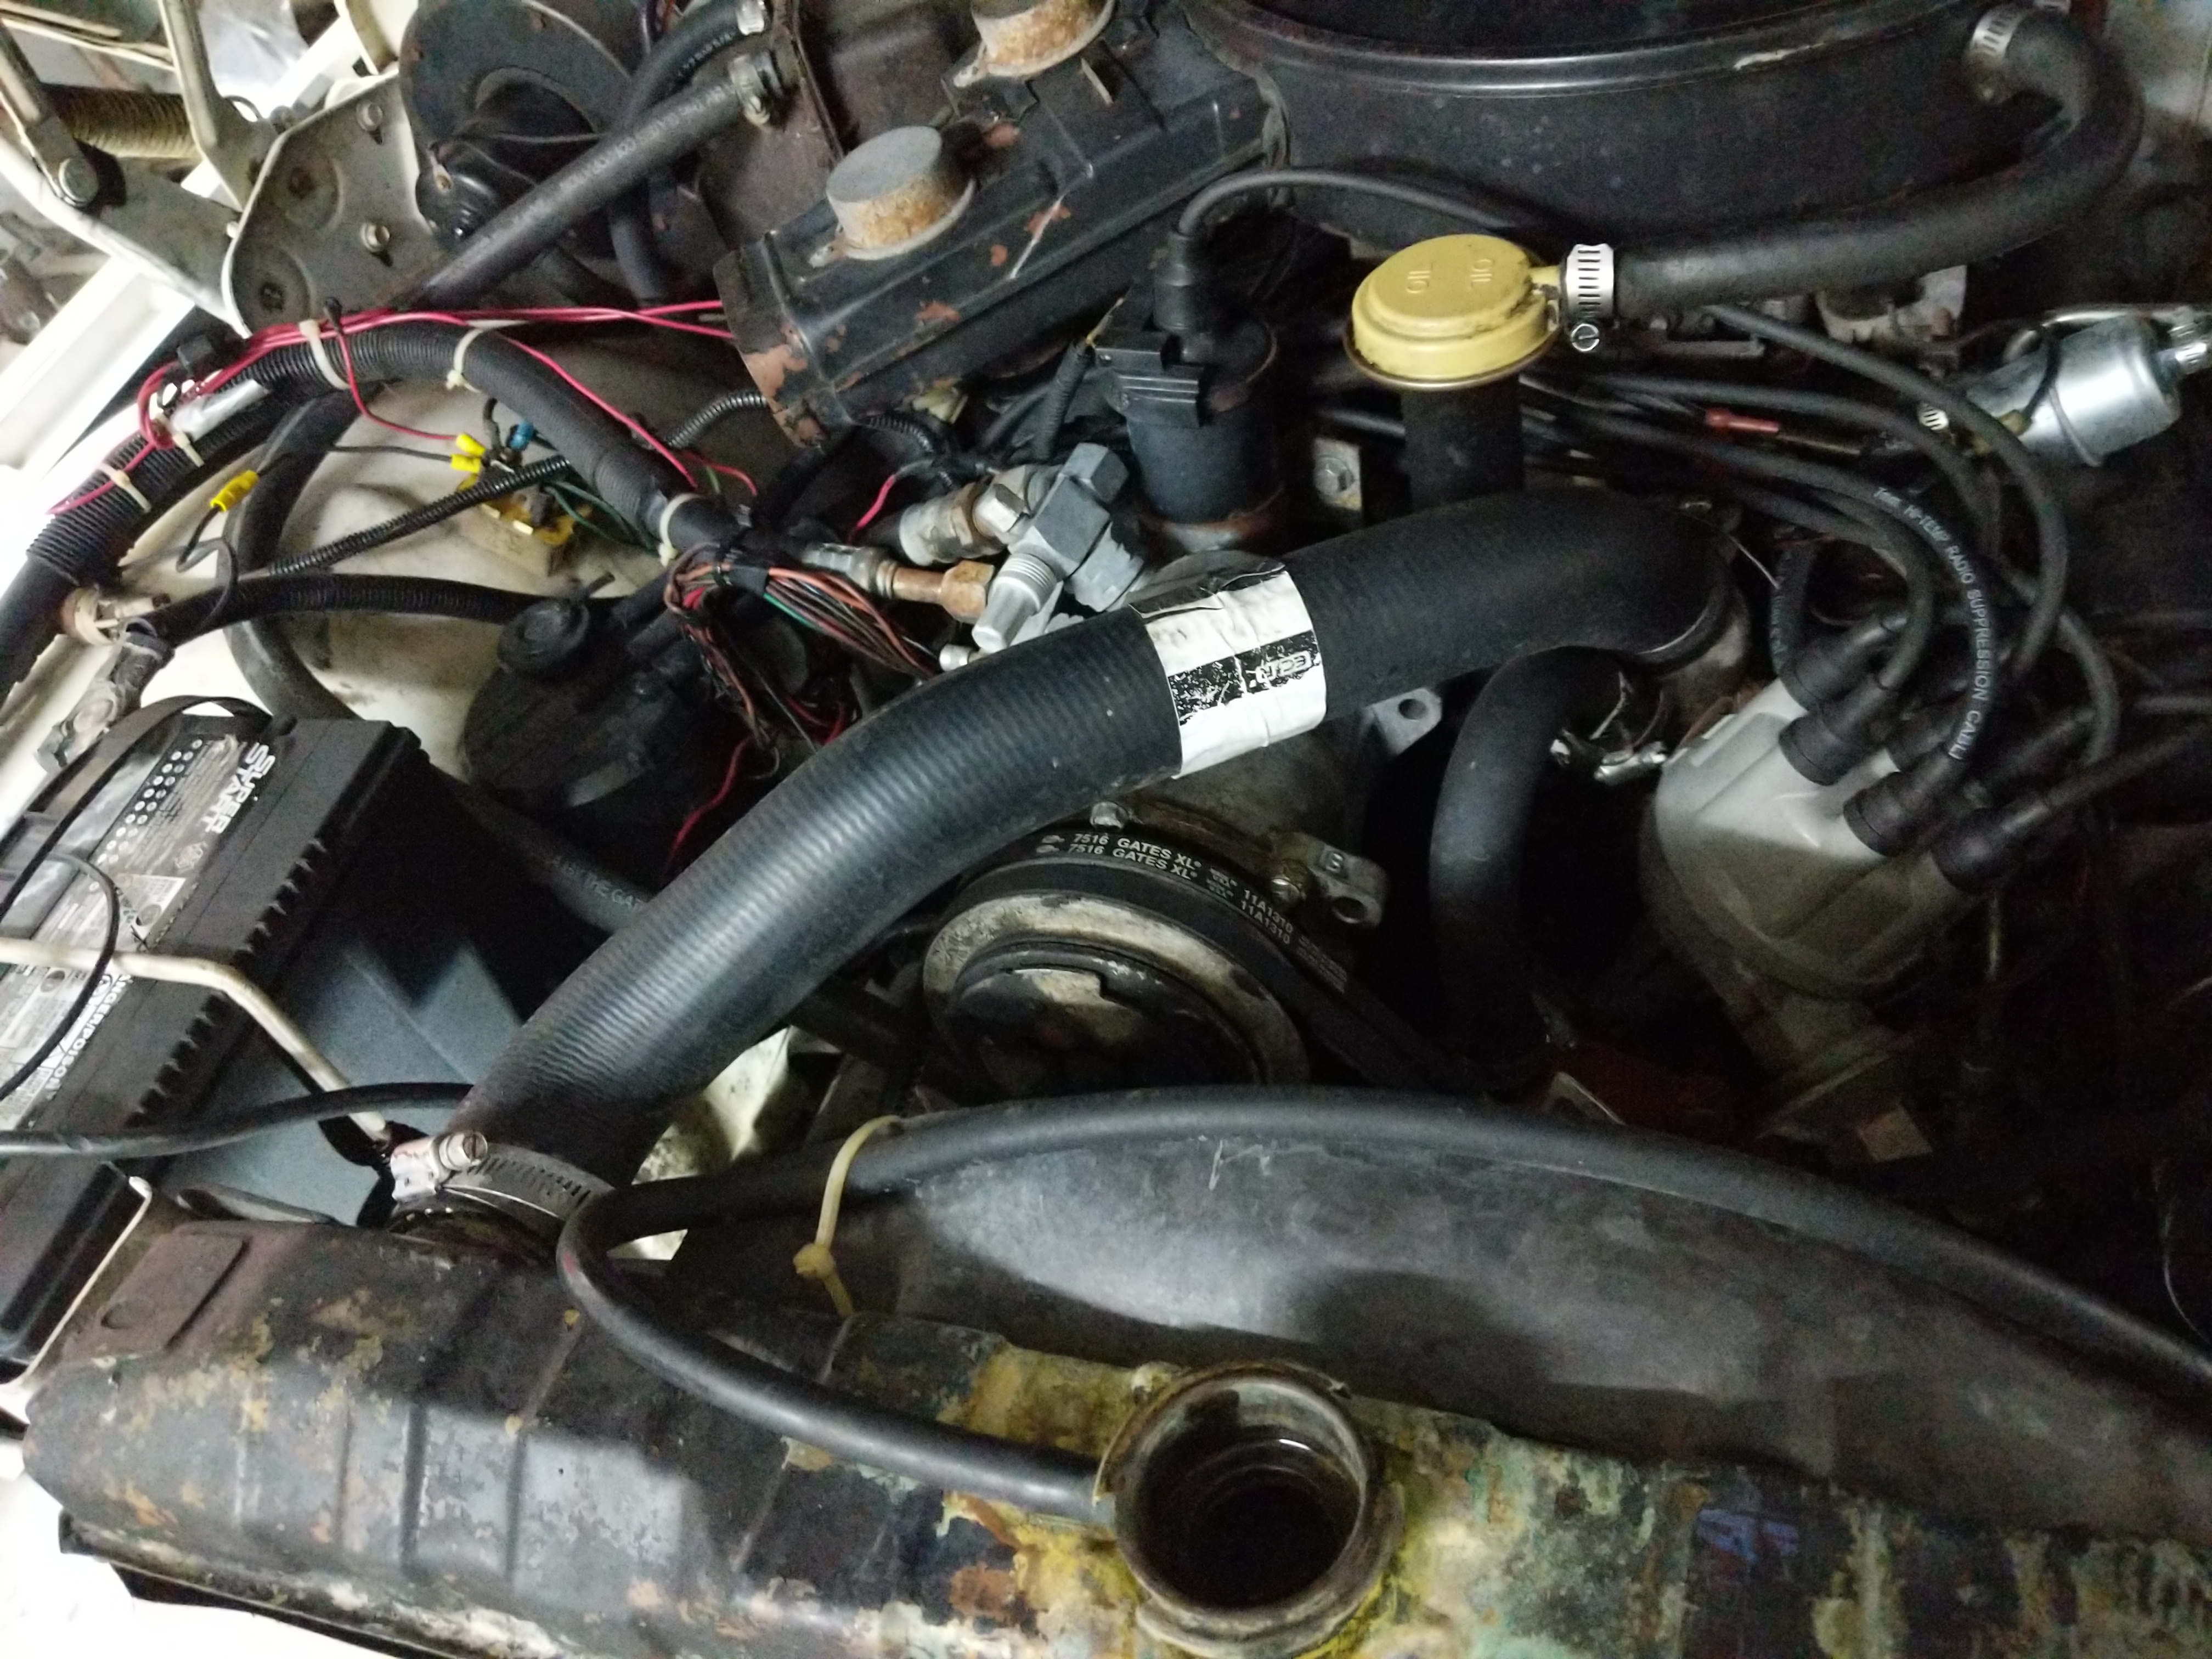
With the fluid drained I removed all the hoses in the system. There are three that attach to the radiator; Upper radiator hose, Lower radiator hose, and the hose that goes to the overflow bottle. I inspected these as I removed them and they looked to be a in shape and I will be reusing them.
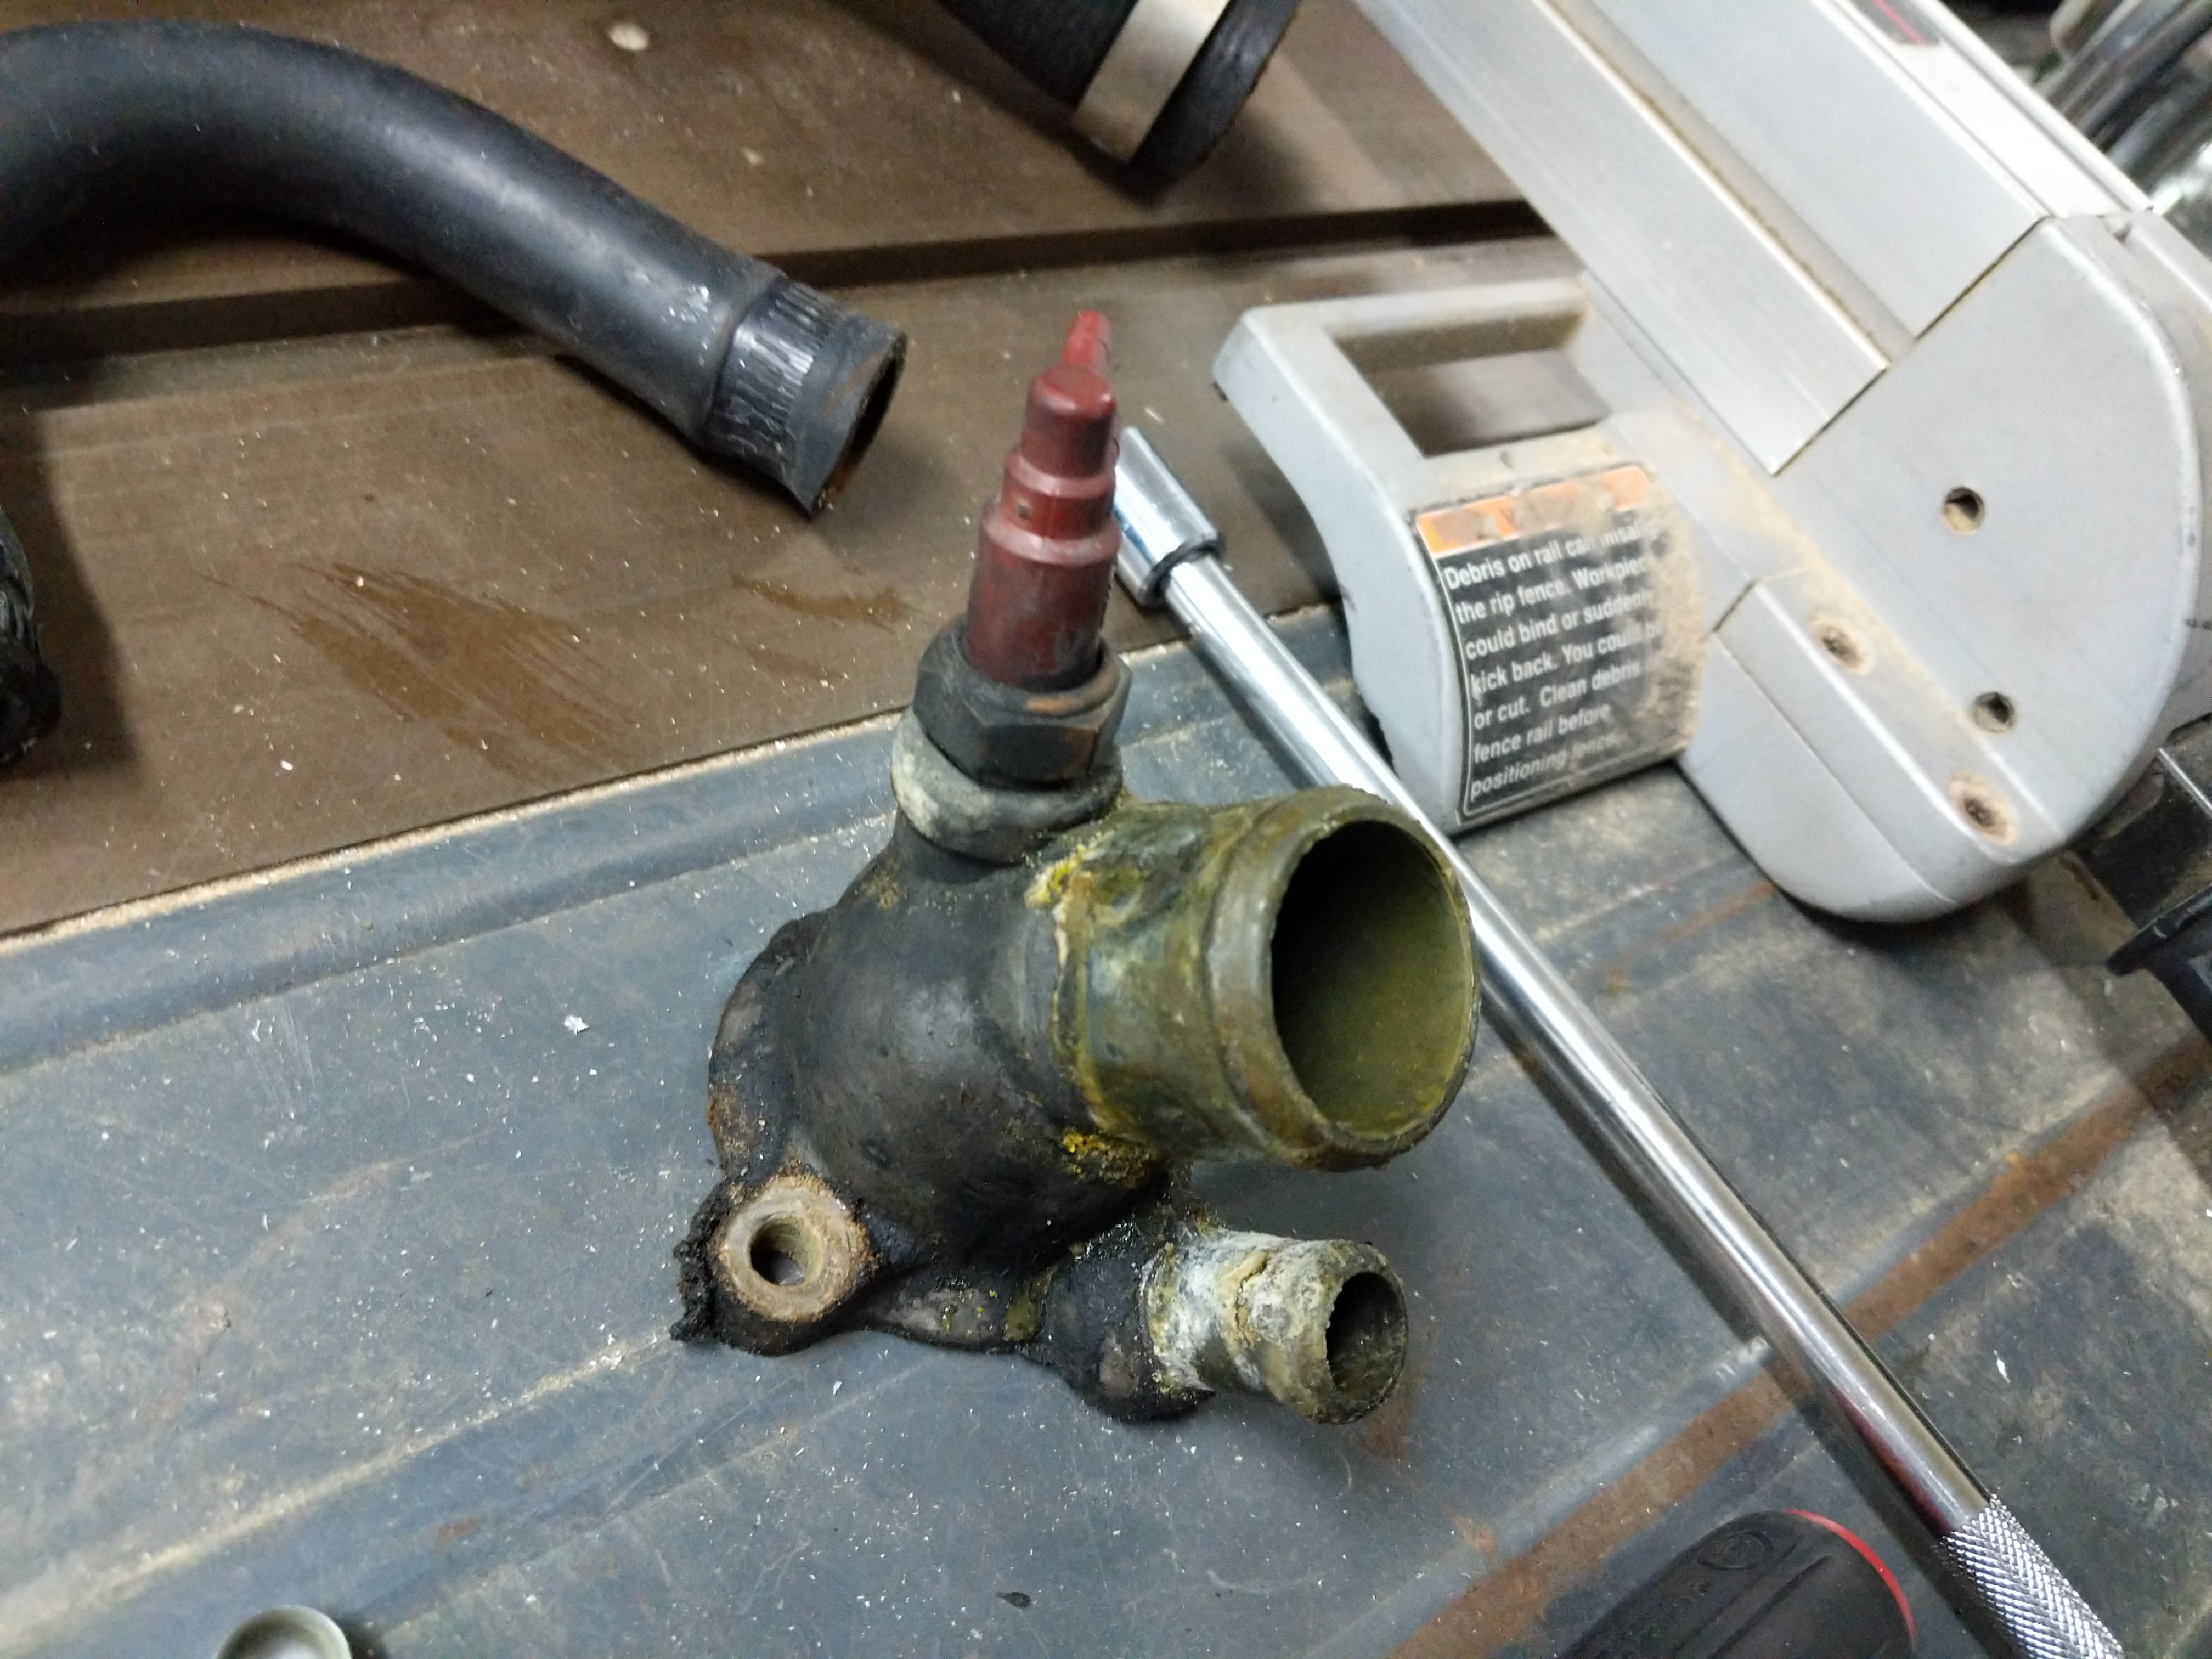
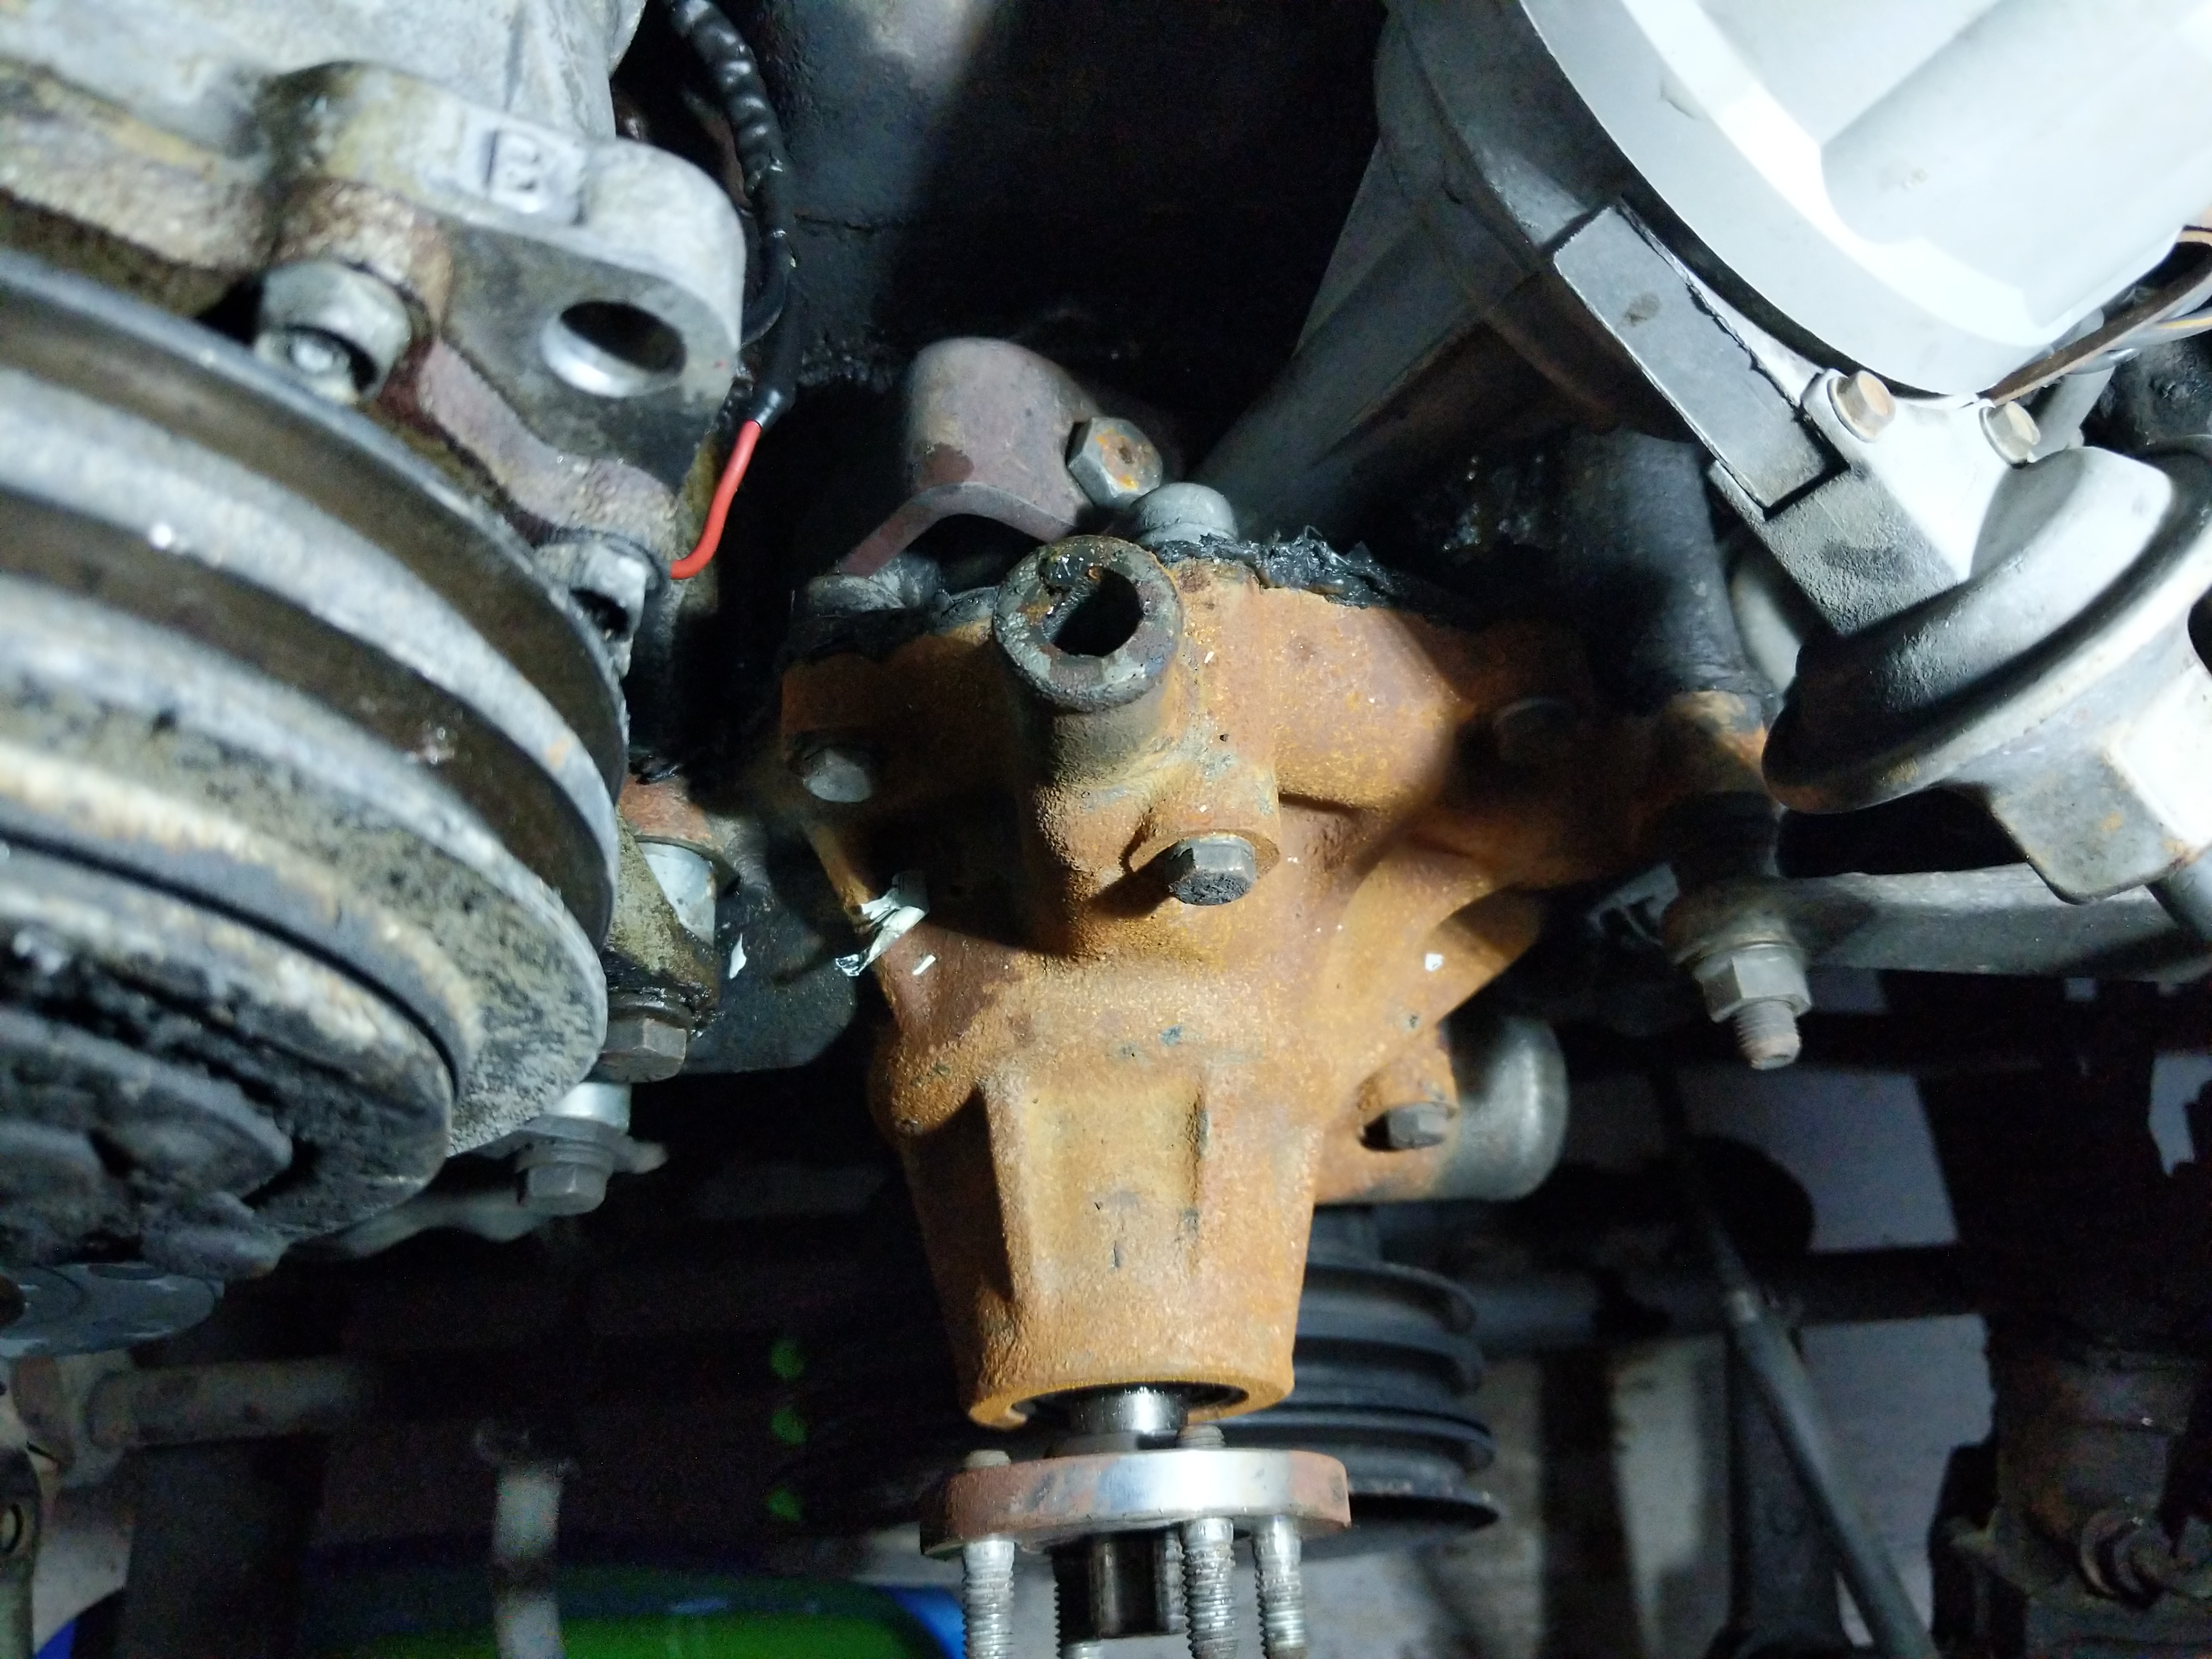
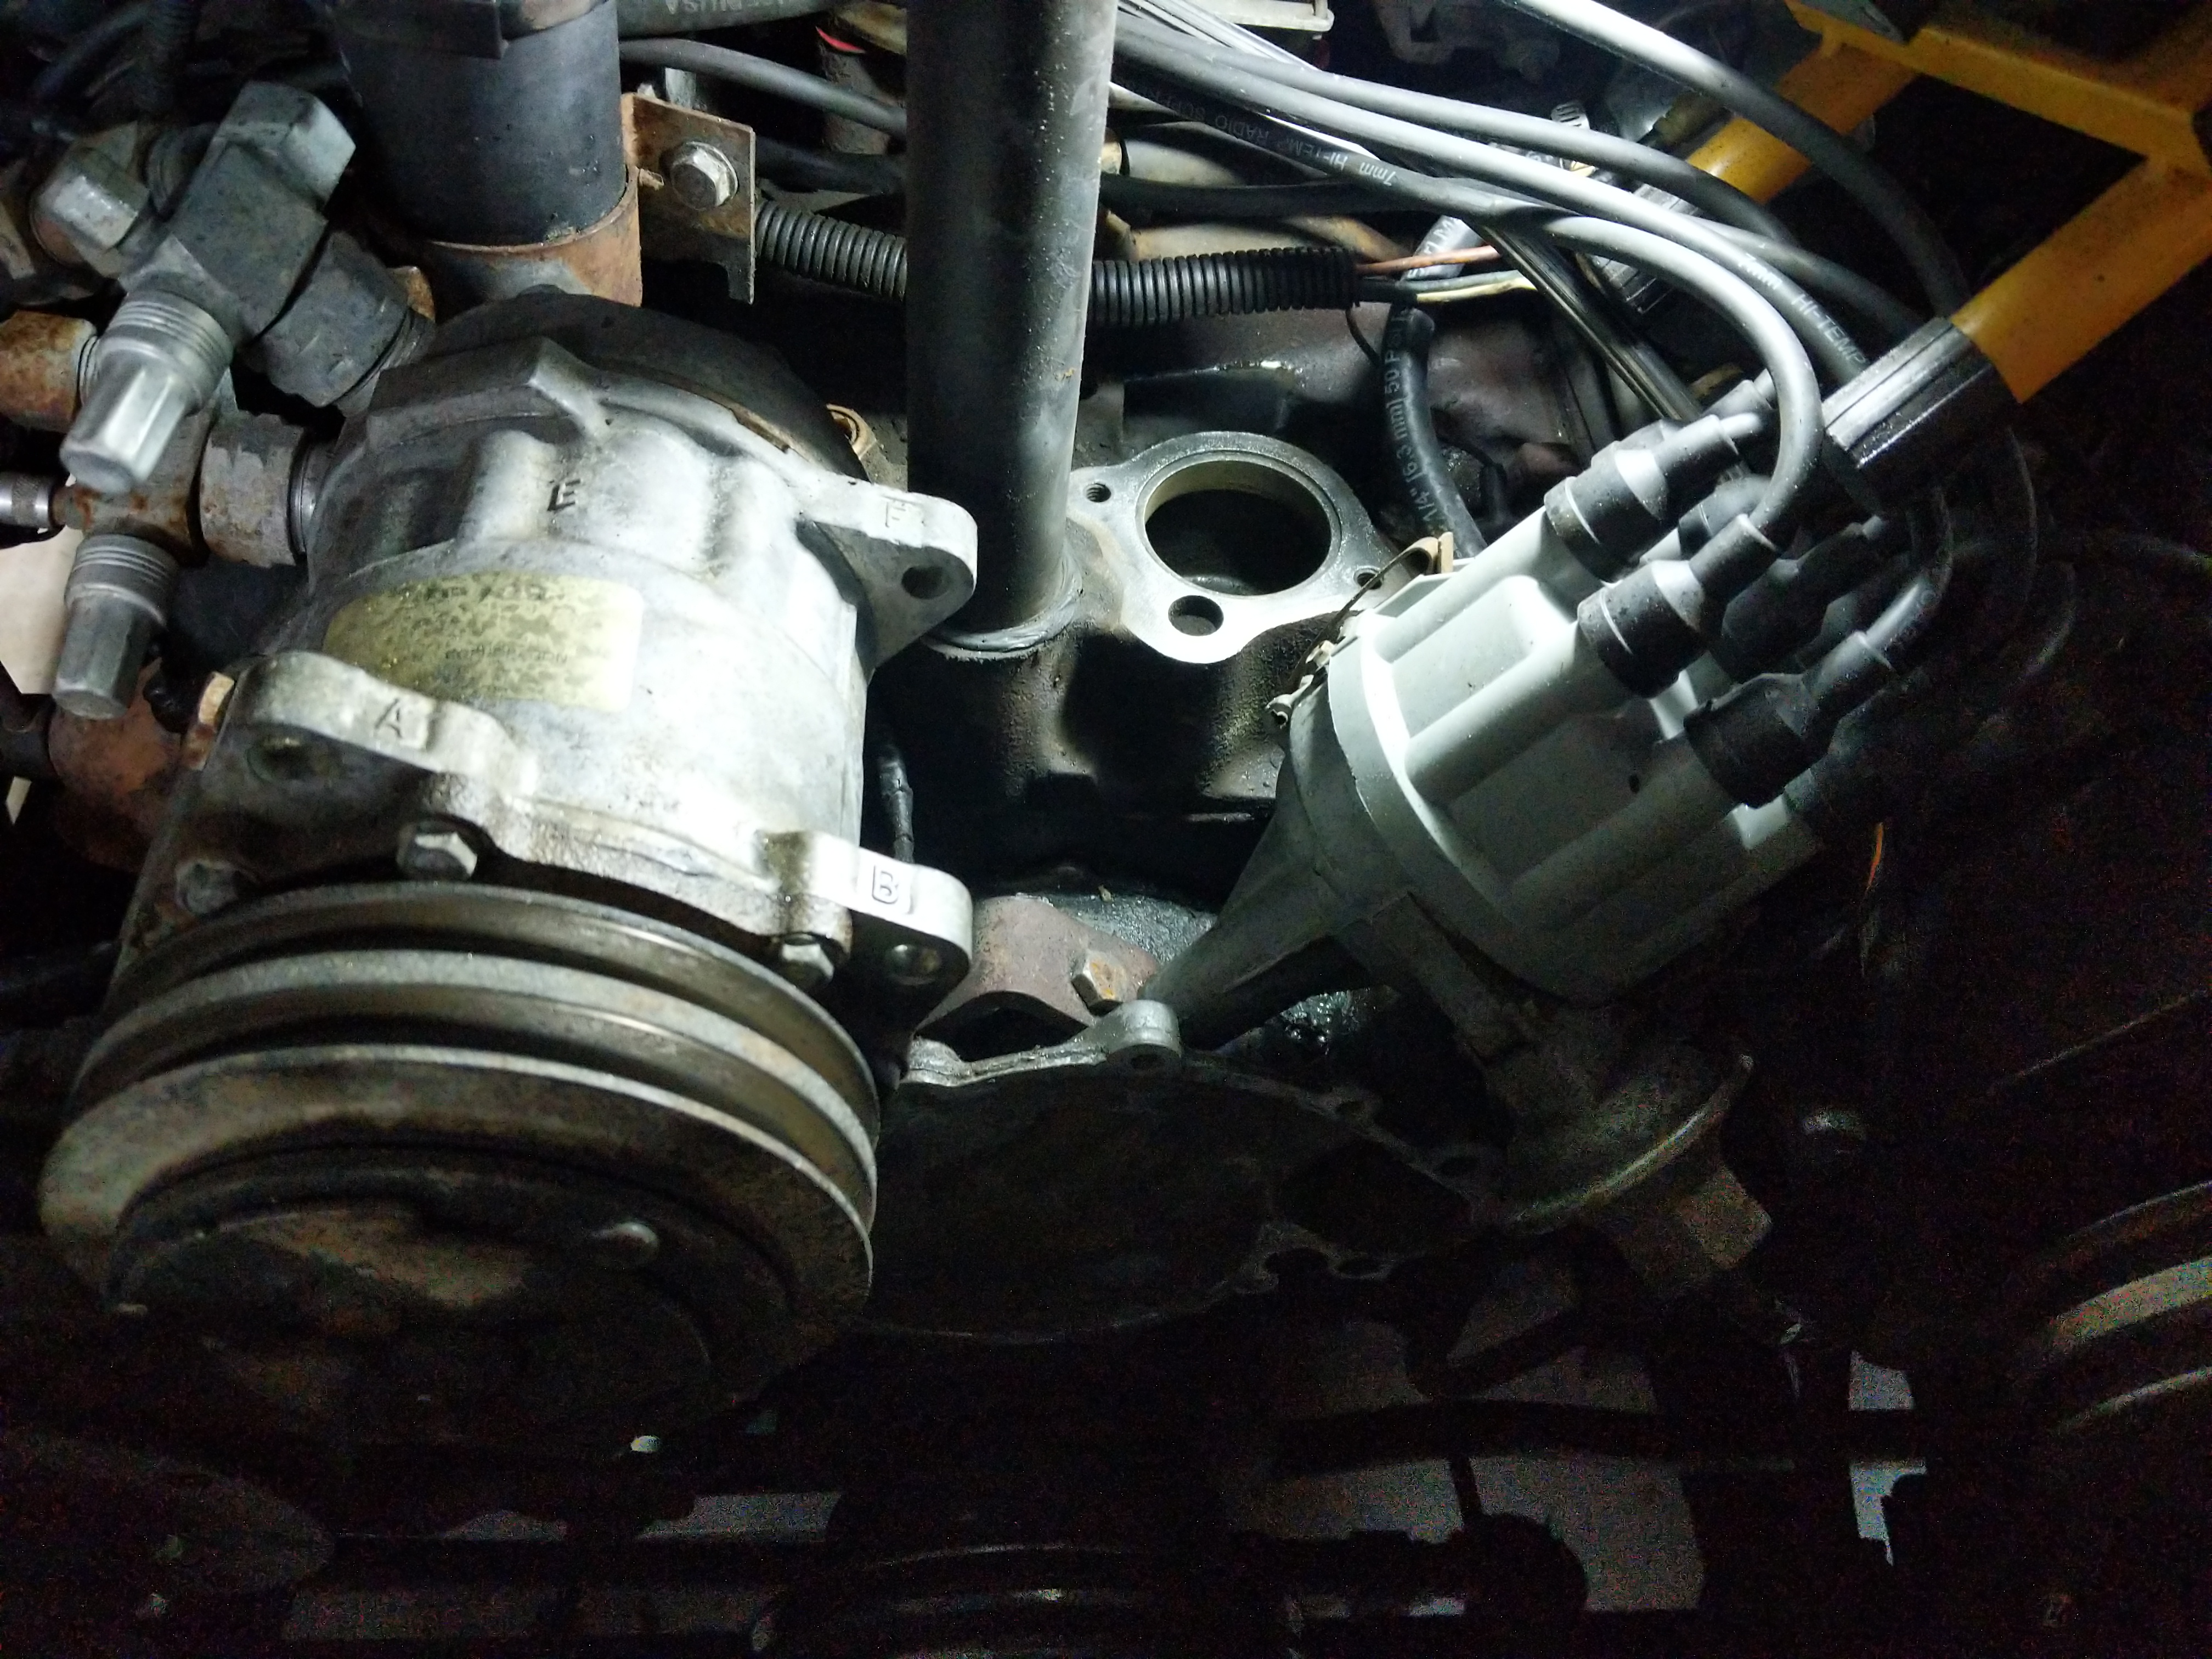
I pulled the T-stat housing and it looks like it belongs on the Titanic. I will clean this up with a brass wire wheel on the drill before reinstalling.
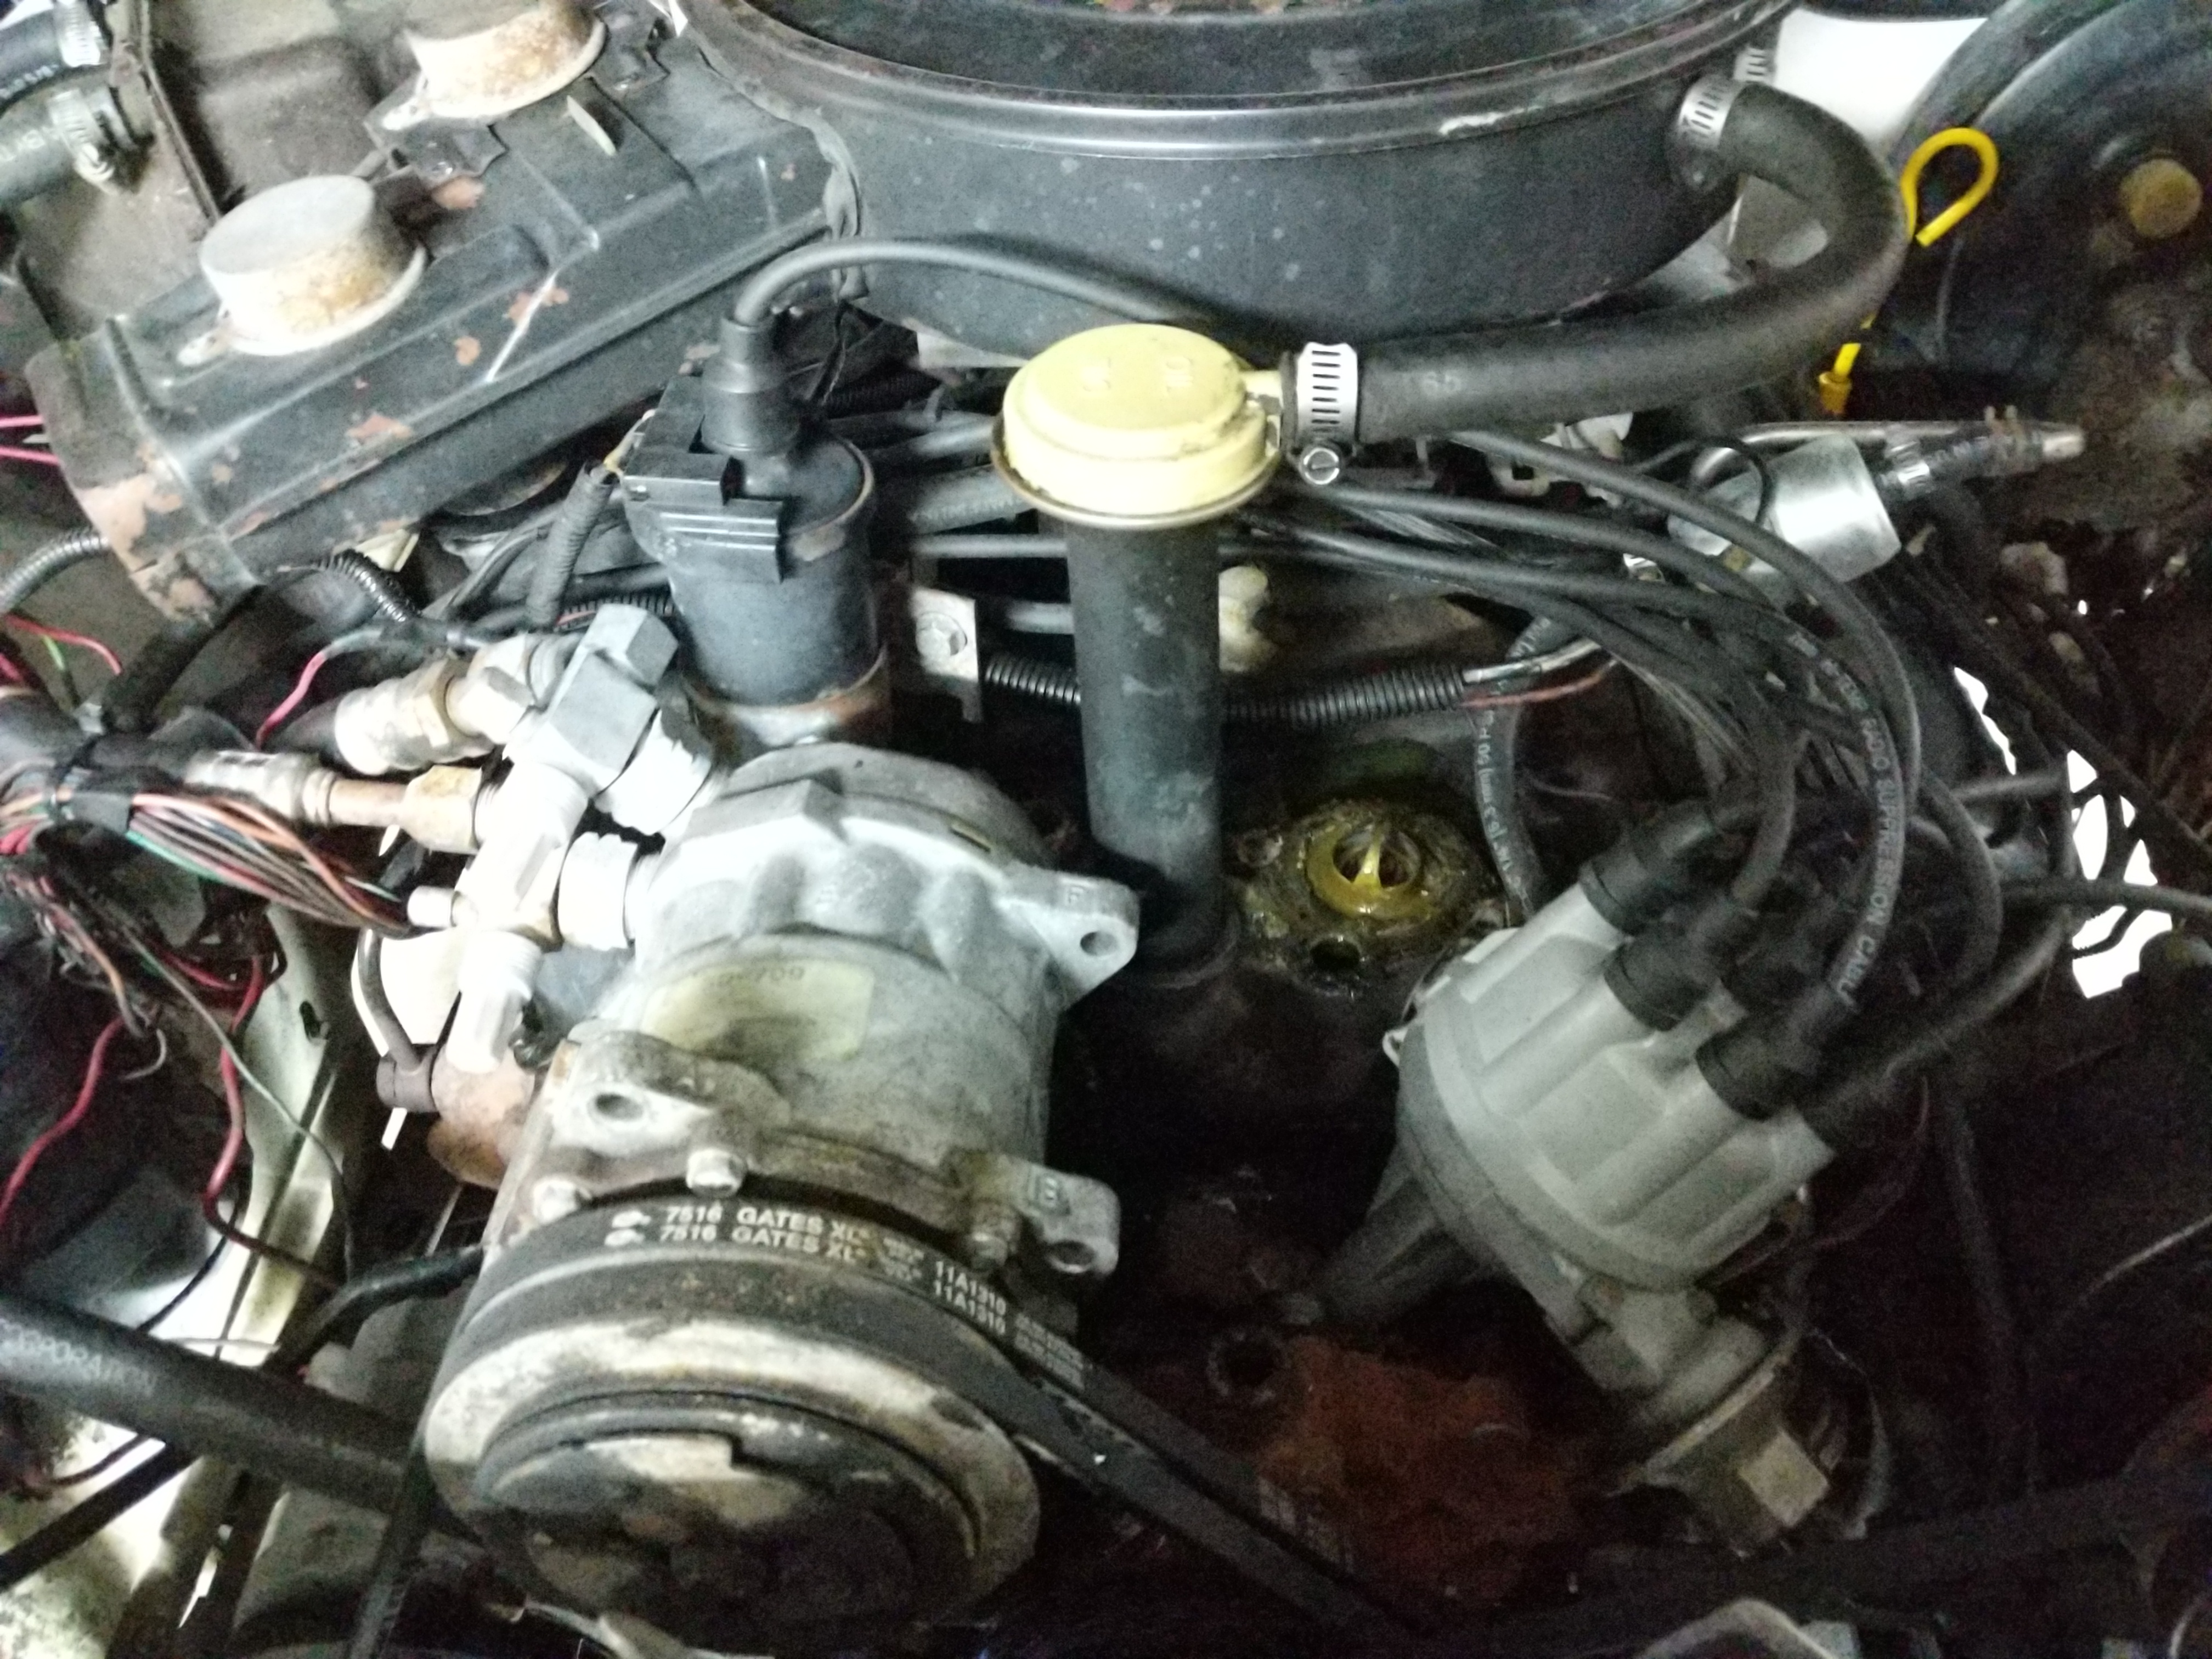
The T-stat itself sits in a grove on the block and the gasket is put over it. The previous mechanic just gooped RTV all over it and was a pain to remove.
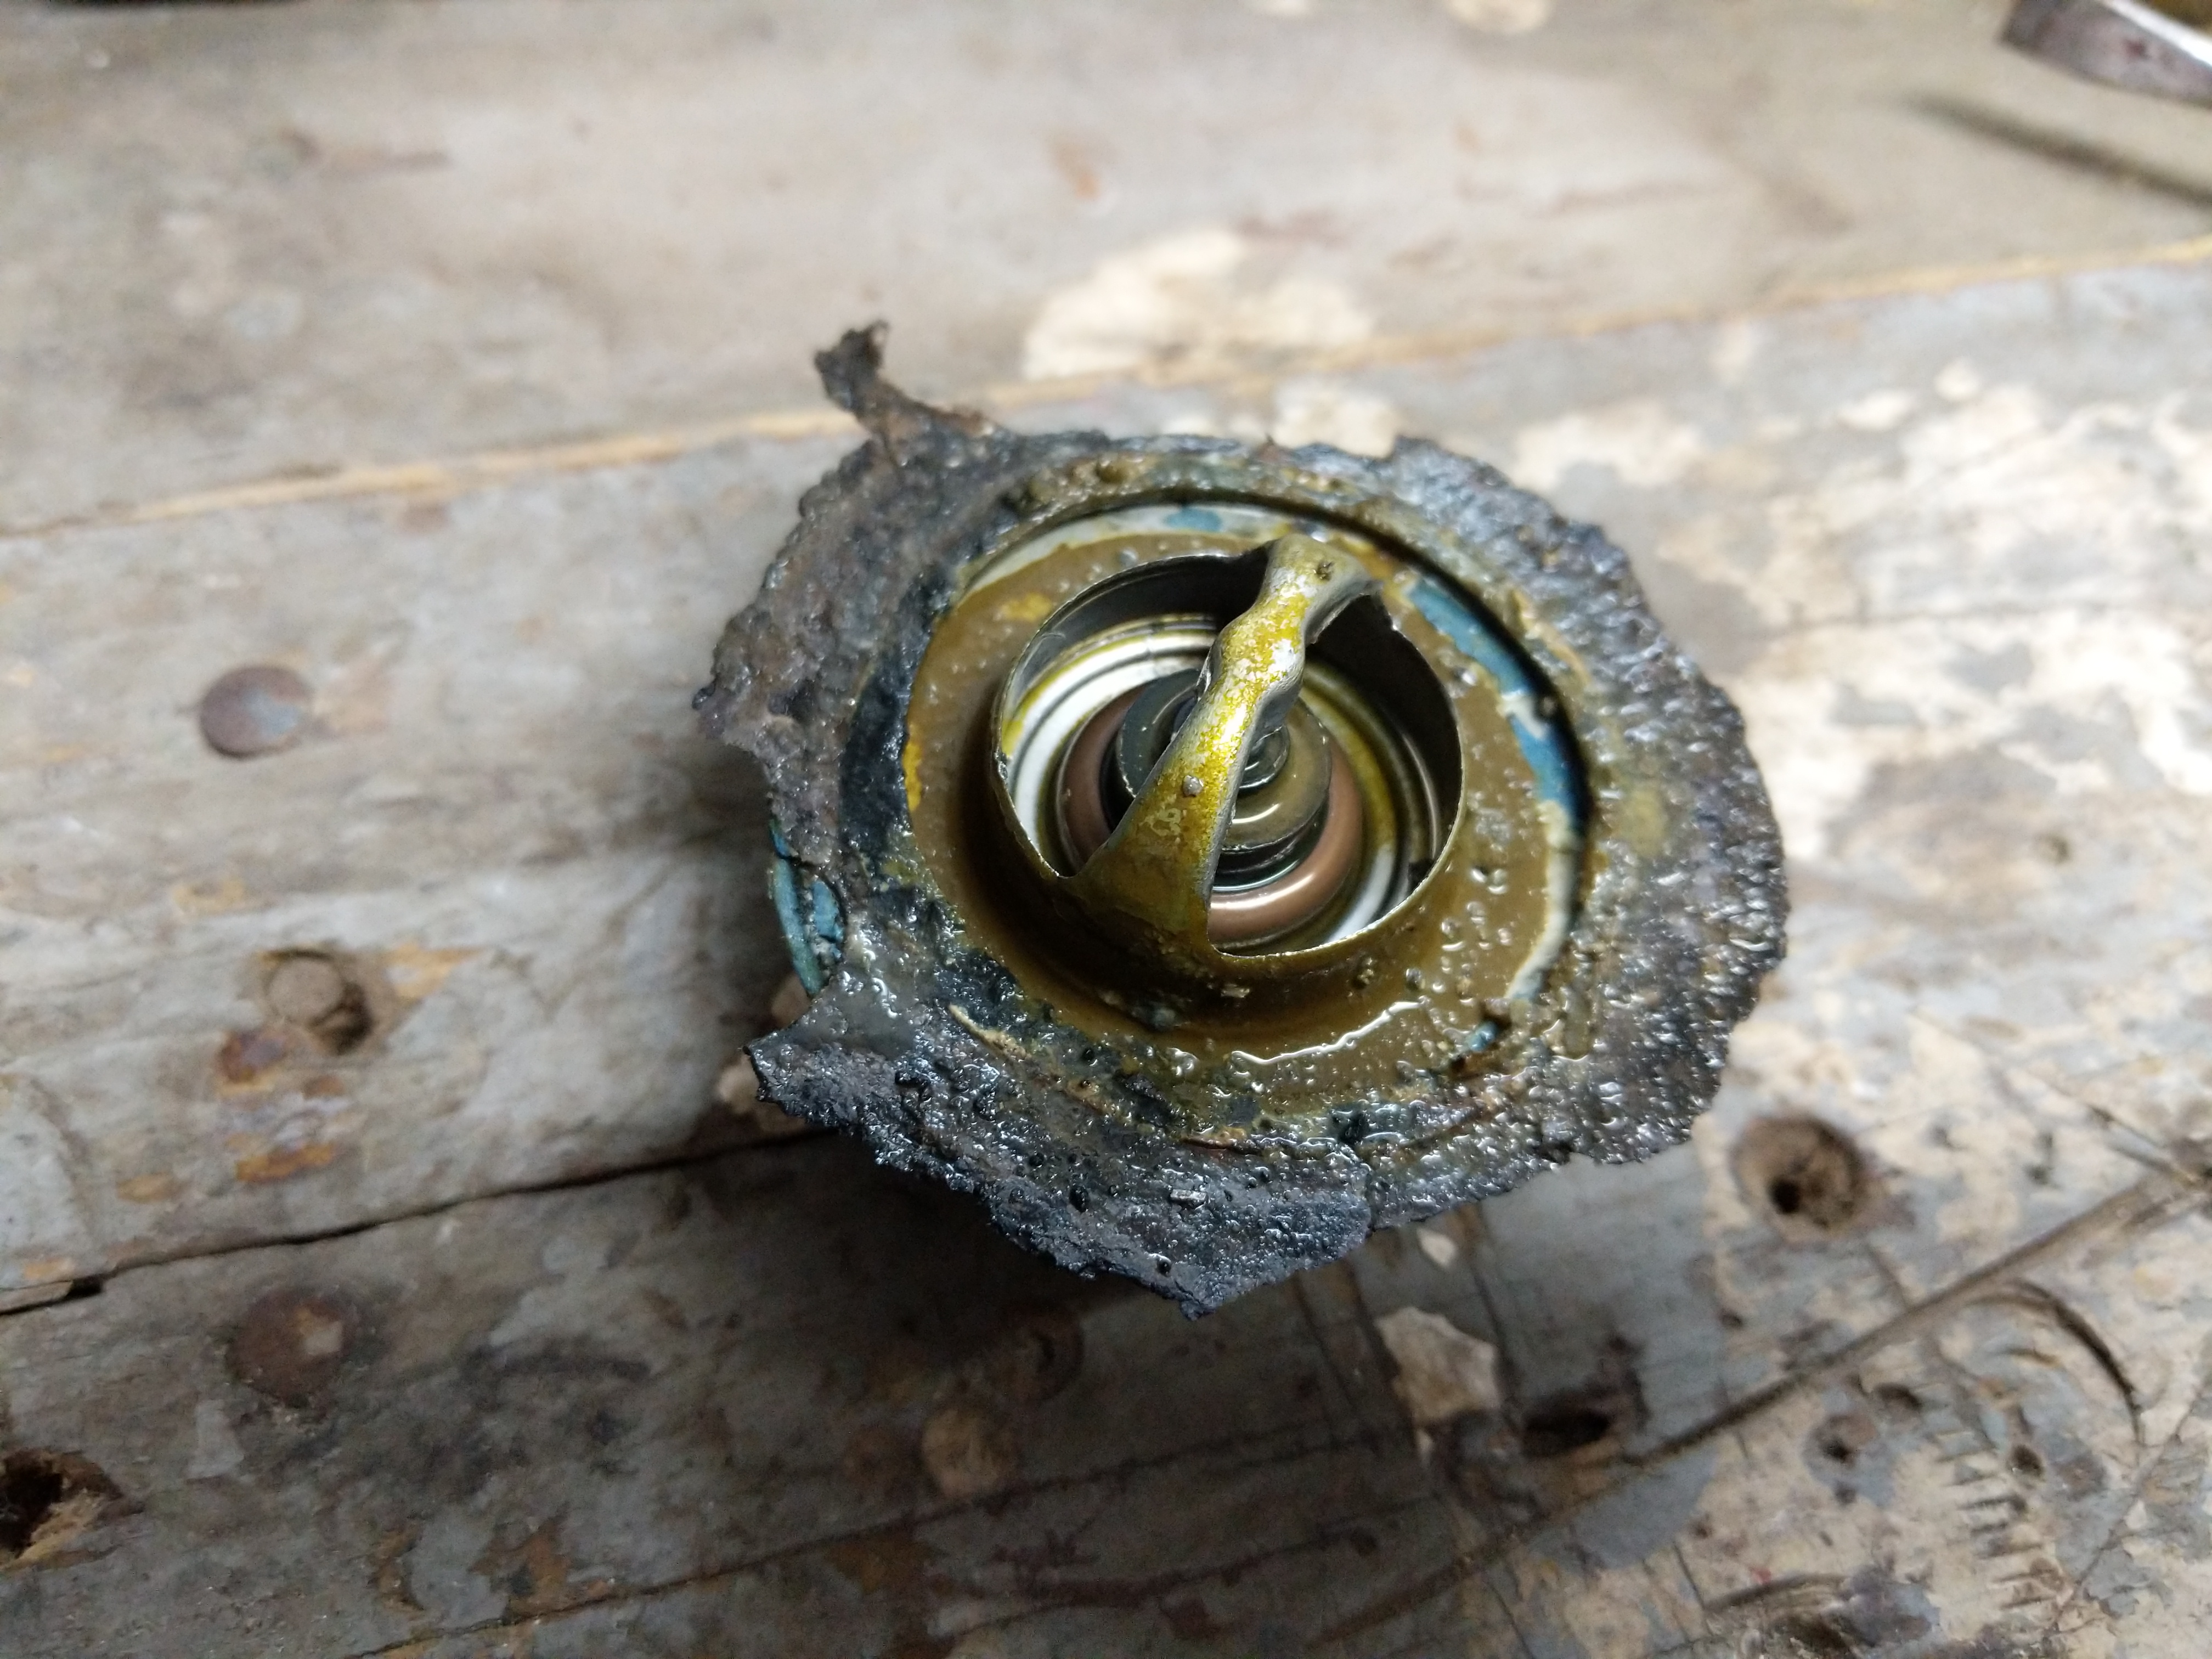
Not much left of the original gasket. Lots of rusty sludge build up on it as well. Makes sense that the Wagoneer sat for years before I got it.
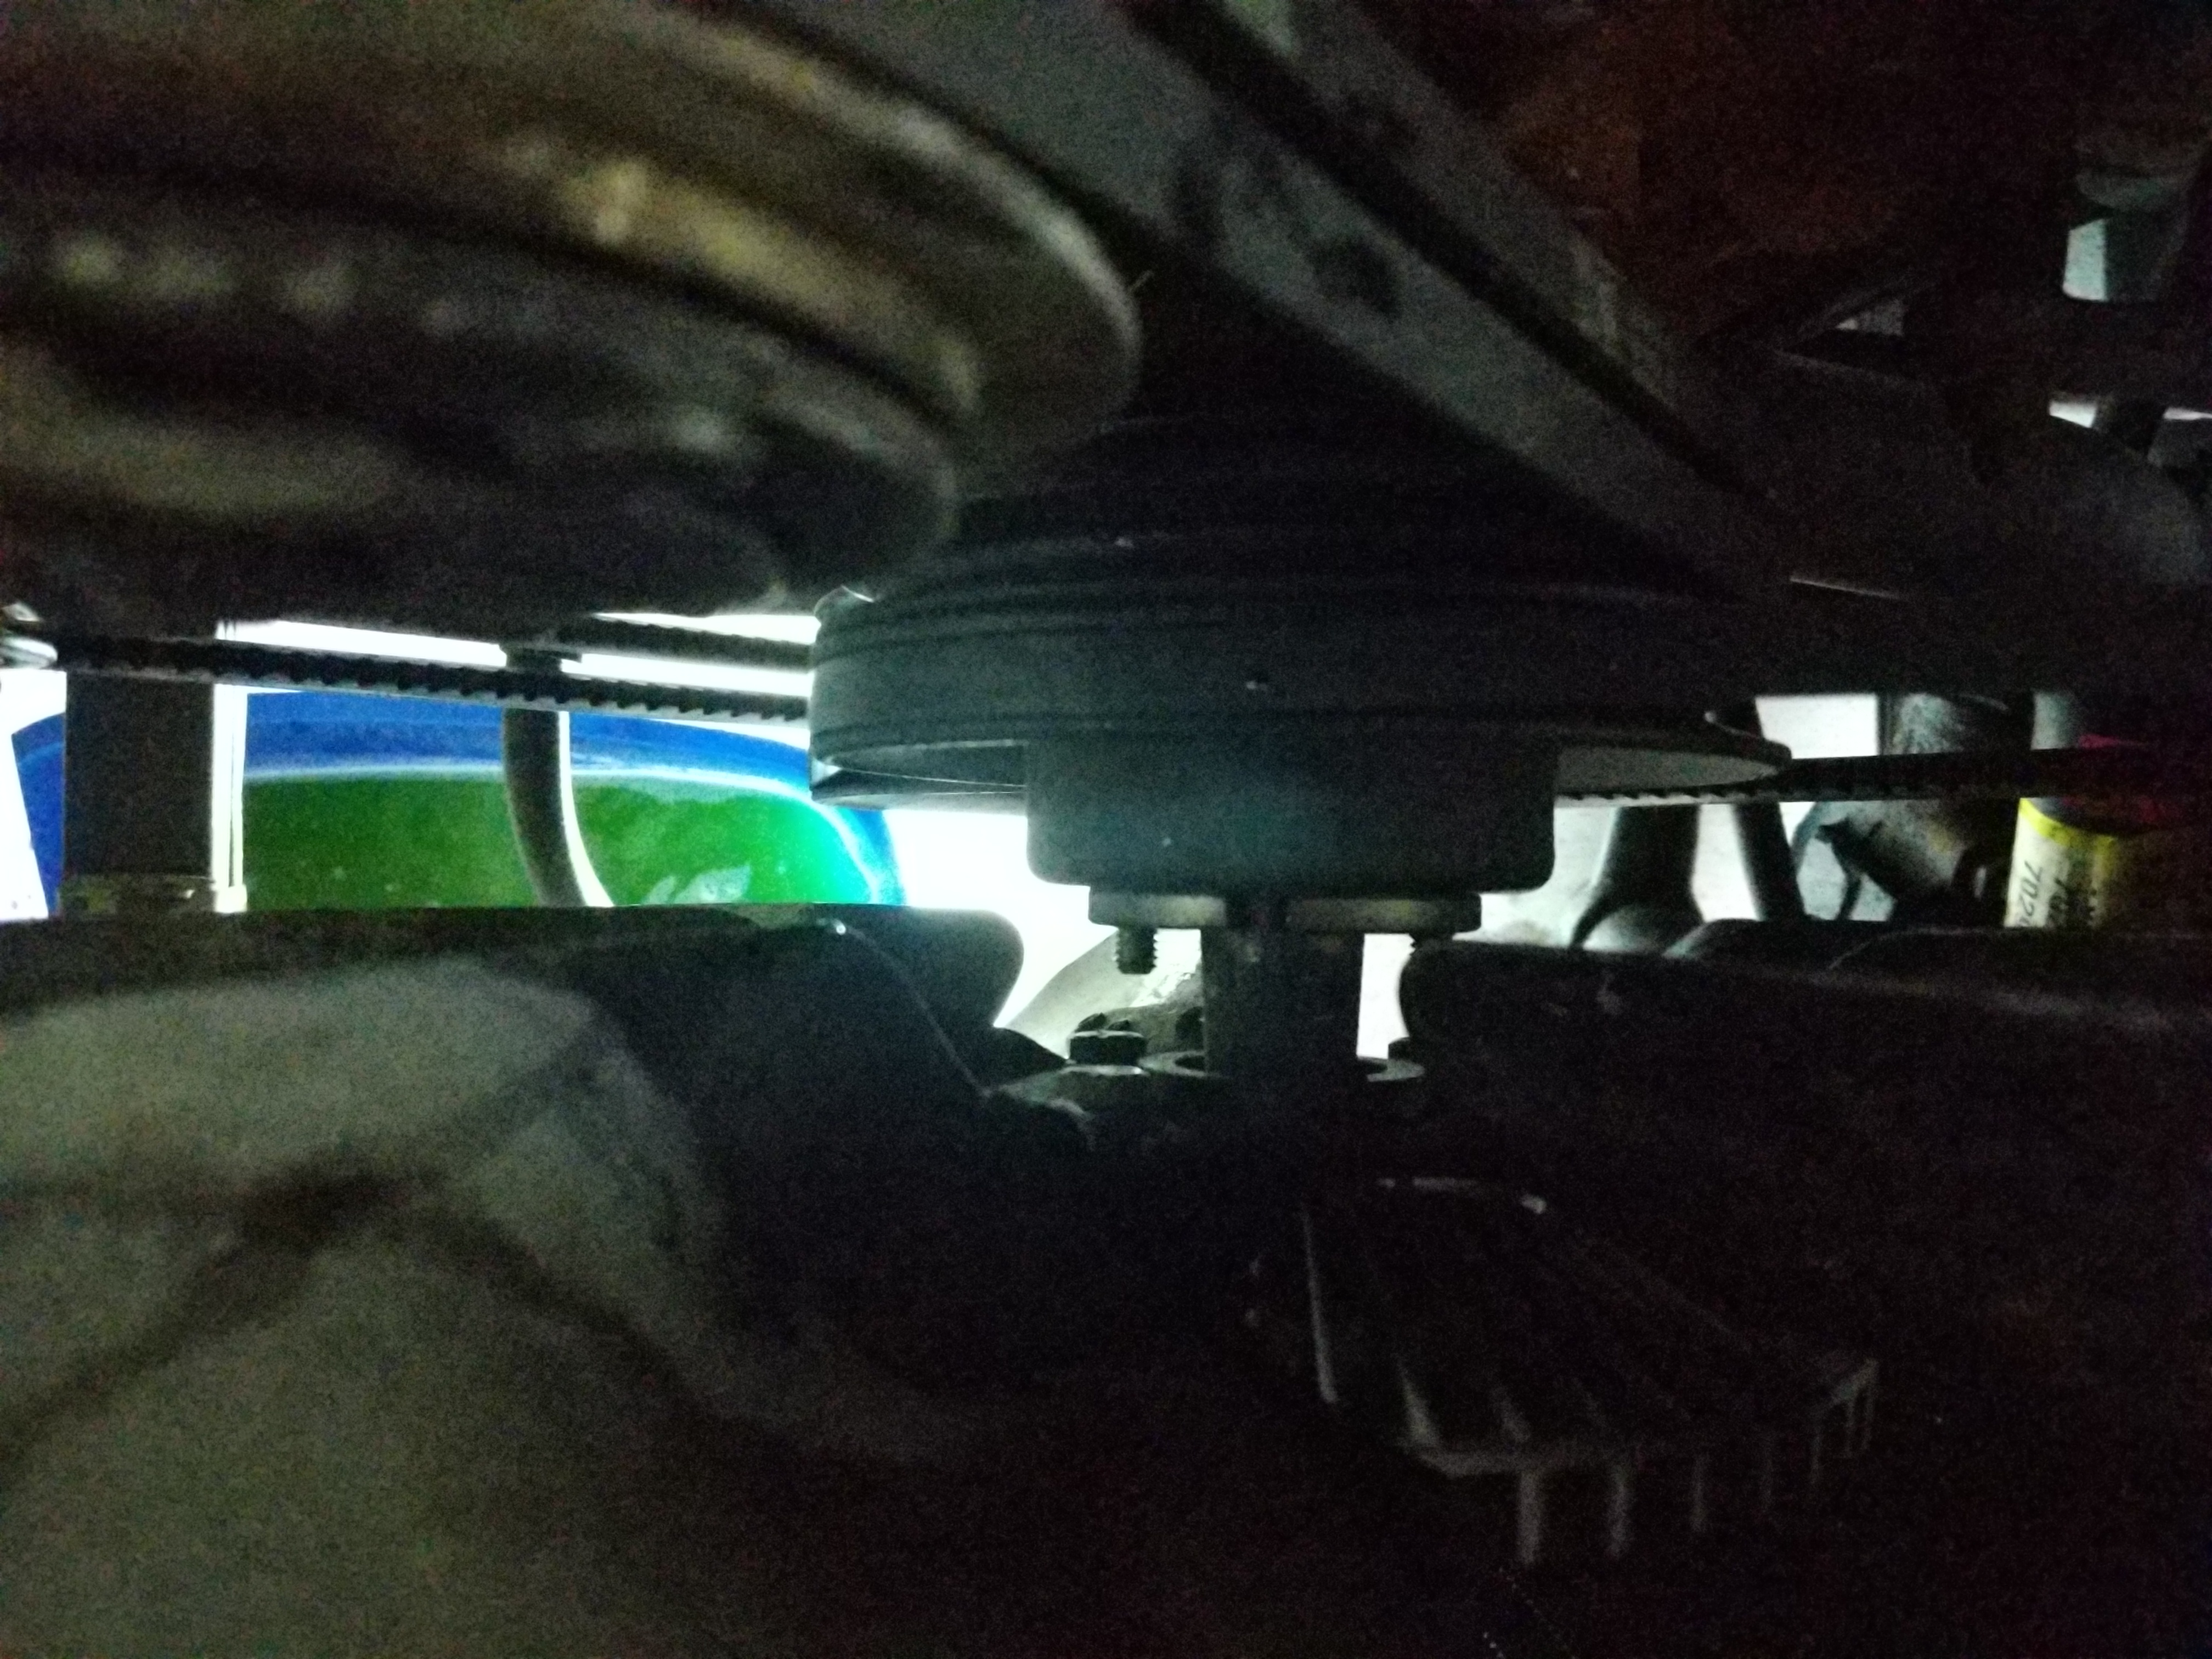
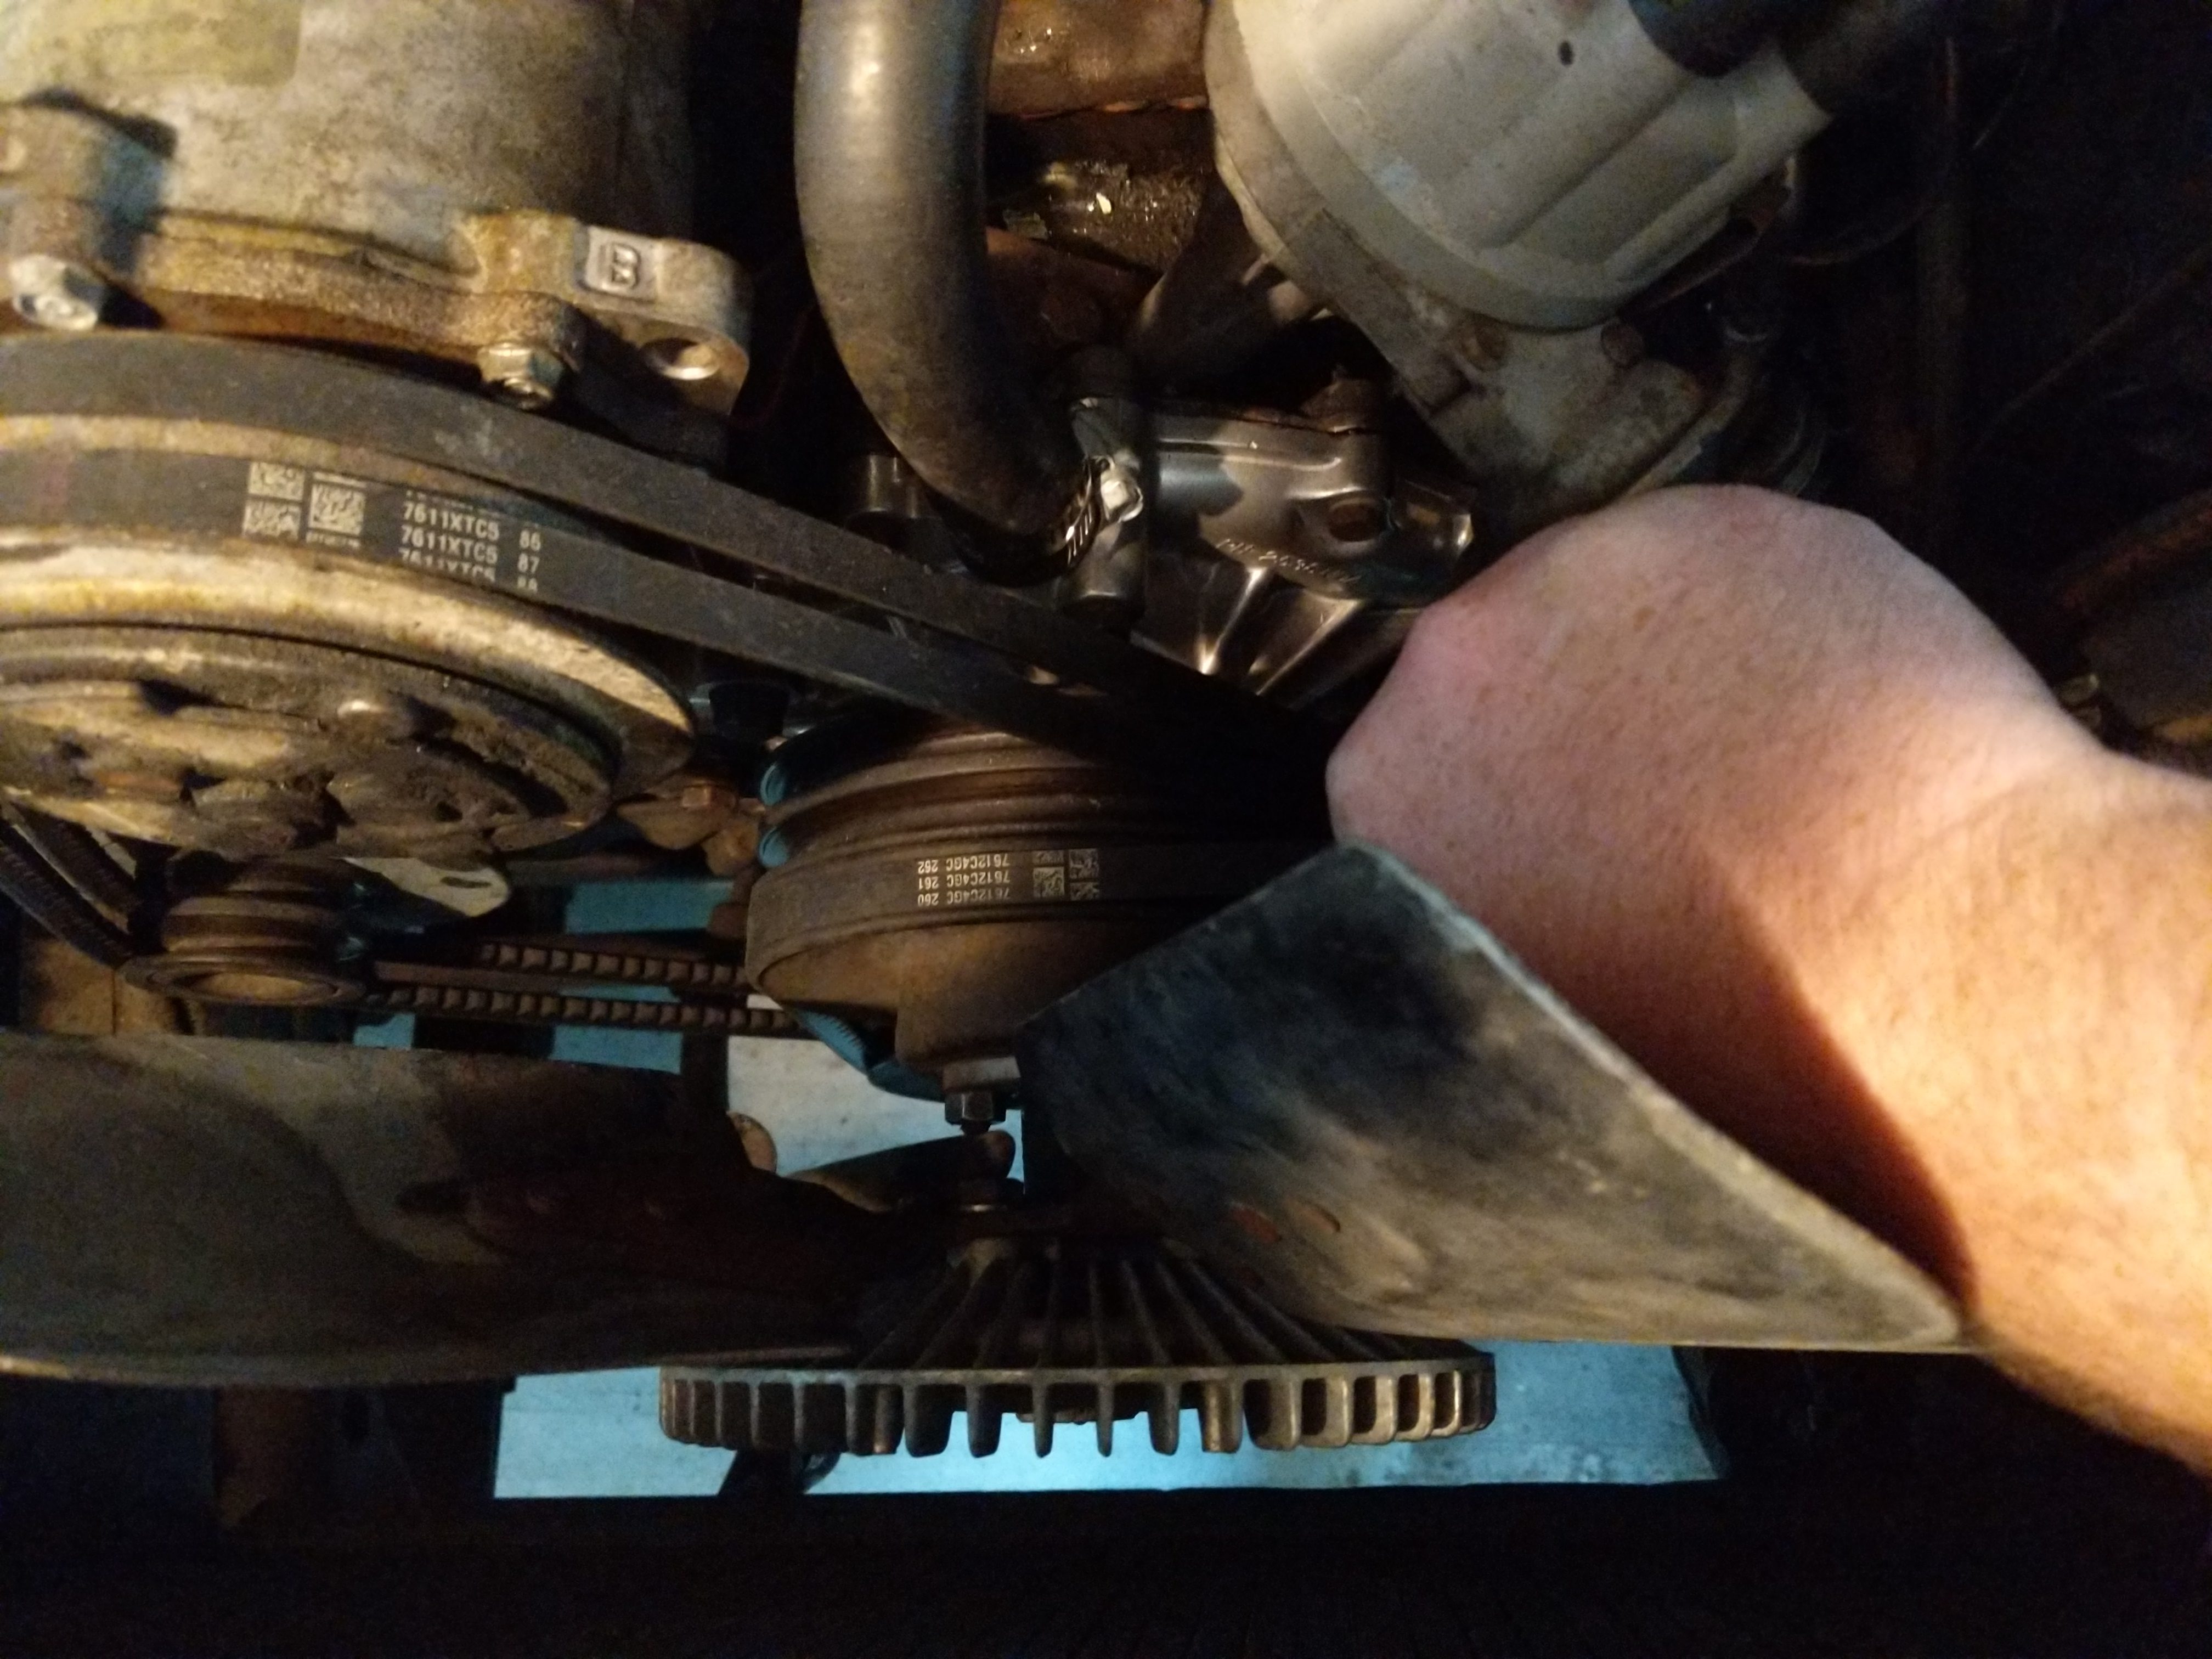
At this point it makes sense to make more room to work by removing the fan clutch. Since the belts are still installed it makes it easy to remove the 4 bolts on that hold the fan clutch to the water pump.
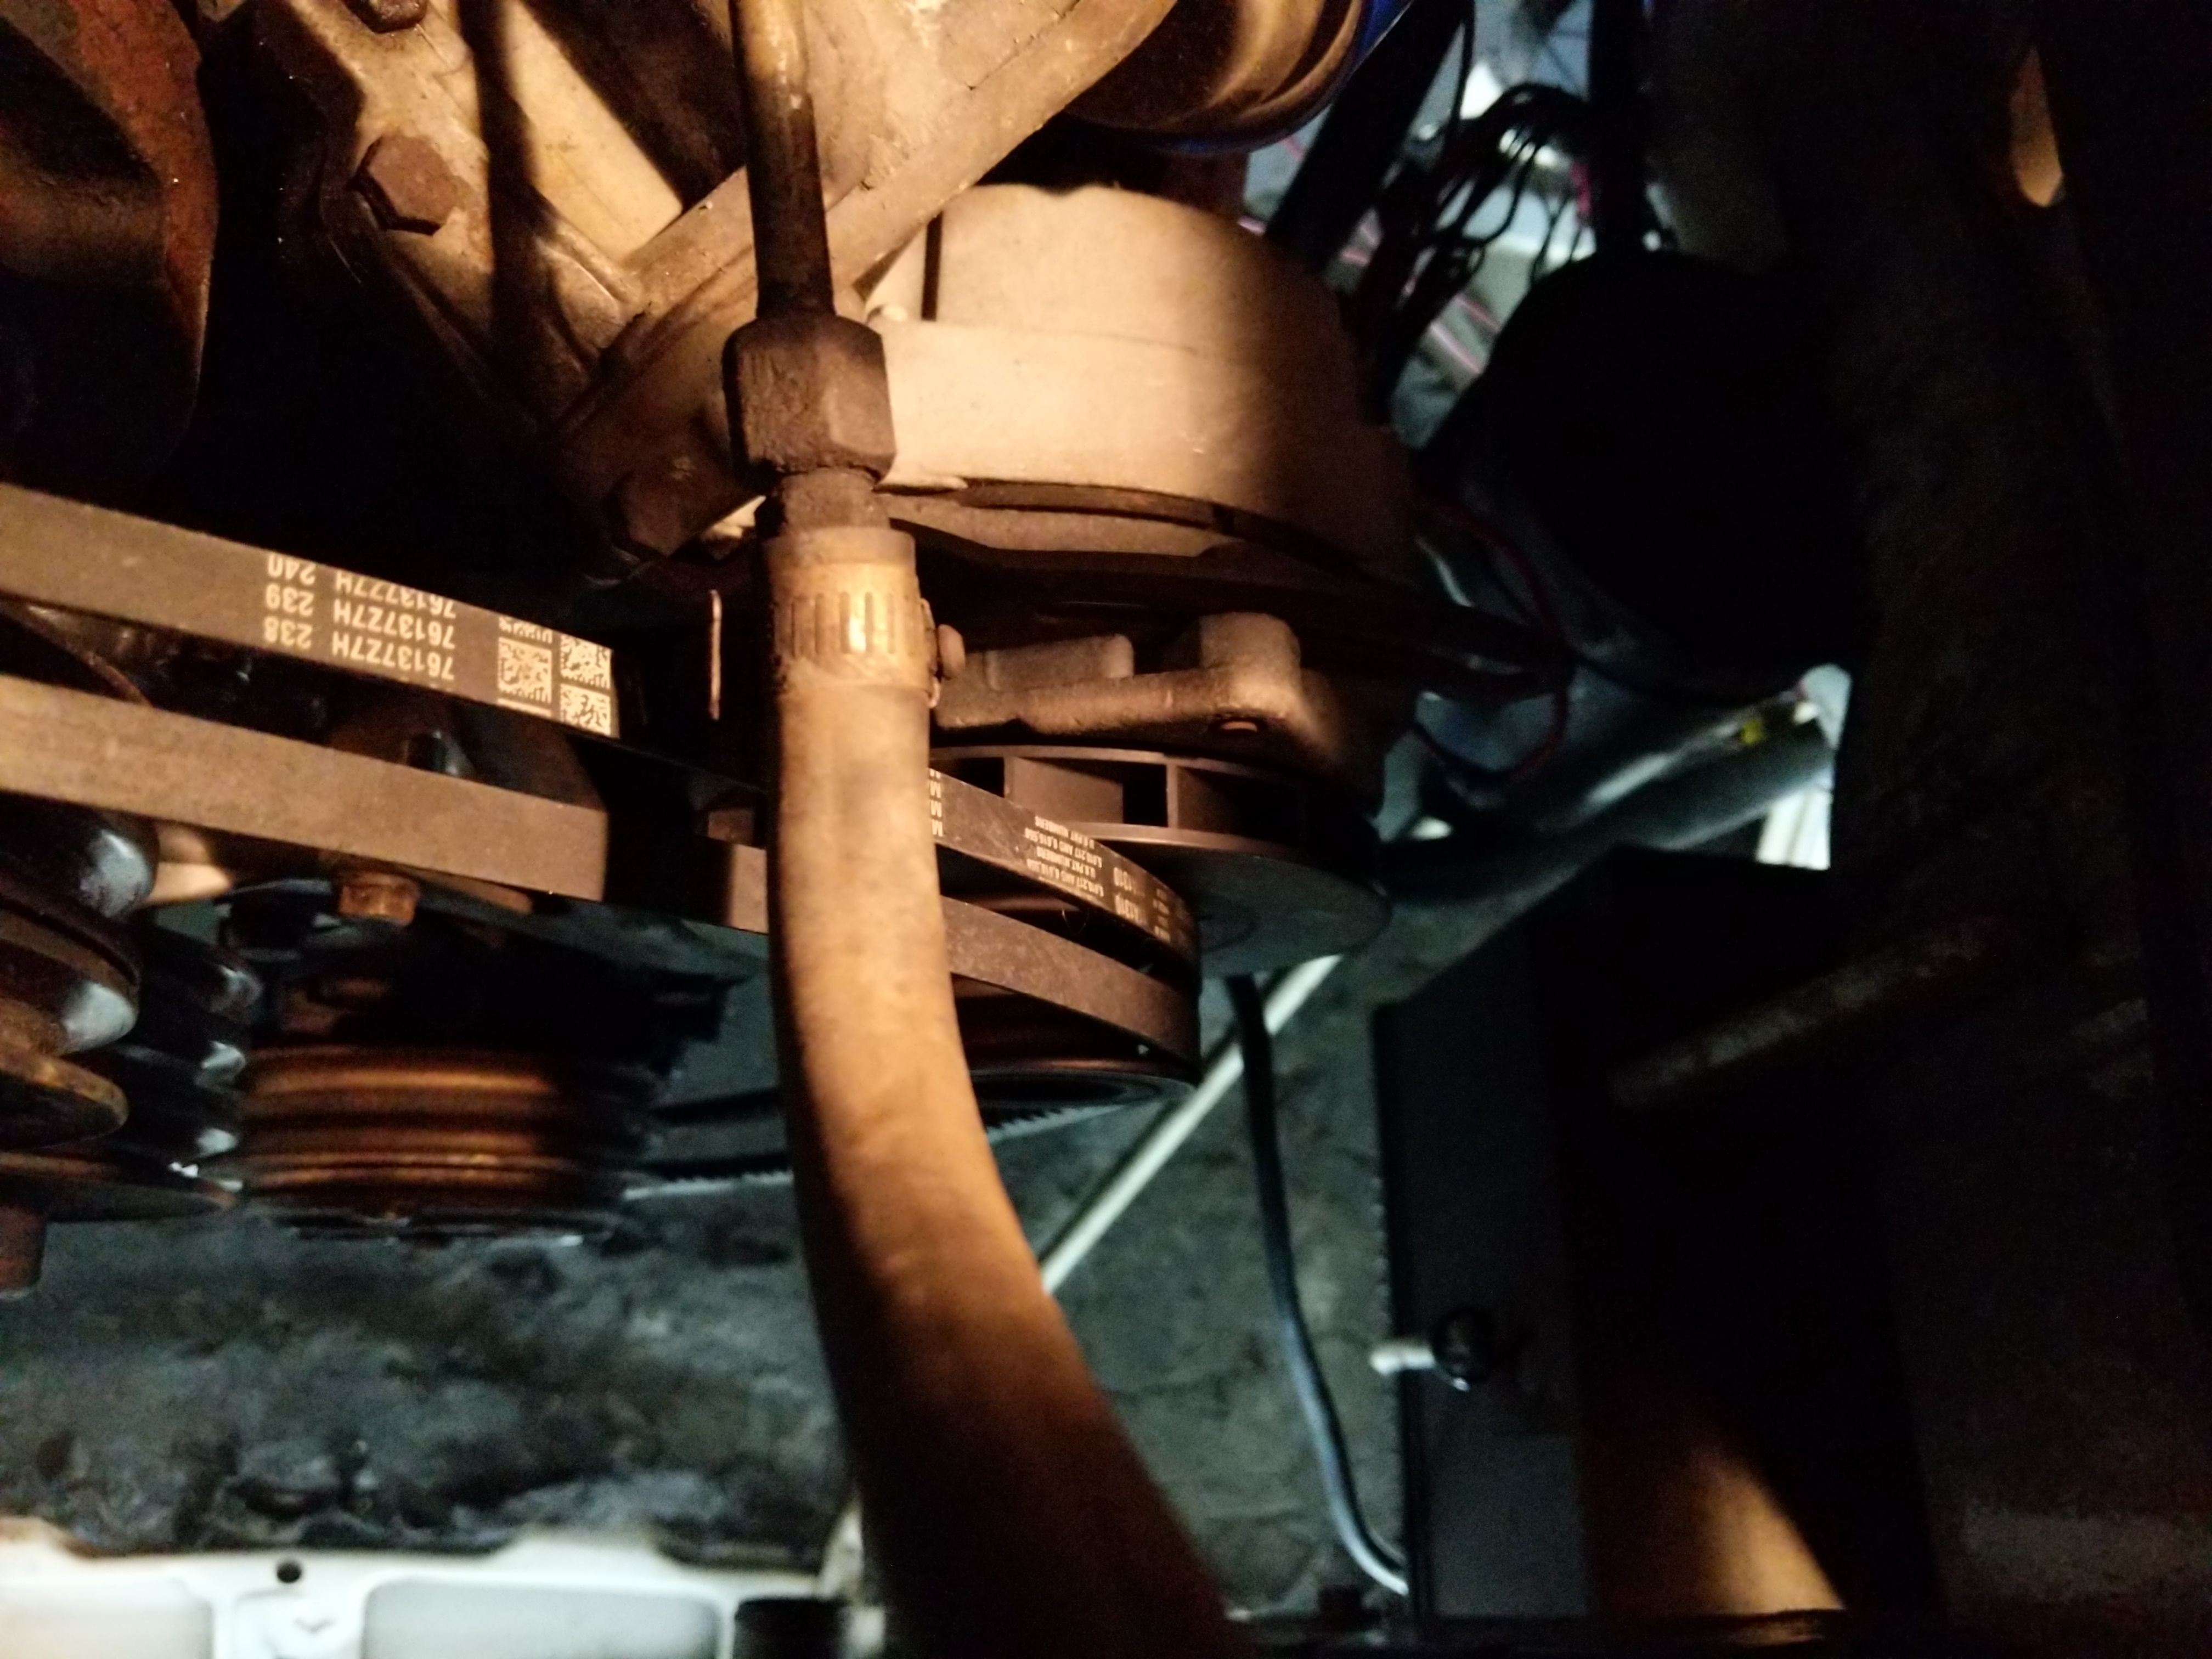
Next I removed the belts. There is a nut on the bottom of the alternator that will need to be loosened. Doing so allows the alternator to swing inwards loosening the belt. A nut on the back of the power steering pump does the same thing.
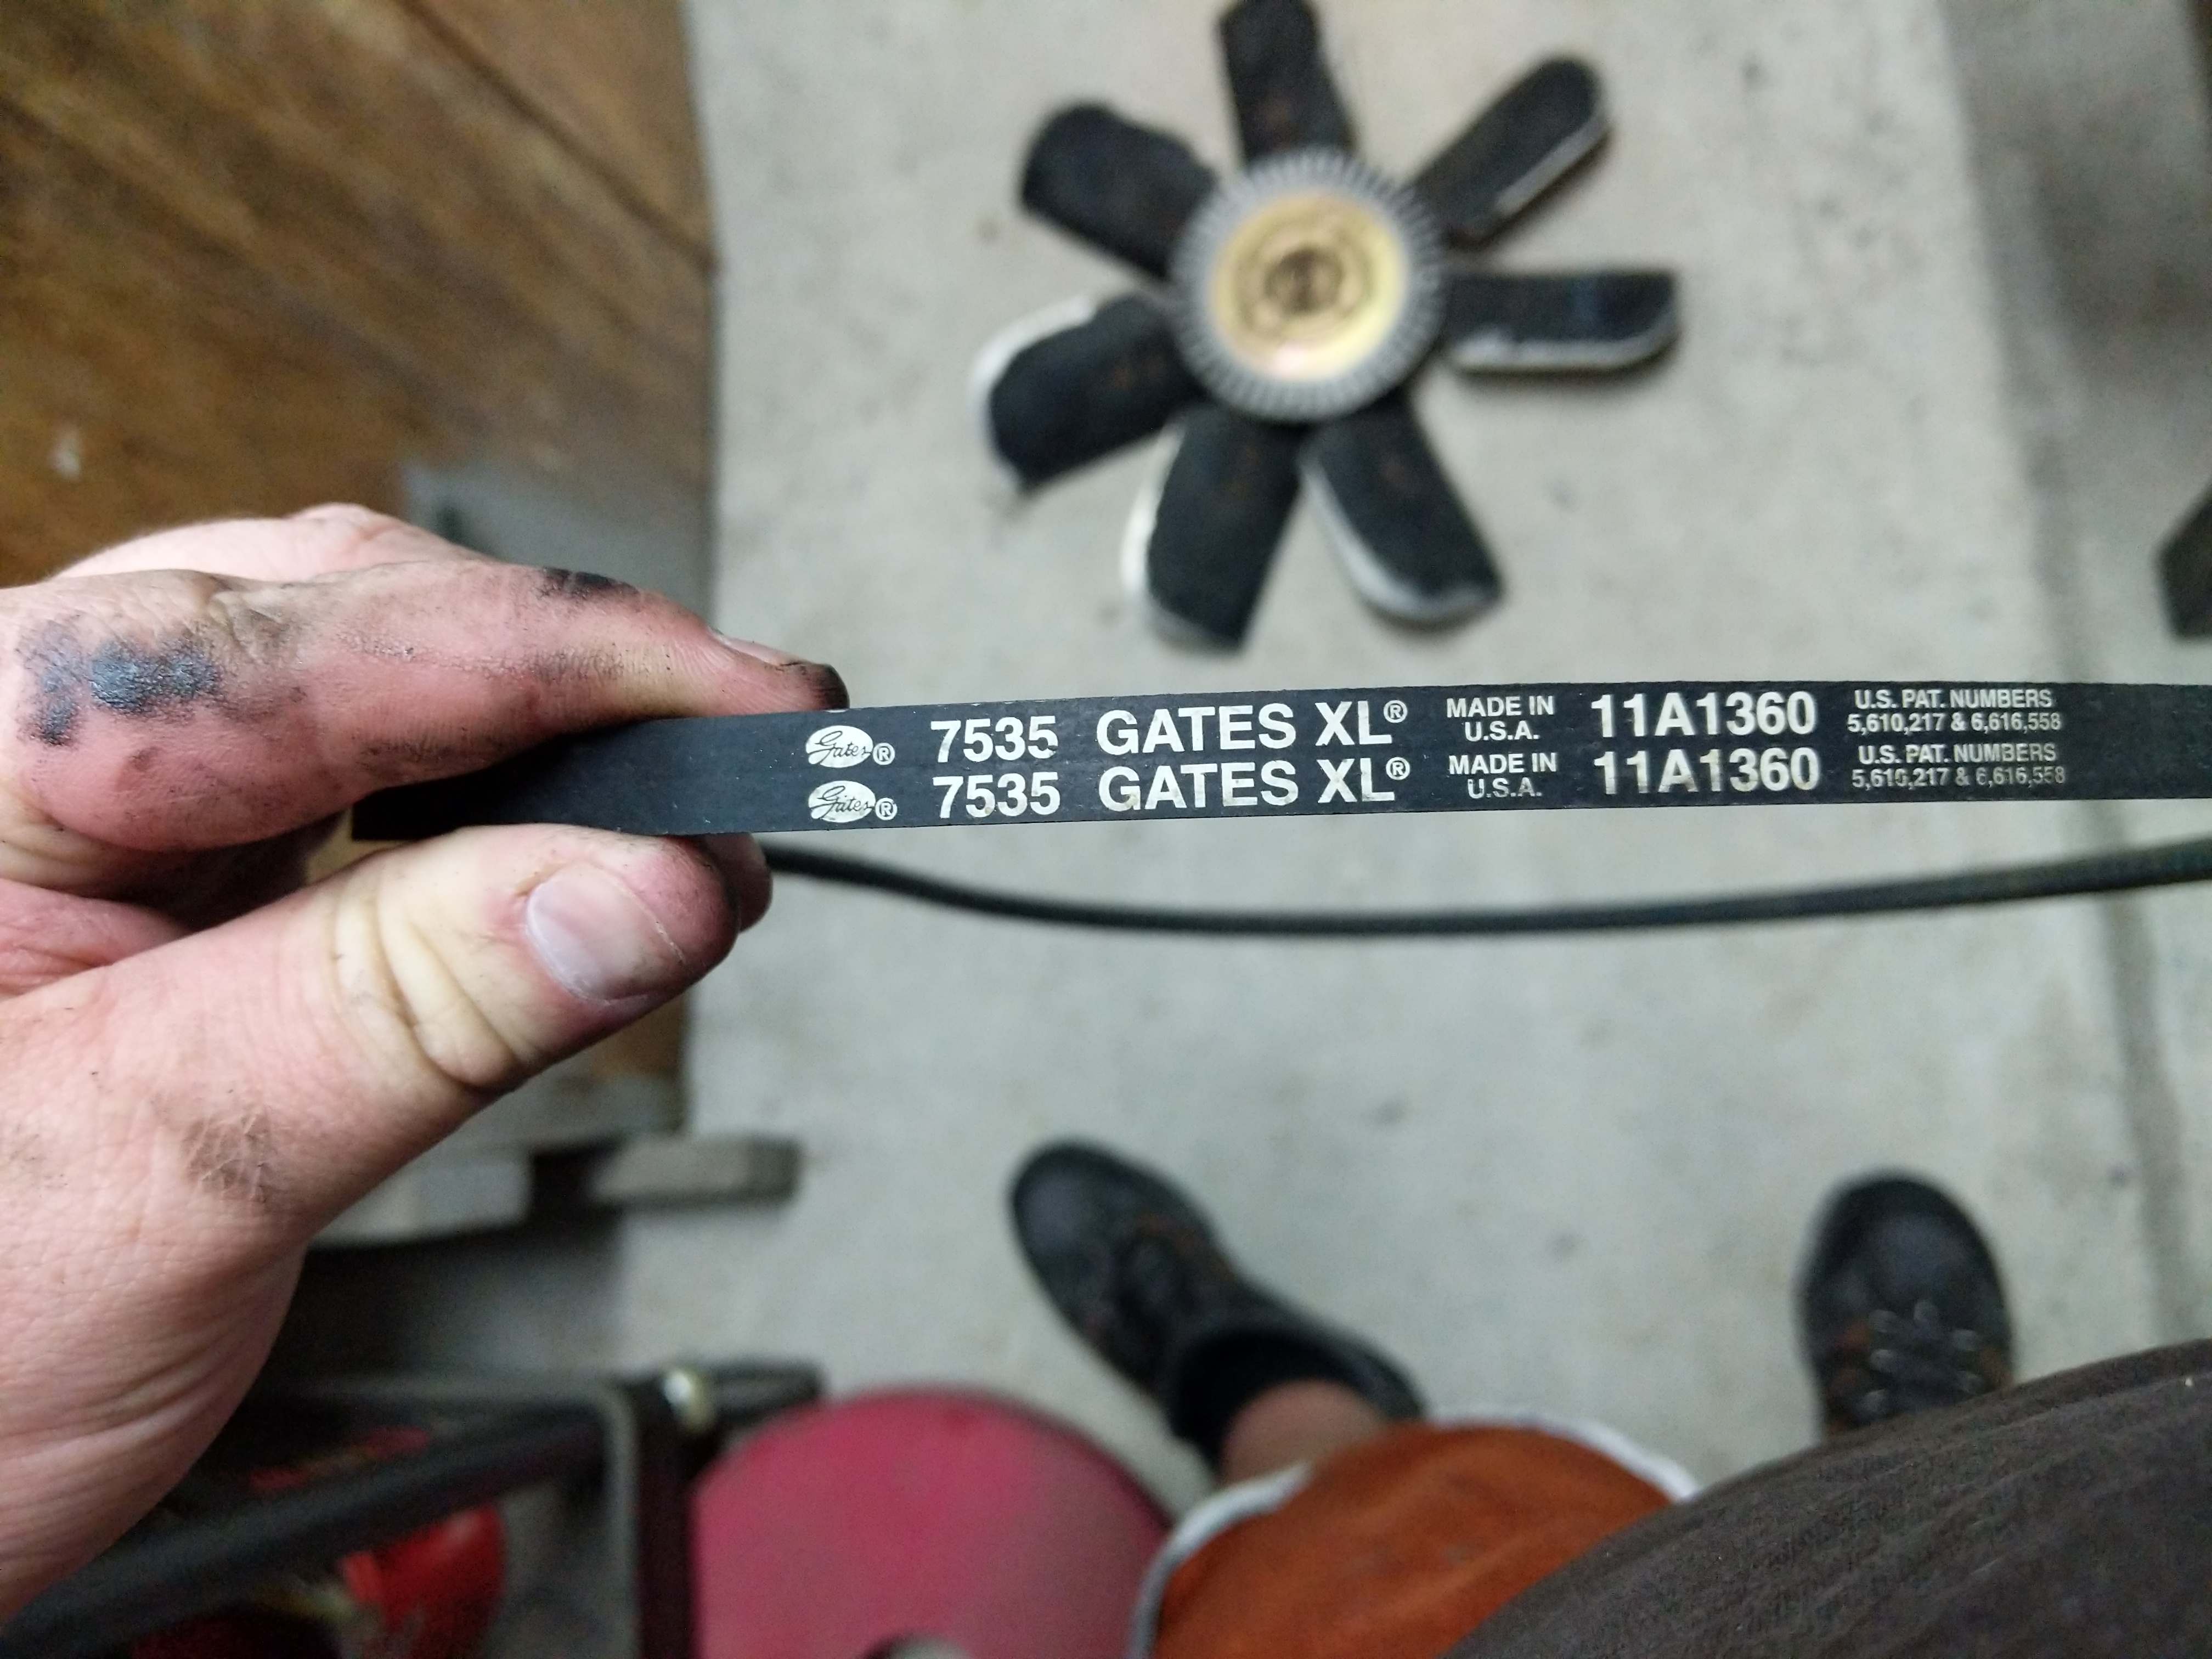

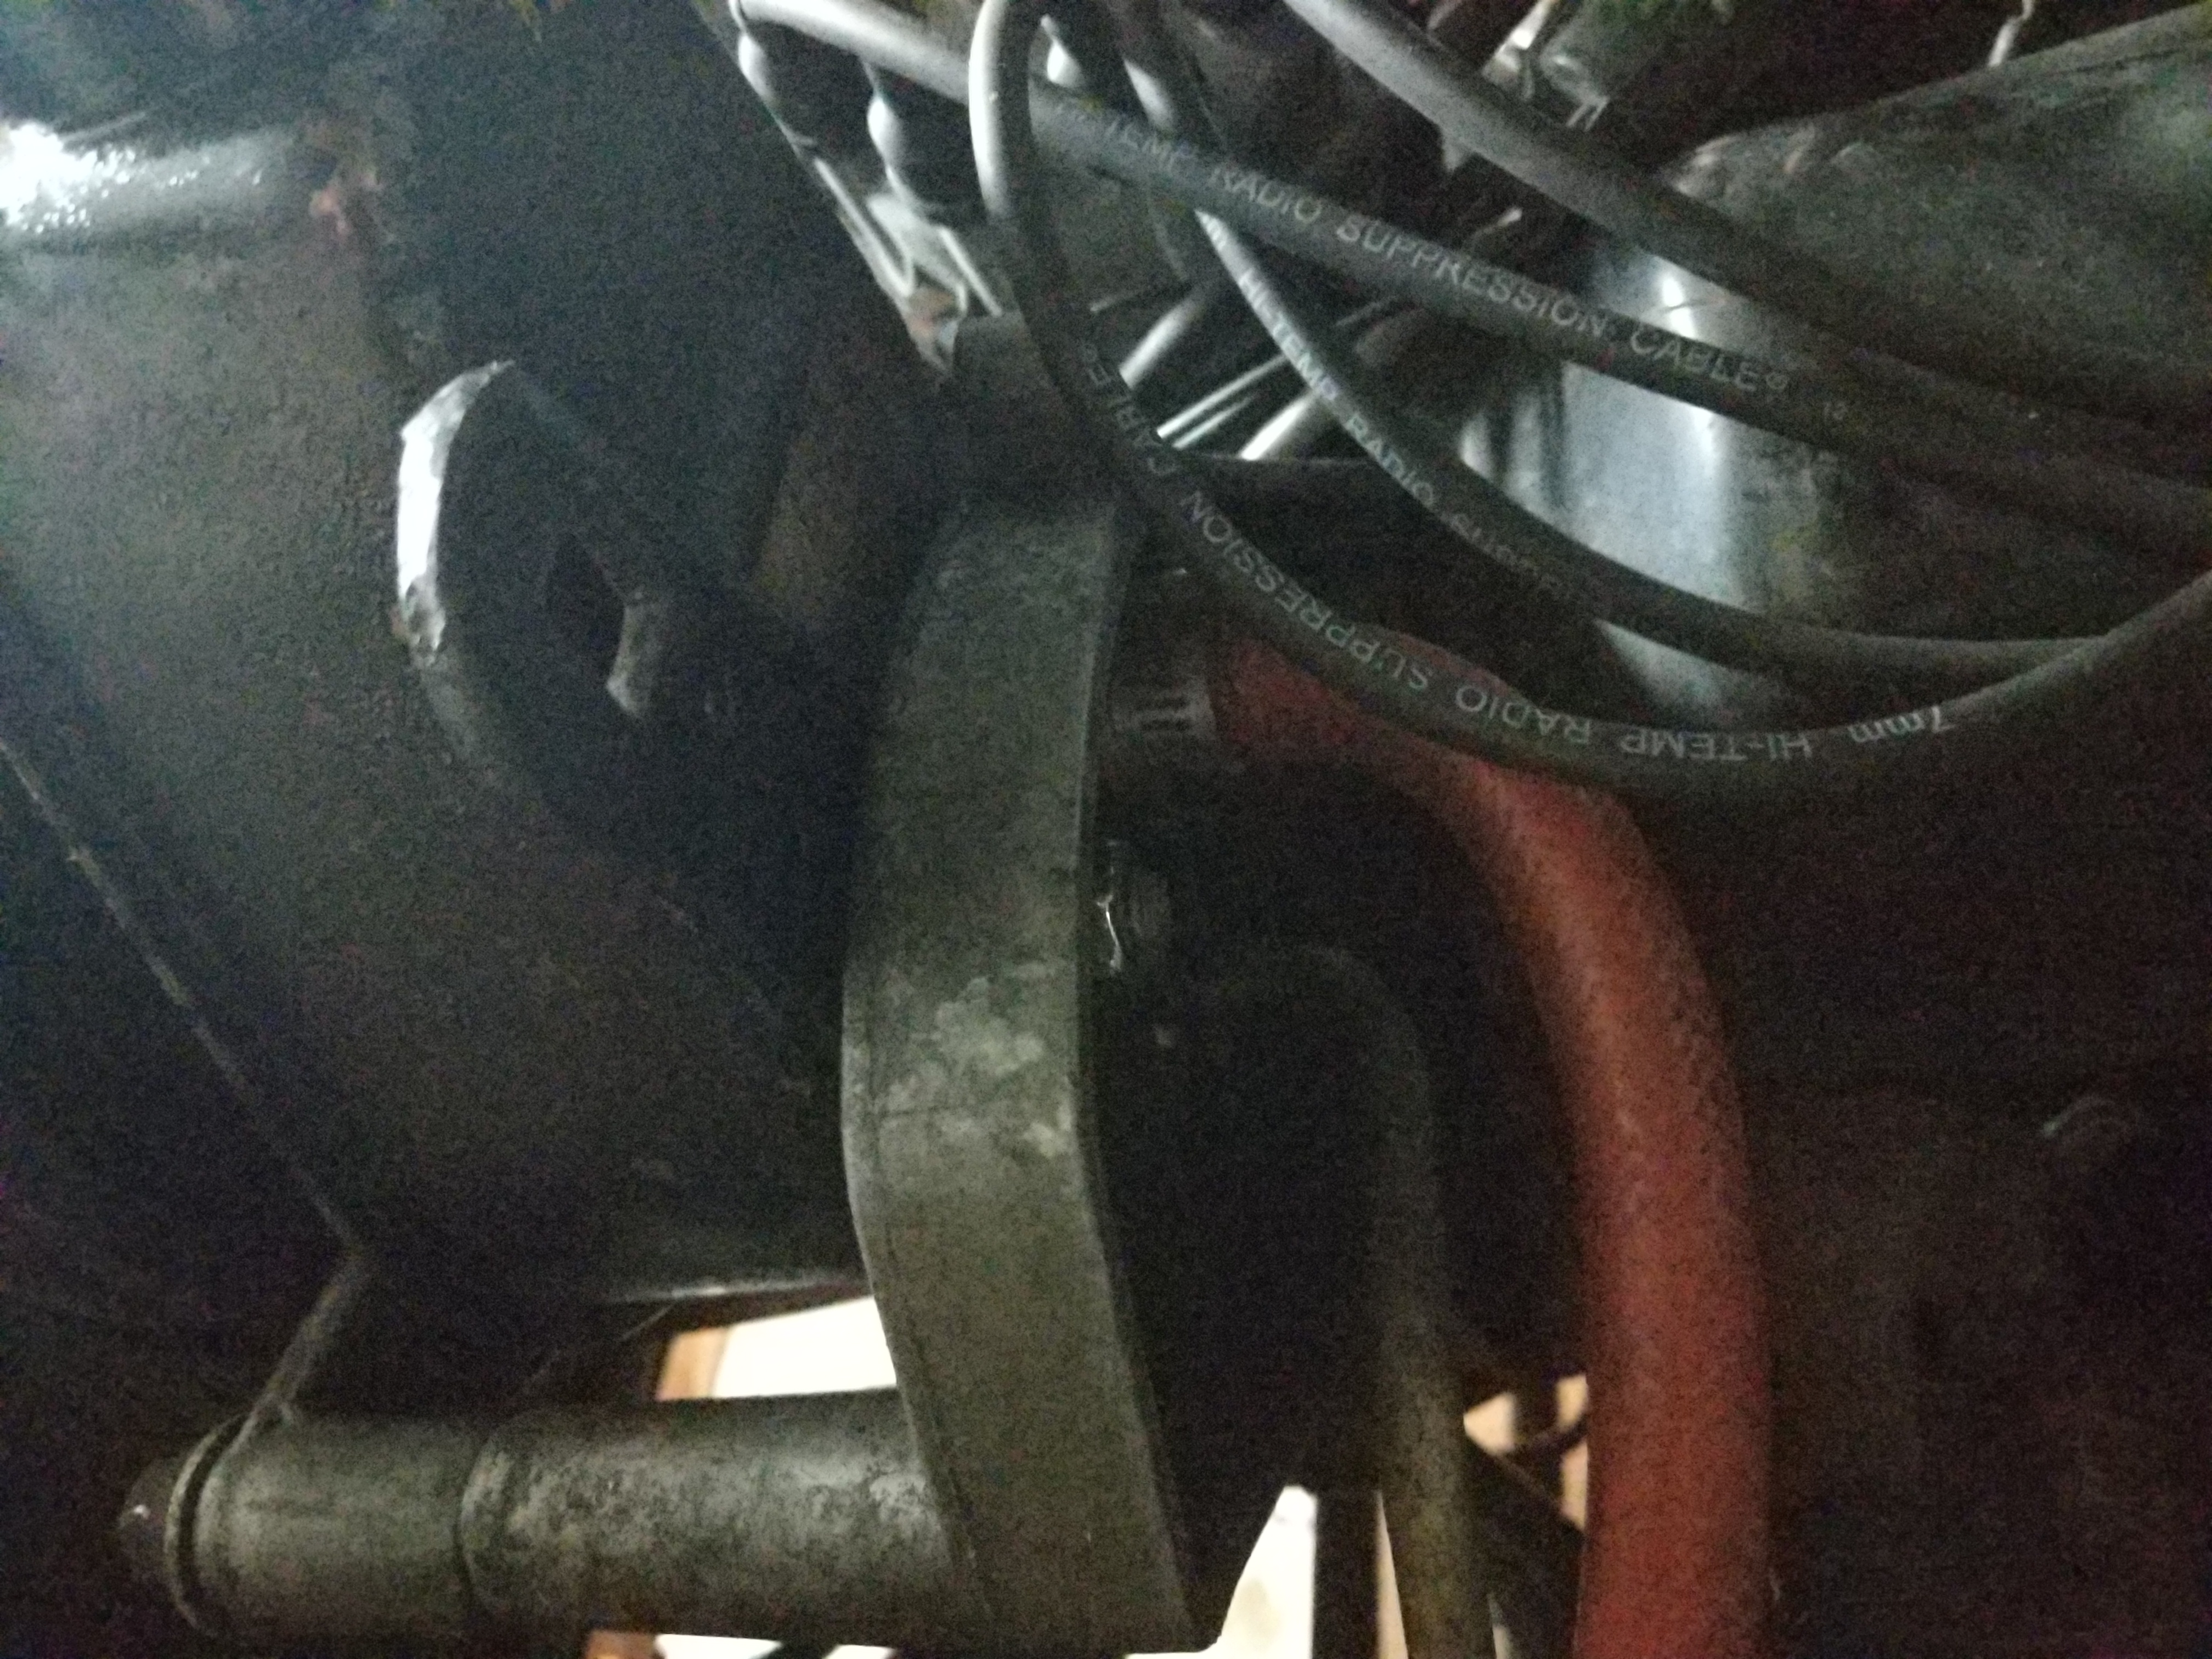
I wrote down the part numbers in case I need more belts. The belts look fairly new so I am going to reuse them. With the belts removed I pulled off the water pump pulley to get a good look at the pump.
Oh boi, previous mechanic RTV the pump on with Black RTV. Gonna be fun to remove. There are lots of bolts on this thing and brackets that attach to other accessories. I removed all the bolts and laid them out in order of how they came out. The alternator bracket and power steering bracket need to be loosened so the pump can full come off. Removing the pump was not actually that bad as the RTV did not have a good seal on the surface.
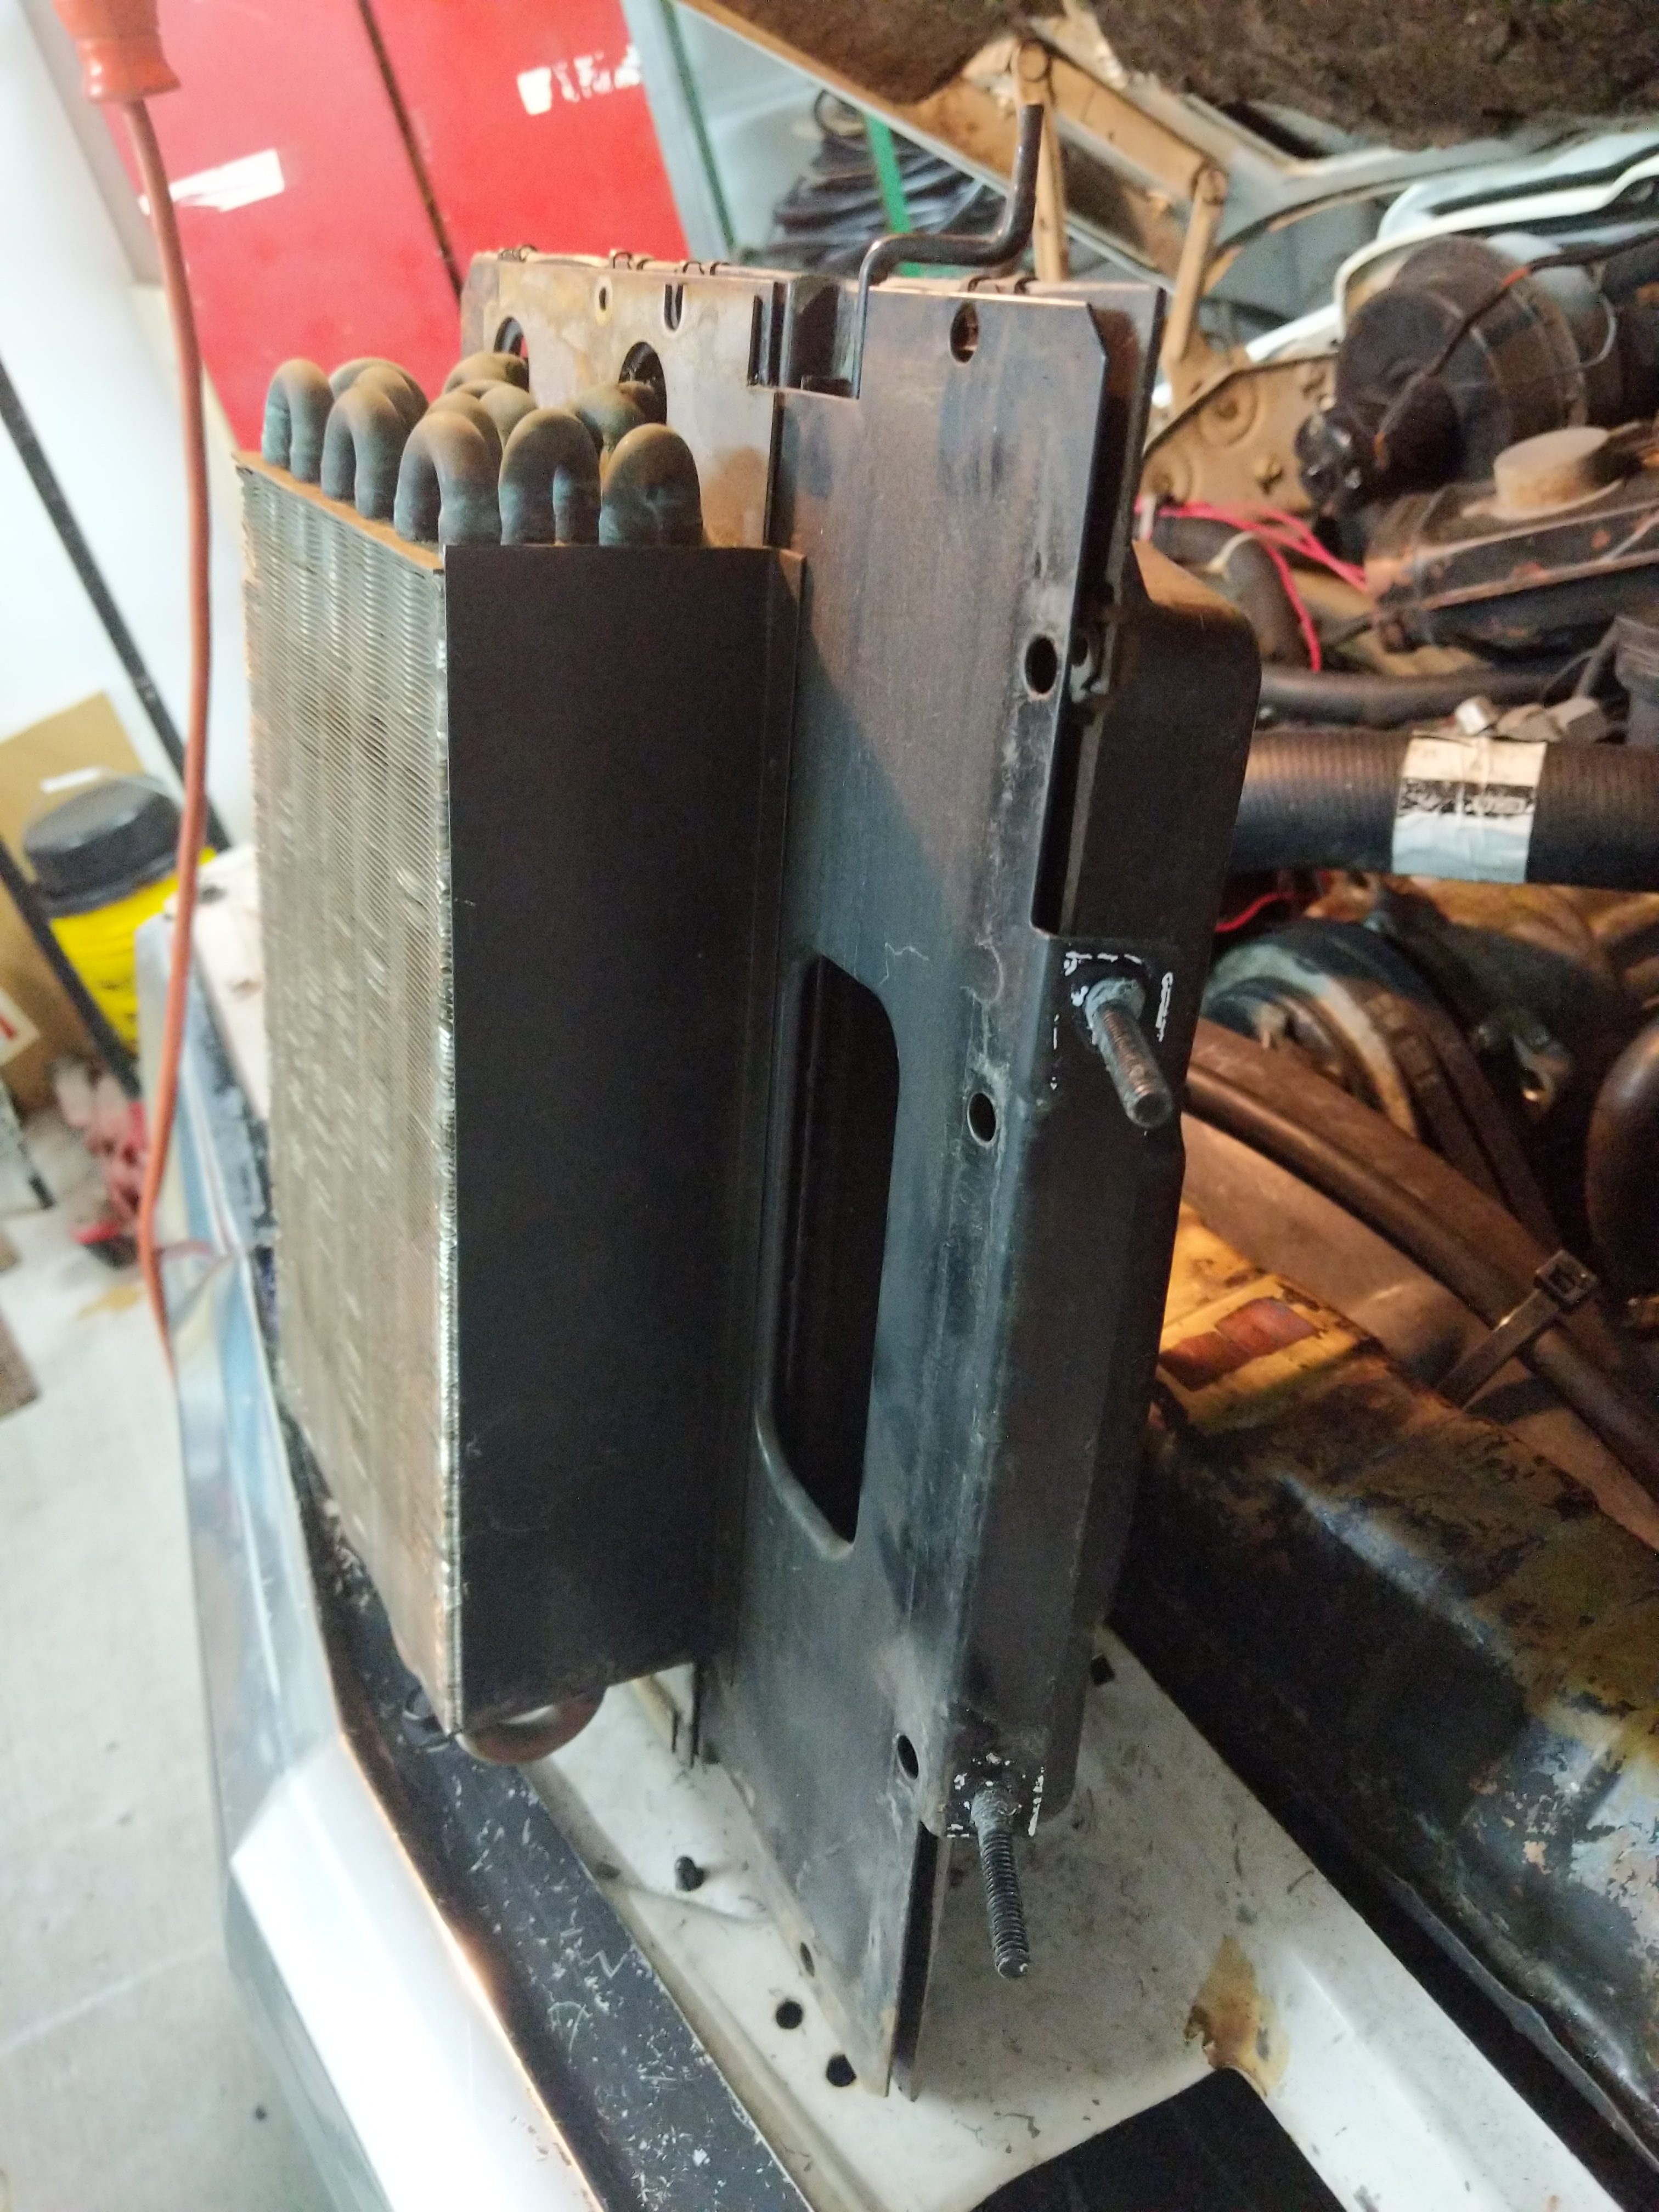
Before I tried brazing the filler neck of the radiator I first removed the fan shroud as It is made of plastic and I did not want to melt it.
I cleaned up the filler neck area with a brass wire brush on the drill.
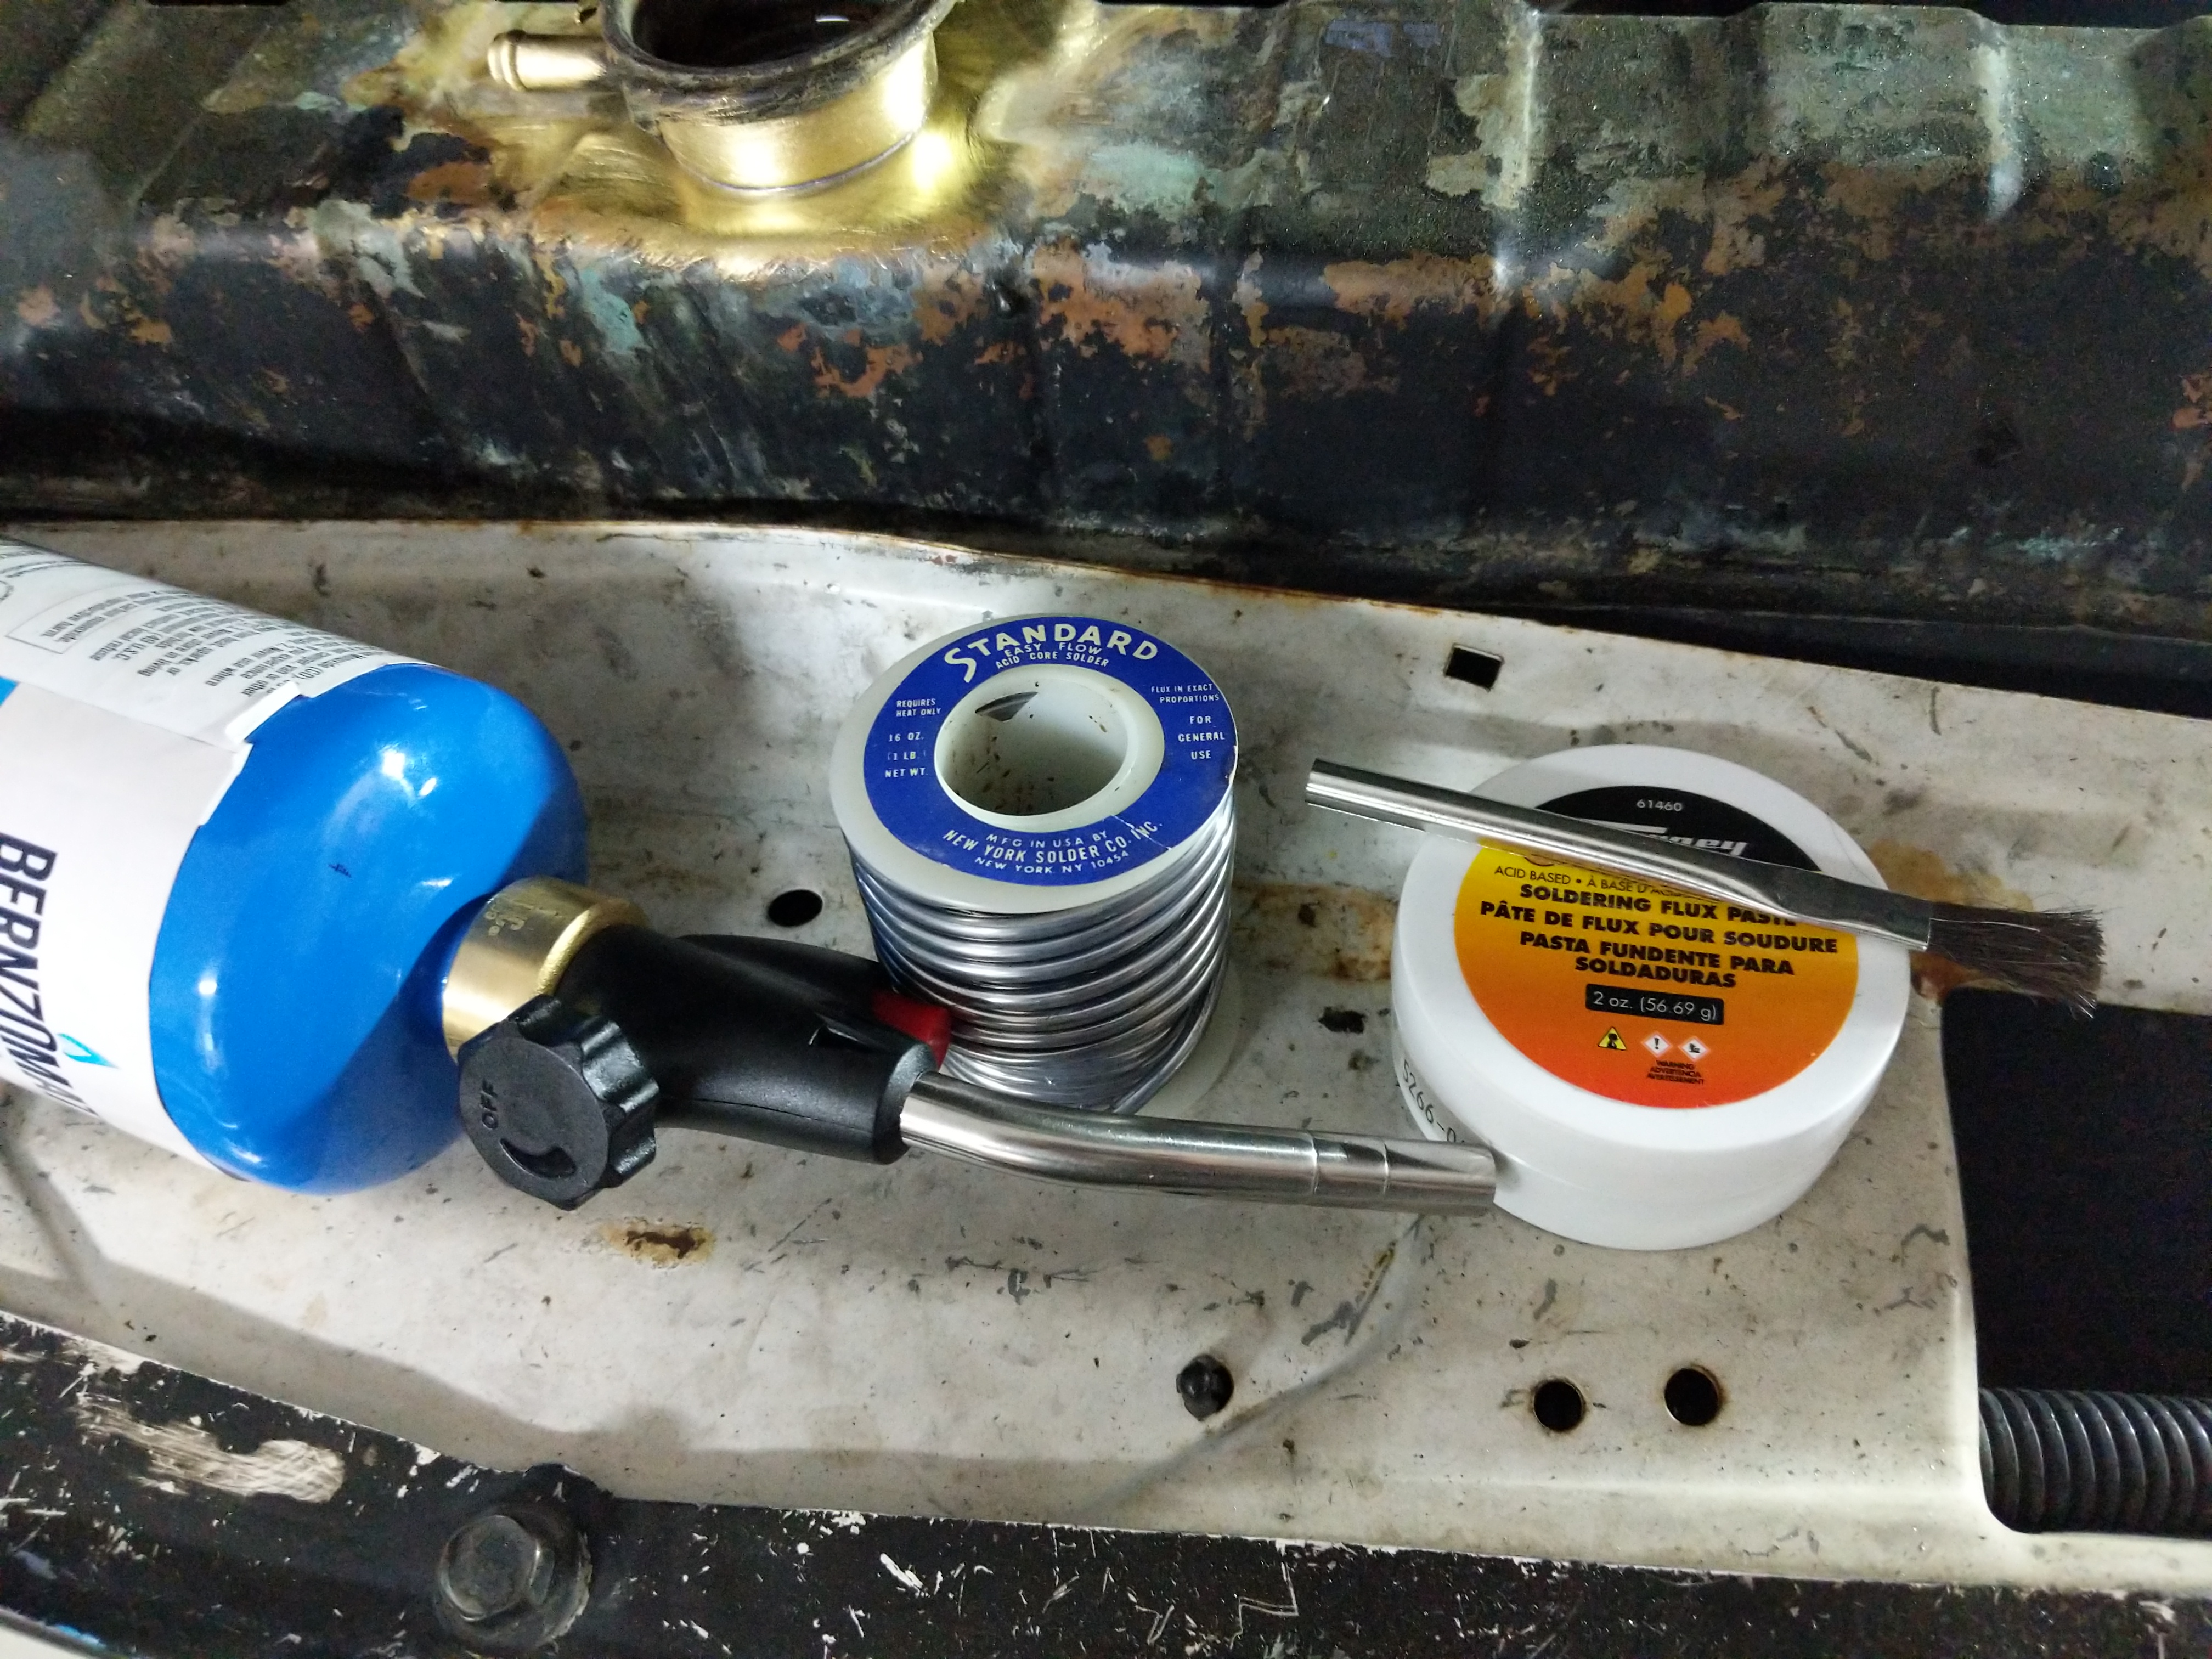
I coated the filler neck joint with lots of acid based flux and then heated it up with the propane torch till I could pop it off with some pliers.

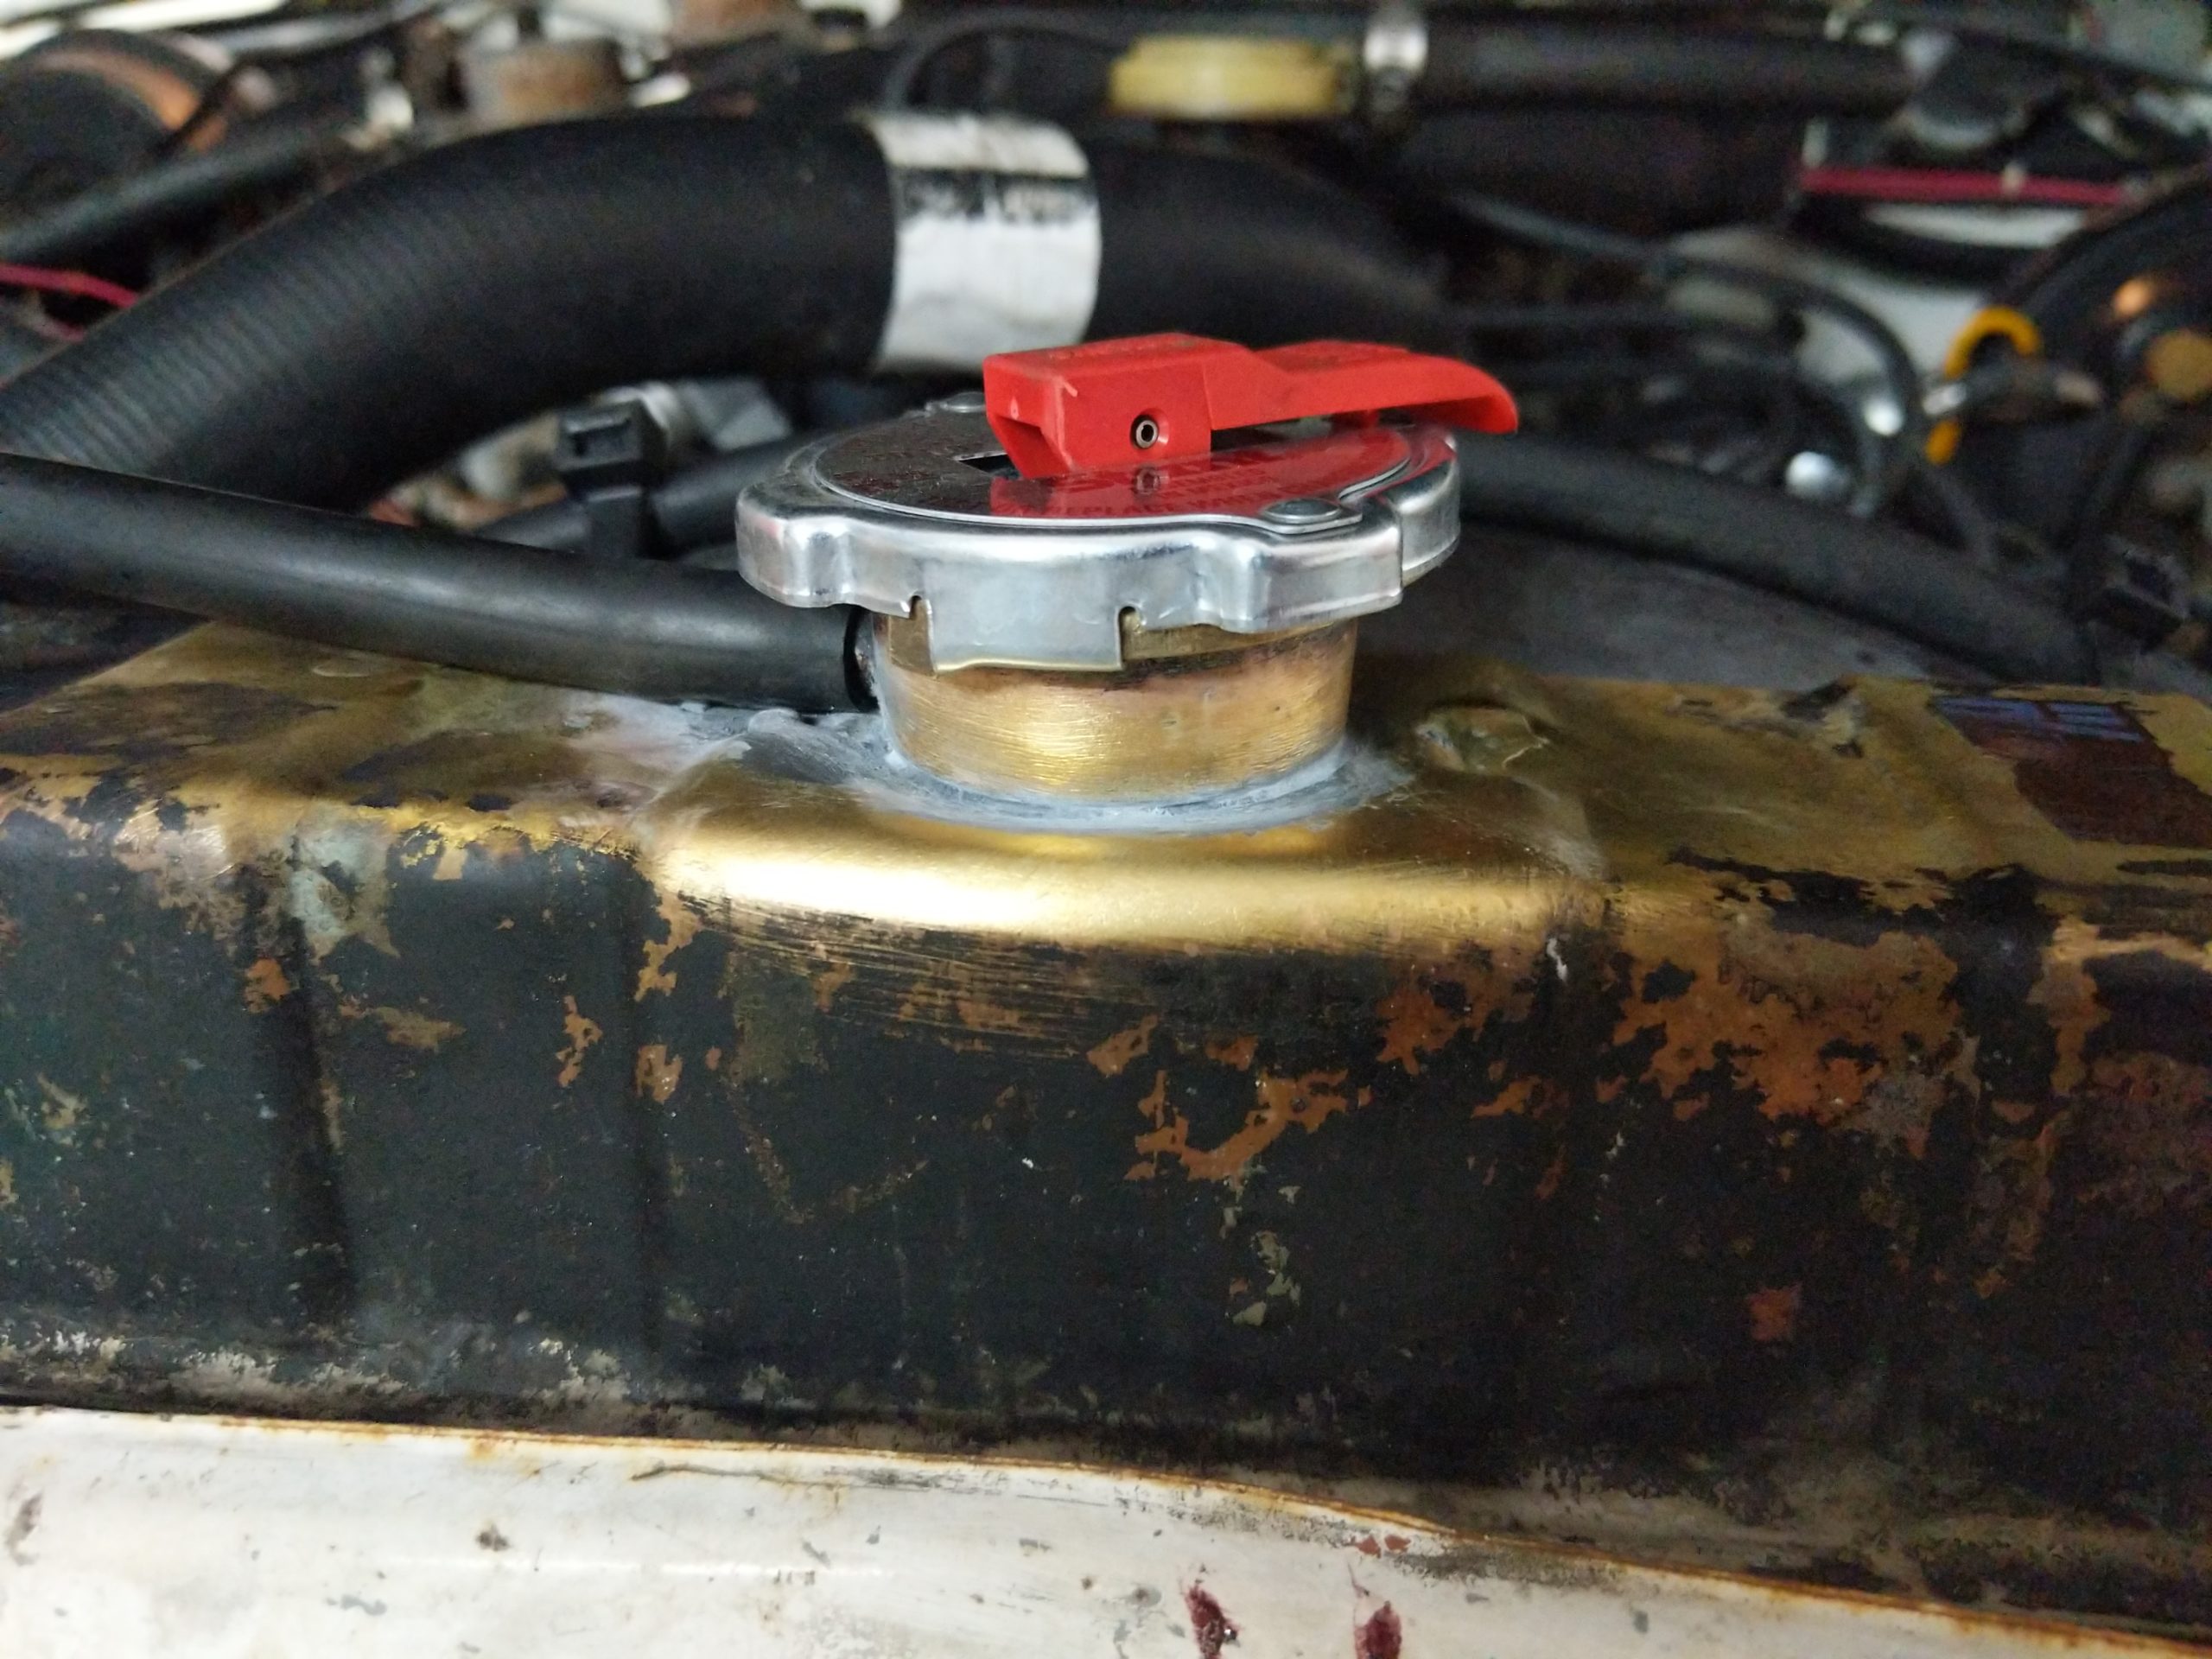
After the filler neck came off I cleaned up the mating surfaces with the brass wire brush on the drill. Then I coated both surfaces with more flux and pressed the filler neck back into the radiator. Then heated up the joint again and brazed it with the solder.


Looks like I did a decent job. Will know at the end if it holds pressure :)
Since the T-stat housing area and water pump mounting surface was so corroded I hit the entire area with the brass wire brush on the drill. Cleaned them right up.
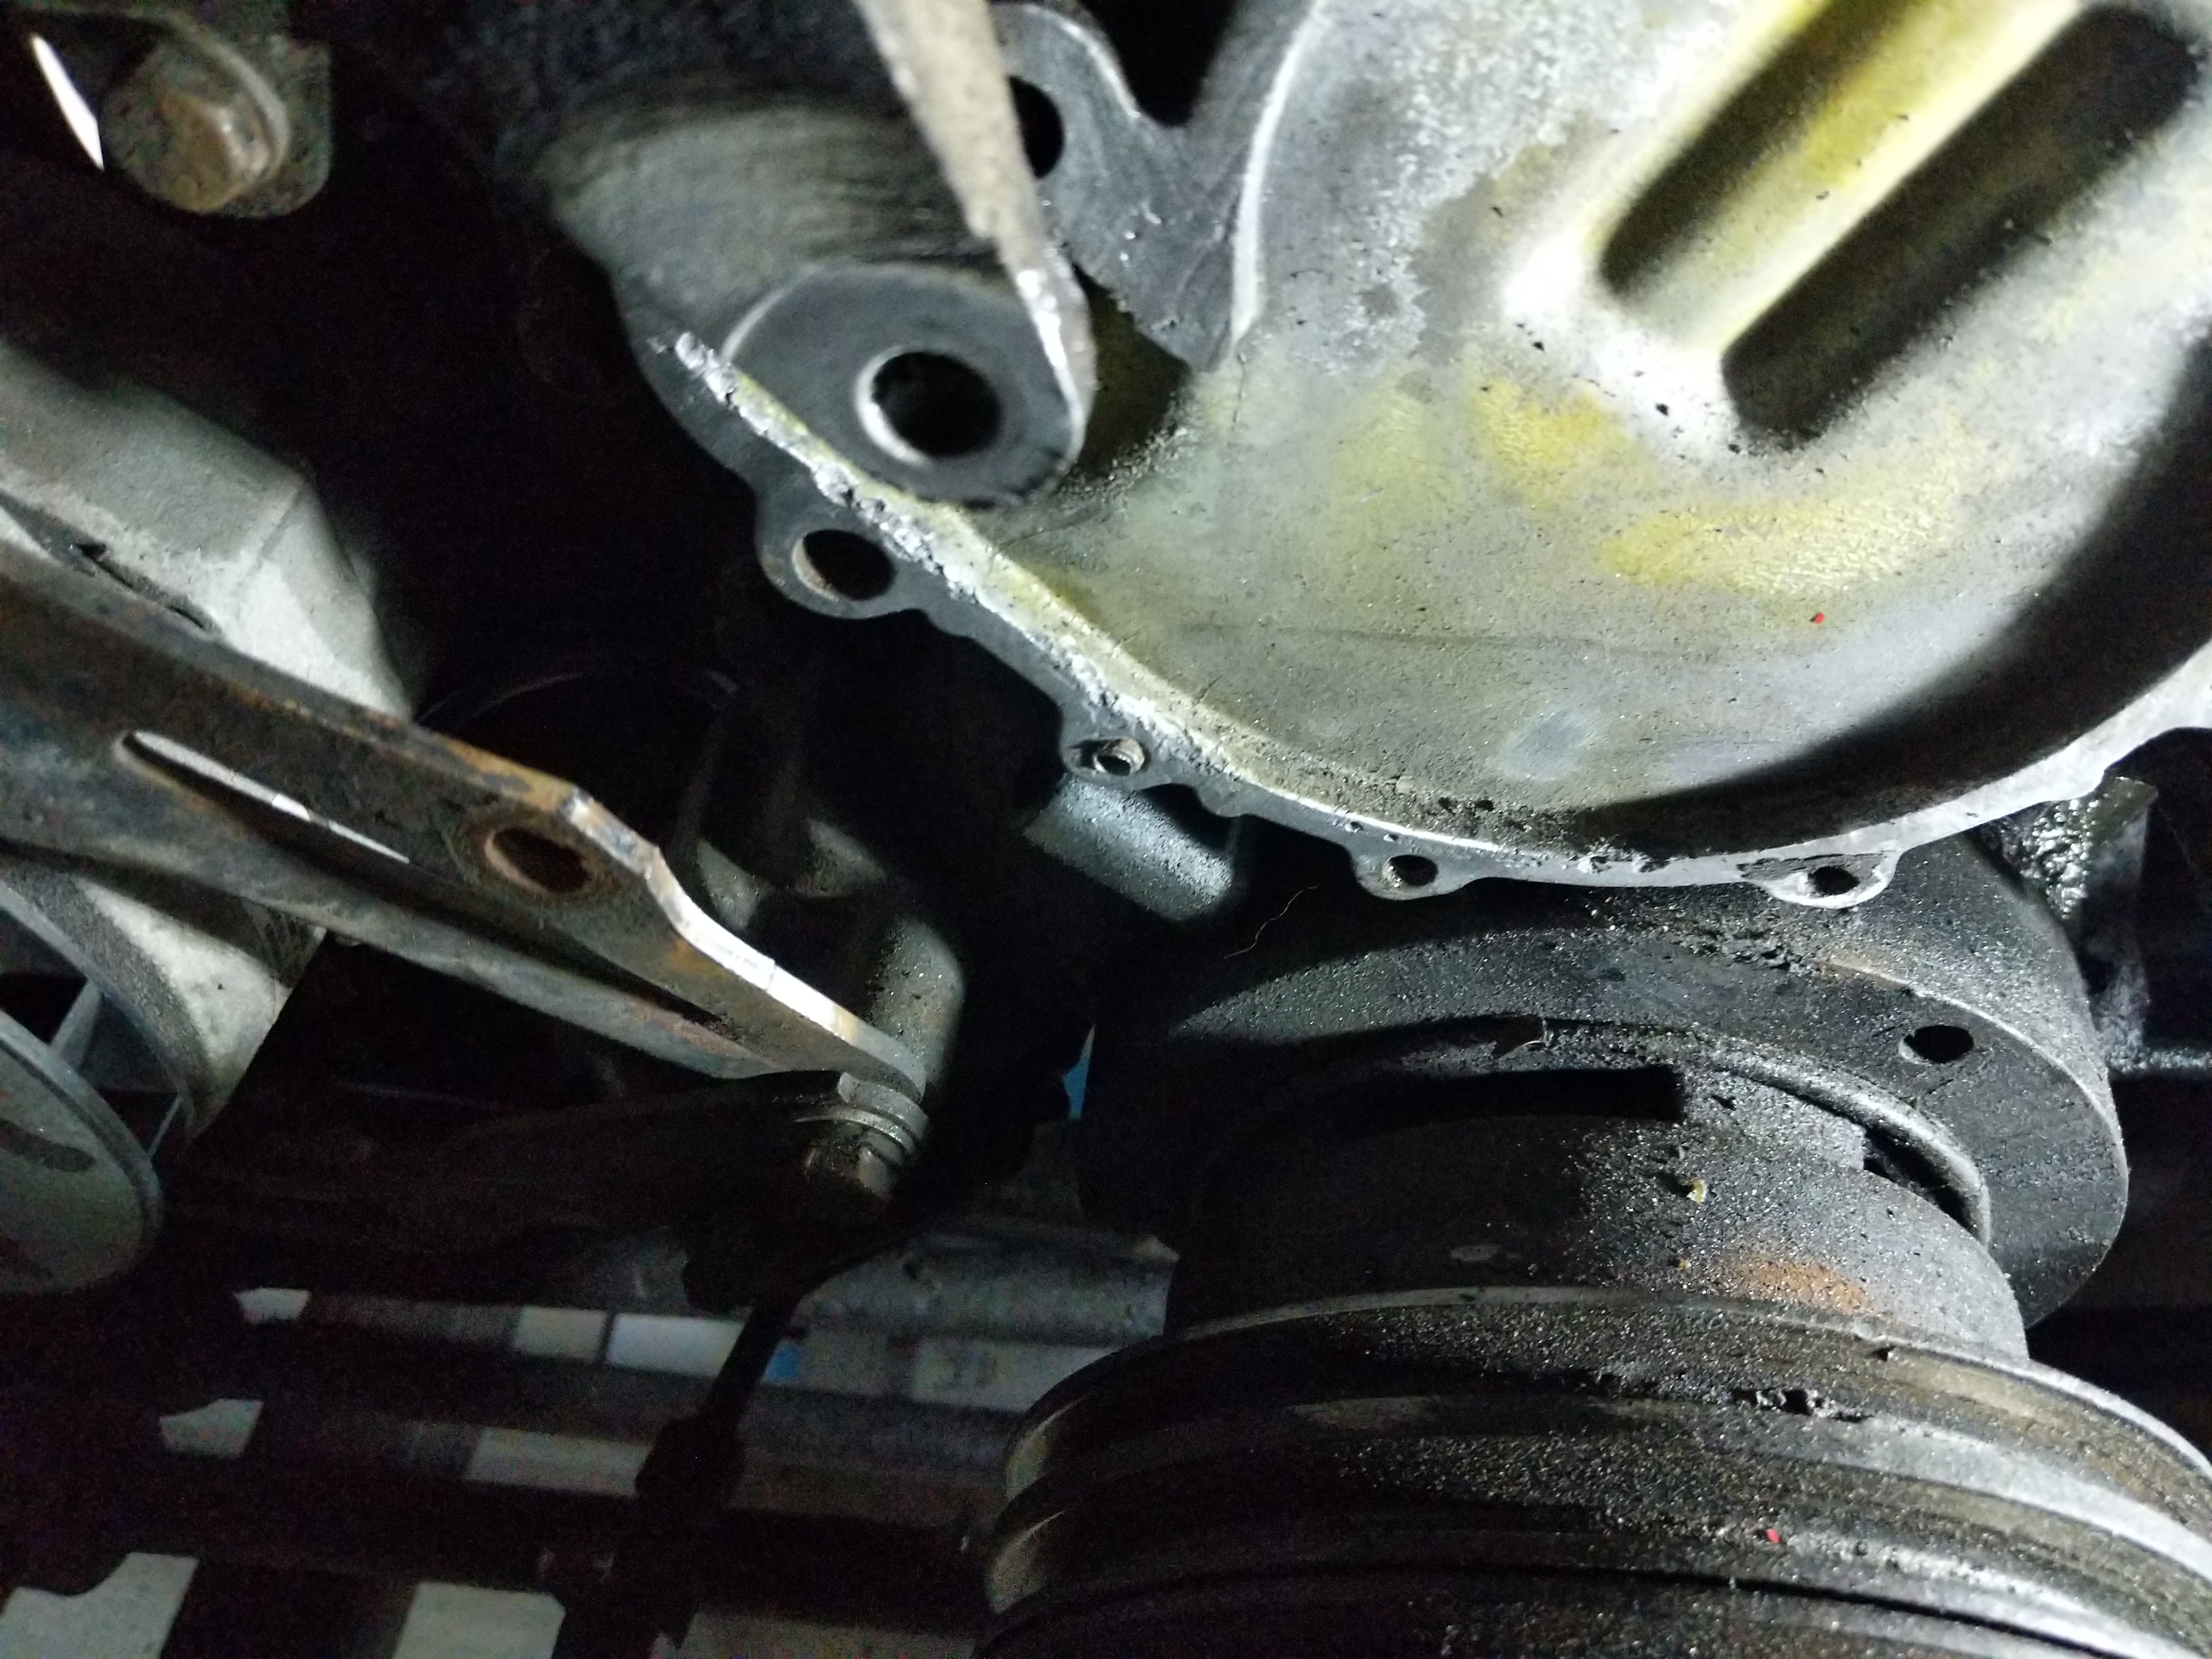
During the clean up I found that the previous owner just left this broken bolt for me to find. Woooooooo….
Looks like someone already tried to extract it as there is a hole drilled into it.
I finished the job by drilling a 1/8″ pilot hole into it and then used a #7 drill bit to clean up the hole. I then put in a 1/4-20 tap to chase the threads. If I ever sell this engine to someone I would go back and drill it out and helicoil it but this fix will probably work for what I need.
T-stat installed!T-stat installation was next. On my water related gaskets I like to use Permatex High Tack Gasket Sealant on both sides of the gasket. I know some say to never use a sealant or use only blue RTV but I have never had to go back and redo a gasket with this stuff. Unlike RTV the High Tack Gasket Sealant is easy to clean up if you need to replace the part again in the future. If also sticks to the housings better which is great when you do not have mounting/alignment dowels.
After the T-stat housing I installed the water pump and put the bolts back in the same way they came out. I looked up the torque numbers in the Factory Service Manual and torqued the T-stat housing and water pump to spec.

I then removed the studs from the old water pump using the stacked nut method. These studs need to be reused on the new pump.

Then I put the studs on the water pump. Then I put the water pump pulley on and reinstalled the belts but kept them loose till the end as I wanted to make sure I did not have to remove them later.
I then installed the fan clutch/fan assembly. To prevent the pulley from rotating as I was tightening them I used one hand to press down the belts which prevent it from rotating.
Installing the fan shroud was the last part of finishing up the front of the engine for this project.
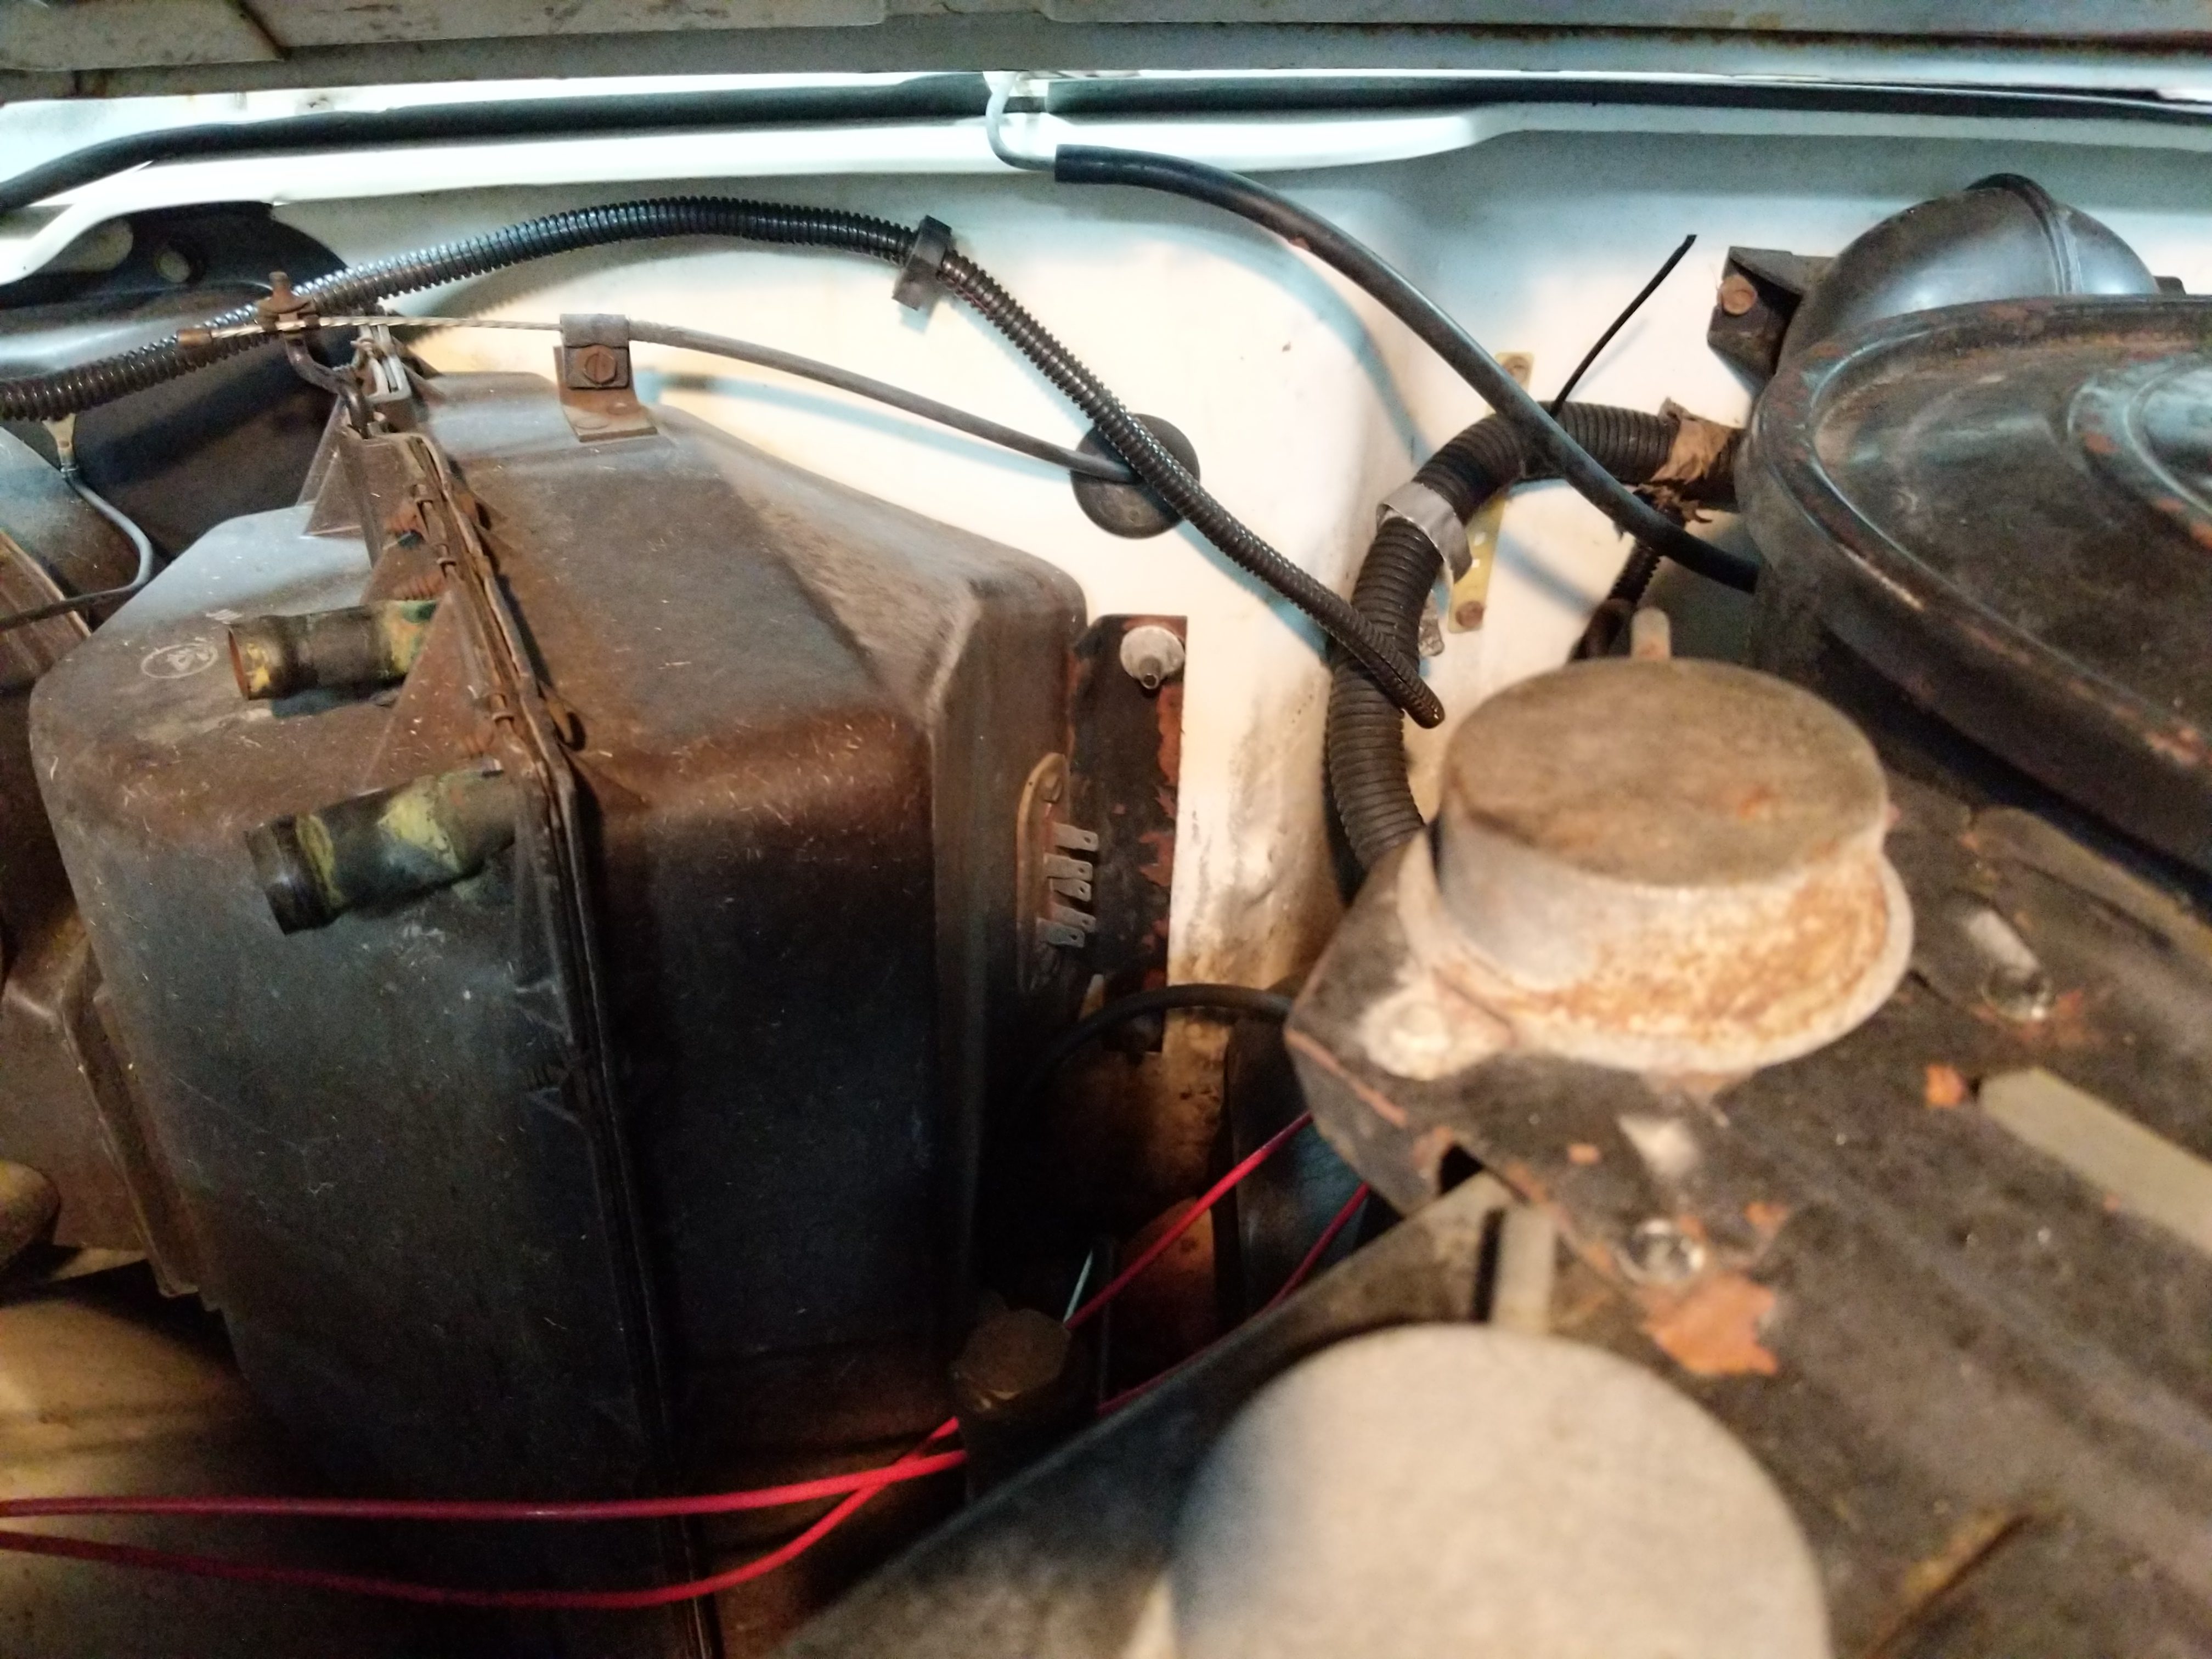
Now I wanted to clean out the heater core box since I had the coolant out of the heater core.
First I started by removing the two external bolts and the blend door cable on the top of the heater box.
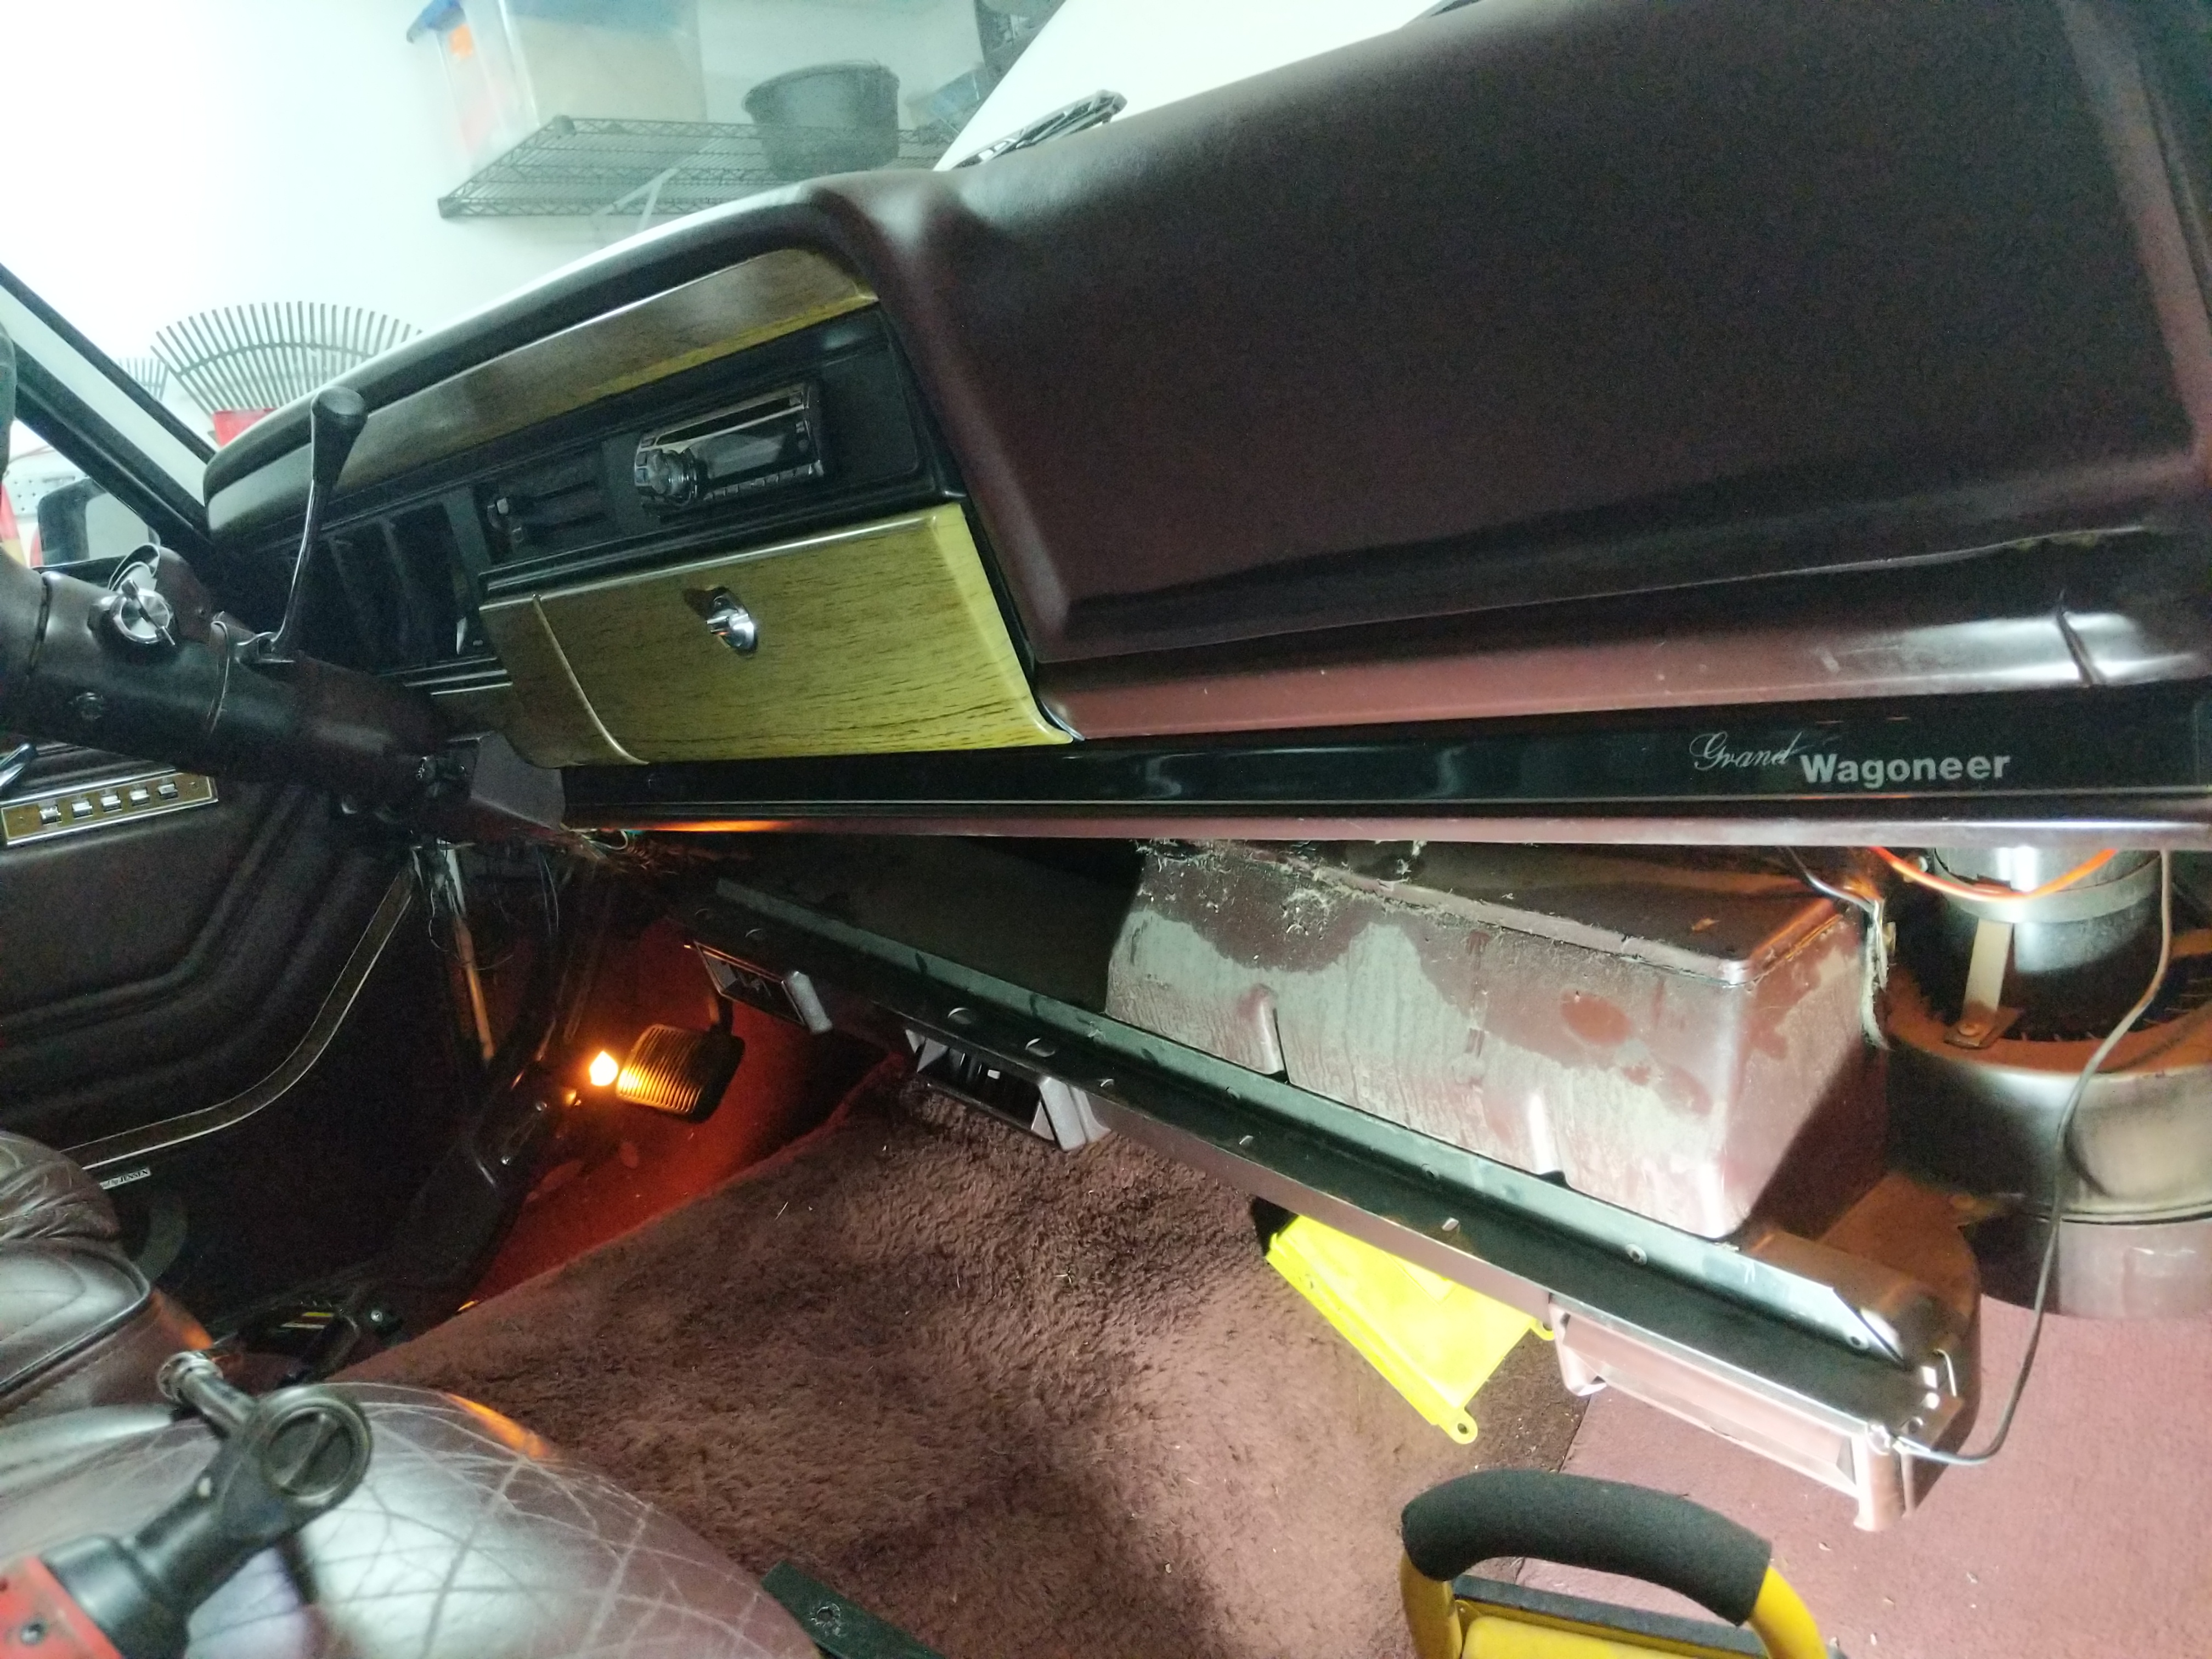
On the inside there are two more bolts that hold on the heater box. To get to these bolts the A/C module needs to be dropped from the dash. The A/C does not need to be discharged for this. There are around 6-8 bolts that hold it up under the dash. After removing the box kinda just falls down.

The easiest way I found to do this is to use lots of wobble extensions on a deep socket and snake this contraption in between the A/C module and the dash. Makes it fairly painless.
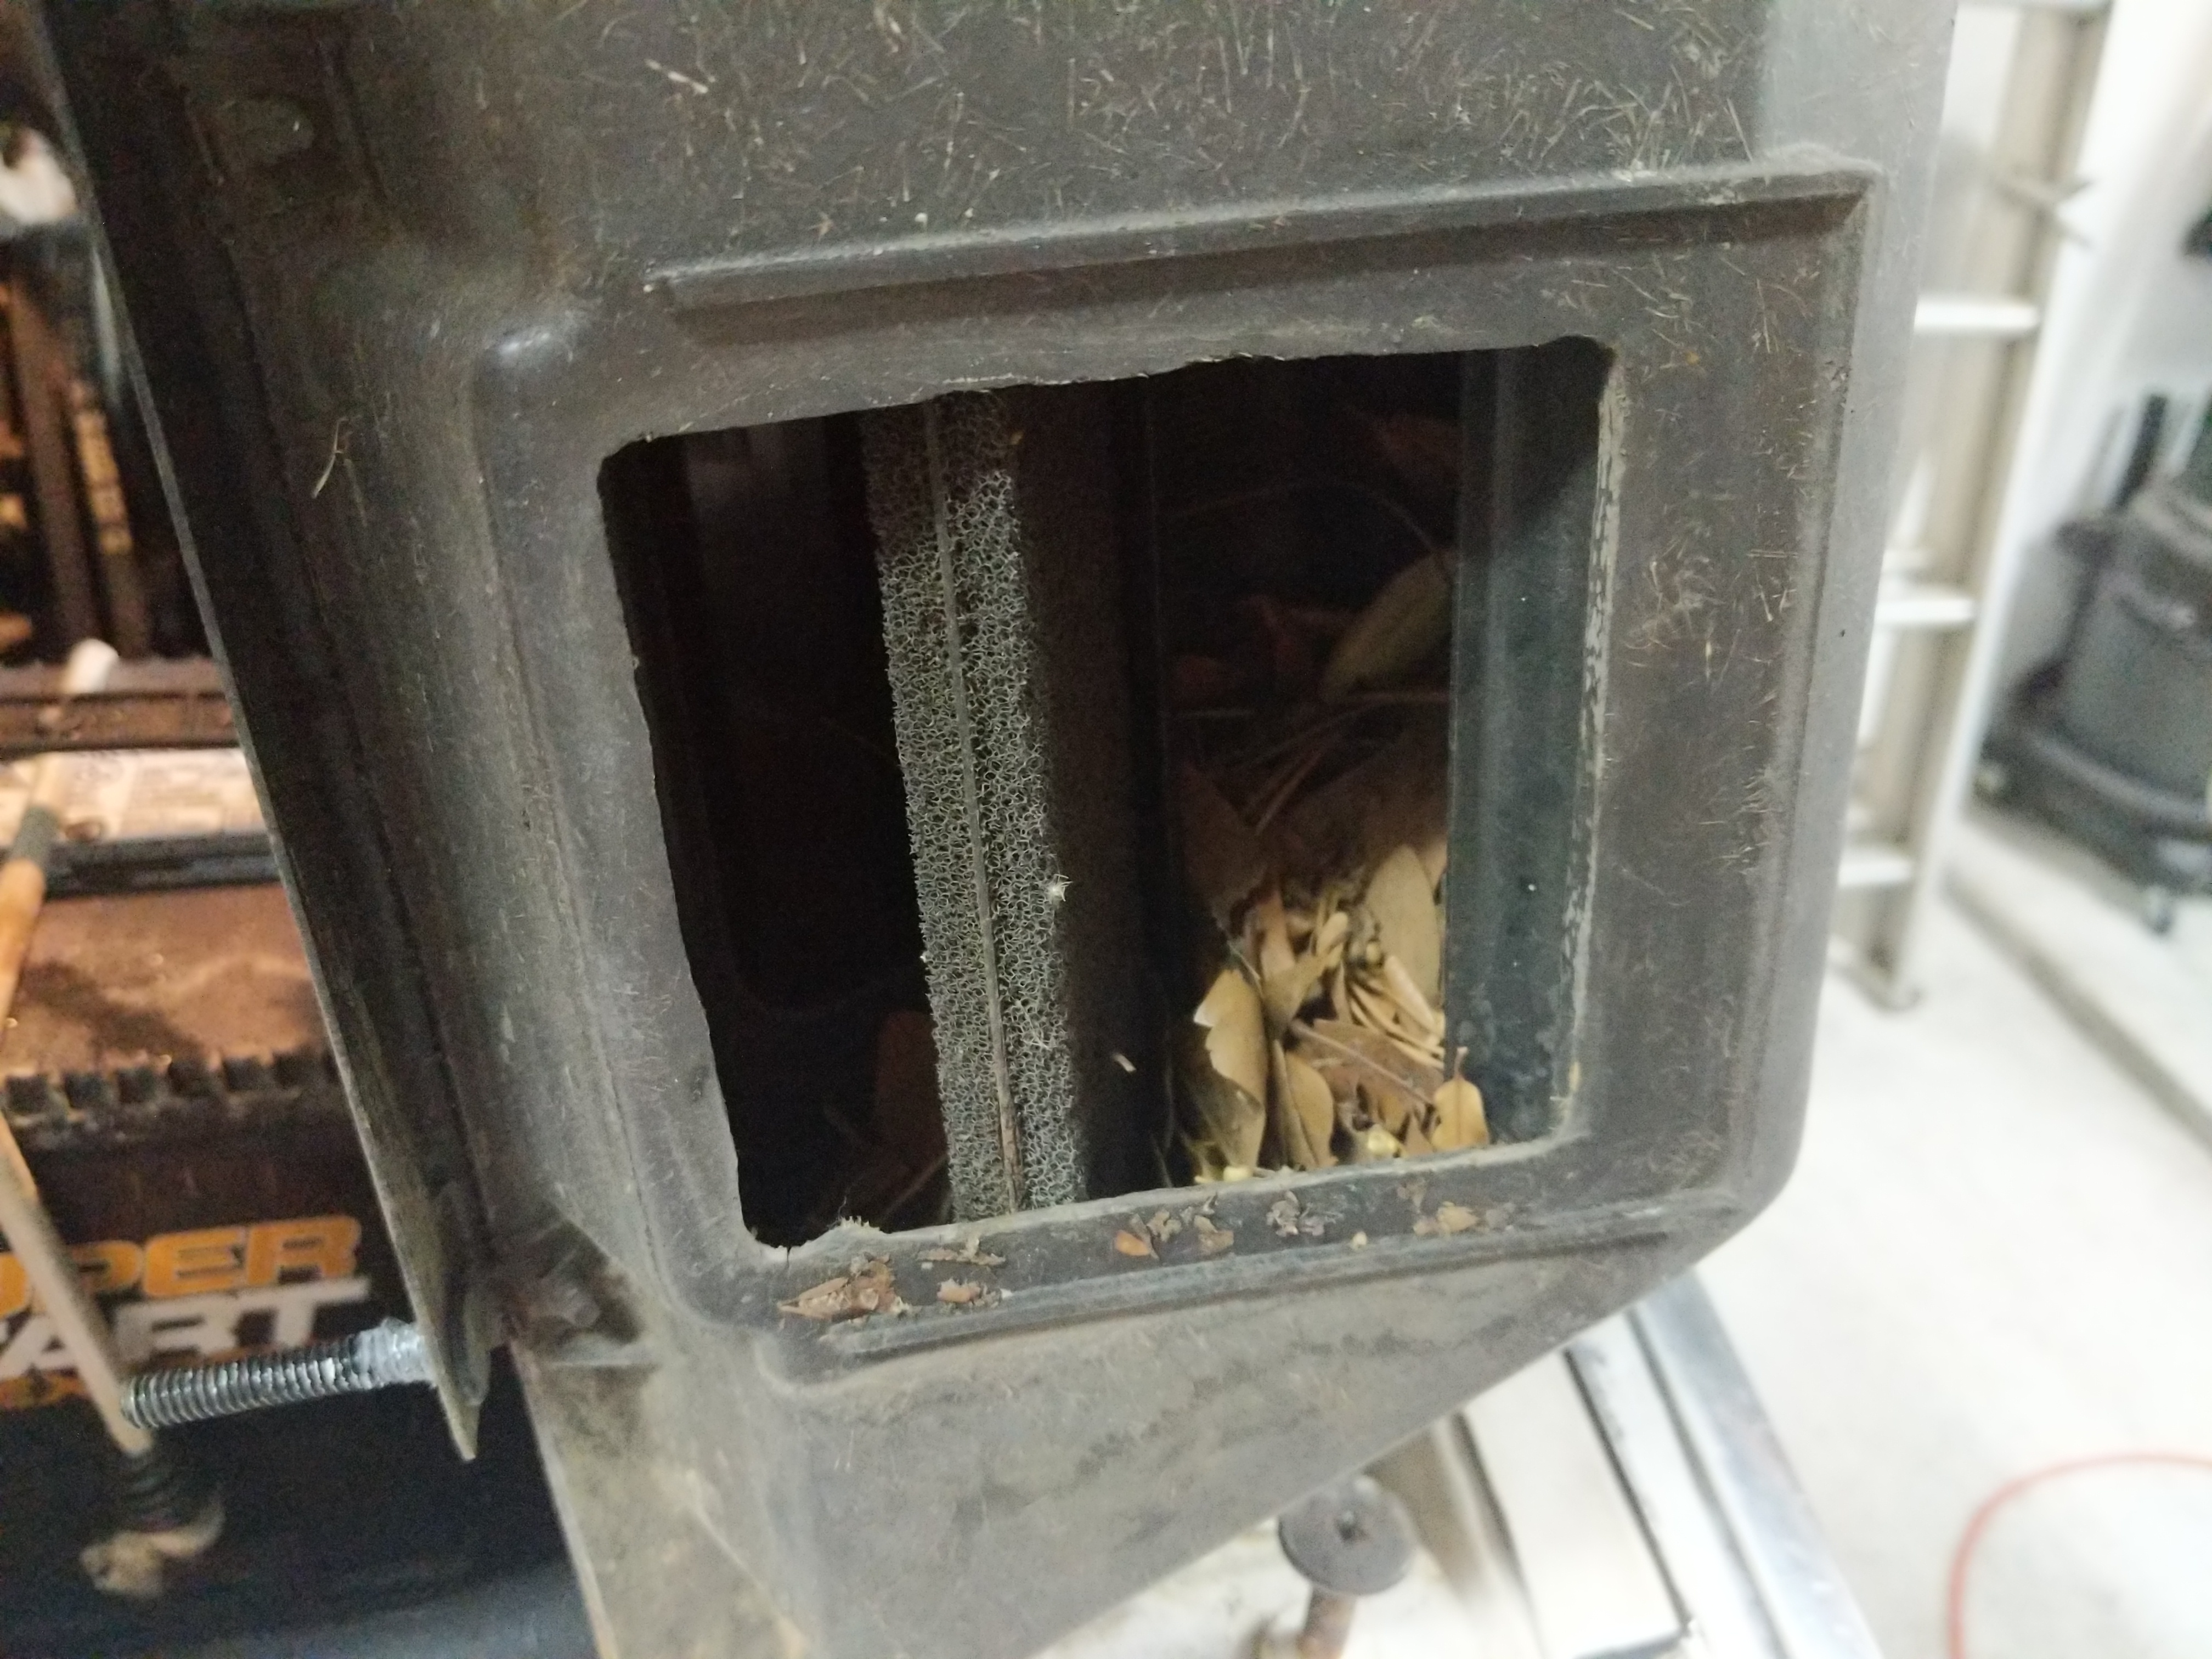
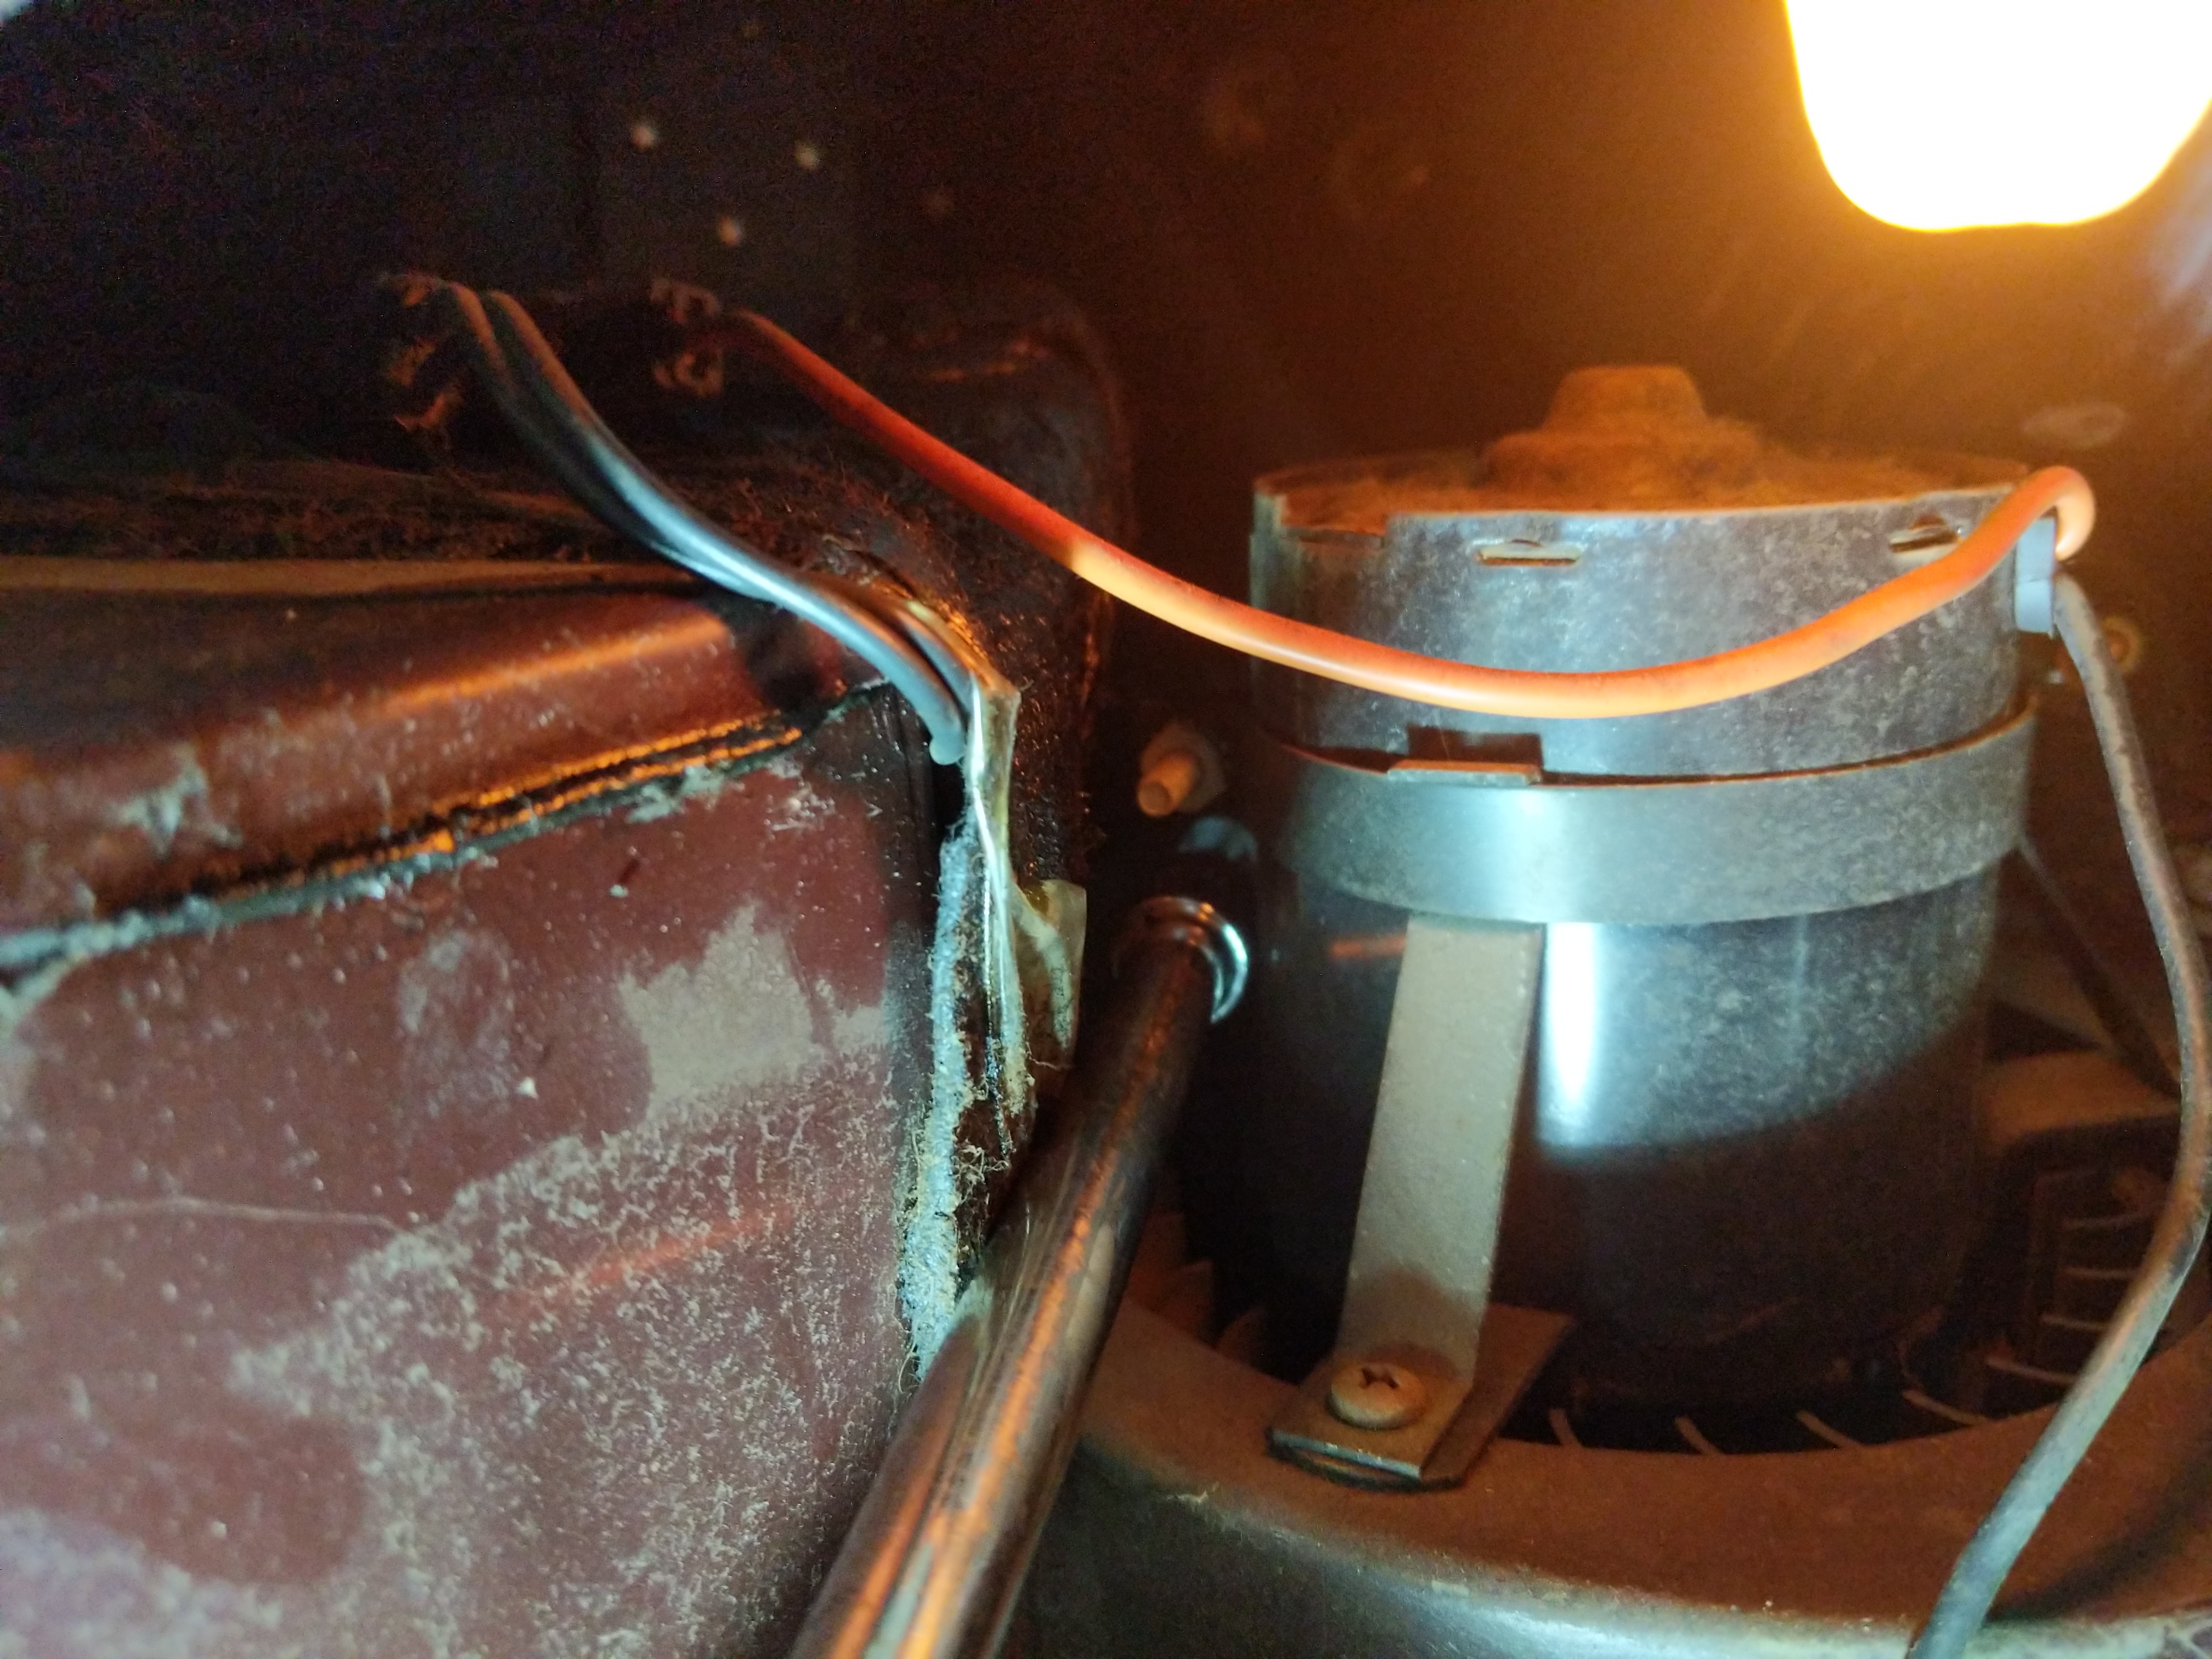
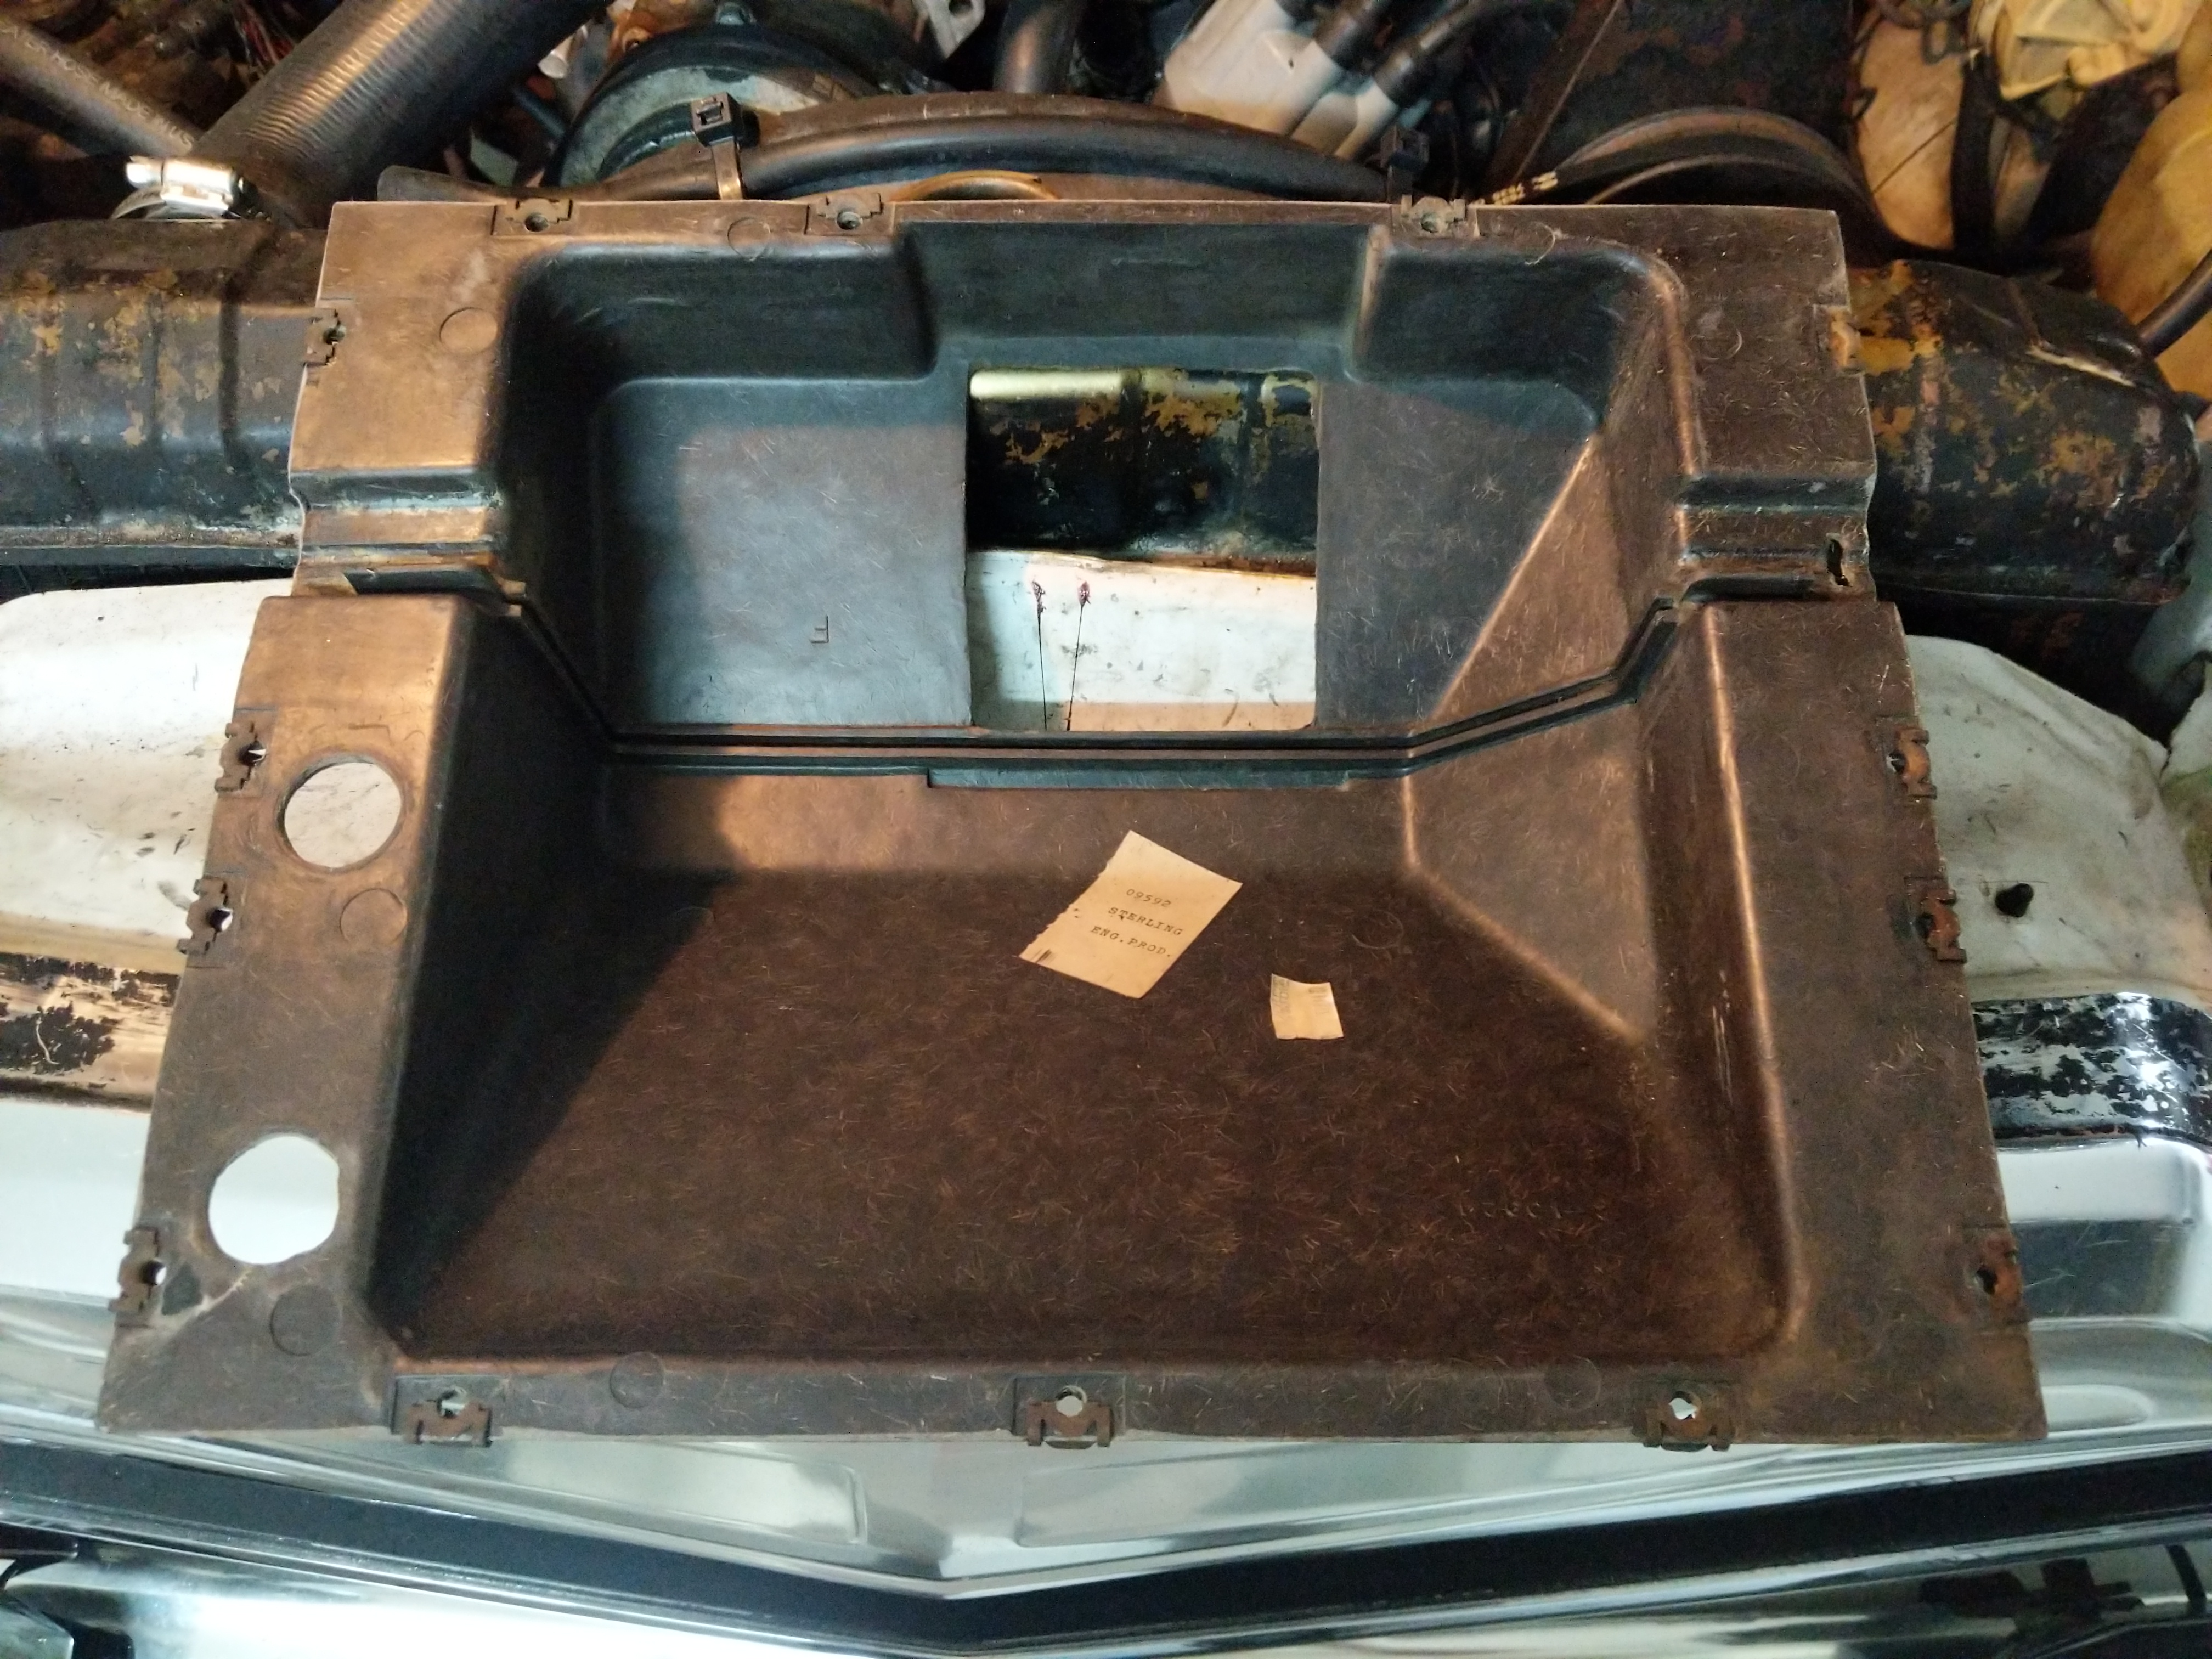
Then pull the heater box from the engine compartment. Mine had quite a bit of leaves that prevented the blend door from moving all the way.
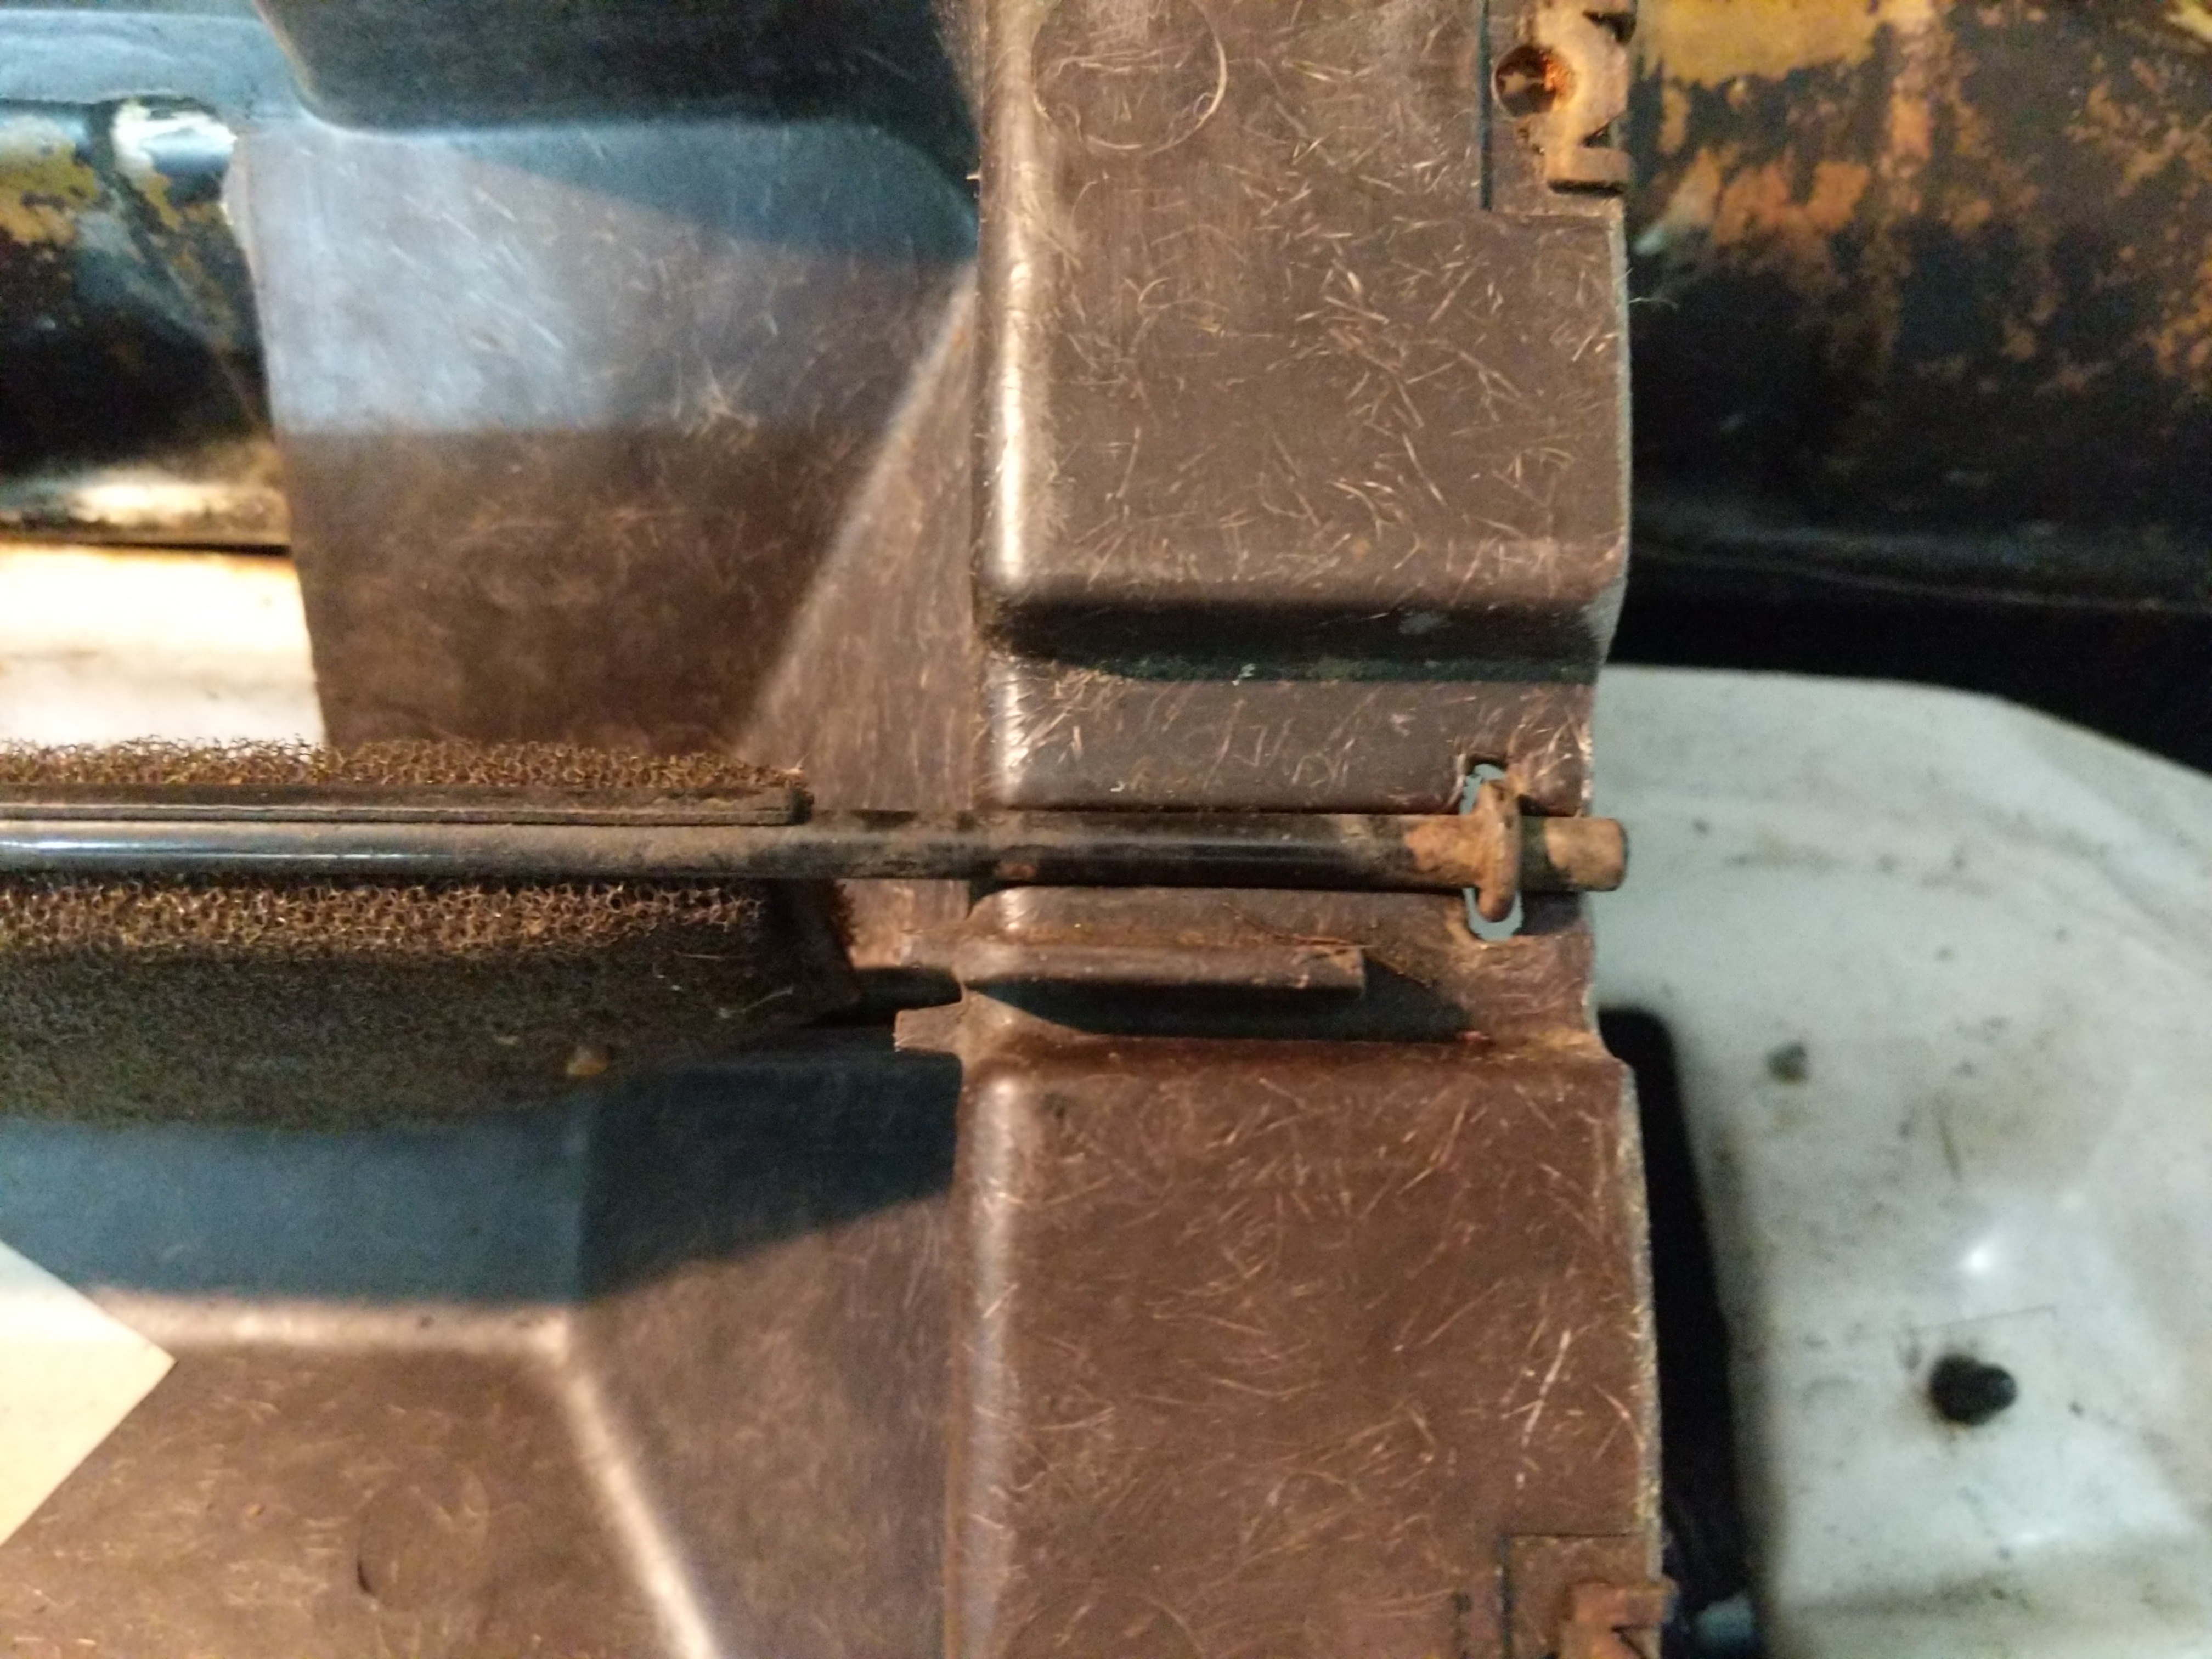
The heater box opens up by removing all the bolts on the outside. There are five pieces; two external fiberglass shells, inner metal plate, blend door, and the heater core.
I took my heater box all apart and cleaned it up. Then I reassembled it.

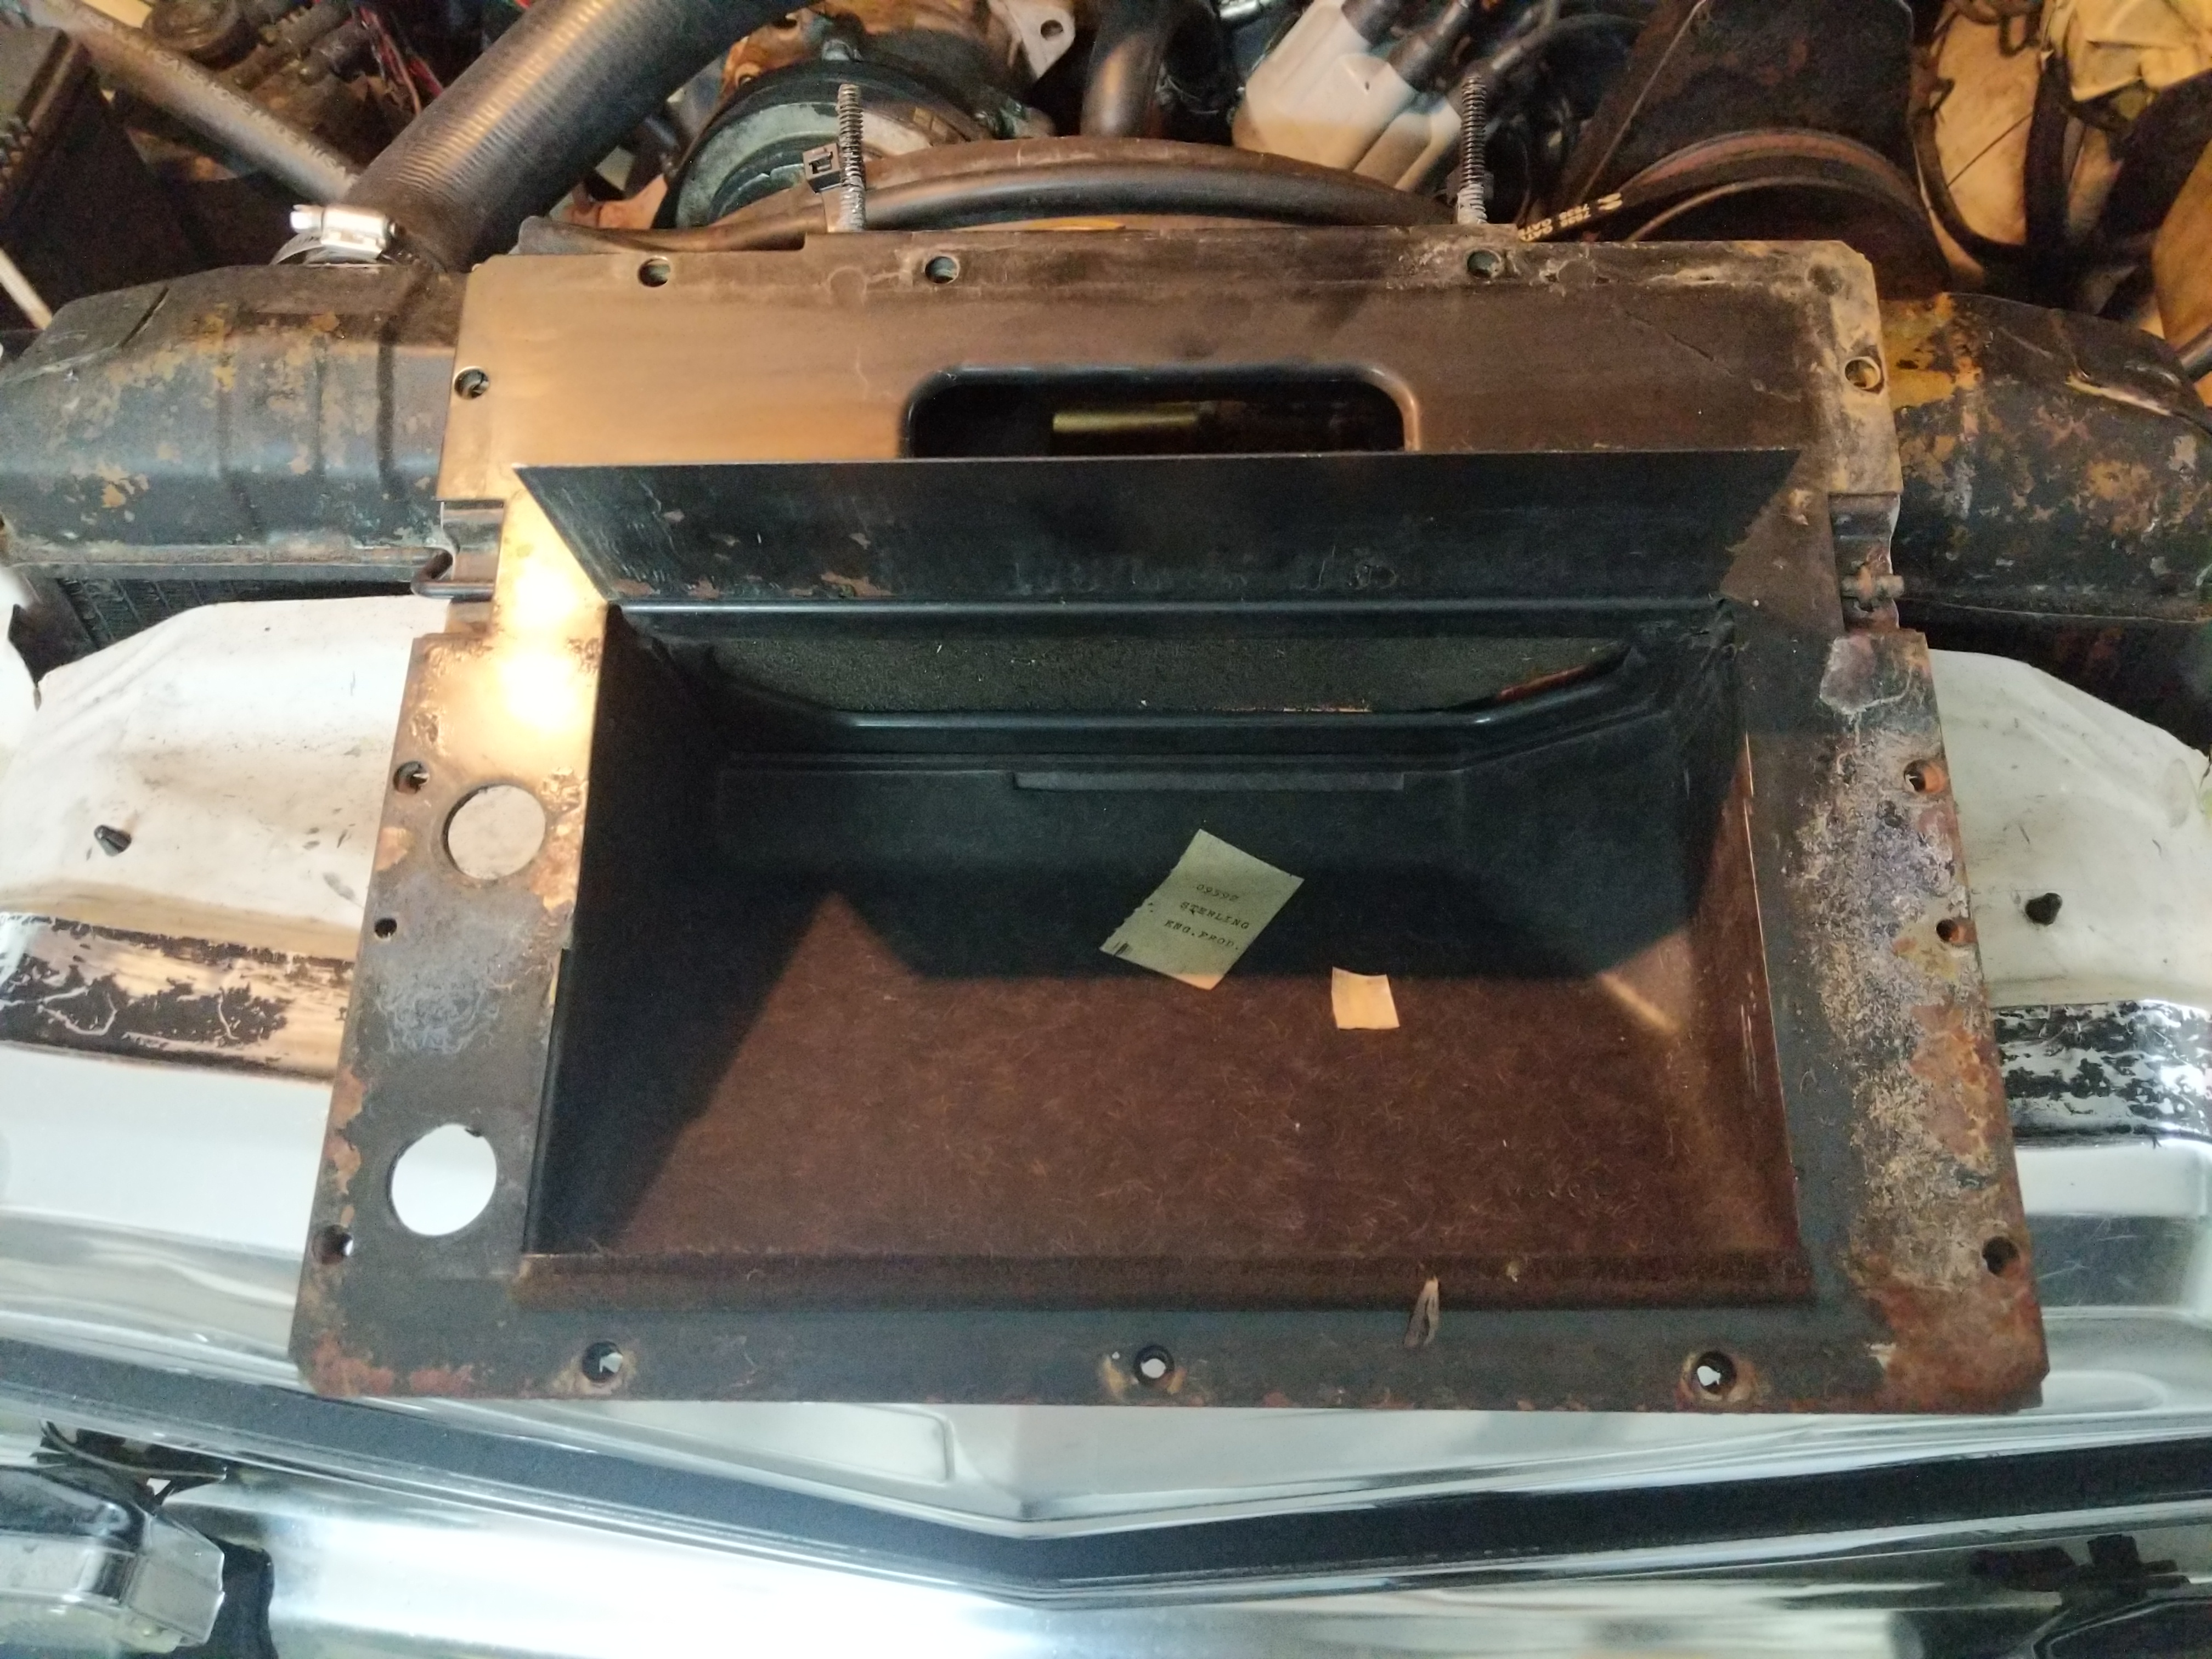

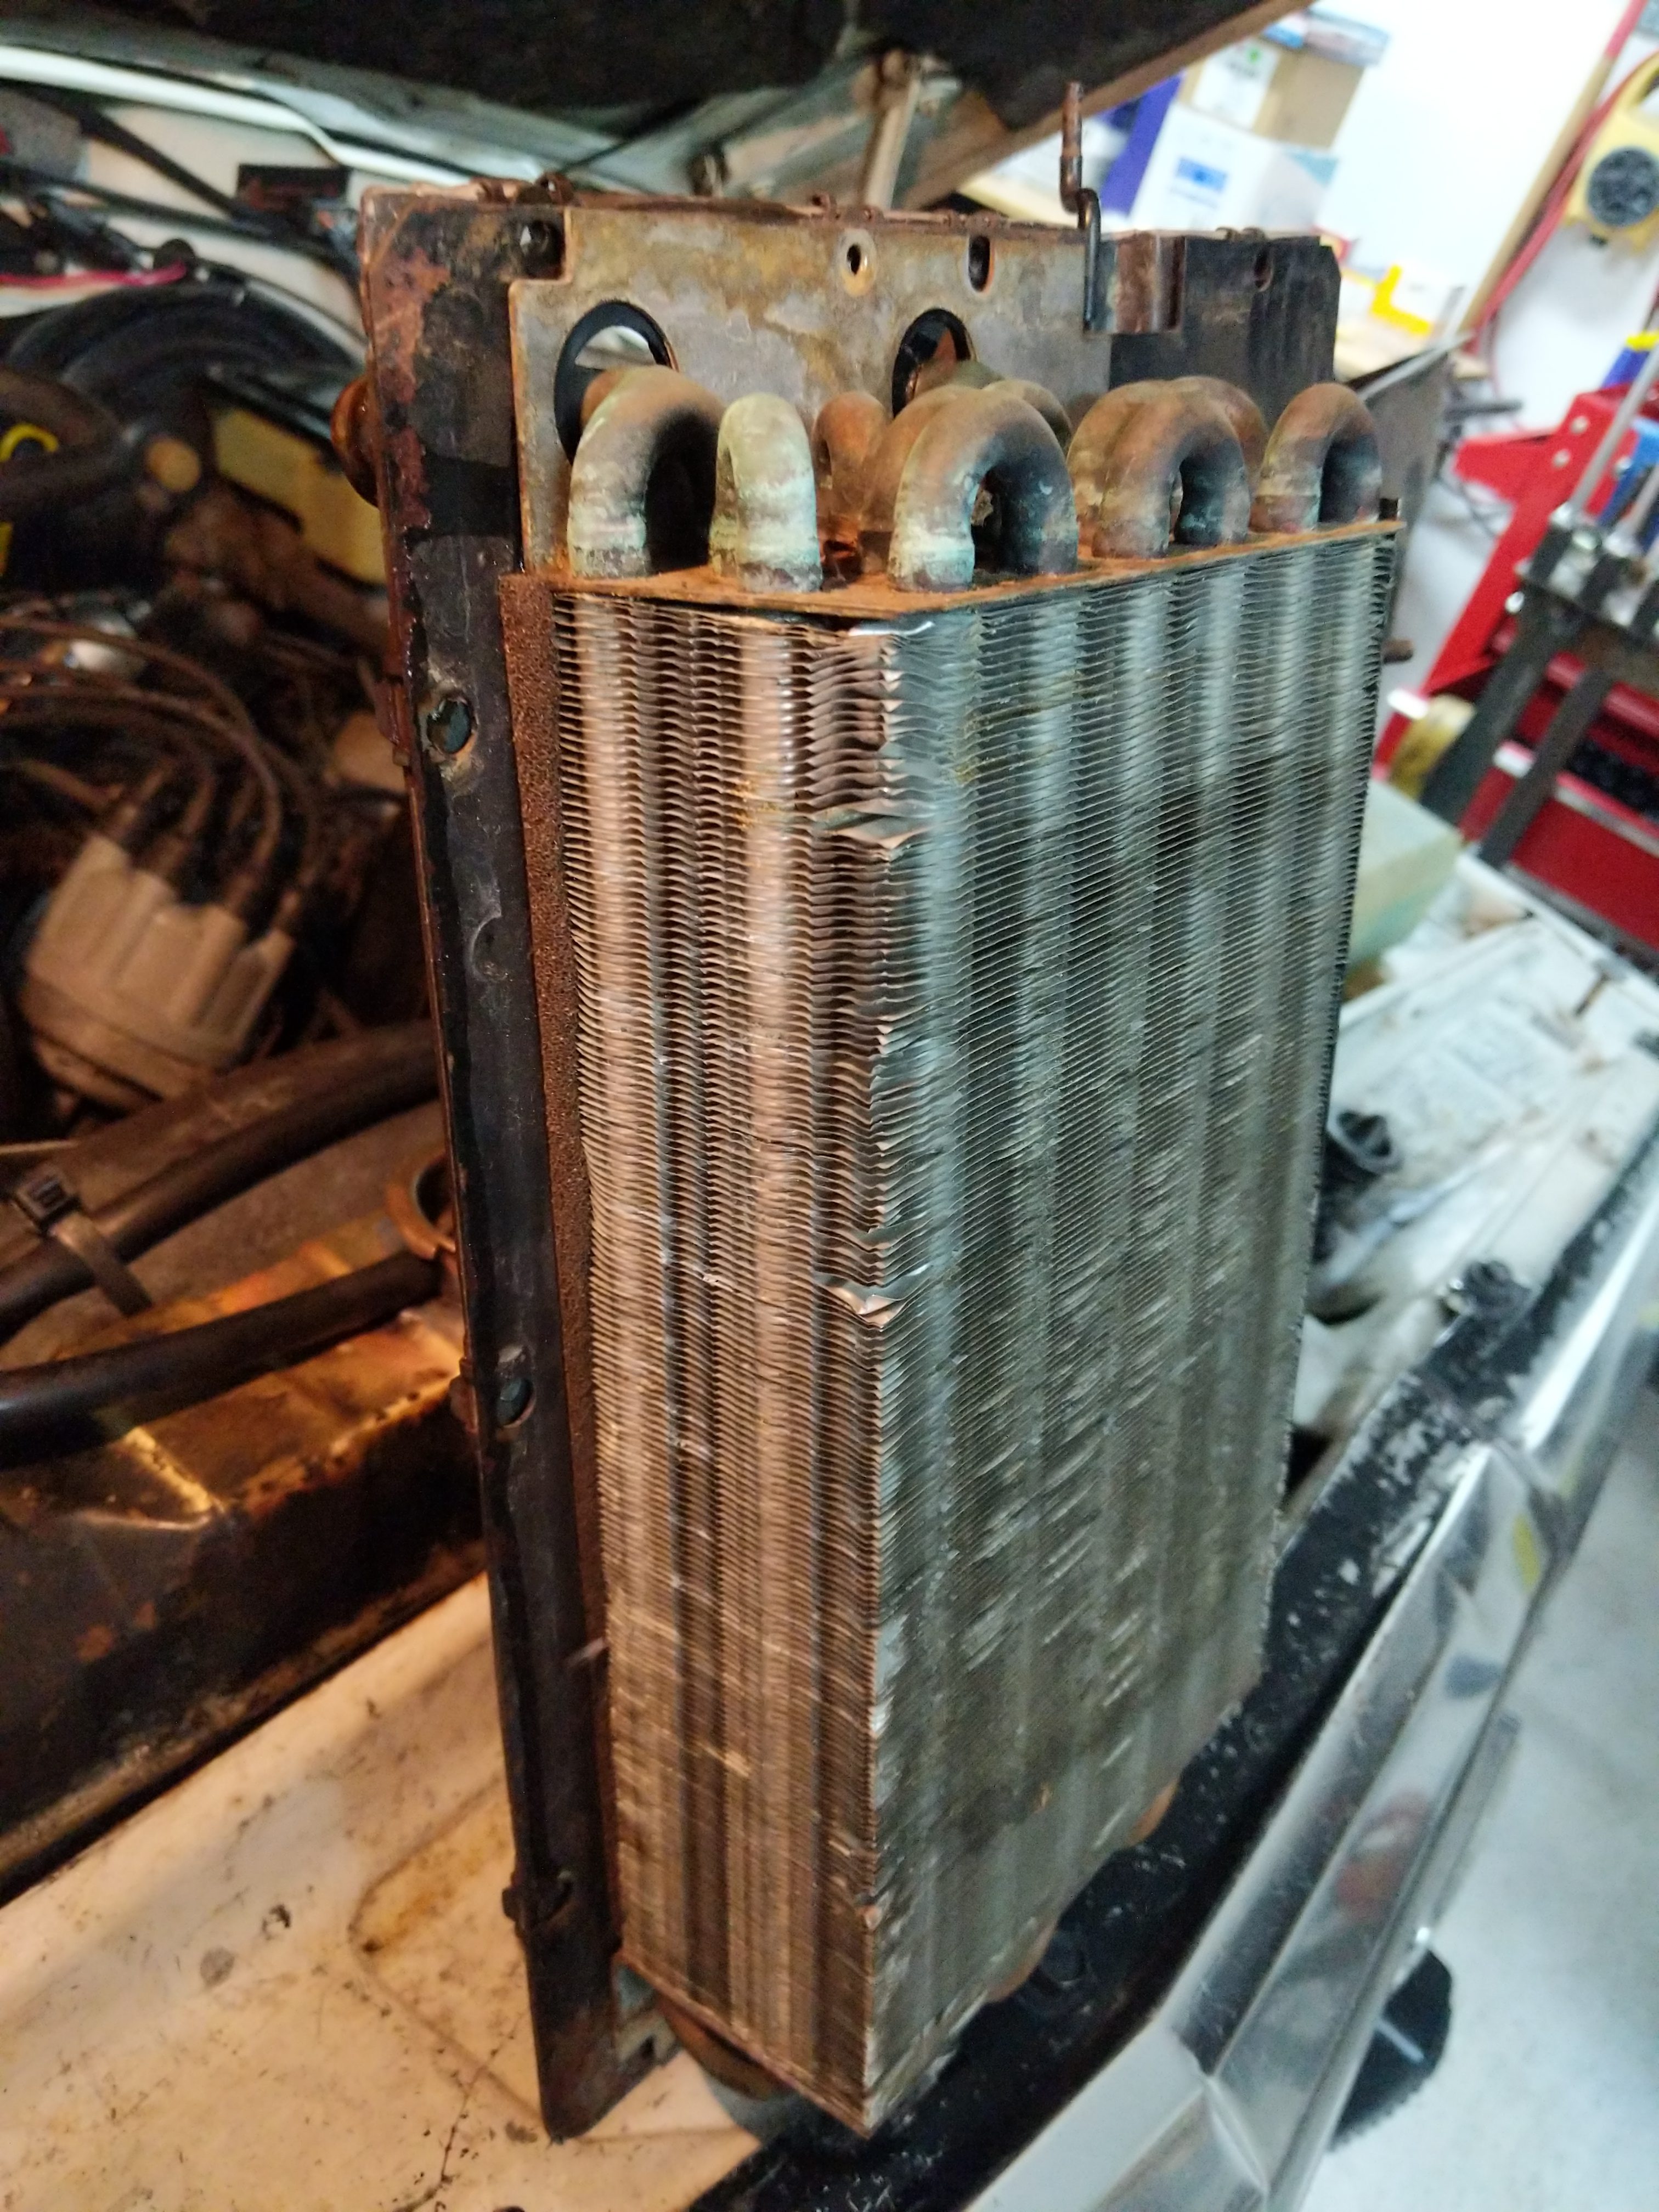
First put the blend door back into the shell, next put the metal inner plate in. Next install the heater core and then the top of the shell. When putting the bolts back in do not tighten them up all the way till all the bolts and the heater core tabs at the top and bottom are all lined up.
With the box cleaned up I reinstalled the heater box and put the dash back together. Then reattached the blend door cable.I hooked all the hoses back up on the radiator and heater core and refilled the engine with new coolant and put a new radiator cap on.
A trip around the block and to the grocery store shows that the Wagoneer has stopped puking radiator fluid! Success so far!