One of the best ways to improve your homebrew is to temperature control your fermentation. My setup for my fermentation container is a 15 sqft chest freezer with a 60 Watt space heater inside it. To control this I made a temperature controller which is detailed below.
Please read the Disclaimer before attempting.
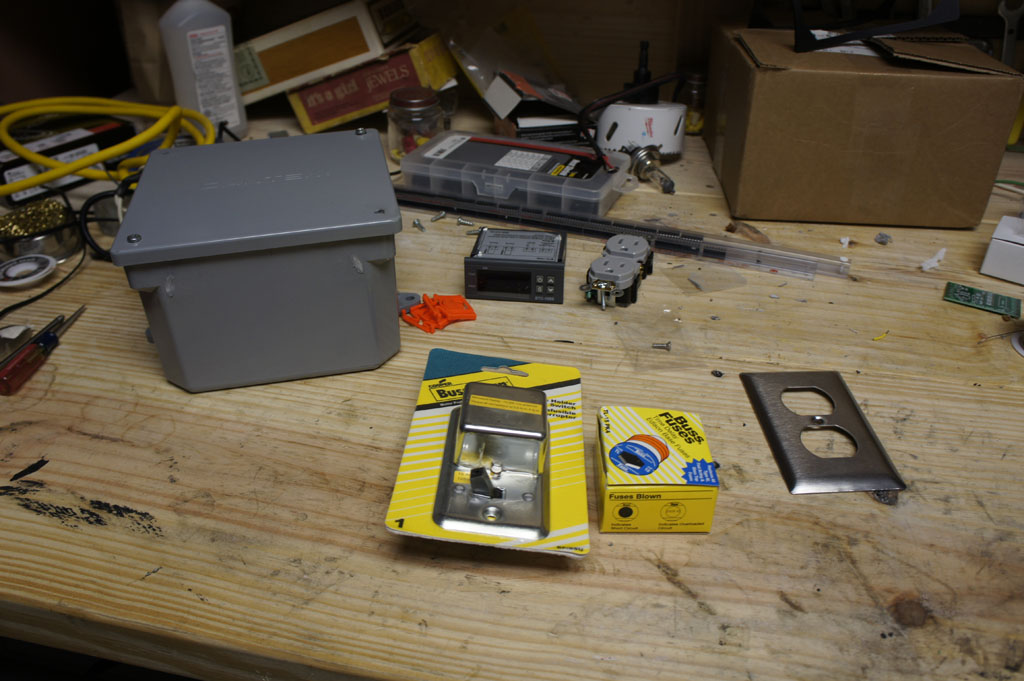
Part List:
Electrical Box – Any project box large enough will work. I am using an outdoor electrical box I found at Homedepot. Size is 8″x8″x7″.
Digital STC-1000 Temp Controller – Make sure to get the 120V one.
Electrical Socket – Get the cheapest one. Grab a face plate as well. Homedepot sourced.
14 AWG Extension Cord – This will be used to supply power to the unit and supply the wiring for inside the box. Homedepot sourced.
Bussmann Switch and Fuse Holder – Grab some 10 Amp fuses to. Homedepot sourced.
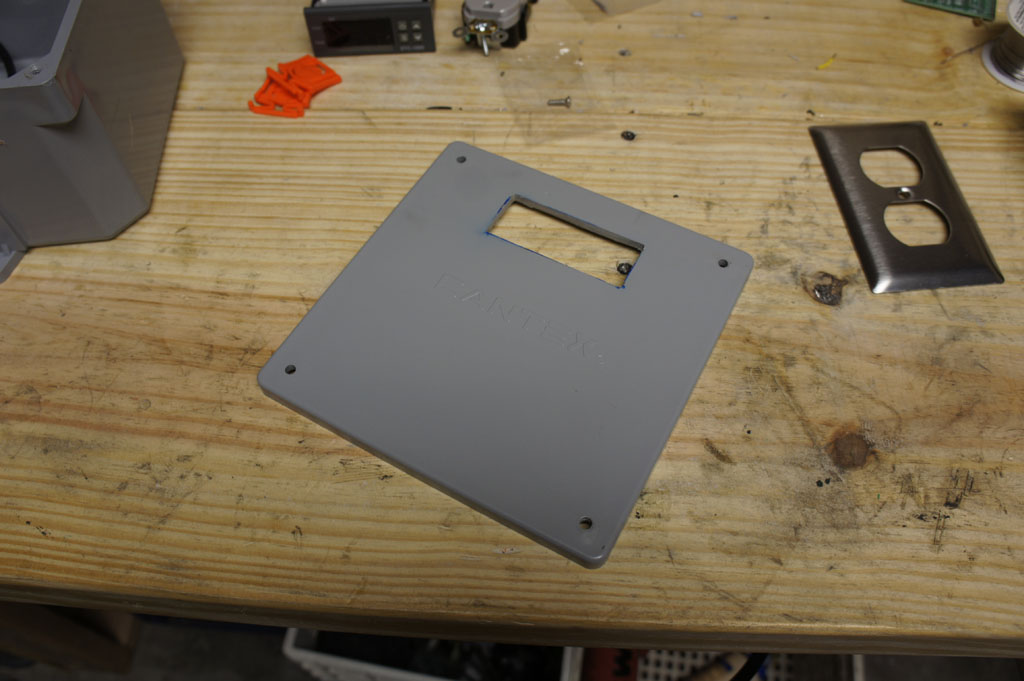
Cut a hole in the front panel using a Dremel like tool for the Temperature Controller. I just traced the profile of the controller.
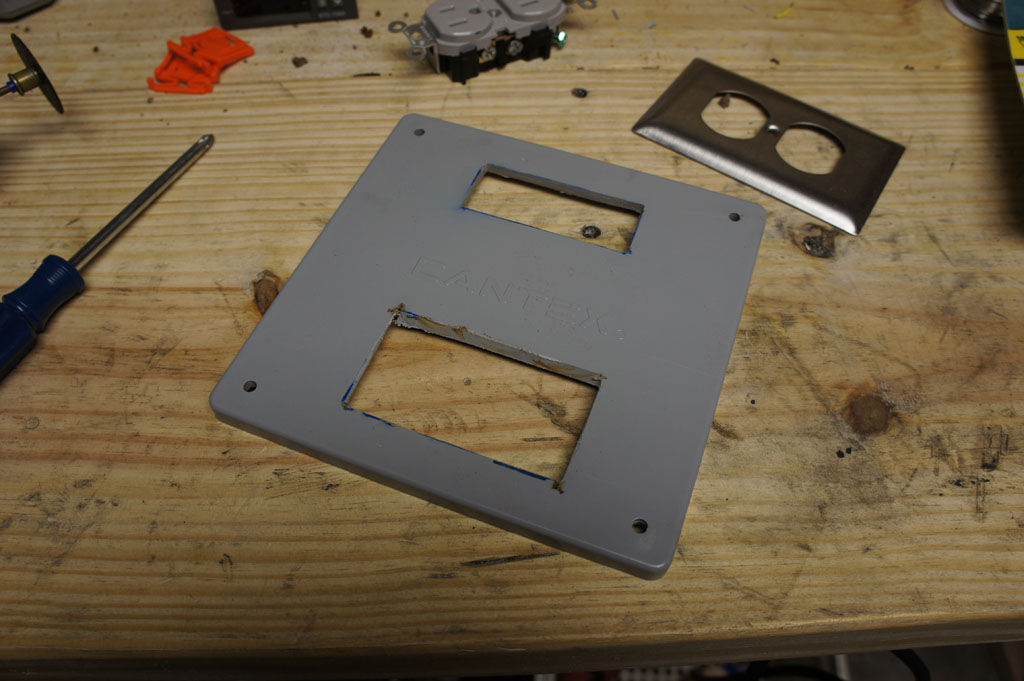
Below that cut the hole for the Electrical Socket. No need to cut it exactly the right size. The faceplate will go over this.
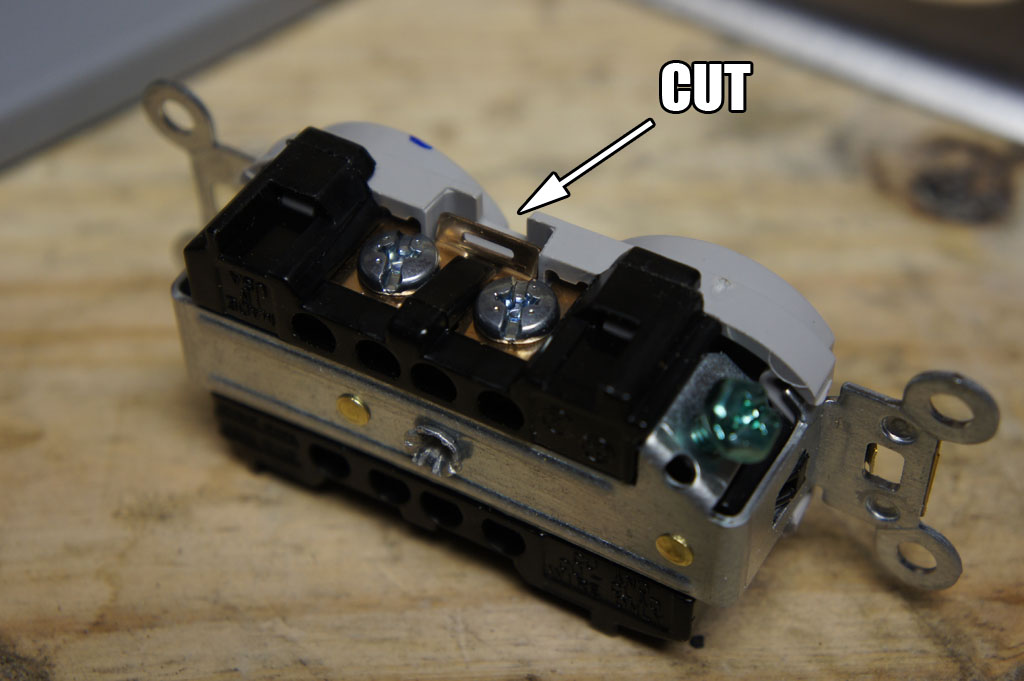
Using your Dremel again cut this tab all the way through. This disconnects the Live side (black wire) of the socket. This way one socket is for the heater and one is for the compressor (cooler).
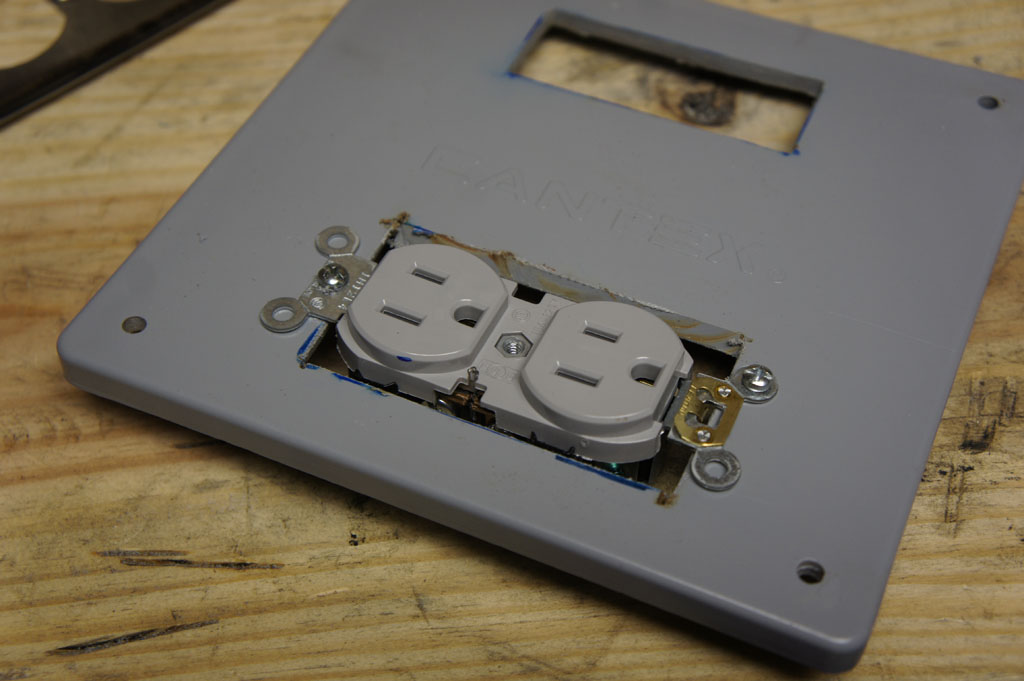
Screw in the socket.
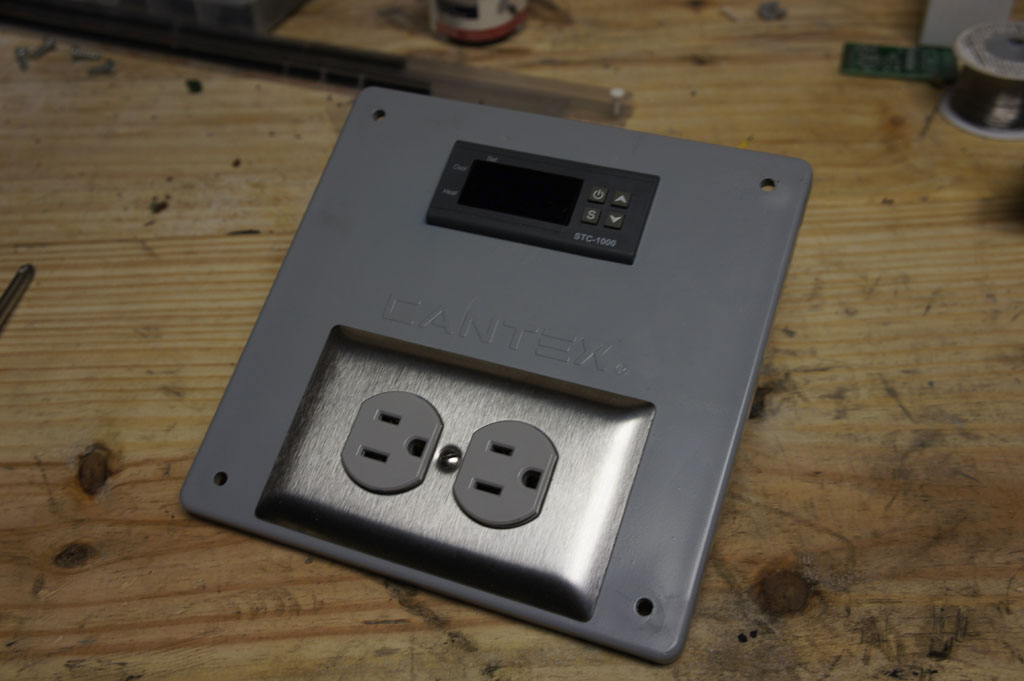
Face plate and Temperature Controller inserted.
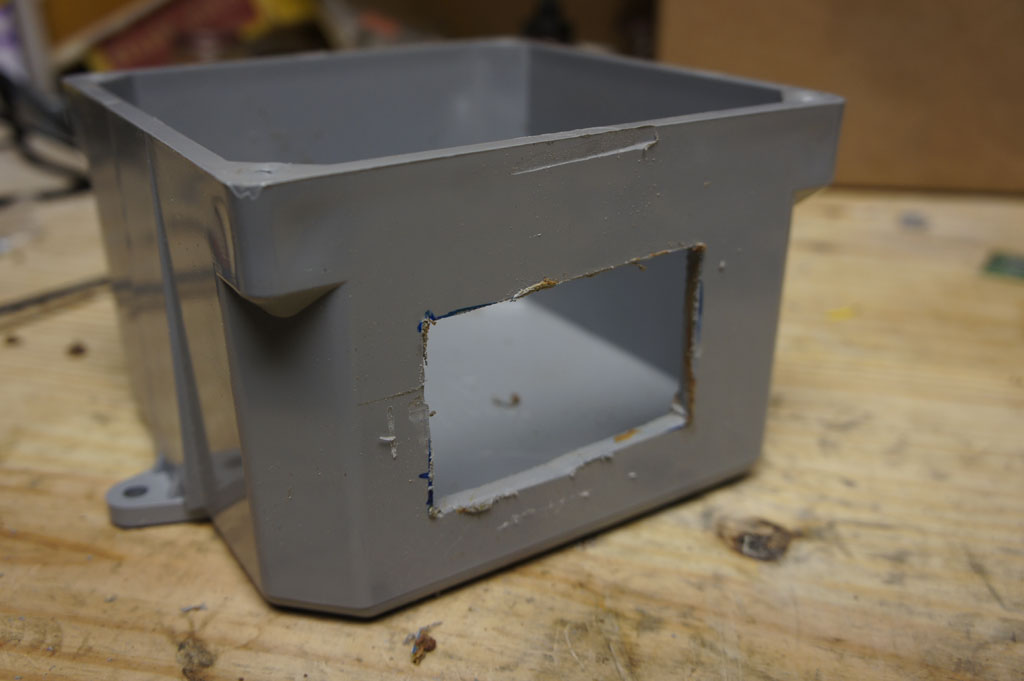
Cut a hole in the side for the Bussmann Switch and Fuse.
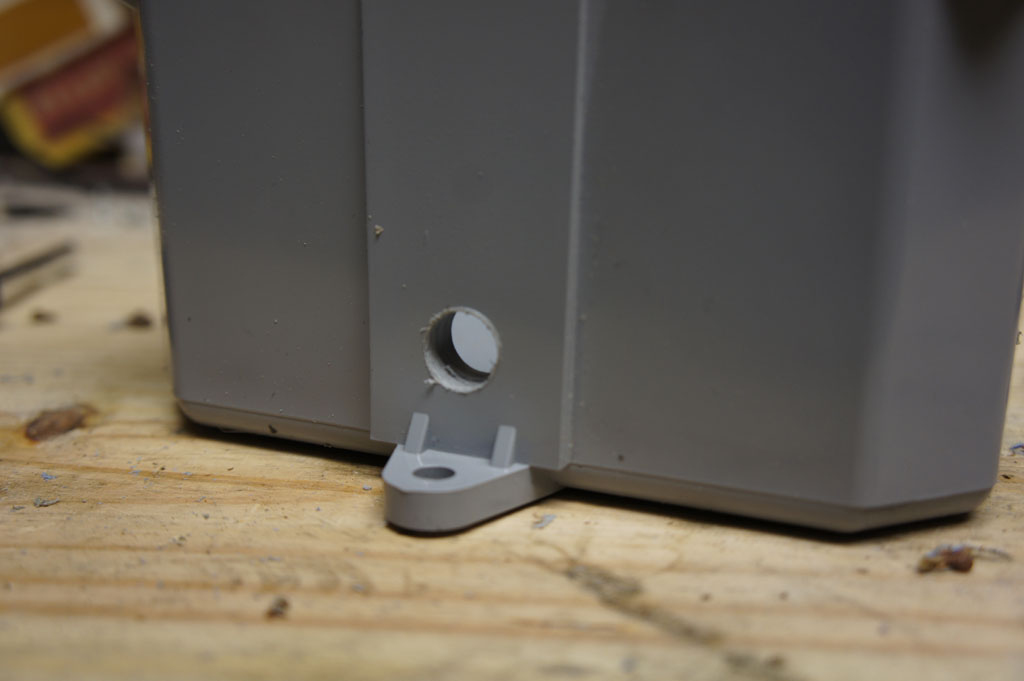
Drill a 1/2″ hole at the bottom. The power cord and temp sensor will come out of here.
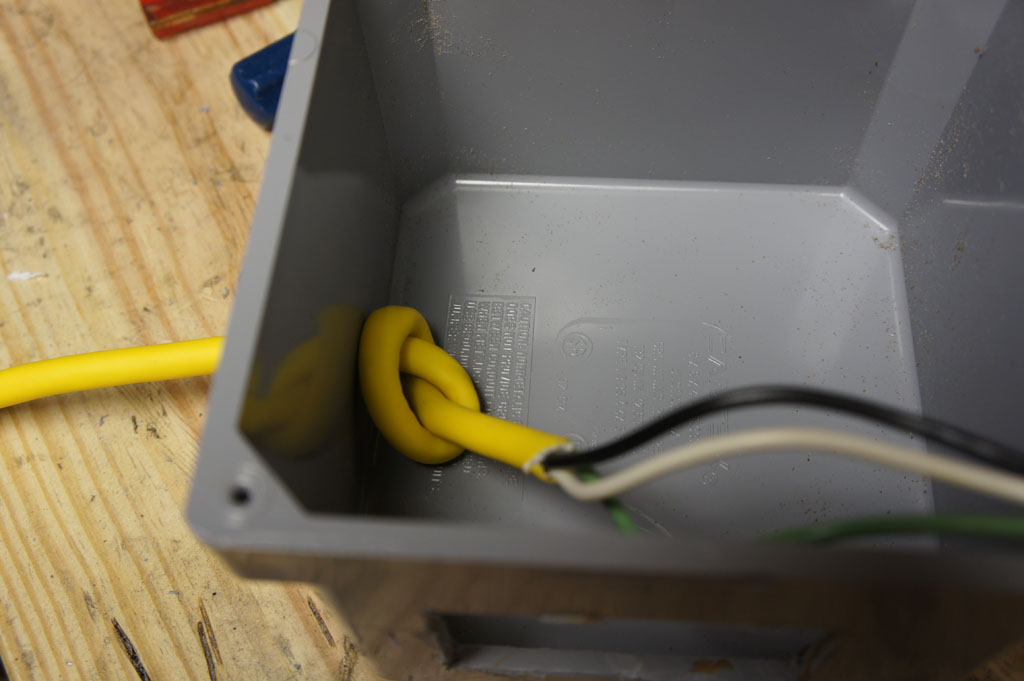
Cut the plug off the extension cord and strip about 1′ of insulation off. Feed the cord through the hole and tie it into a knot like above. This prevents the cord from being pulled out. Time to wire it up now.
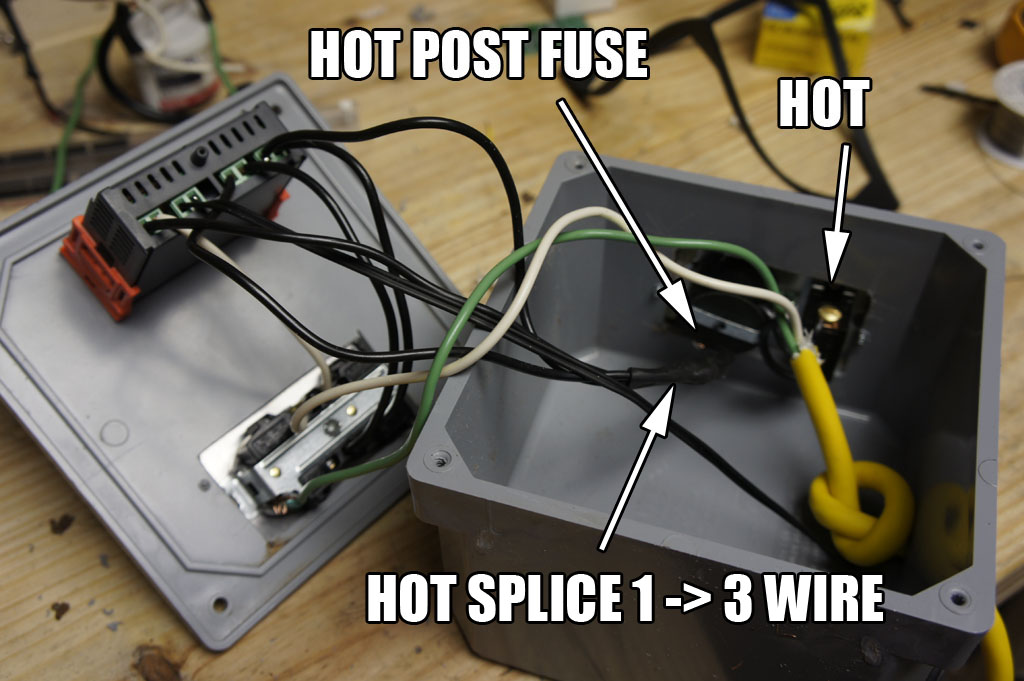
Complete overview of the wiring. Everything is color coded. Black is Hot, White is Neutral, Green is Ground. The only splicing you will need is on the Hot wire coming off the Bussmann. I soldered and heat shrinked this connection but you can just wire nut it.
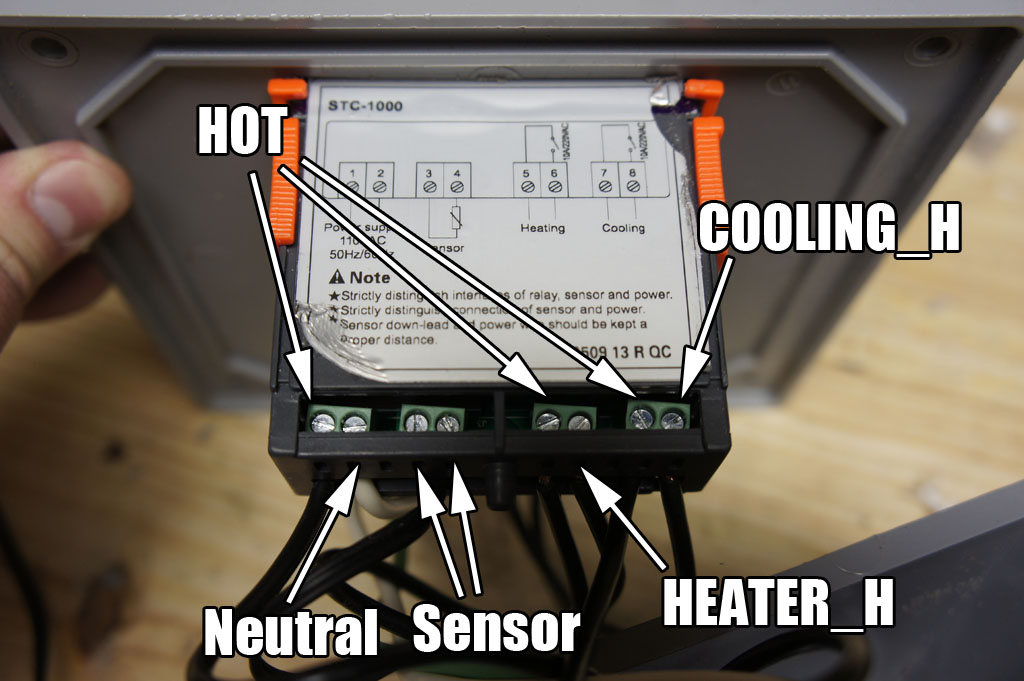
View of the back of the controller. The Hot locations come from the 1 to 3 splice that comes off the Bussmann fuse. Cooling_H and Heater_H are the Hot wires that go to the Electrical Socket. The Sensor wire gets wired in as well.
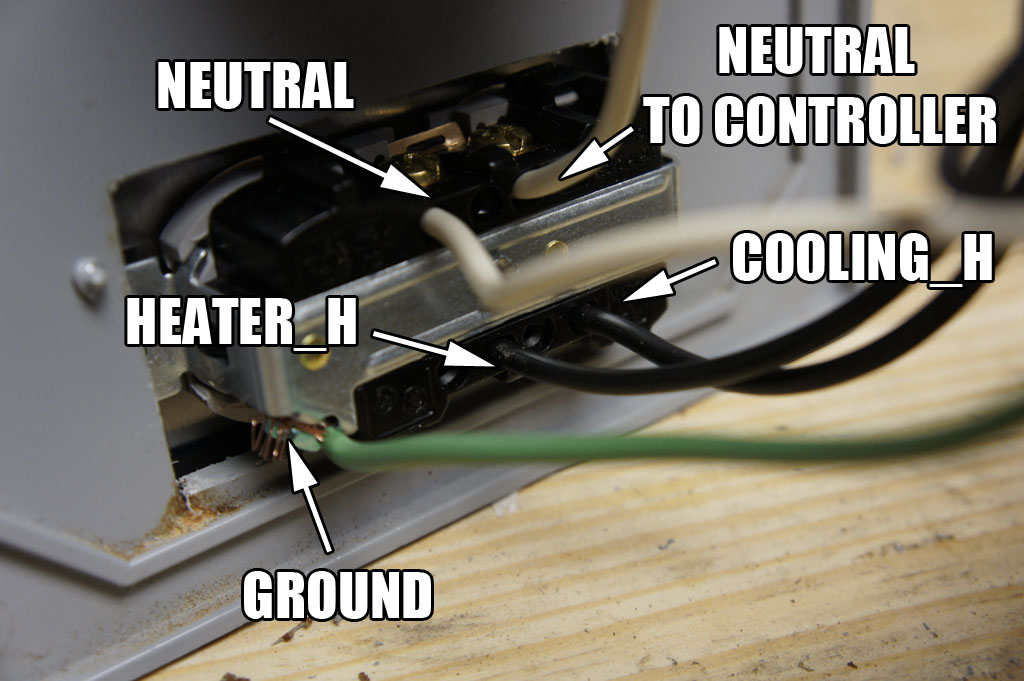
Back view of the socket. The Neutral from the extension cord comes here first then another wire goes up to the controller. The Heater_H and Cooler_H wire into the side that the tab was cut on.
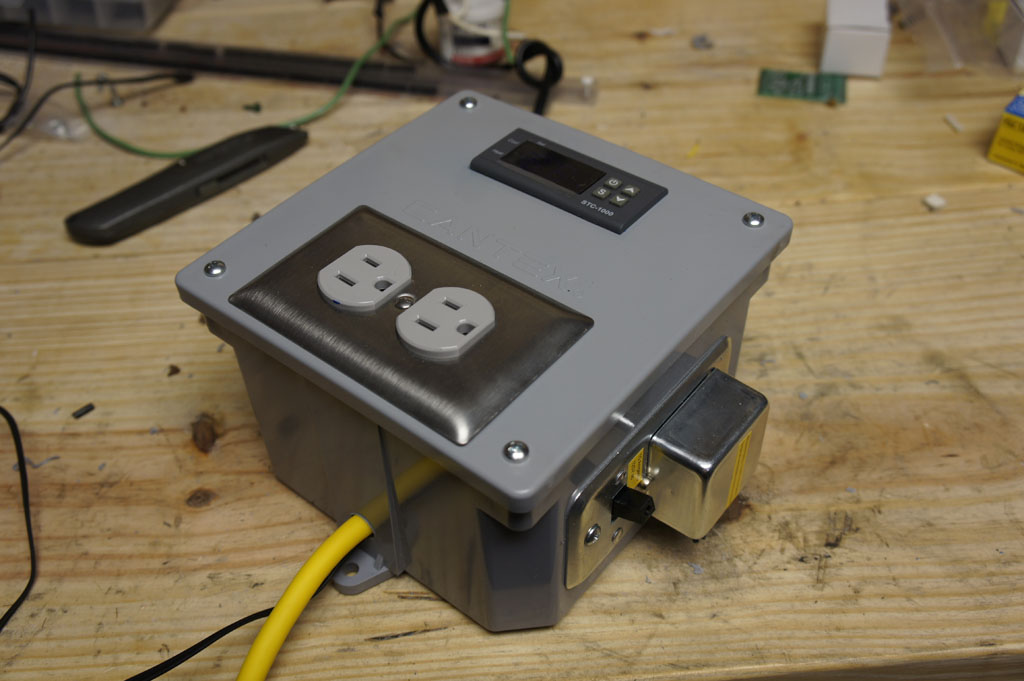
After all that you should be done. Test is to ensure it is working correctly.
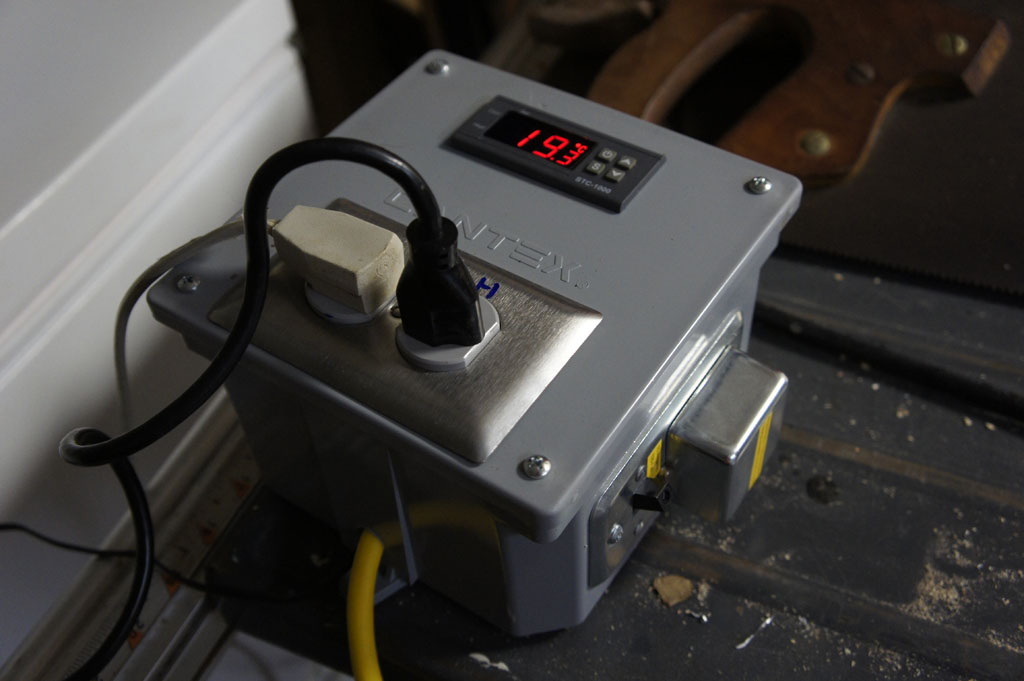
Happy Brewing!


