
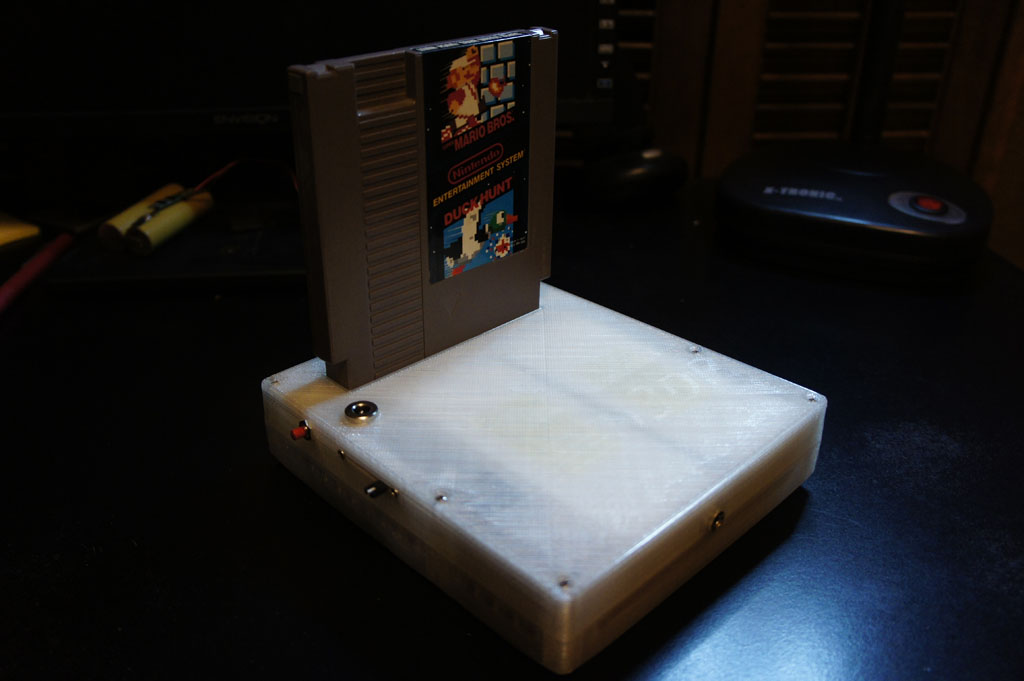
I always wanted to make a portable based of the famous Top Loader Nintendo. For one it is a 100% hardware compatible unlike NOACs (Nintendo On A Chip) and two it would make a whole bunch of Nintendo hardware collectors angry.
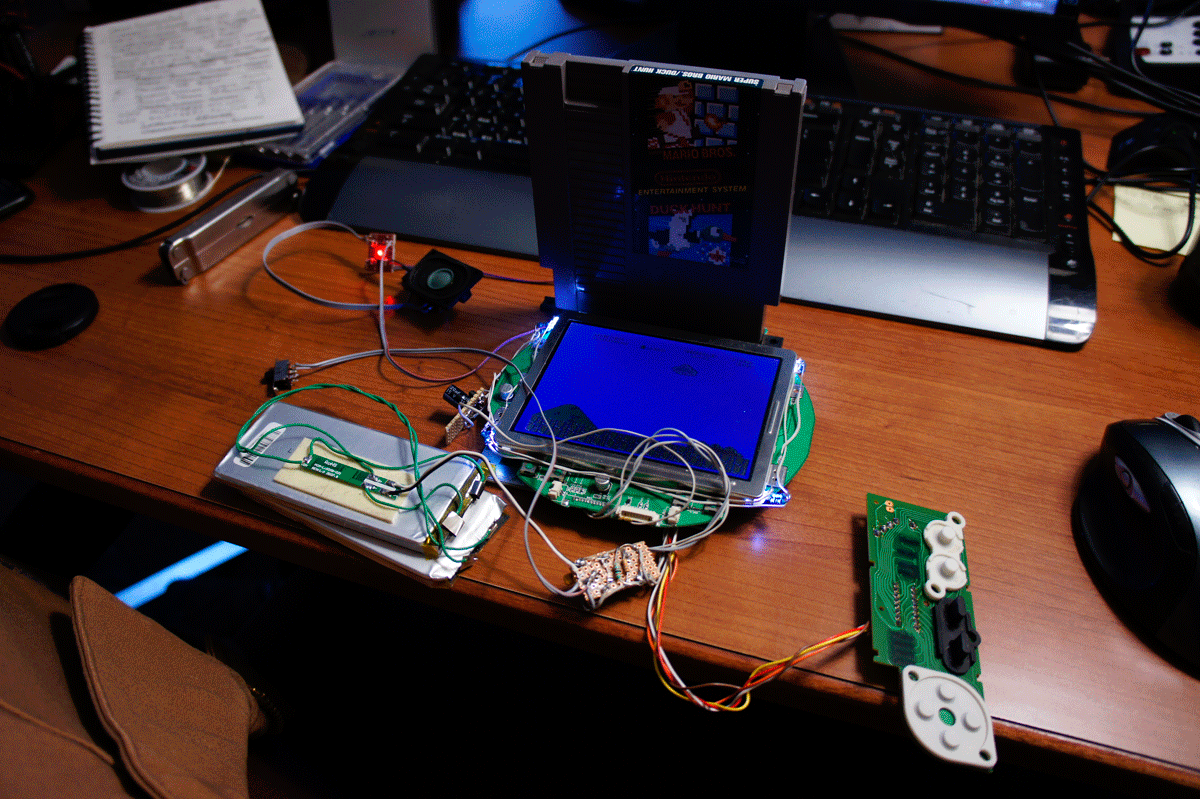
After a bunch of hacking and cutting of the board I got the electronics done. It has 5000mAh of 7.4V lithium power which will run the portable up to 10 hours. The 5″ PSone screen has been hacked to the bare minimum. I removed the 7805’s that power screen and ran the 5V rail off the switcher power supply I made to increase the efficiency. The PSone screen is LED modded as well.
When decided to use a separate sound amplifier as the PSone screen was to greedy on power and did not boost the volume enough. I am using a Sparkfun audio amp that uses the TPA2005D1. This is a very low power audio amp that reproduces sound very cleanly. It is a very efficient audio amp.
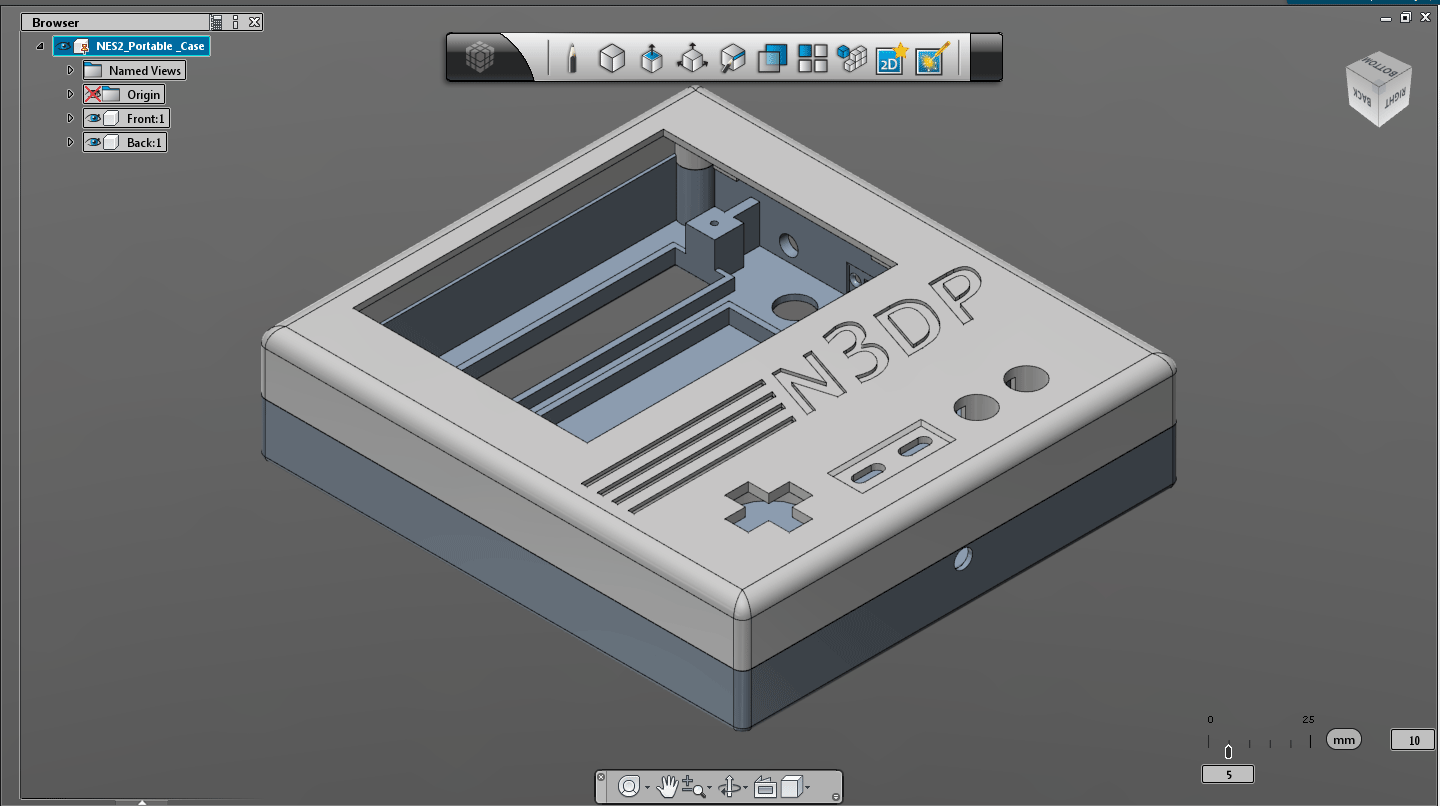

I designed the case in AutoDesk 123D which at the moment is free to download. The case will be 3D printed by my friend Chris Kraft.
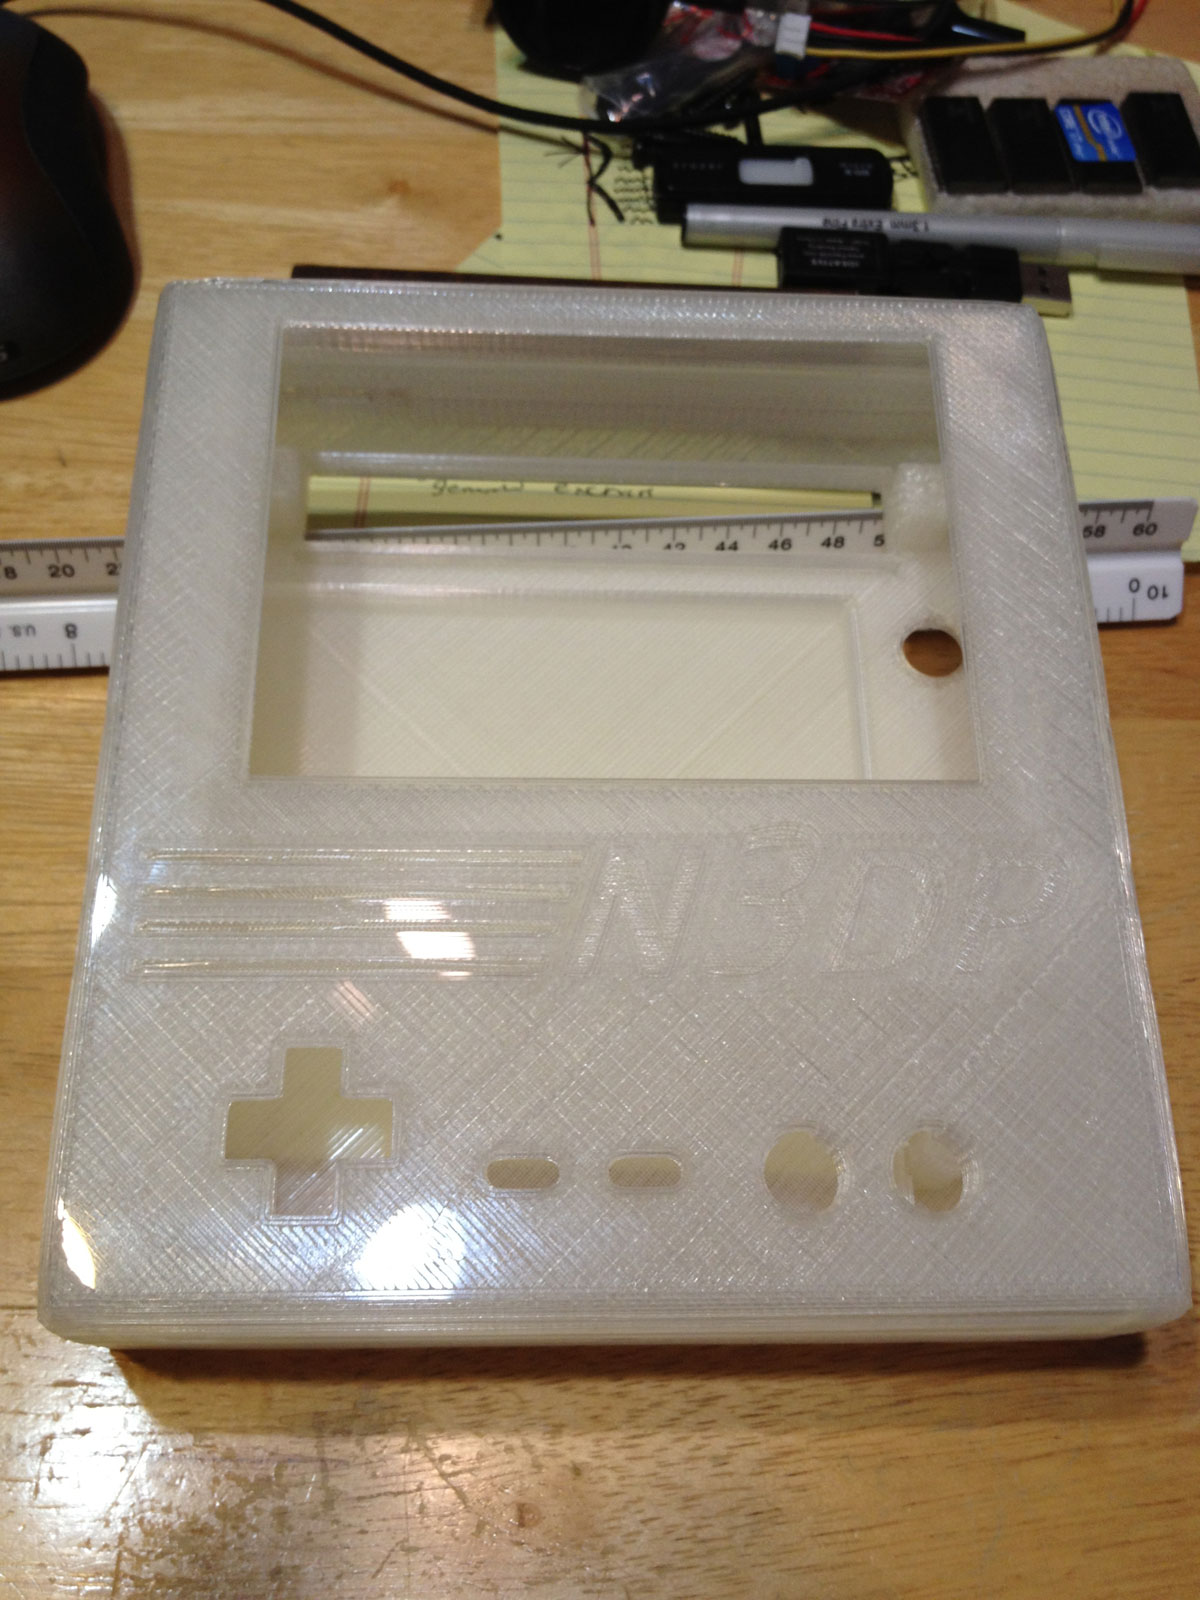
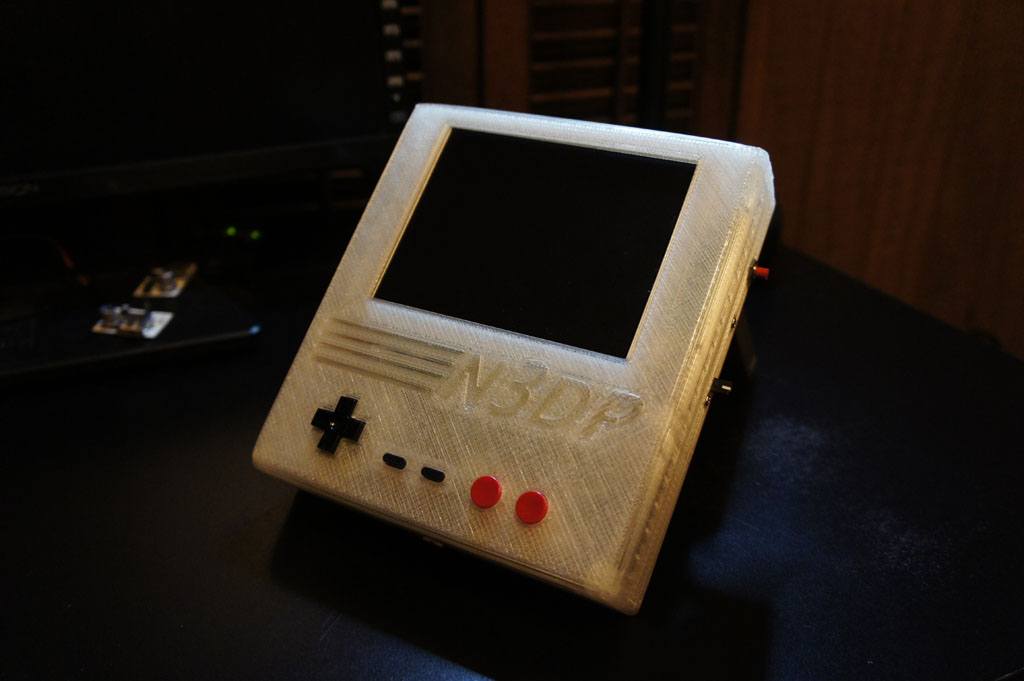
Here is the prototype case right out of the 3D printer.

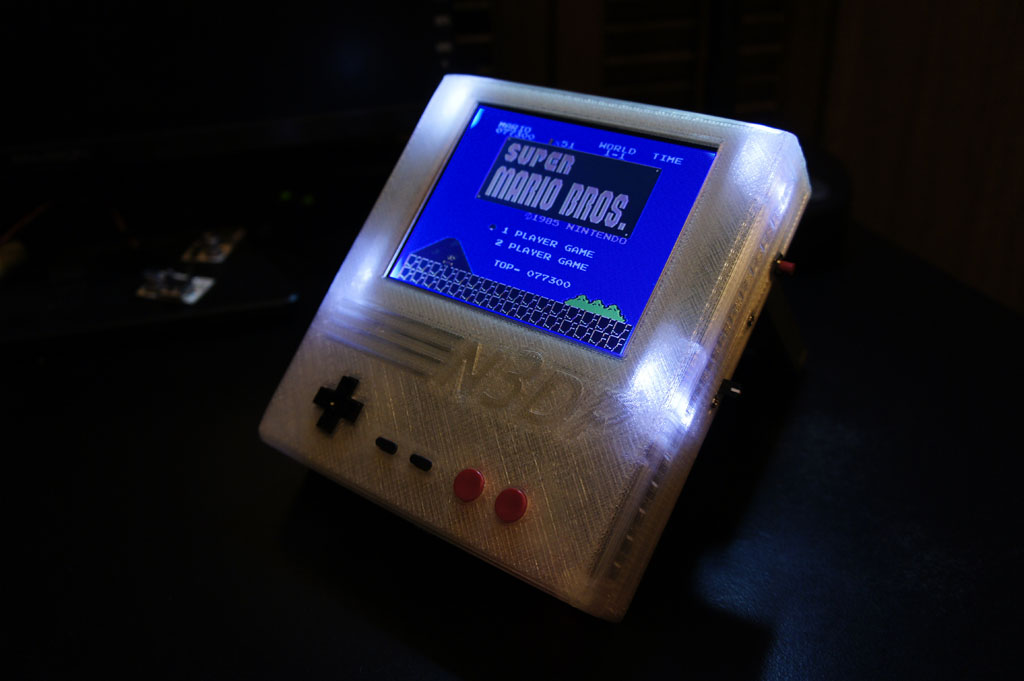
The prototype case with all the parts inside. I had to make some slight tweaks to the design. The updated 3D files can be downloaded below.
3D Files (Autodesk 123D)
NES2_Portable _Case.123d
NES2_Portable _Case_Top.123d
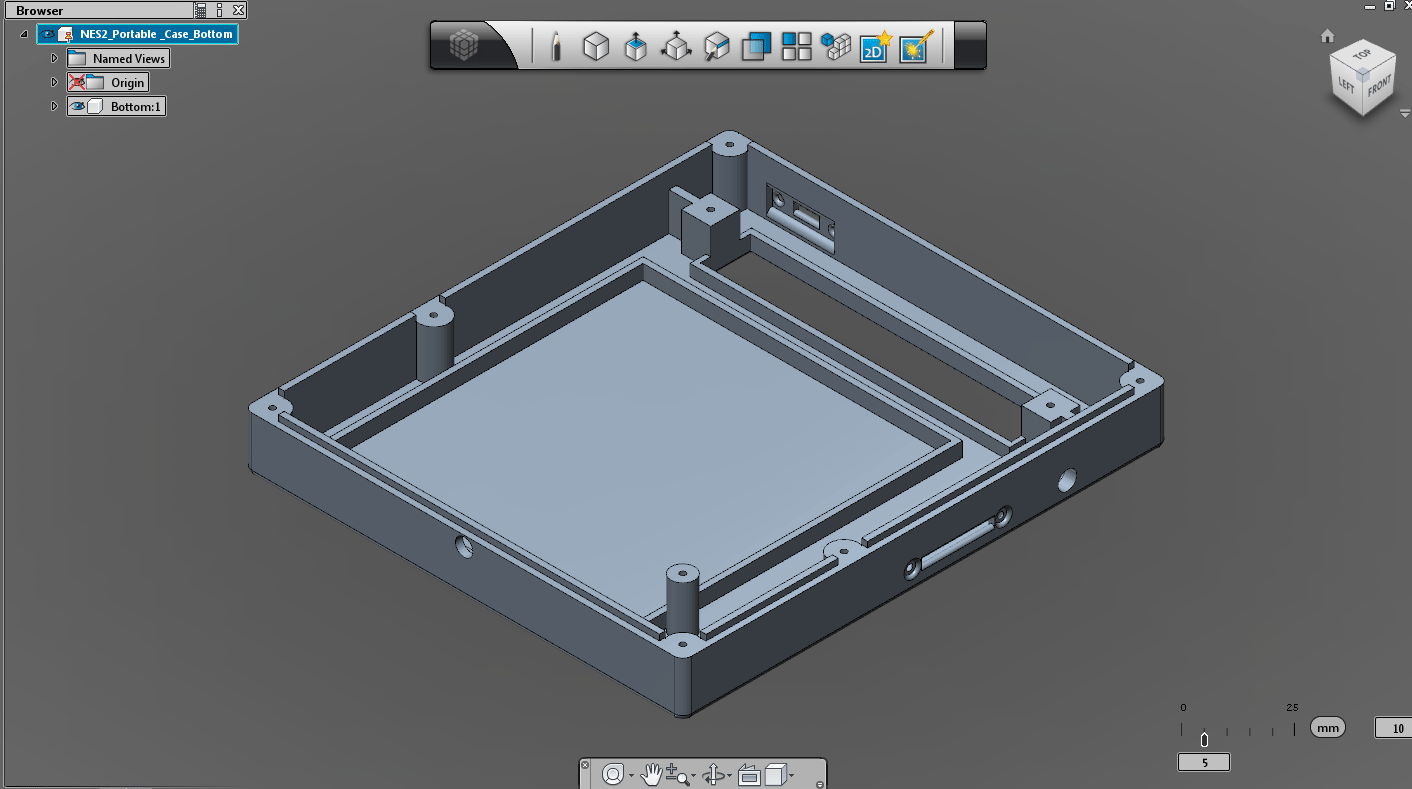
NES2_Portable_Case_Bottom.123d
NES2_Portable _Case_Bottom_Ver2.123d
NES2_Portable _Case_Top_Ver2.123d
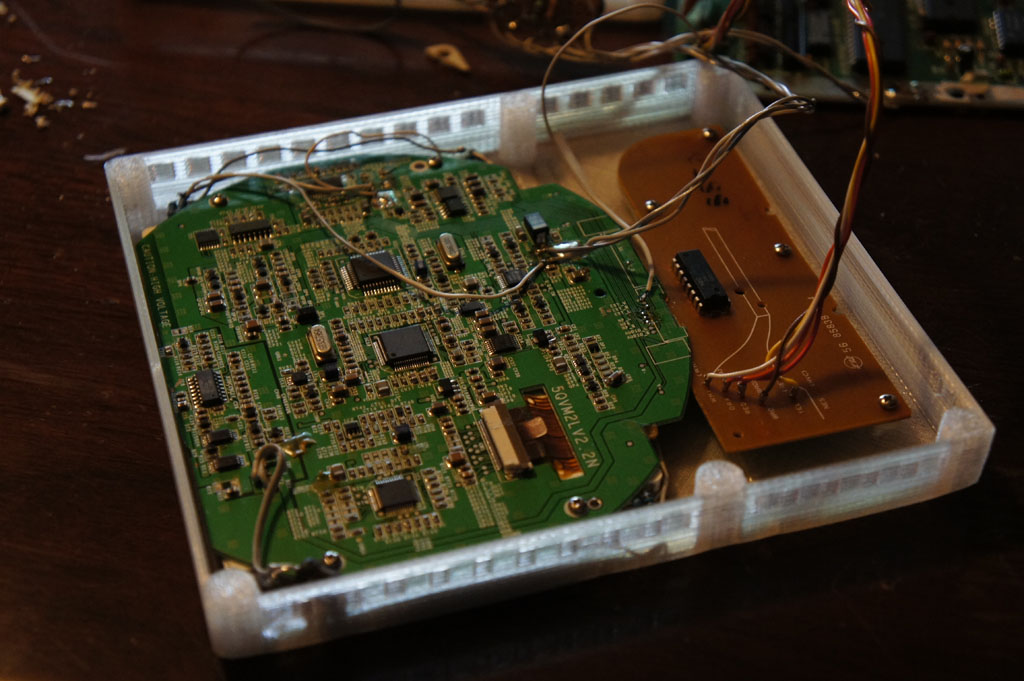
Assembling the front half of the case. Using size M2 sheet metal screws to attach the PCBs to the case. Holes are tapped with a 1.5mm drill bit before hand. for those that know the PSone screen accepts 7.4V then converts it down to 5V in some areas with a 7805 linear regulator. I removed the 7805s and attached my 5V switching power supply to the pads which dropped the power draw of the screen.
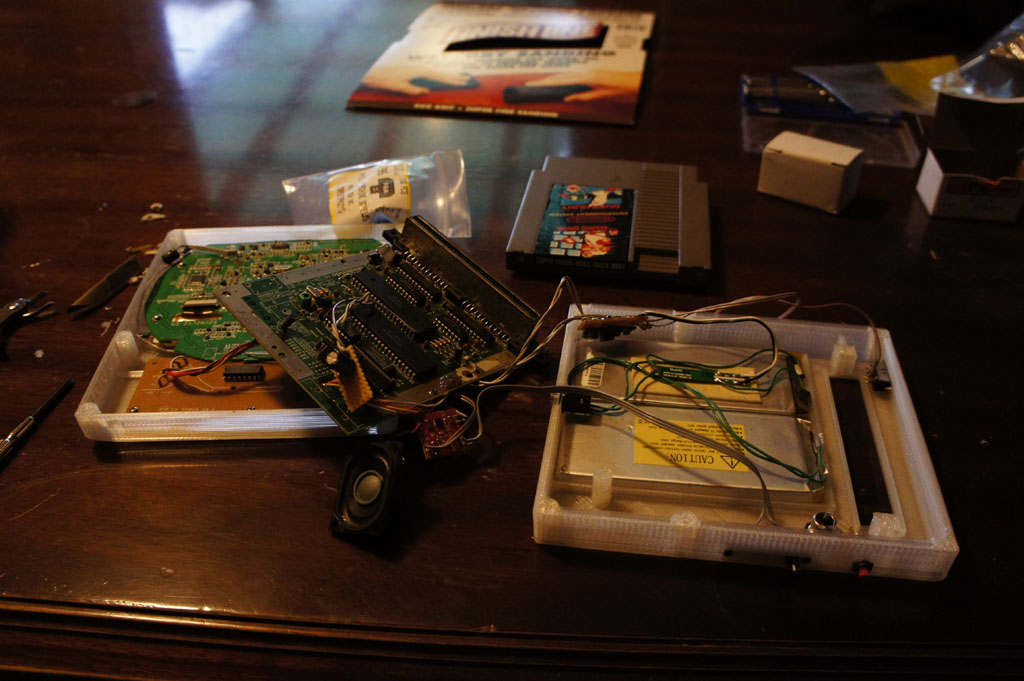
The back side houses much more parts. There is no hotglue in this portable. Everything is mechanically held in place. Some electrical tape is used to insulate parts but that is about it.
The button on the right is supposed to be for an internal MCU (like a MSP430) if I ever want to add more functionality to the portable.
I have some extra space between the front pcb boards and the rear pcb boards inside the case. I will be able to slim off about 1/8″ – 3/16″ off the thickness on the next case.
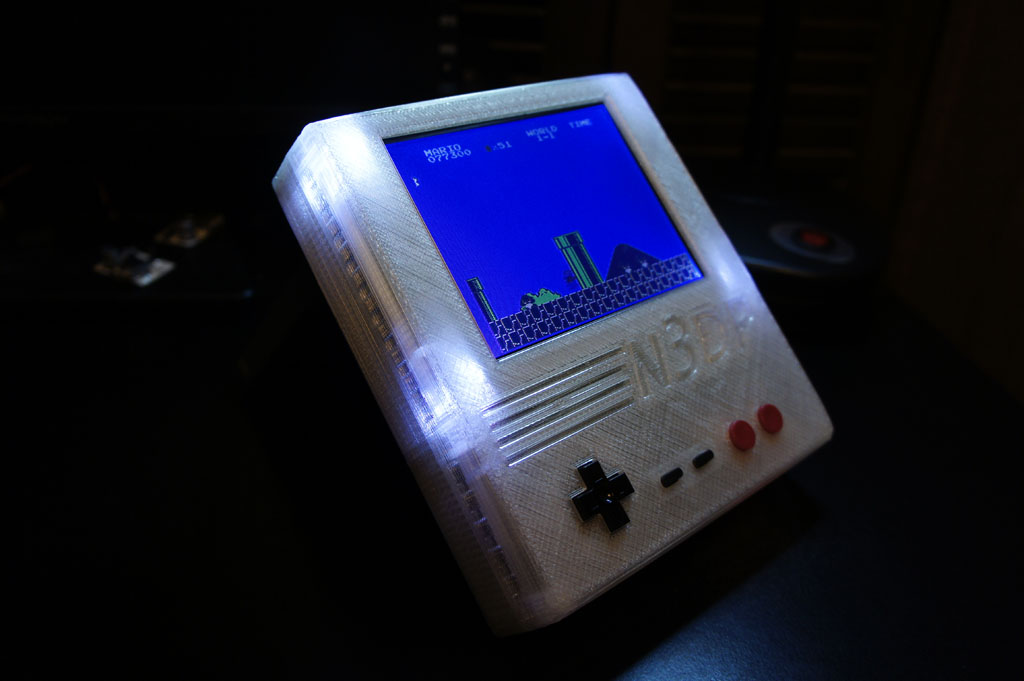
Like all portrait layout portables the top is a bit top heavy but it still has a good balance because of the thickness of the portable. The controls are laid out in the exact same dimensions as a real NES controller so it feels really nice. It has enough battery power to go for about 10 hours at max volume. I will need to tweak the audio amp a bit however as the volume is a bit soft. Should be able to adjust it by changing two resistors on the SparkFun amplifier board.