
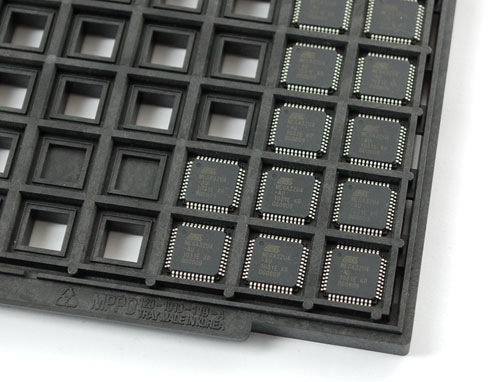
At MacroFab, I have been working with a DP2006-2 Madell pick and place for the past 6 months doing low scale pcb manufacturing while we test our software on it. Some parts (like big MCUs and connectors) come on what is called a tray where the parts are laid out in a X-Y matrix. The pick and place machine knows the amount of parts and the offsets so it can pick up the parts in the tray.
For one of the jobs we are doing I needed two trays, one for the PSOC4 and another for the FFC connector for the LCD. The DP2006-2 is pretty limited in pick and place area so I decided to make a part tray that would hold both parts. First I measured out the metal tray area on the DP2006-2 and looked at the datasheets of the parts for the physical dimensions. Then used SketchUp to draw out the tray. I gave each part .15mm clearance around the maximium size of the part. This takes care of any tolerance issues. If the tolerance is to big then the part can become crooked in the tray and the machine might have difficulties in picking up the part.
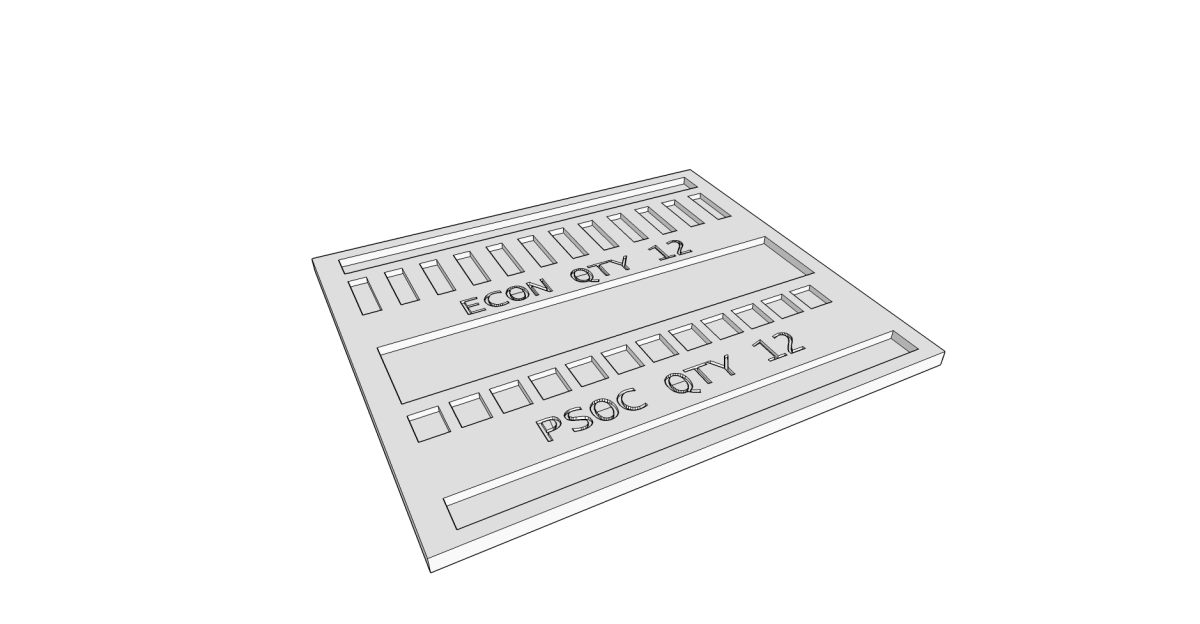
The Sketchup file can be downloaded here and the STL output for a 3D printer can be found here. I sent the files over to my friend Chris Kraft who printed the model with his MakerGear M2.
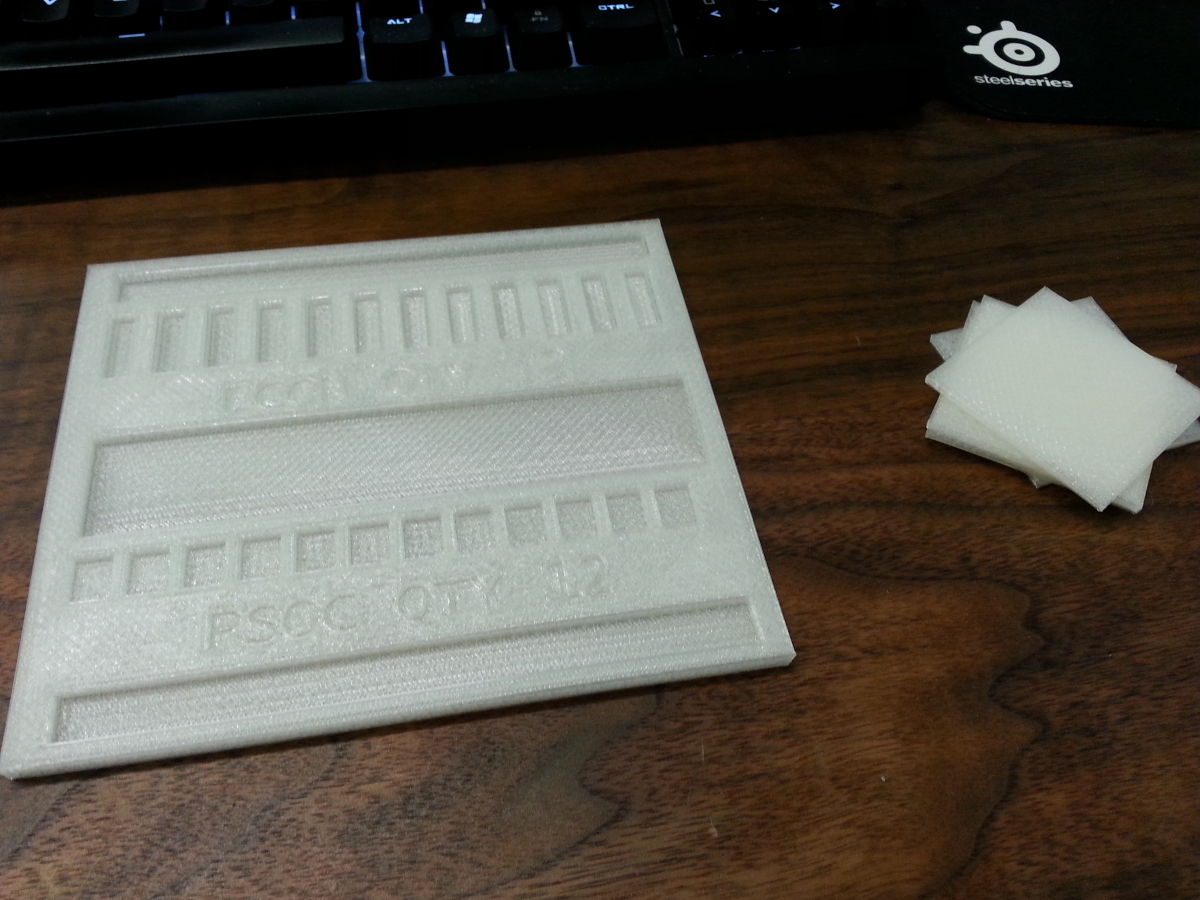
Chris sent me the model along with some test squares so I can test the ESD spray paint adherent to the PLA material the part tray was made out of. It adhered just fine to the bare PLA material so I went ahead and sprayed the part tray.

So far I have tested it with the FFC Connector and it has worked great! The PSOC4 fit but I have not trained the machine on it yet. I will post a picture when I load them into the machine.