
Atari 2600 A/V Assembly Guide
Read through the instructions carefully before attempting. Also read the disclaimer.

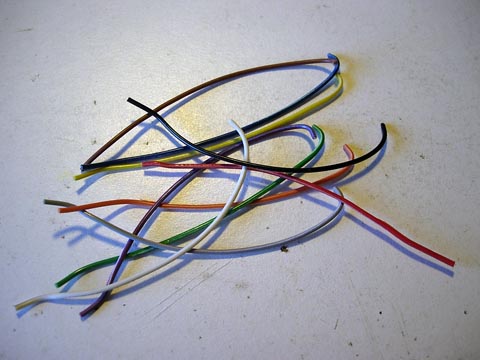
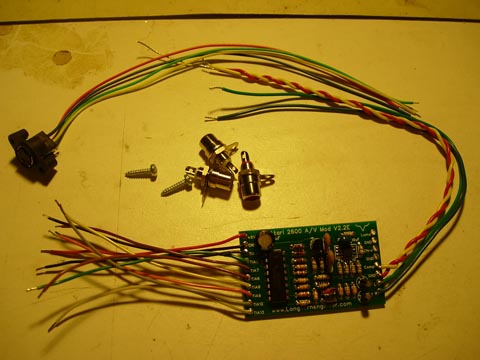
Your Unassembled Kit should look like something above. Check all the parts to make sure you have them all. To sort out the resistors there are some online color band converters like this one.
Parts List
- 100uF Cap 1
- .1uF Cap 2
- 10uF Cap 1
- 1uF Cap 2
- 47pF Cap 1
- 1N914 (diode) 1
- 2N3904 1
- CD4050 1
- FMS6400 1
- S-Video Jack 1
- RCA Jacks 3
- Red
- White
- Yellow
- A 10″ section of wire
- A 4″ section of ribbon wire
- Screws 2
- Printout 1
- Sticky Foam Tape
- Resistors (in Ohms)
- 750 1
- 10 1
- 9.1K 1
- 4.7K 1
- 18K 1
- 75 10
- 2K 1
- 1.6K 1
- 680 2
- 1K 2
- 1.8K 2

Solder the FMS6400 first to the PCB. Pin 1 of the FMS6400 is indicated by a small notch.

Solder the CD4050 next.
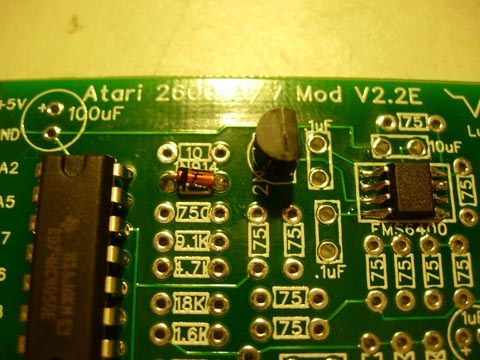
Diode and 2n3904 placement.
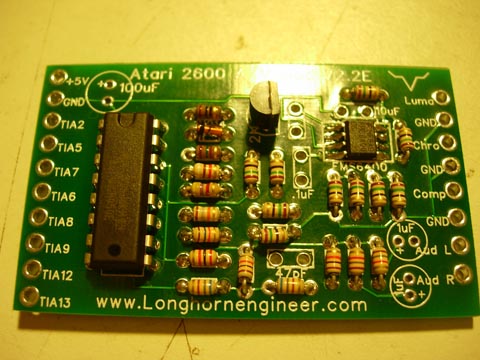
Then solder all the resistors into place.
Capacitors. Make sure the three round black ones are the correct polarity.
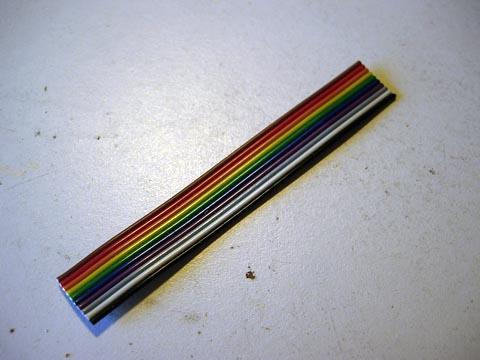
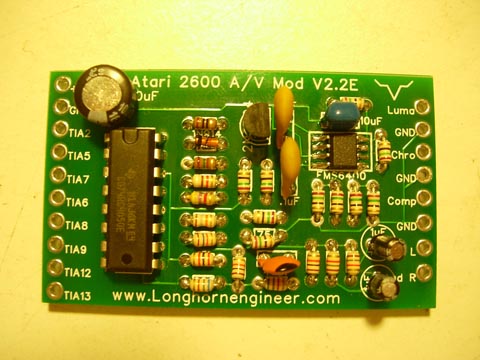
Take the 4″ ribbon cable and strip all the wires apart.
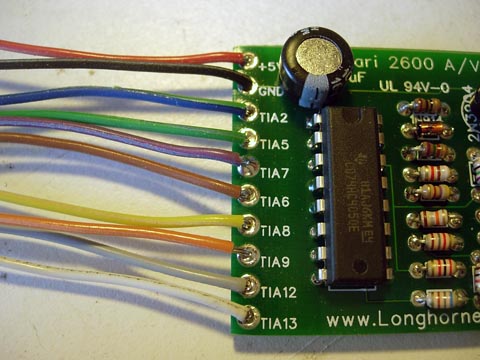
Attach them to the left side of the board as indicated in the above picture.
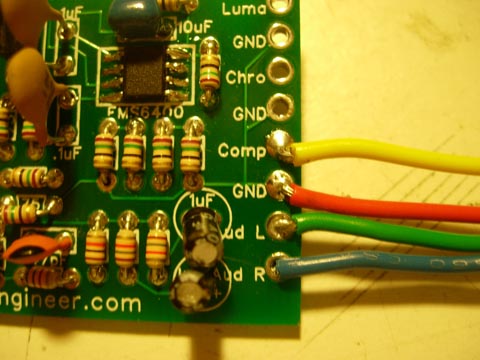
Solder the 4 10″ long wires to the right side of the board as shown.
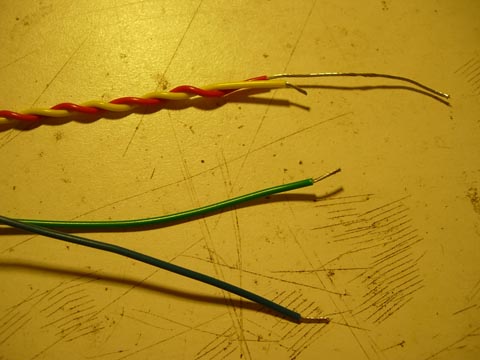
Strip off about 1.5″ of coating off the red wire and twist the end. This wire will ground all the RCA jacks. Then twist the Red wire around the Yellow wire.
Stick the foam onto the back of the board. This completes the kit. Head back to here to continue modding.